First film developed for 20 years !

Photography Film Photography Read about my photography experience

By Simon Hawketts ·

OK - so I developed my first film in about 20 years last night !

I tried a reel of Fomopan 400 in my Yashica MG-1 rangefinder over the course of the last couple of weeks and I'd ordered developer and fixer so I could have a go at developing again.

Getting the film into the tank was much more tricky than I remember it. For a start I no longer have a changing bag, so I had to do the whole process in the cupboard under the stairs whilst my Son pushed against the door to keep the light leakage down. I tried this arrangement for a few minutes before I  actually got the film out and found it was dark, so I fed the start of the film into the developer tank reel in daylight and  headed back into the makeshift darkroom.

In theory, all you need to do is turn the two sides of the developer tank reel in a twisting motion and it winds the film out of the canister and onto the reel. However  the tank I now have is a universal tank so the reel can push together to fit 16mm film or pull apart to fit 120 film. As I got the film half wound on the inevitable happened and the reel opened out to 120 size. A started again and the same thing happened. I think a rubber band placed at the correct point on the tank centre column would stop this, but that's not easy to do when the thought occurs half way through the process. At this point I realised that although there was no light coming in the door, my watch has luminous hands !

Eventually I got the film fully wound on  and cut from the canister. With the tank lid on I could emerge from the cupboard under the stairs and start the development process.

For developer I used Ilford ifosol 3 mixed 1 to 9 and developed for a total of 8 1/2 minutes at 20C. A quick wash and then Ilford rapid fixer mixed 1 to 4 for 5 minutes. At this point I started to wash the film for 20 minutes in running water, but I had a sneak peek at the first few frames to confirm I had something. I was quite excited that something had appeared on the film.

Next Morning

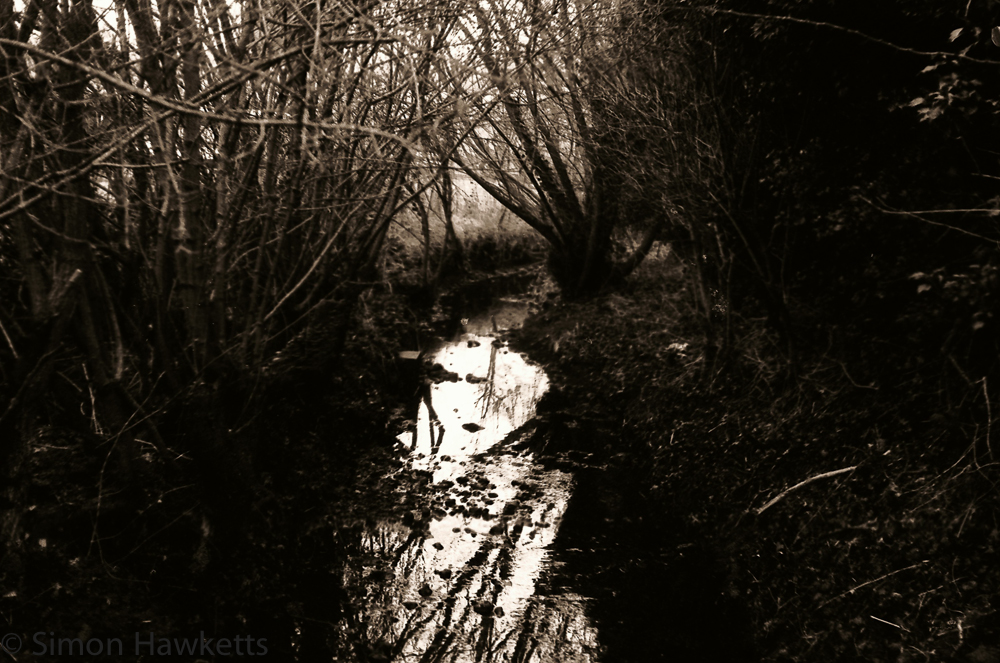
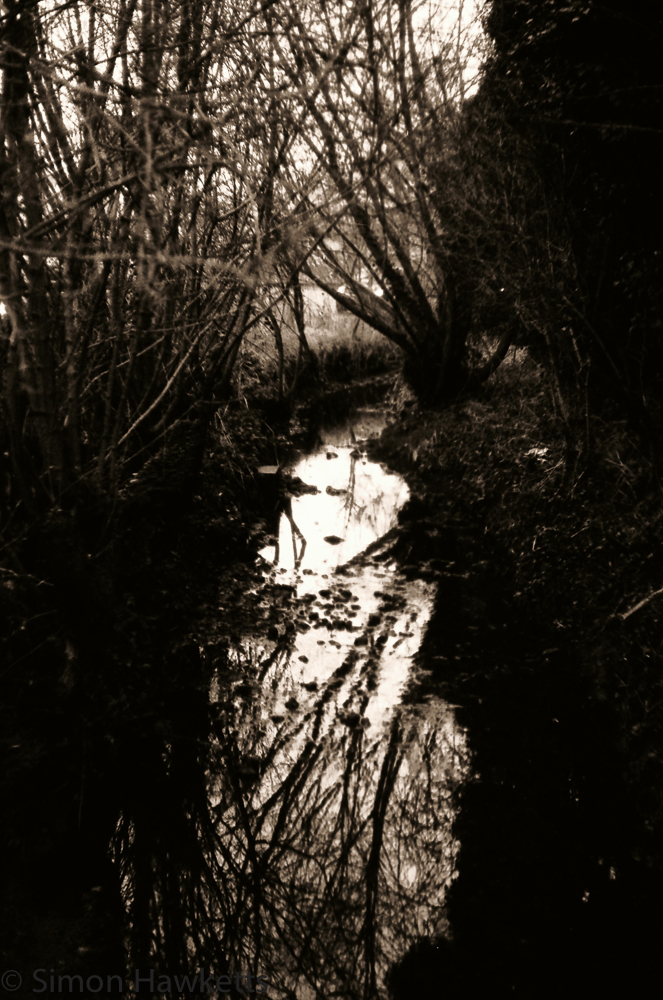
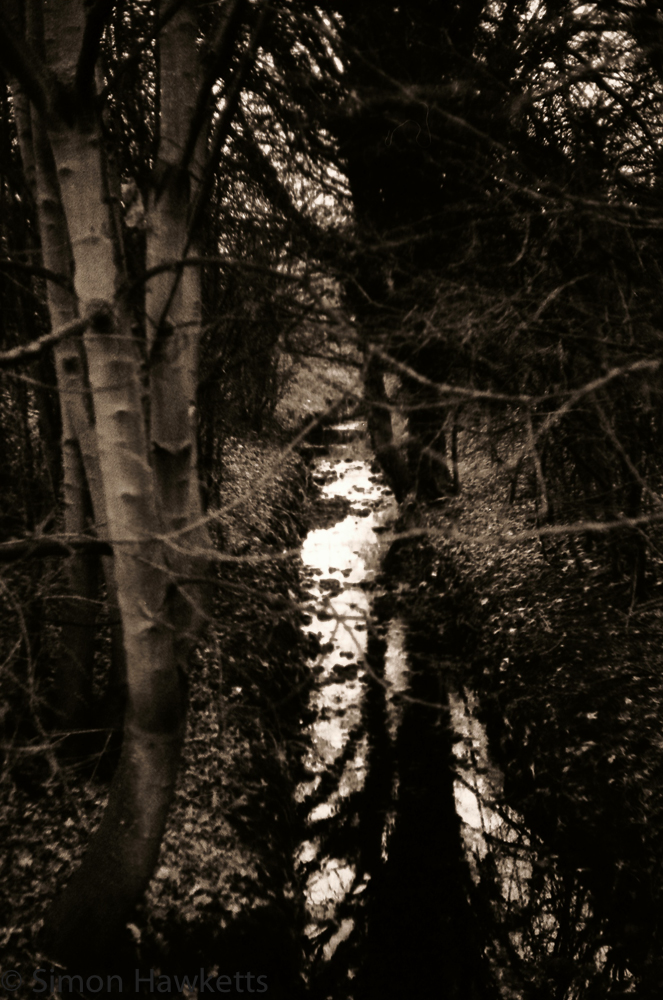
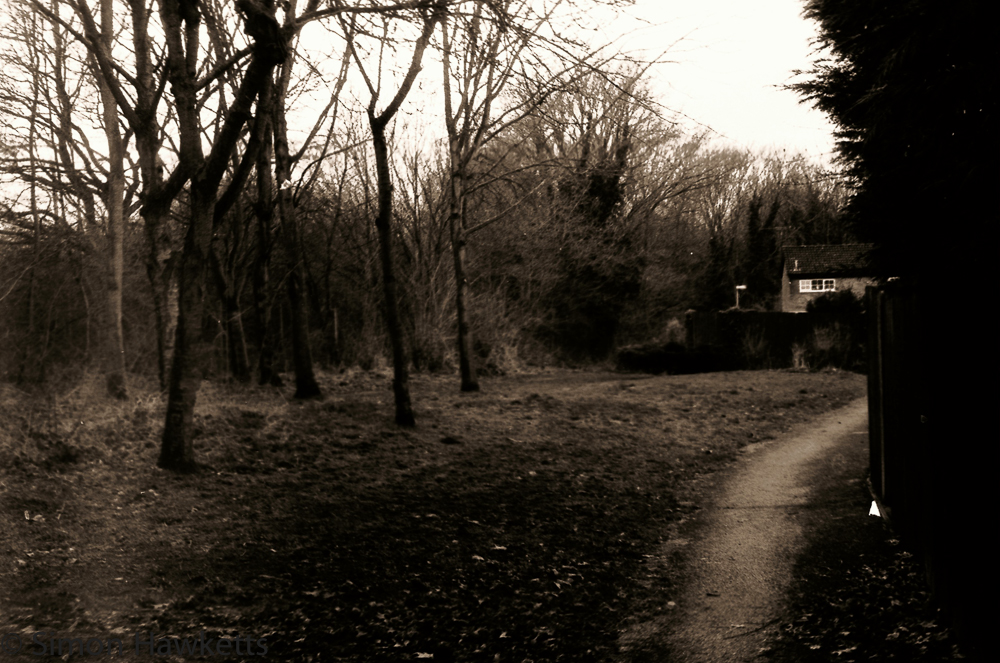
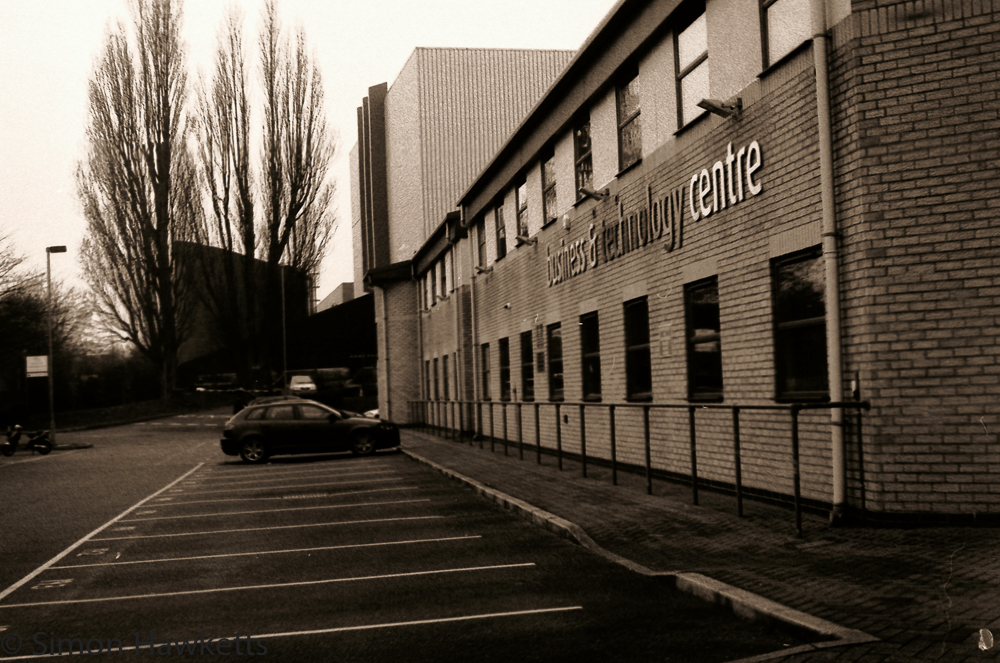
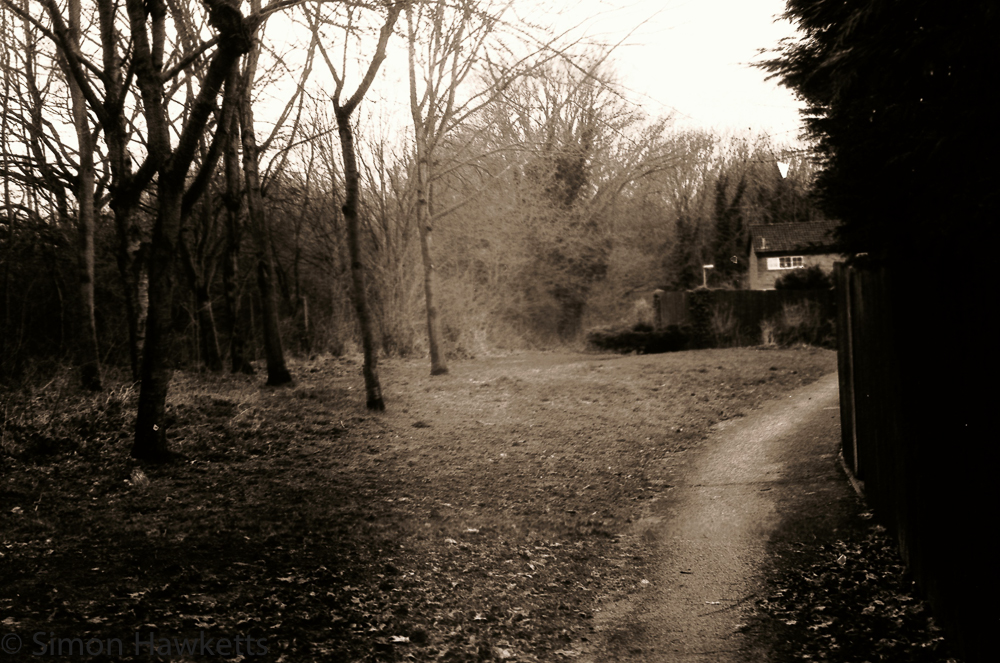
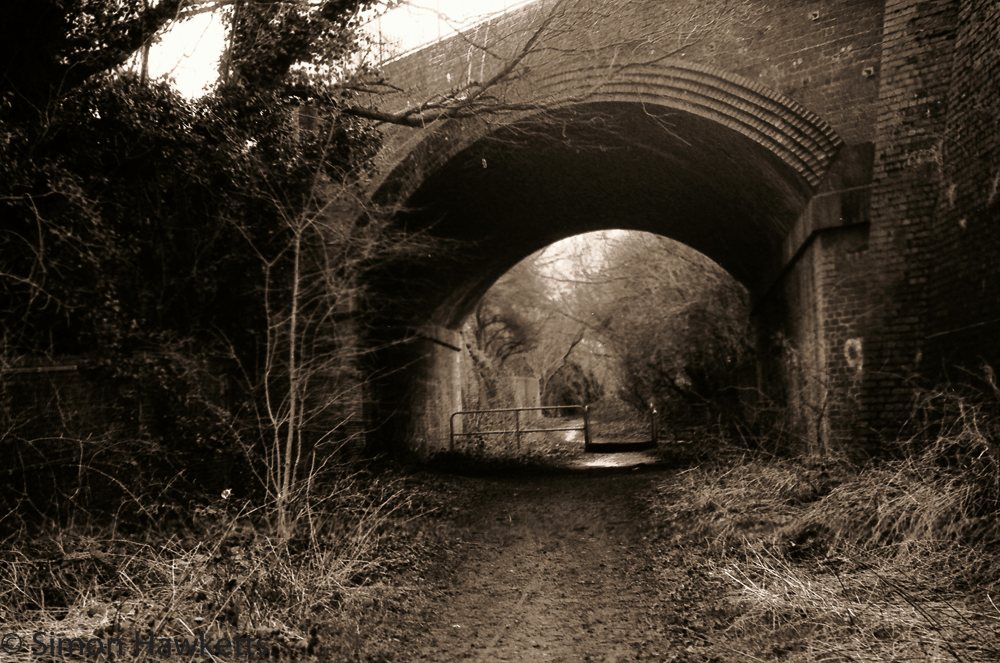
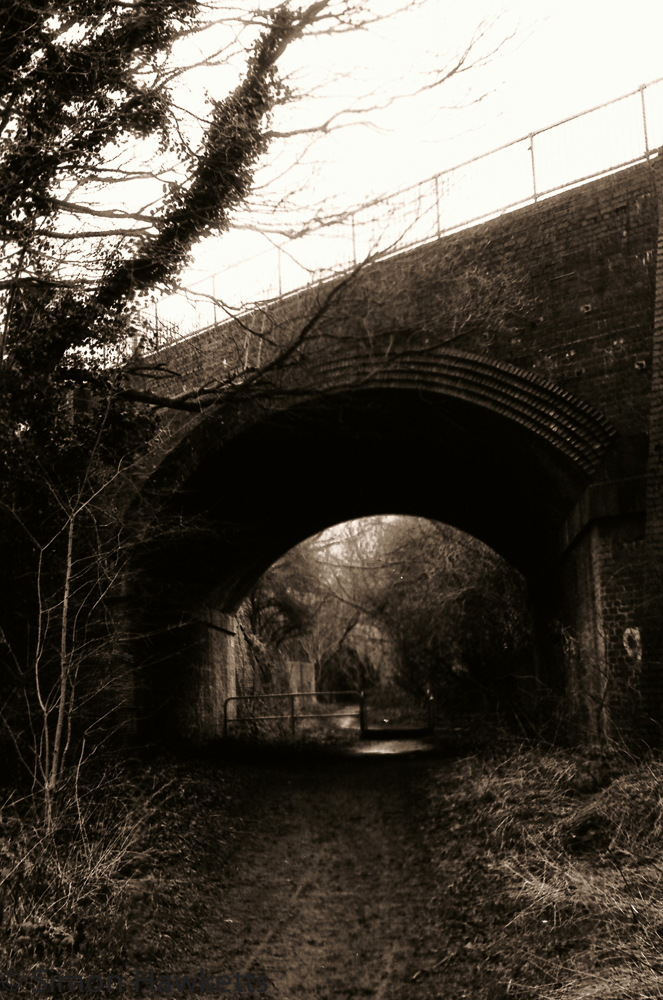
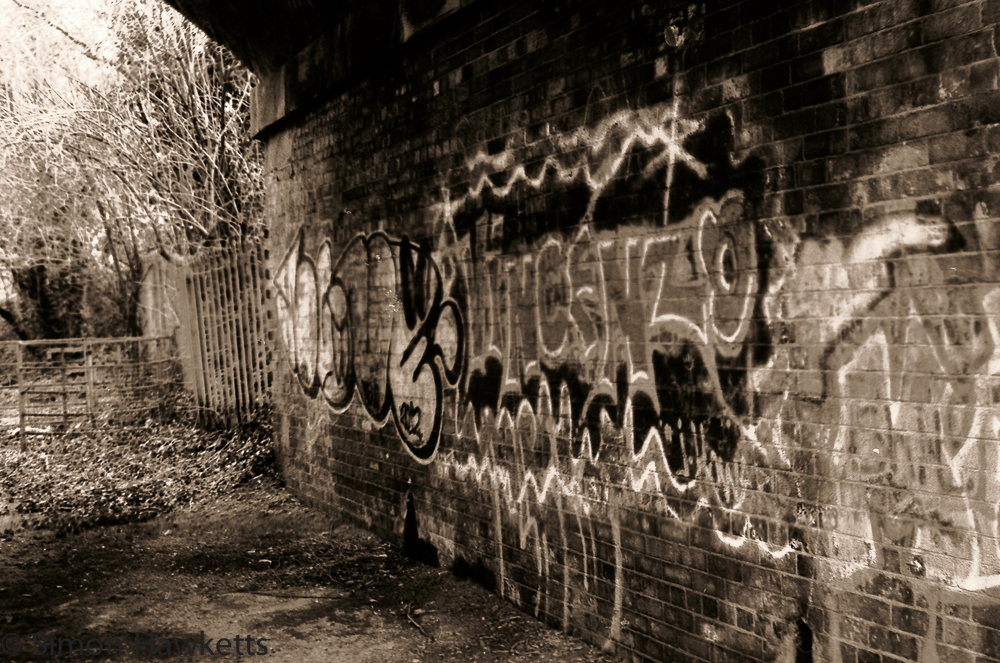
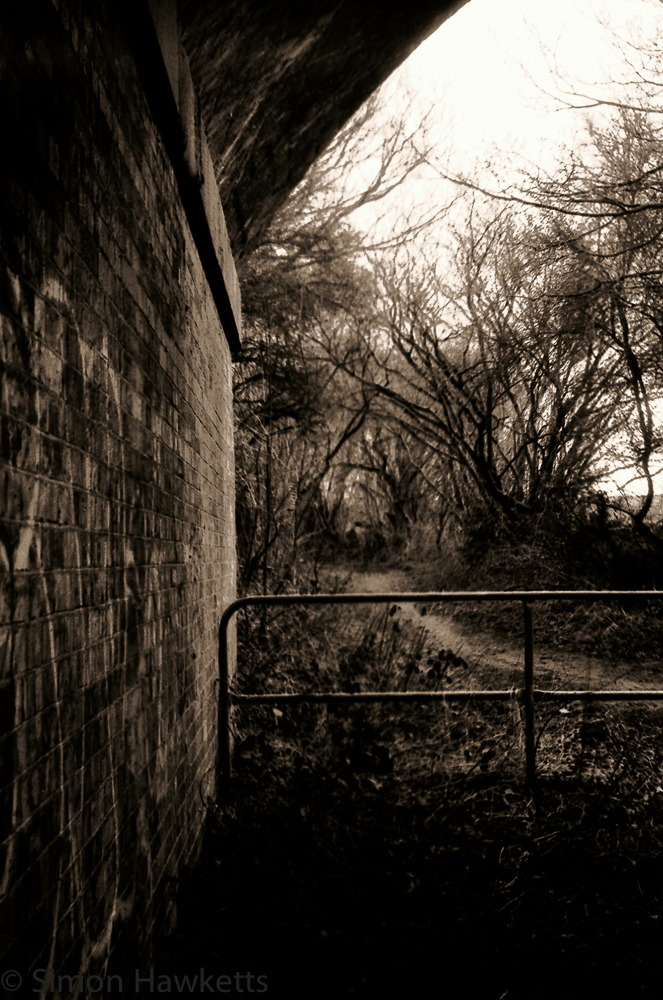
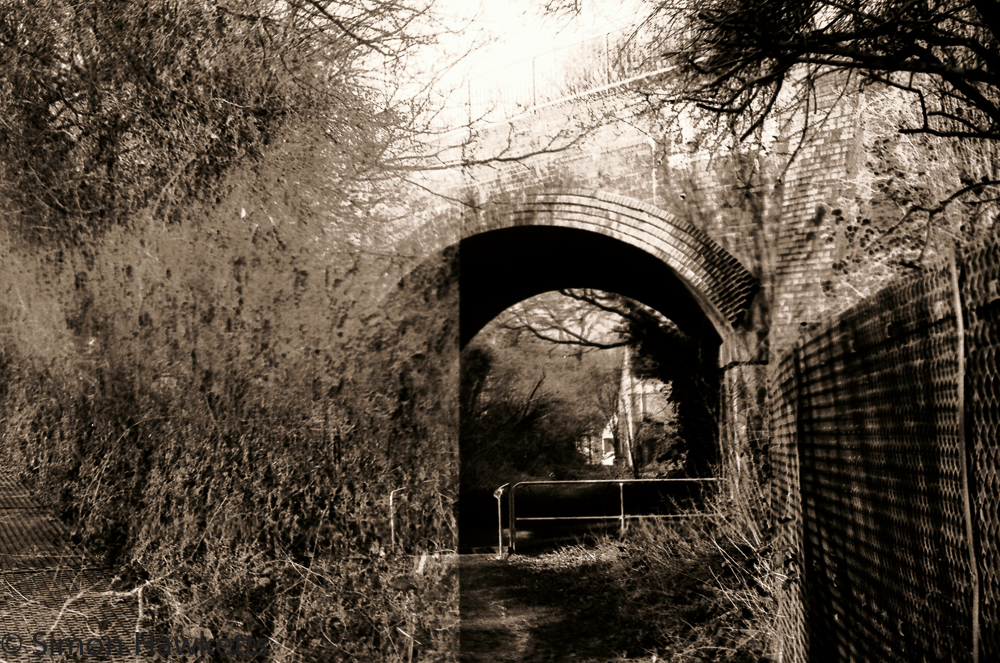
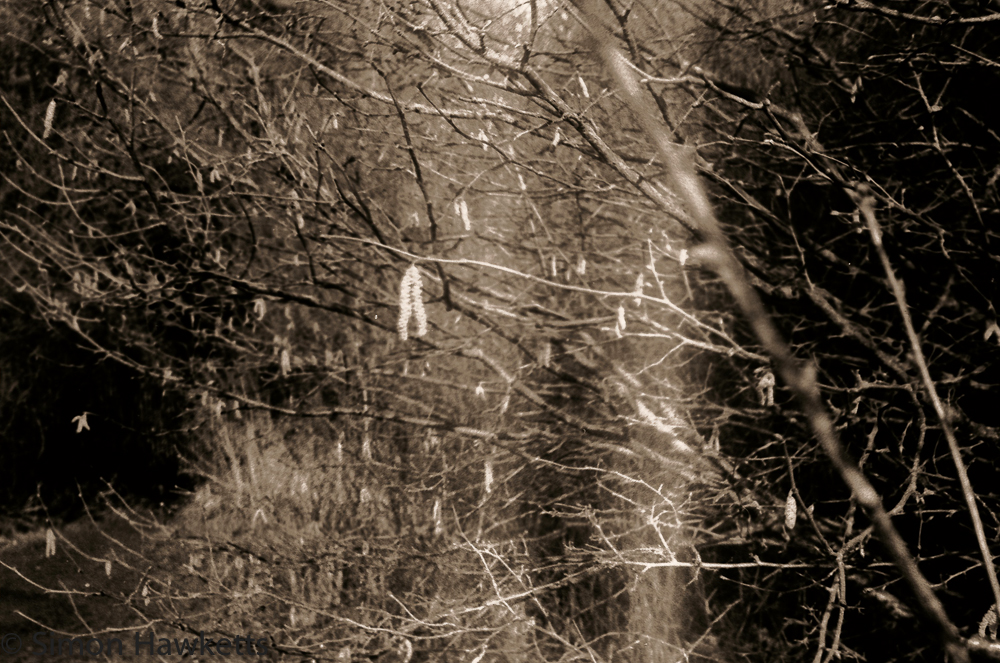
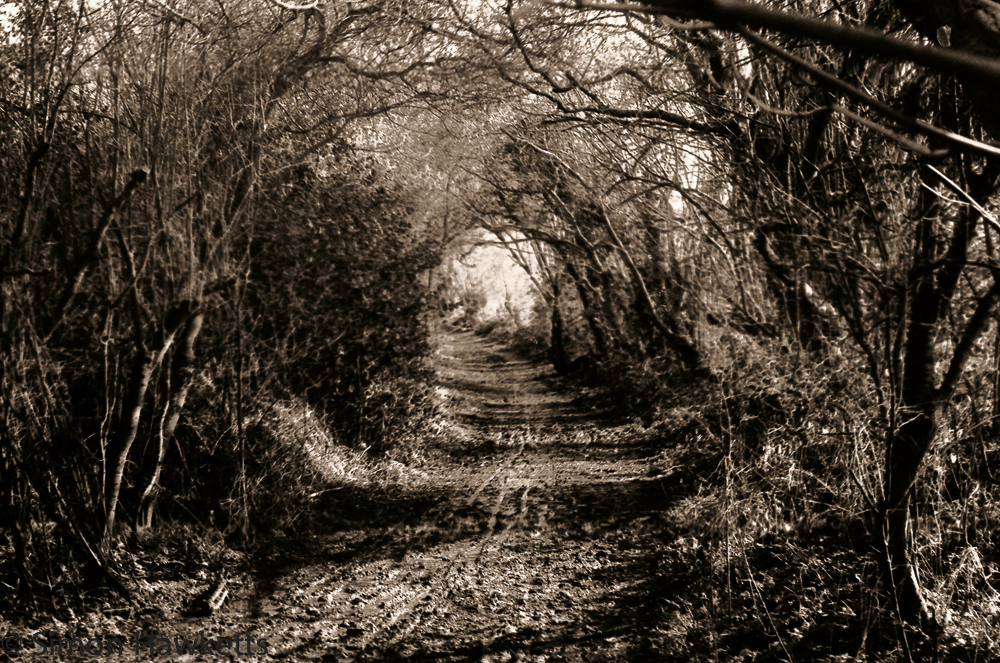
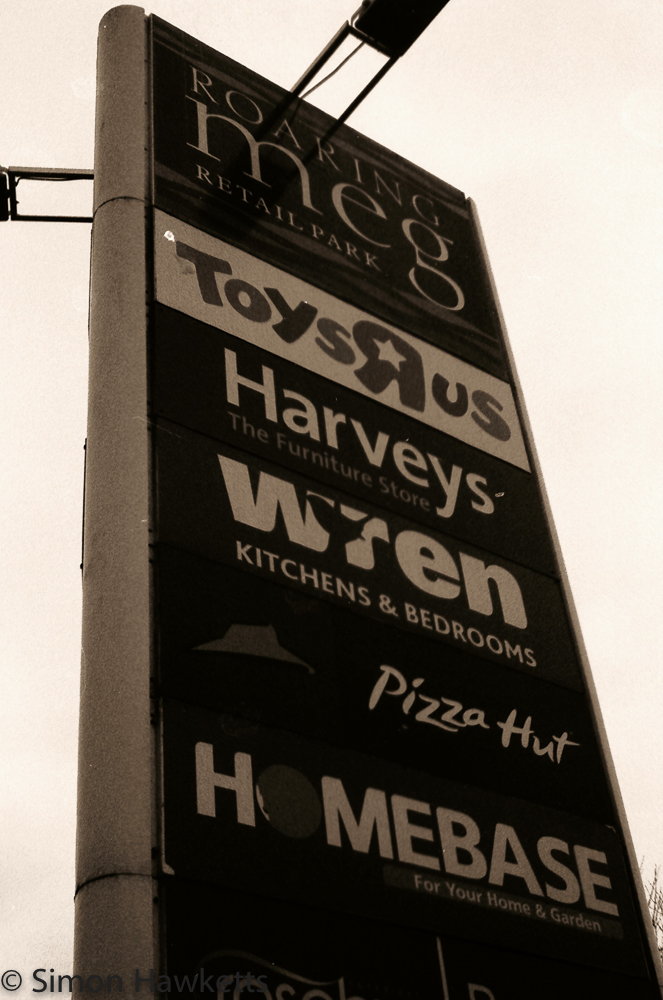
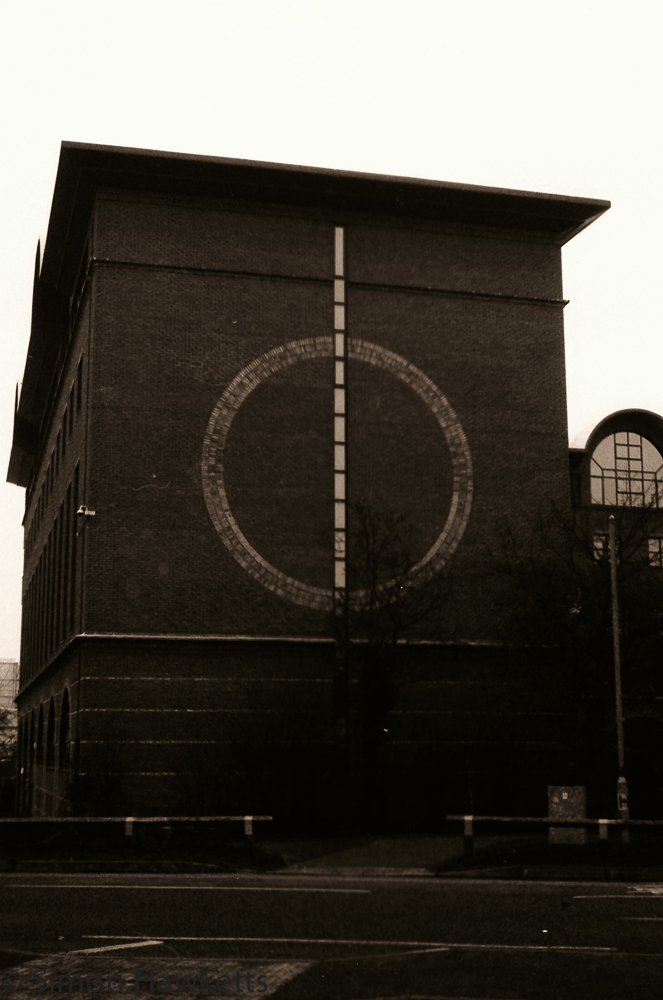
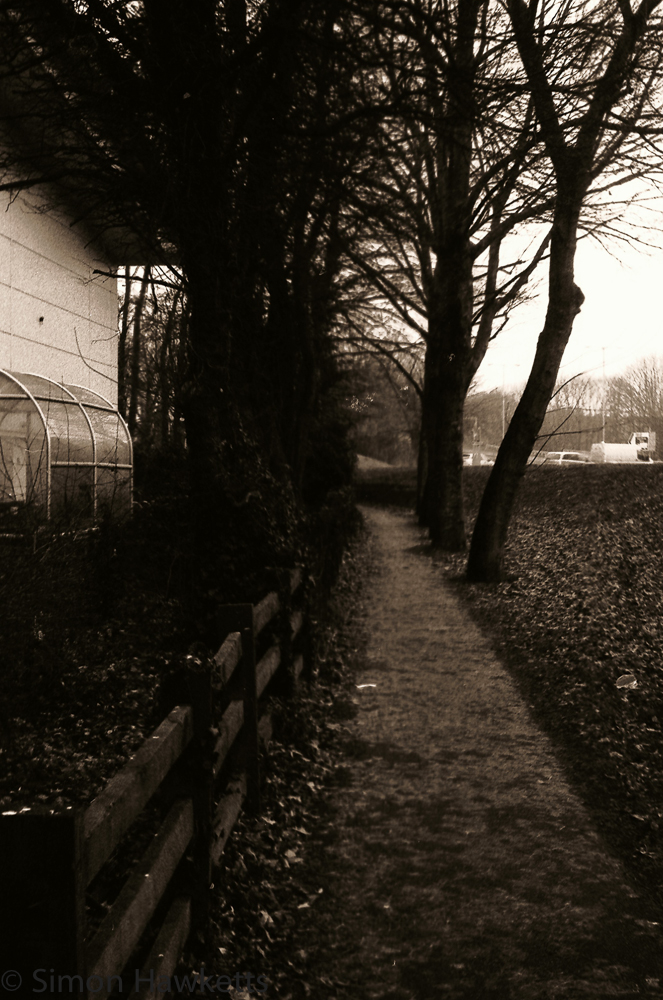
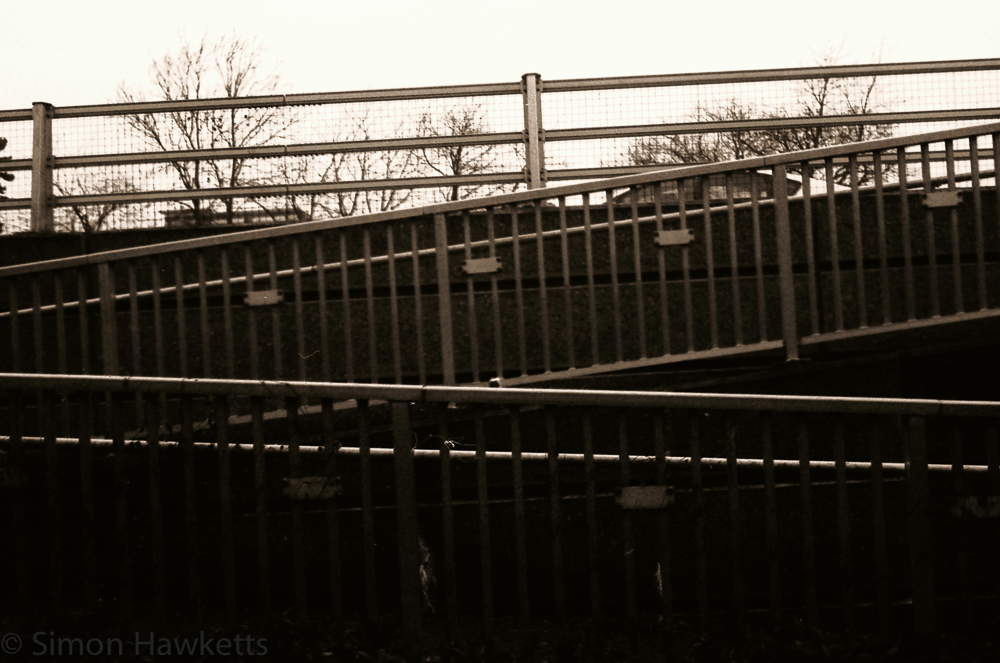
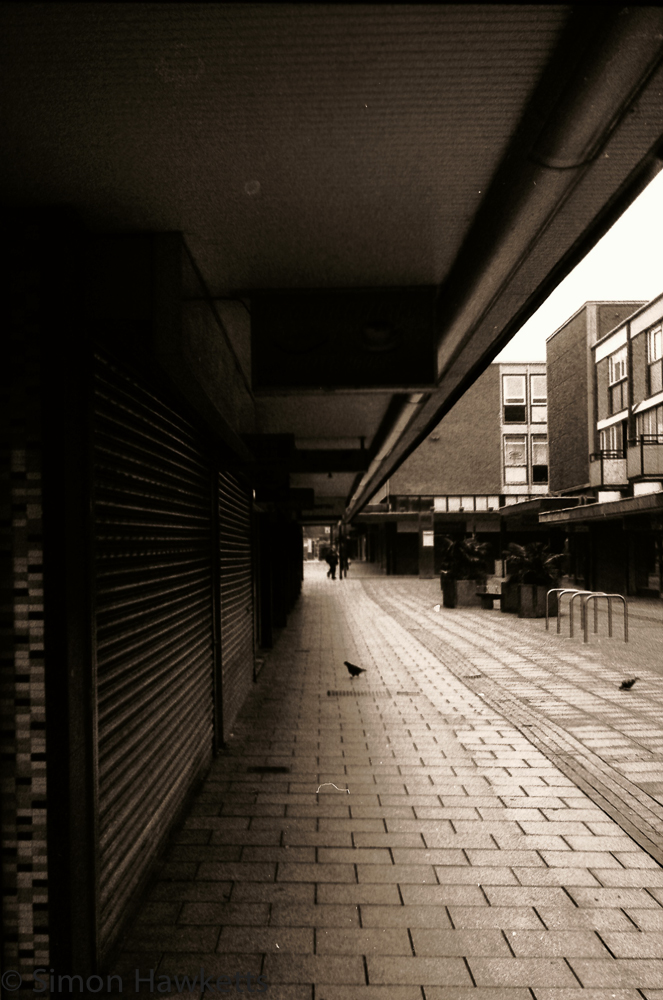
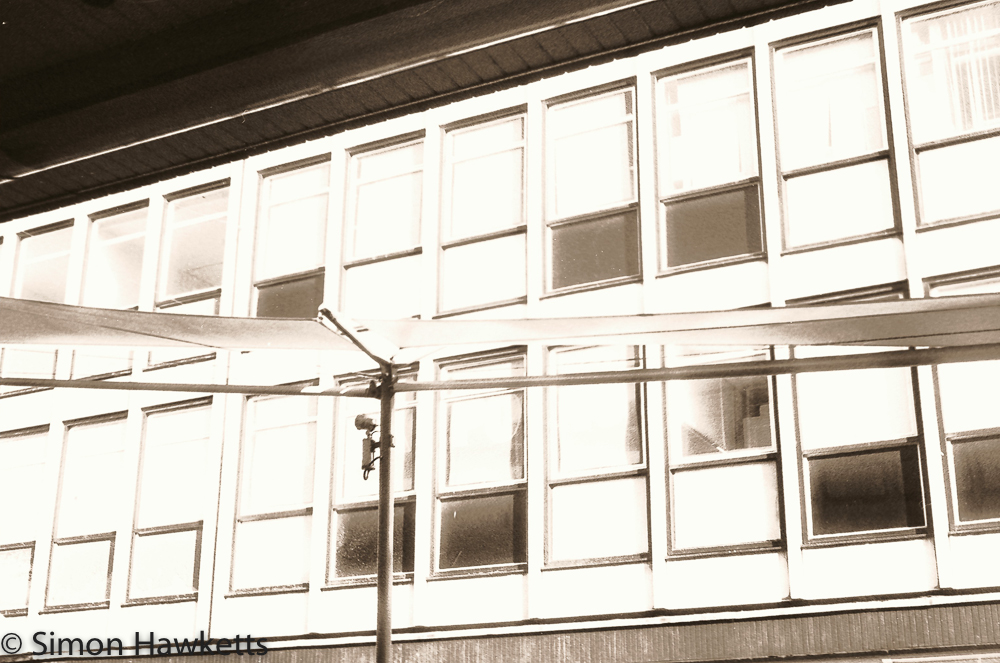
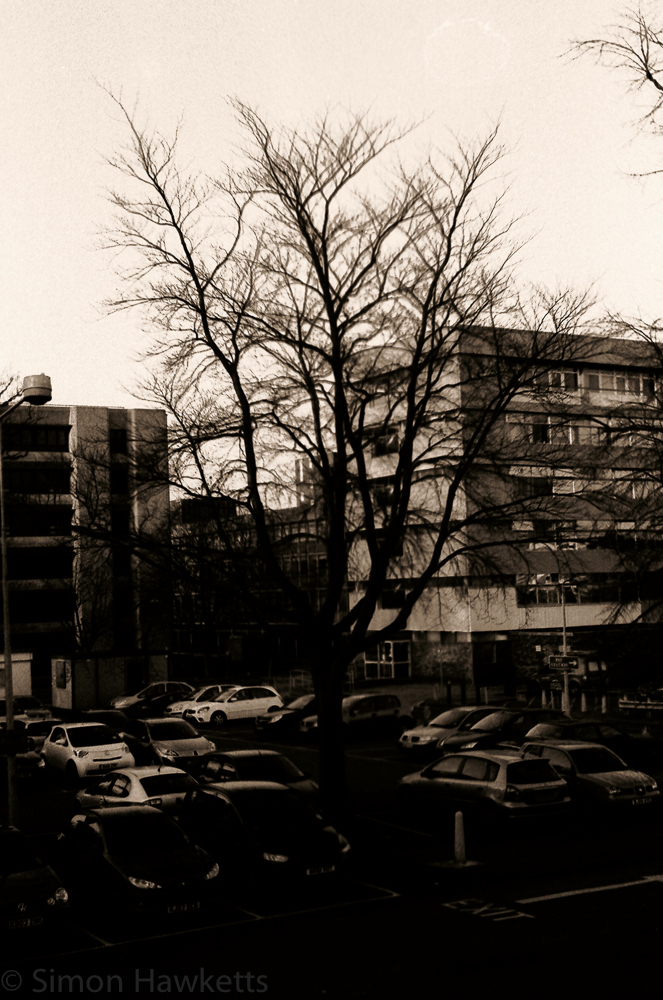
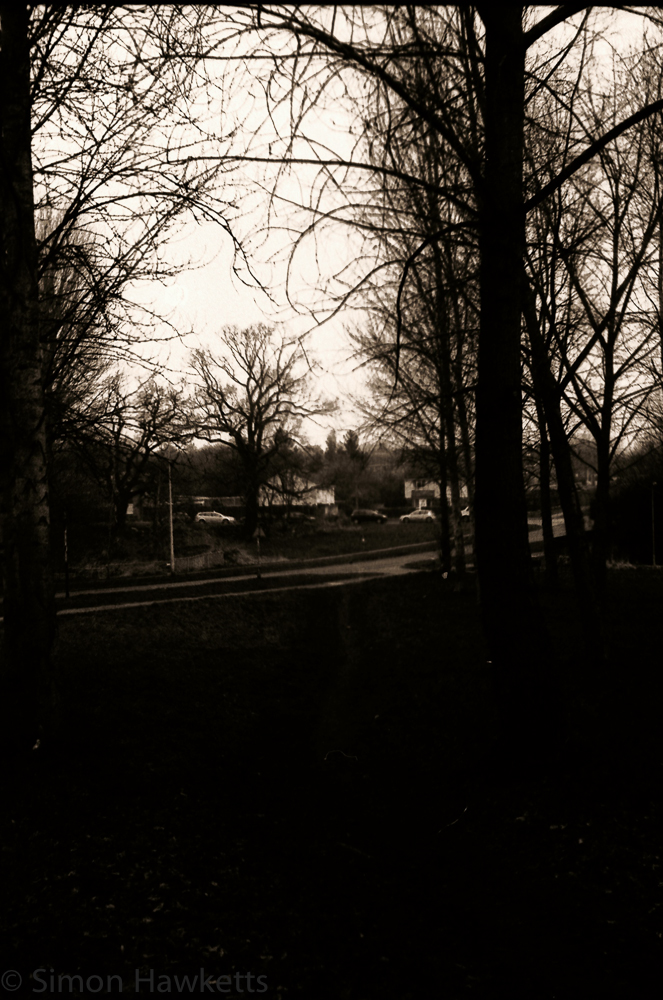
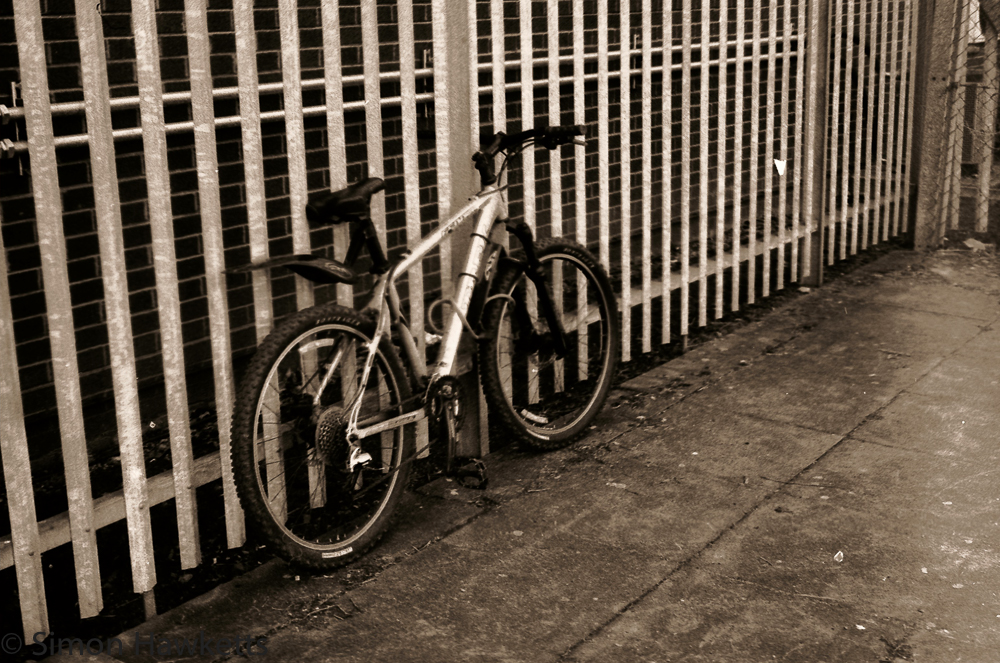
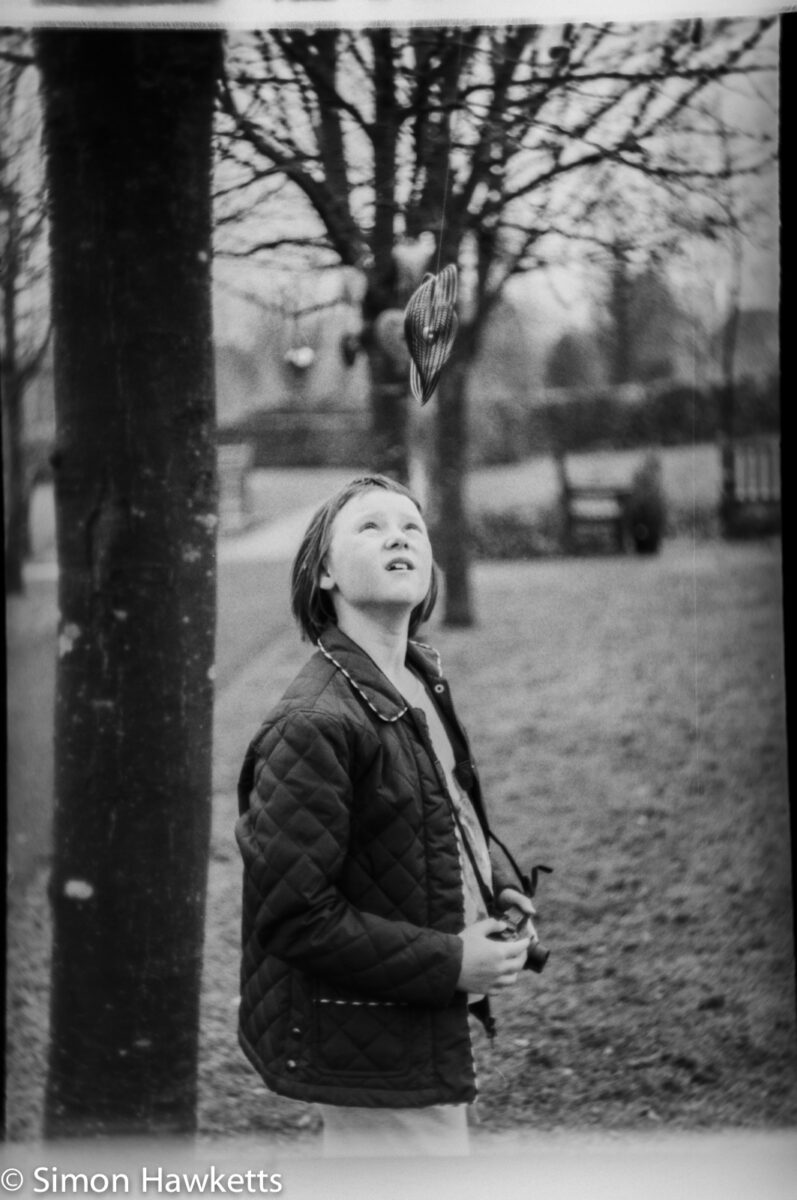
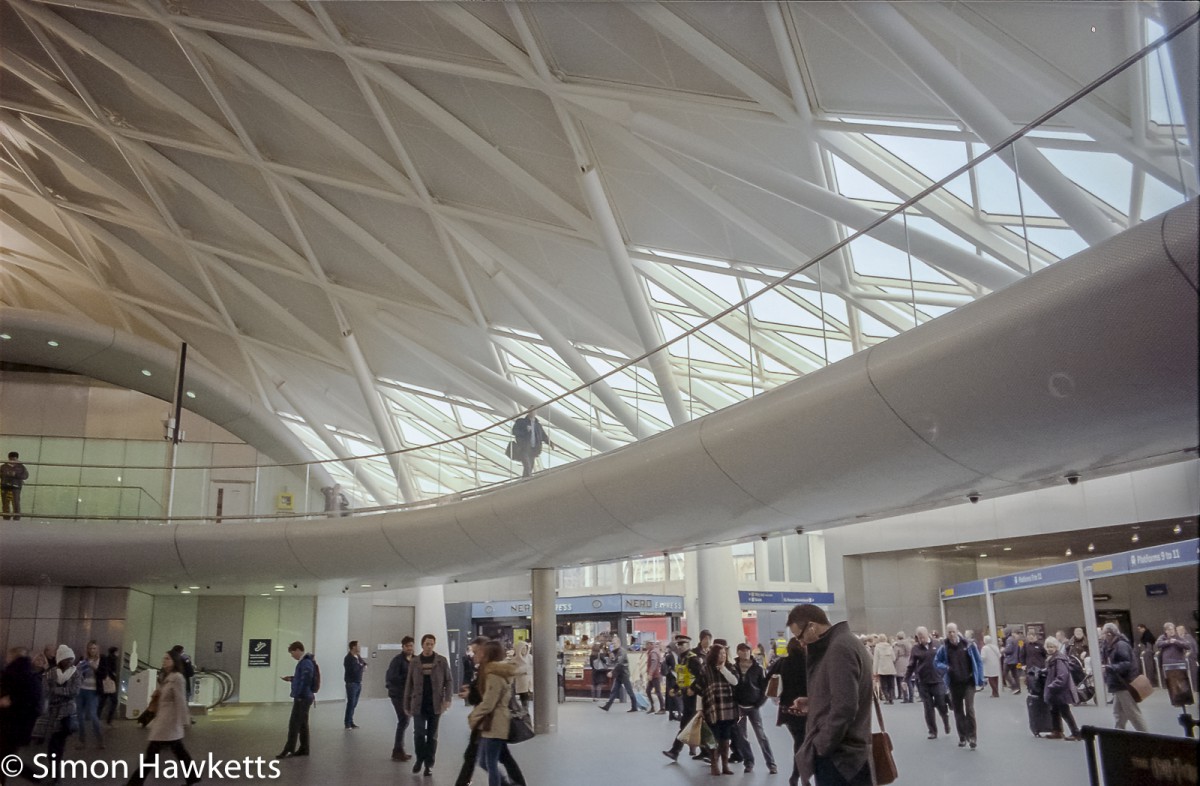
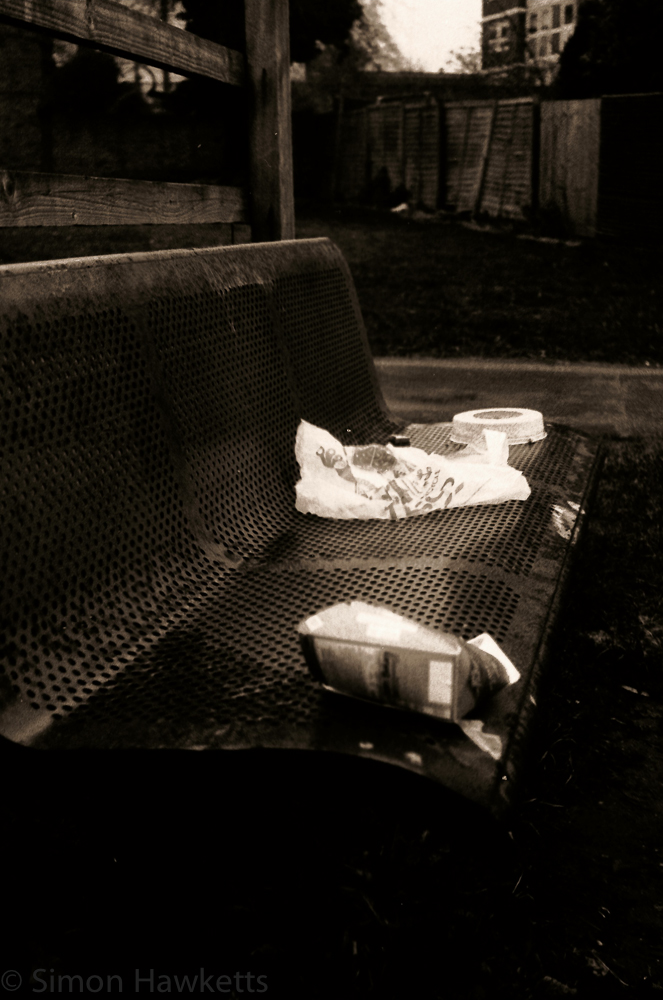
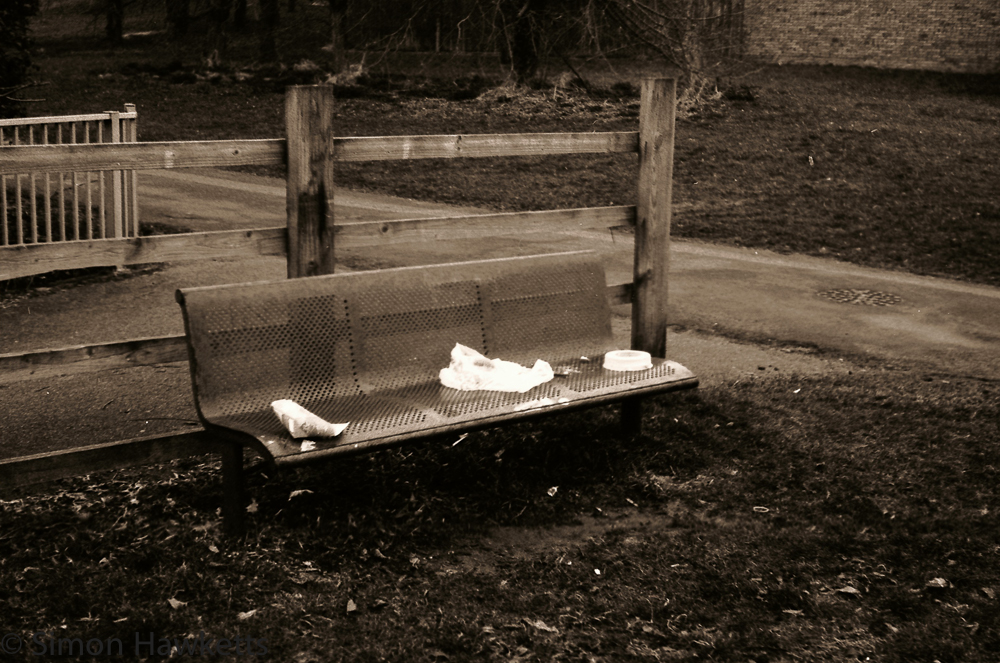
So this morning I had a look at the pictures and I would say I have mixed to poor results. The exposure seems to be all over the place - some (which aren't included below) very much over exposed some under exposed. Some have a white patch down the middle which looks like light leak and all are pretty low definition and high contrast. The images towards the end of the film overlap, so the camera obviously wasn't pulling a full frame across. I have never used this film before so I think I'm going to try reel of HP5 in a camera which I know works well like my Yashica 230 AF and see what results that brings.

These pictures are directly as scanned on our HP flatbed scanner without any manipulation in Lightroom. Click on any image to view in a slideshow. There are Lightroom enhanced versions of the images in the Yashica MG-1 Post
Comments (19)

  1. kilted1
    I remember the trials I had when I first started again a little over a year ago. I never open the film canister .I always end up in a tangle that way. Your shots of the bike and the tunnel look great. Get going with the next one soon. PS. I can recommend Digital Truths iPhone app as a darkroom timer .

    Comments (1)

    1. Simon Hawketts
      I think I had too many unknowns - film, camera, developer (I used to use ID11 but that only comes as powder and I don't know how much I'll use over the next few months). I'll see if there is an android version of Digital Truths - thanks
  2. phrenzel
    I like them Simon very much in fact, they all have Soul and great atmosphere. The ones with the overpass are very very good in my book.

    Comments (1)

    1. Simon Hawketts
      Well thank you - it was certainly fun processing them and I guess with a bit of (recent) experience I'll get better. I'll try a camera I can trust as well !
  3. Yashica MG-1 35mm rangefinder camera (updated with pictures) | Simon Hawketts's Photo Blog
    [...] white film which have been enhanced slightly in Lightroom. The original pictures as scanned are shown here. It’s fair to say that I’m not that impressed with them. The exposure seems out and the [...]
  4. John
    Even with the range of exposures, the images are rather good... I can't help but remark upon the cupboard under the stairs, and the magical, mysterious, dark images ... there's a Harry Potterishness to the whole business. :-)

    Comments (1)

    1. Simon Hawketts
      Yes - I think I'll invest in a changing bag I I continue with any film work, if nothing else than to stop the cramp I got in my legs from crouching in the cupboard!
  5. dbubble12
    I really enjoyed these. I think you did a great job. Congrats on your darkroom. Now I'm thinking where I can sneak one in.... You describing the process brings back such fond memories. Looking forward to seeing what you develop next.

    Comments (1)

    1. Simon Hawketts
      Thank you for saying so. I've sent for some Ilford FP4 which I hope will give better results
  6. New Developing Tank | Simon Hawketts's Photo Blog
    [...] eBay. This allows me to unwind the film from the cassette into the tank in daylight, removing the cupboard under the stairs step [...]
  7. streetpixels
    I know the pain getting the film on the spool! (I struggle with 35mm film all the time) You, having it done in the past, can at least look at your negatives and see what is wrong and what you could change :) Here, it's lots of trial and error (and sticking with Tri-X film, as it is quite forgiving)
  8. Derek
    Looks great, keep it going!! back on the saddle again.

    Comments (2)

    1. Simon Hawketts
      Thanks
    2. Simon Hawketts
      I've never used Tri-X but it has a great reputation
  9. GrowlTigger
    An interesting post and some interesting results of the process. If you can resolve the exposure problem you should be able to take some very good shots on film. Your description of the film winding reminded me of science lessons in 1971-2 when our teacher spent several weeks taking us through the various processes from film to finished prints. In the summer holidays, as part of a summer activity project, a few of us spent a week taking photos and developing and printing them before they were used to print one of the school newsletters a week or so later. Lovely to see people still carry on the traditional methods with some success.
  10. Yashica MG-1 35mm rangefinder camera (updated with pictures) | Simon Hawketts's Photo Blog
    […] white film which have been enhanced slightly in Lightroom. The original pictures as scanned are shown here. It’s fair to say that I’m not that impressed with them. The exposure seems out and the […]
  11. Developing medium format film | Simon Hawketts's Photo Blog
    […] Well, this week I developed the film, having finished taking the test pictures last weekend. Although it’s not the first film I’ve developed, it is the first time I’ve developed medium format film, so I thought I’d write this post to contrast the experience to 35mm. […]
  12. Developing medium format film — Simon Hawketts' Photo Blog
    […] Well, this week I developed the film, having finished taking the test pictures last weekend. Although it’s not the first film I’ve developed, it is the first time I’ve developed medium format film, so I thought I’d write this post to contrast the experience to 35mm. […]
  13. Yashica MG-1 35mm Rangefinder Camera — Simon Hawketts' Photo Blog
    […] white film which have been enhanced slightly in Lightroom. The original pictures as scanned are shown here. It’s fair to say that I’m not that impressed with them. The exposure seems out and the […]