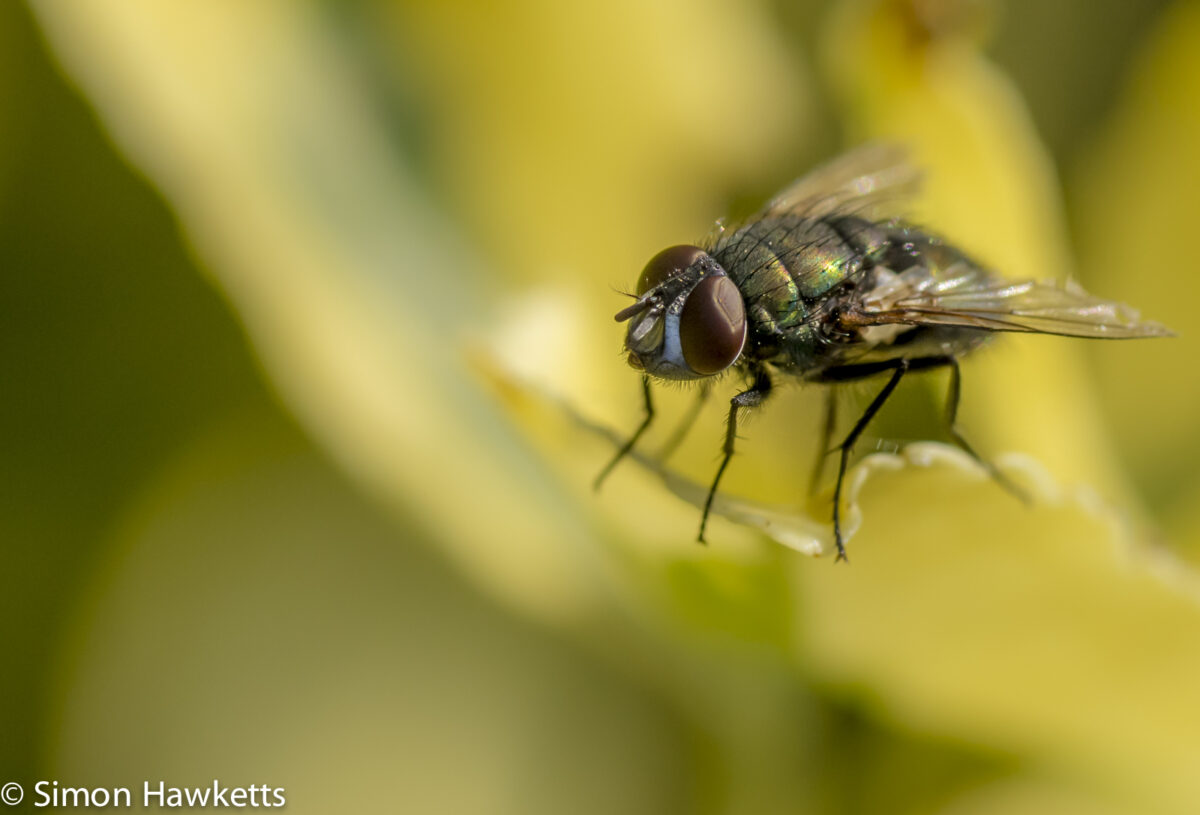
I like macro photography, but this post uses a macro photograph to point out a Lightroom 5 post processing technique I've started to use a bit which is Radial Filters.
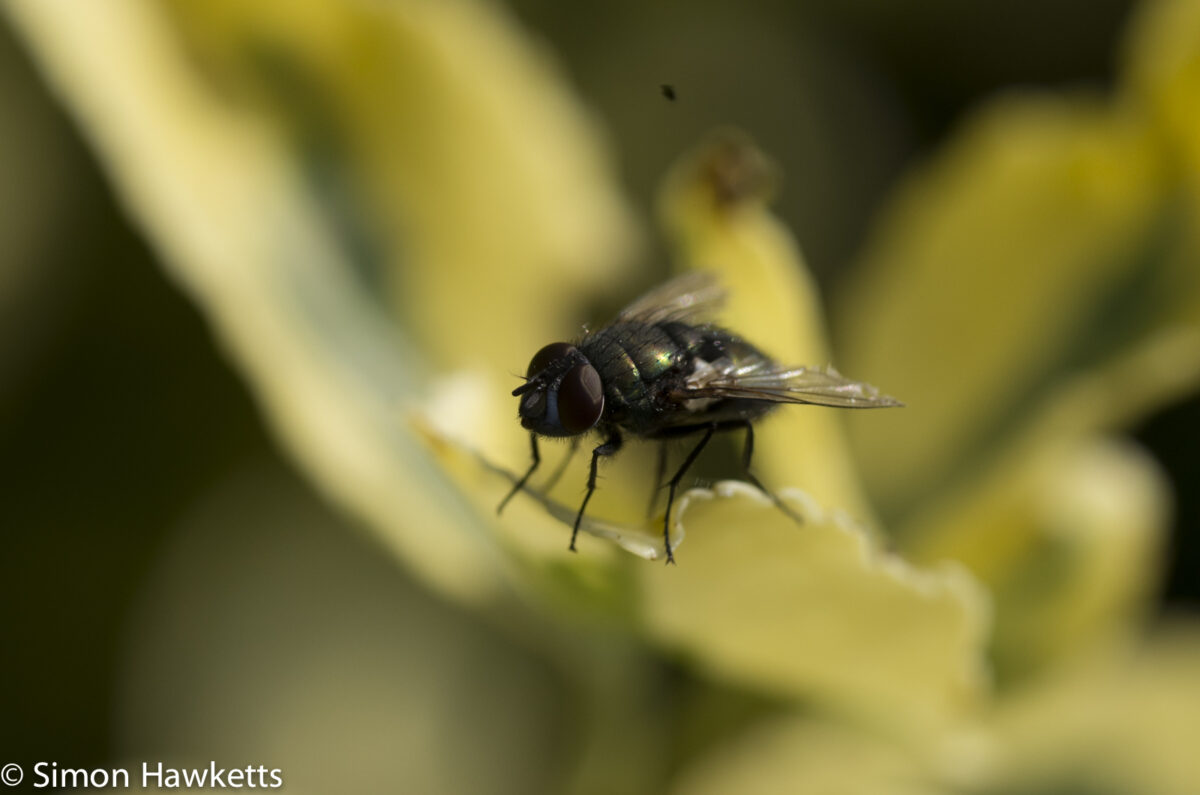
This pretty unremarkable picture of a fly was taken a few weeks ago, and I'd mostly forgotten about it. But I was looking through the pictures I'd taken and realised that I could improve this one if I could blur the flower a bit and bring the fly into more prominence. I did that using a new addition to Lightroom called Radial filters.
Basically a radial filter is an area of the picture which you can create and apply a specific alteration to the area. I applied two to this picture, both of them to the body of the fly. The first was applied as a circle around the fly's head and added some extra sharpening and highlight recovery. The second was applied to the fly's body as a whole and then reversed, to apply a softening using negative clarity. This gives the impression of a much shallower depth of field than I had actually achieved in the original shot.
Ideally I would have taken the shot this way to start, but I'm becoming more and more impressed with Lightroom's ability to rescue shots.
- Pentax K5
- Tamron 90mm f/2.8
- f/6.3
- iso800
- 1/1600sec
- 90mm

Comments (8)
Comments (1)
Comments (1)
Comments (1)