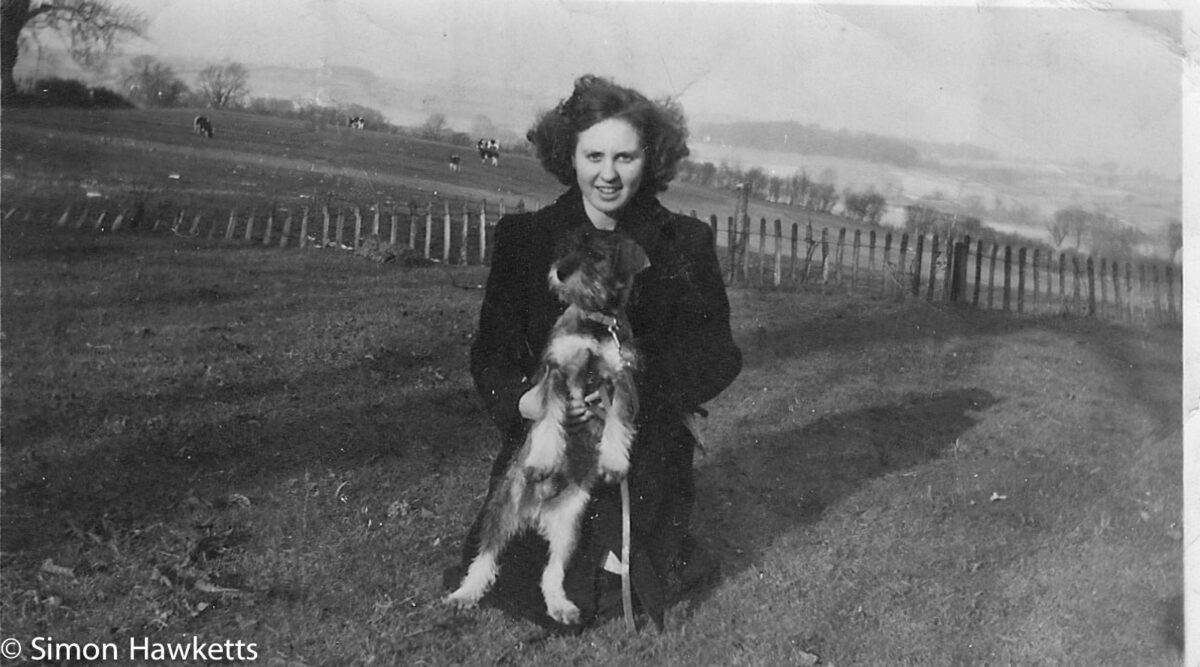
Clone Stamp tool photo repairs
Although I use Lightroom all the time I’ve not really used Photoshop that much since I joined Adobe Creative Cloud using the photographers cut down package last year. However a few weeks ago I had cause to try to recover some old photographs of my fathers which had been badly creased and damaged and found that Lightroom just can’t do that sort of job, so I turned to Photoshop.
Using Clone Stamp in Photoshop
This is certainly quite a common procedure for photoshop experts, but I found it extremely interesting how easy it was to make a very effective repair in a short time having almost no knowledge of Photoshop prior to carrying this out. I did a few searches to work out the general technique, and then started with the pictures below which were relatively easy because the faces of the subjects were not damaged.
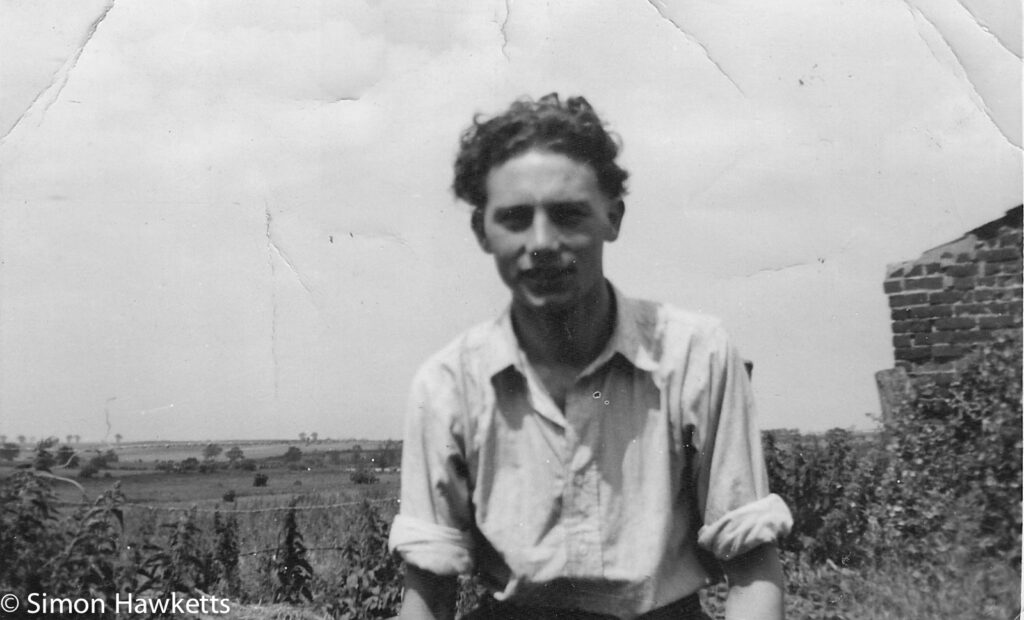
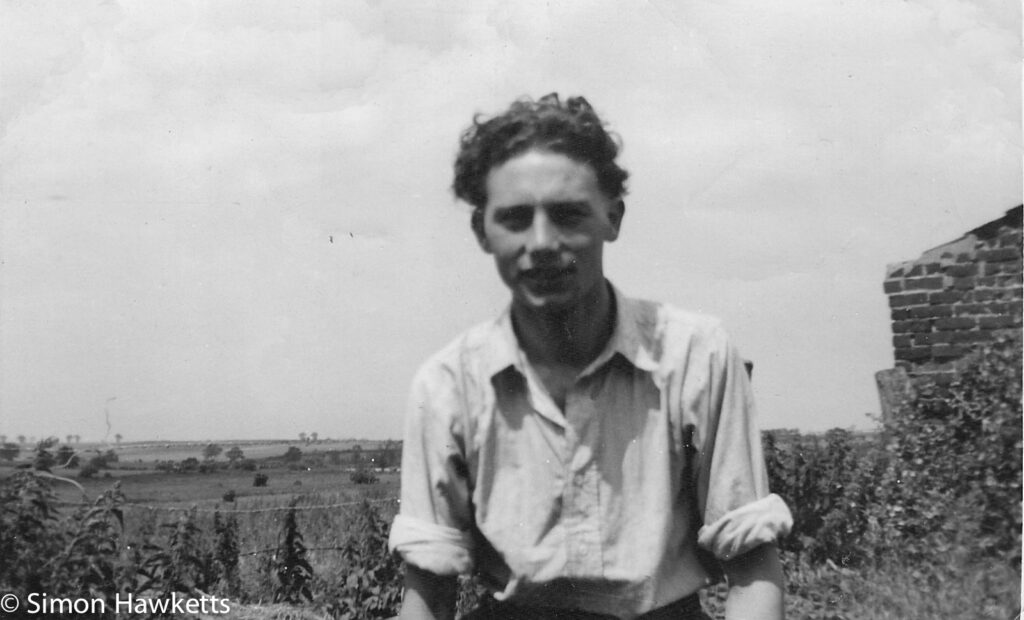
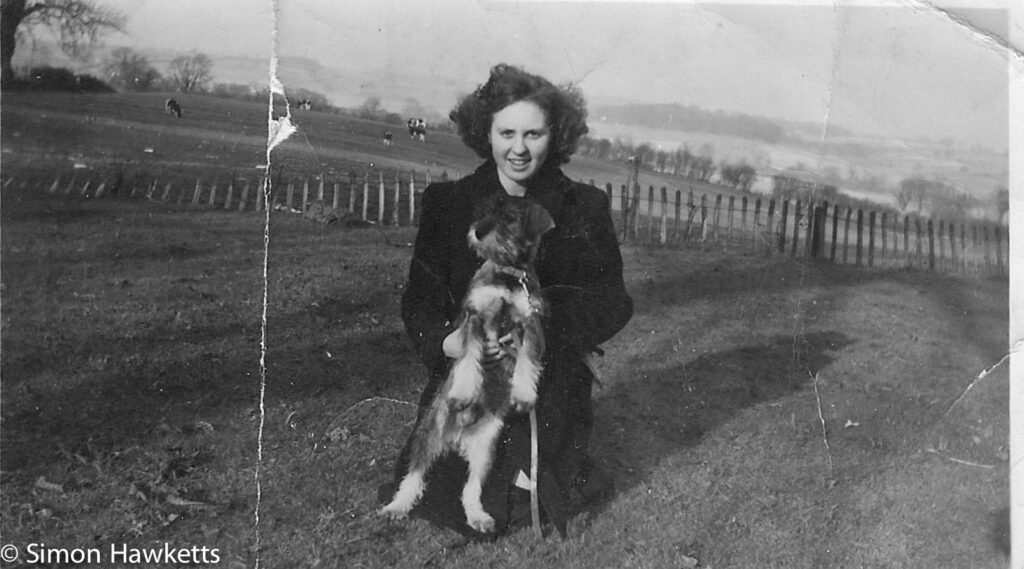
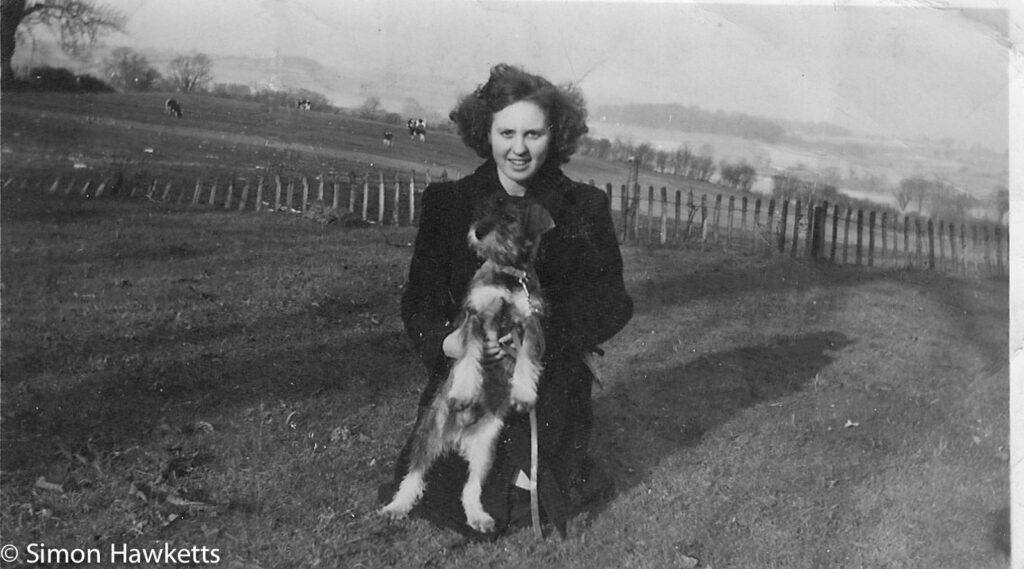
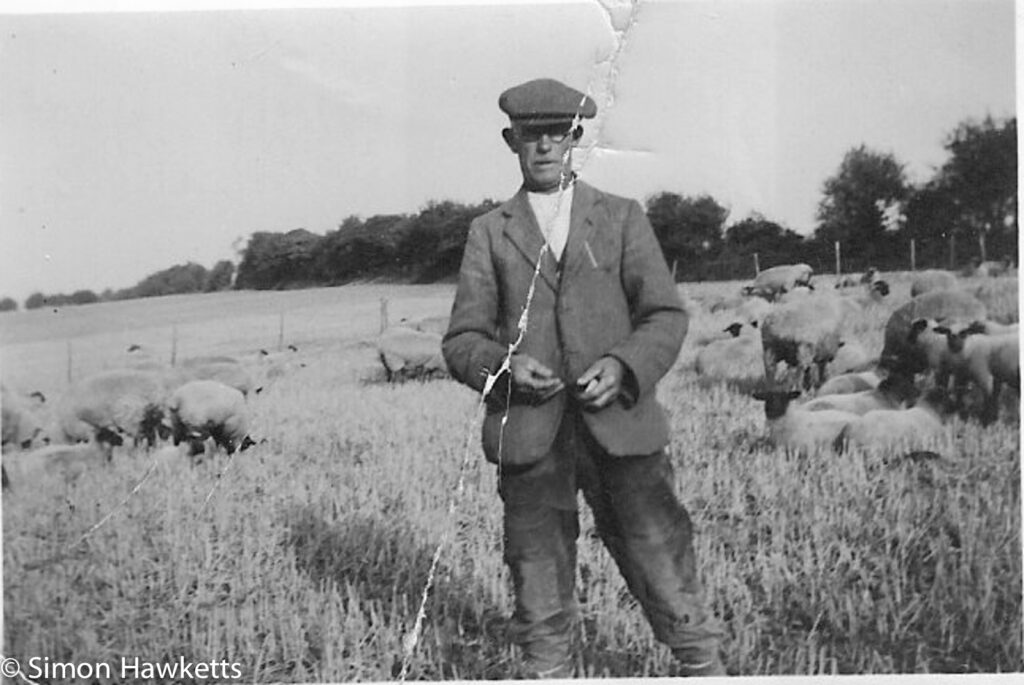
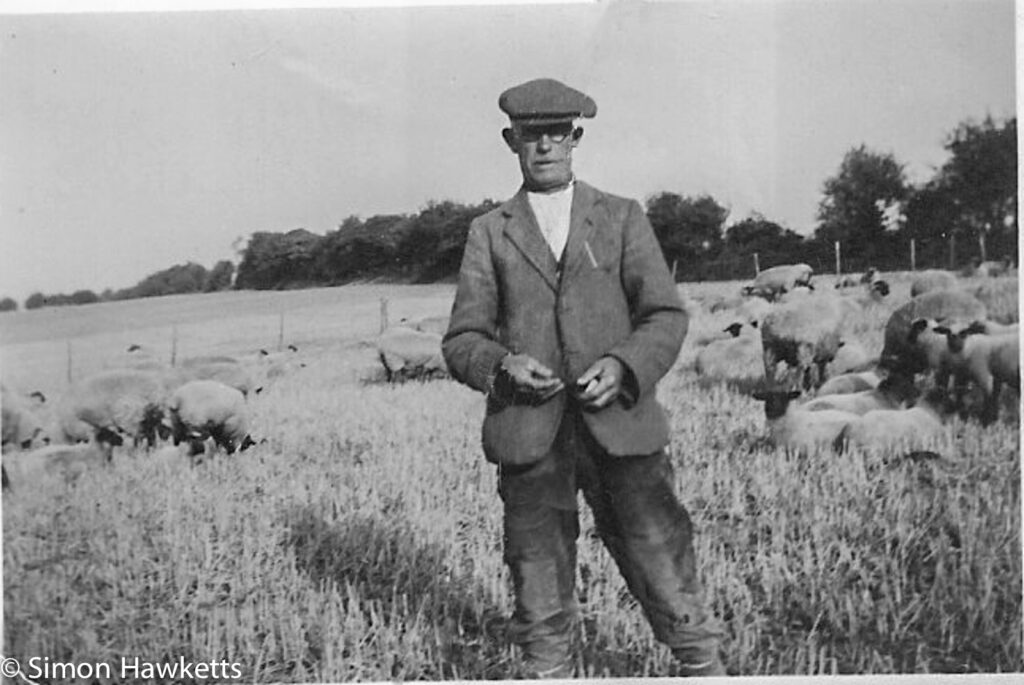
The general technique I used was as follows:
- Import the photo from the scanner as a TIFF image. I did this straight from the scanner in my case using the File->Import->Images from device option.
- Once imported I created a new layer so any changes I made could be removed if required.
- I then chose the Clone Stamp tool and set the tool size to be appropriate for the damage being worked on.
- I used a Wacom Tablet for the repair operation and I think this makes it easier once you get used to the operation with a pen rather than a mouse. For example it’s possible to adjust the level of the repair (the flow) by the pressure of the pen which becomes a natural operation once you are used to it.
- The clone stamp tool works by picking up a portion of the image from wherever you Option-Click and then blending it into the area you click and drag over. The technique to use is to make sure the area you choose is appropriate for the part of the picture you are trying to repair.
- One useful technique is to use is to option-click on the portion you want to use to do the repair and then hold the pen over the area to repair. You can then see how the repair will look before you commit yourself by pressing the pen nib down. I found this particularly useful on areas where there is a boundary between one part of the picture and another.
- When you select the area to use as the repair it is possible to align it or not. Basically align means the point you paint from will track the point you apply it. If the area is not aligned the selection will always come from the same point you originally chose.
I’m not an expert at using Photoshop, but I think I’ve made some pretty useful repairs in a fairly short amount of time.
Screen cast.
I recorded a quick screencast of me repairing one picture of me and my brother which was taken about 50 years ago and has some minor damage just to show the technique (I’m the smaller boy!).

