Epson v550 photo scanner first impressions.
This post is going to give my first impressions of the Epson V550 Photo scanner I’ve recently acquired.
Background
Over the last few months I’ve really got back into photography using film and thought it was time I got myself a scanner so I could experiment with digitising some of the pictures I’ve taken. Although we have an HP photosmart C8180 combined scanner, printer & copier it isn’t possible to control any aspect of the scanning – you just place the film in the holder and JPEG files get copied to an SD card. This works to an extent, but is no good with any negatives which aren’t perfectly exposed because the dark areas are then very noisy.
For the colour films I’ve exposed over the last few weeks I’ve been using a development service in Hull called Photo Express who do a really good job of developing and will also scan the films as well. Although they can produce TIFF files, the default is to produce JPEGs with TIFF files an extra £2, so I started to think about the cost of this. Scanning each film costs £4.50 when scanned as TIFF and the Epson v550 scanner is about £170 so would pay for itself after about 40 films, however that’s only part of the story.
At some time in the future, I want to get a medium format camera and will need some method for digitising the pictures. Also, I develop black & white film myself so having a scanner is useful for those situation as well, although I have used a slide duplicator in the past for that with reasonable success. Finally I still have a whole batch of colour slides and negative film which my Dad took in the past 50 years to digitise as well.
So, since it was my Birthday last week I put the Epson Perfection v550 on my Amazon wish list and hoped that it would turn up – and by the wonders of the Internet (and my wife) it did. These therefore are my first impressions of the scanner, the software and a few samples of scans with it.
Epson V550 Scanner description
The Epson Perfection v550 Photo is a flat bed scanner which is suppled with holders for 35mm film strips, 35mm slides and medium format film. It’s therefore possible to scan both pictures and film although the film holders seem quite flimsy. In fact, just after I’d received the scanner I did a quick search to see if replacements are available because I was worried they could be damaged. There are replacements, but at a price of about 20 Euro + shipping I think I need to be careful to keep the ones supplied in good condition!
One of the features I liked, and the main reason I thought the v550 would be good, was the ability to carry out an Infra Red scan which is supposed to find scratches and dust on the negatives and allow them to be eliminated from the final scan. This is important if it works because a lot of the slides and film of my Dad’s has not been looked after and is in a pretty mucky state. Every blemish removed by the scanning process is a bit less work to do in Photoshop later.
In use I’ve found the scanner to be remarkably quiet – it’s easy to have it running while you are doing something else on the computer because it is so quiet. For the record I’m running a 2011 iMac with 12G ram and found the installation process to be easy and straightforward.
Epson V550 Results
The thing I was initially interested in was whether the scans produced would be good enough to be used in place of the results I’m getting from the lab. I have to say that I’m amazed at how good the unit is.
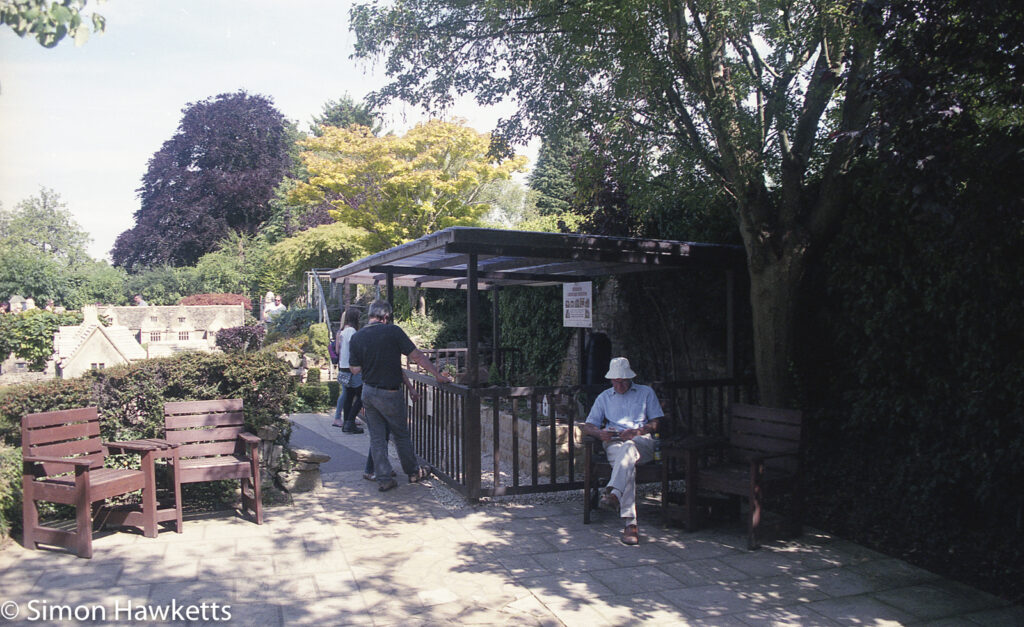
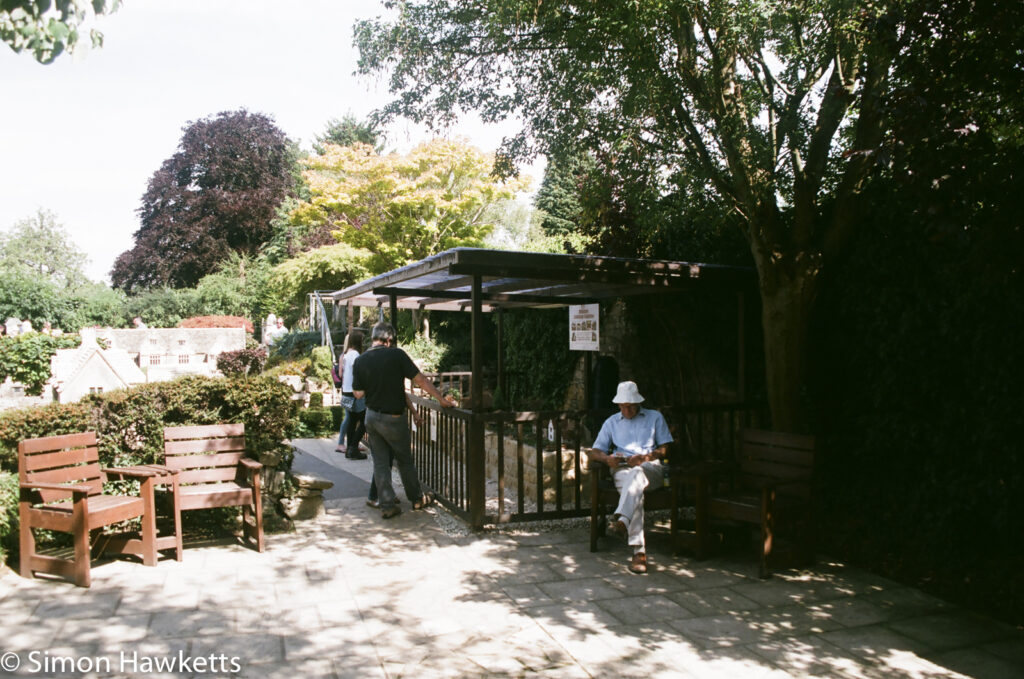
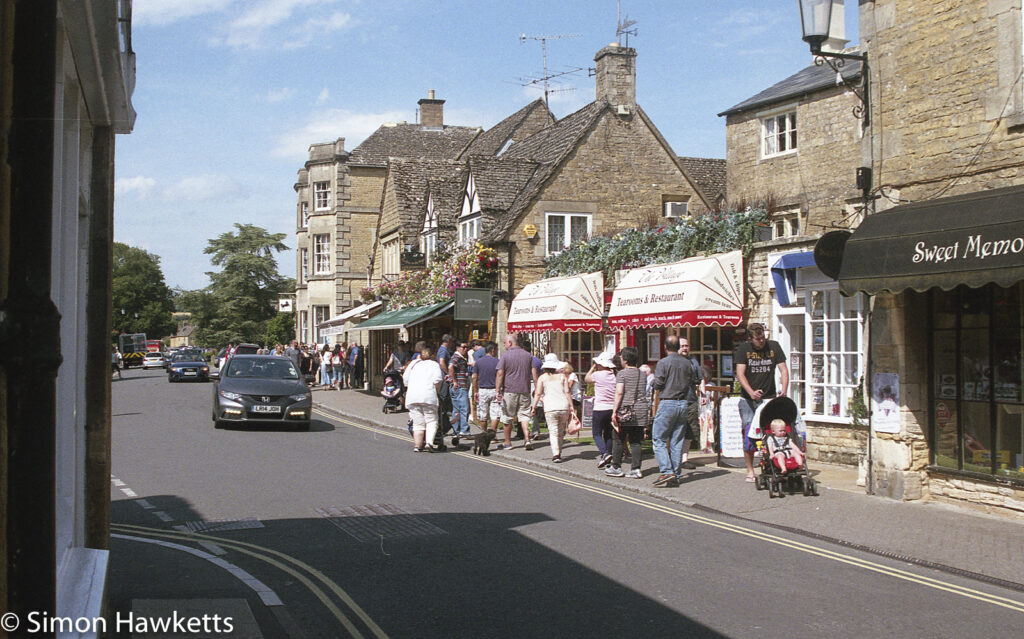
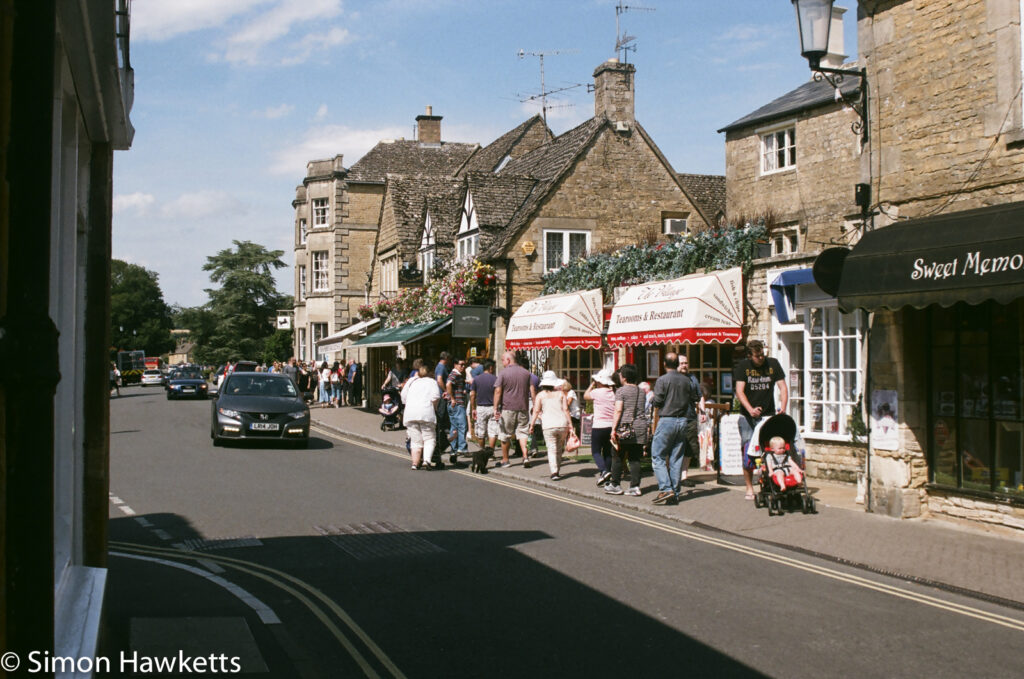
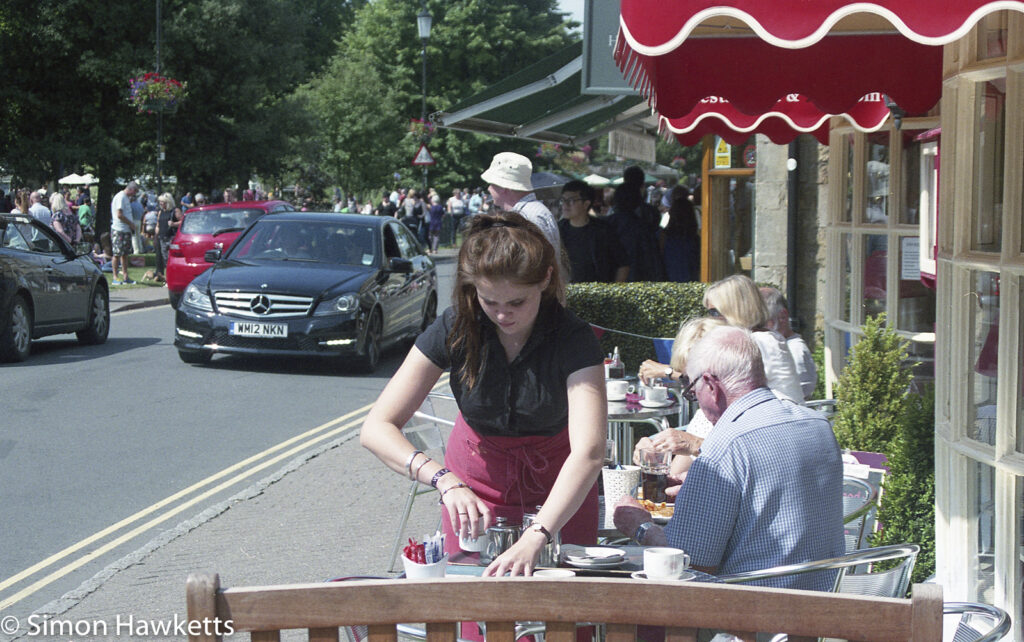
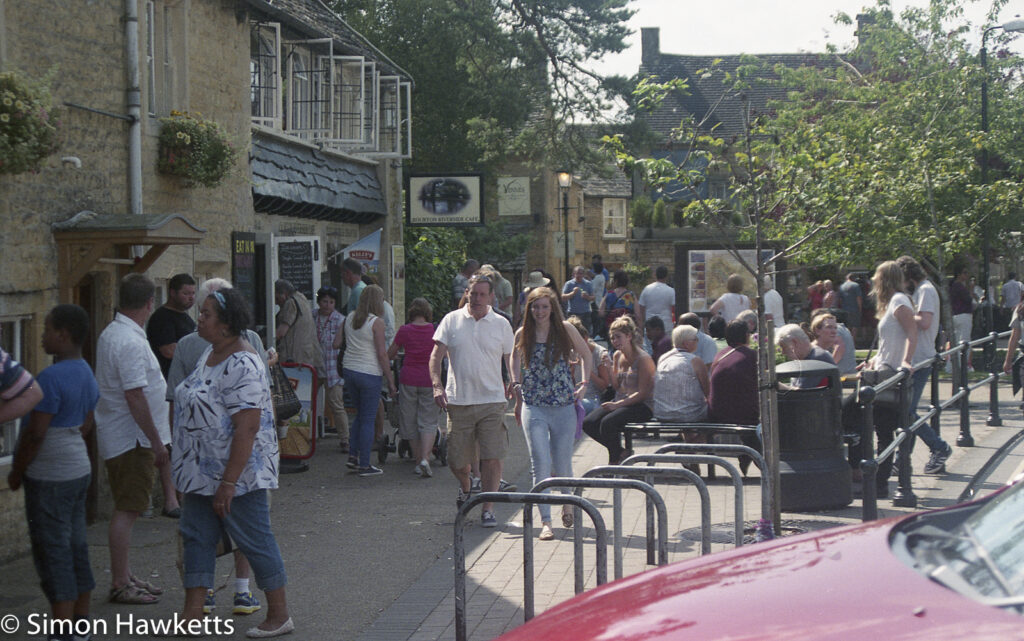
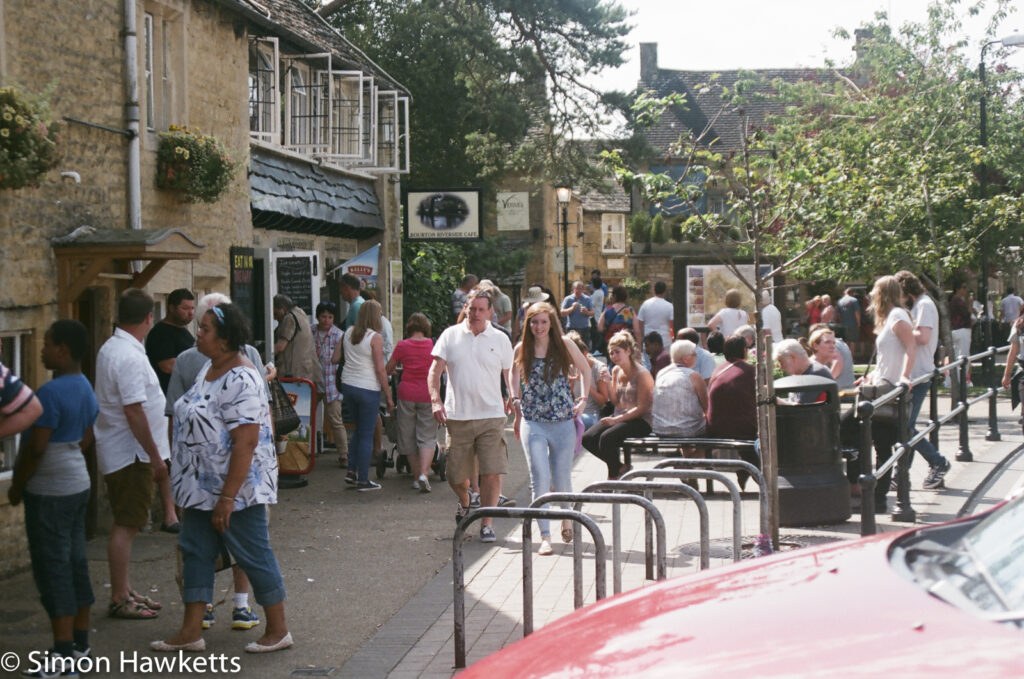
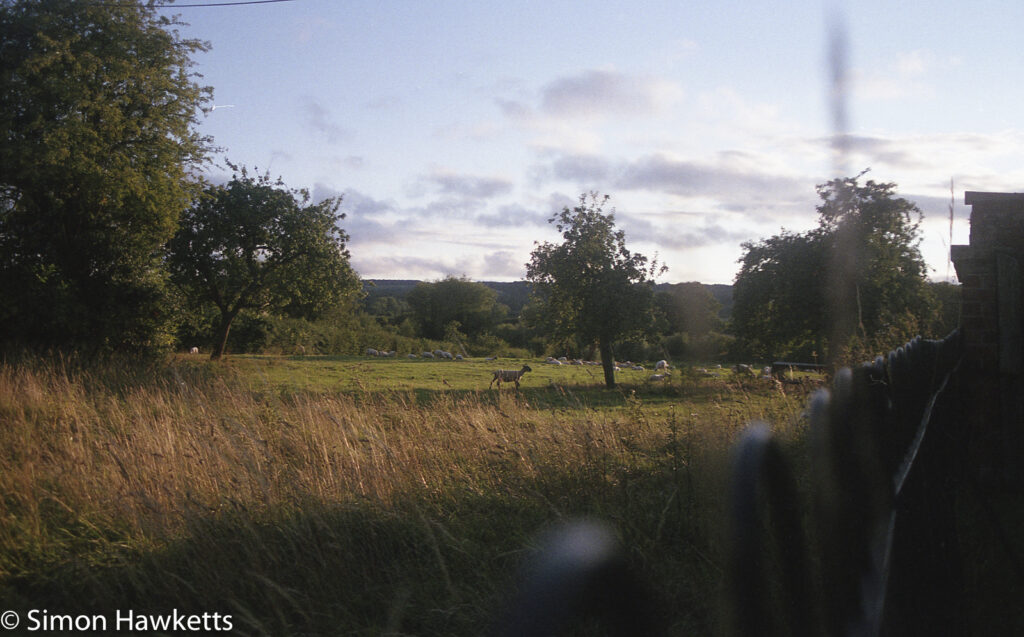
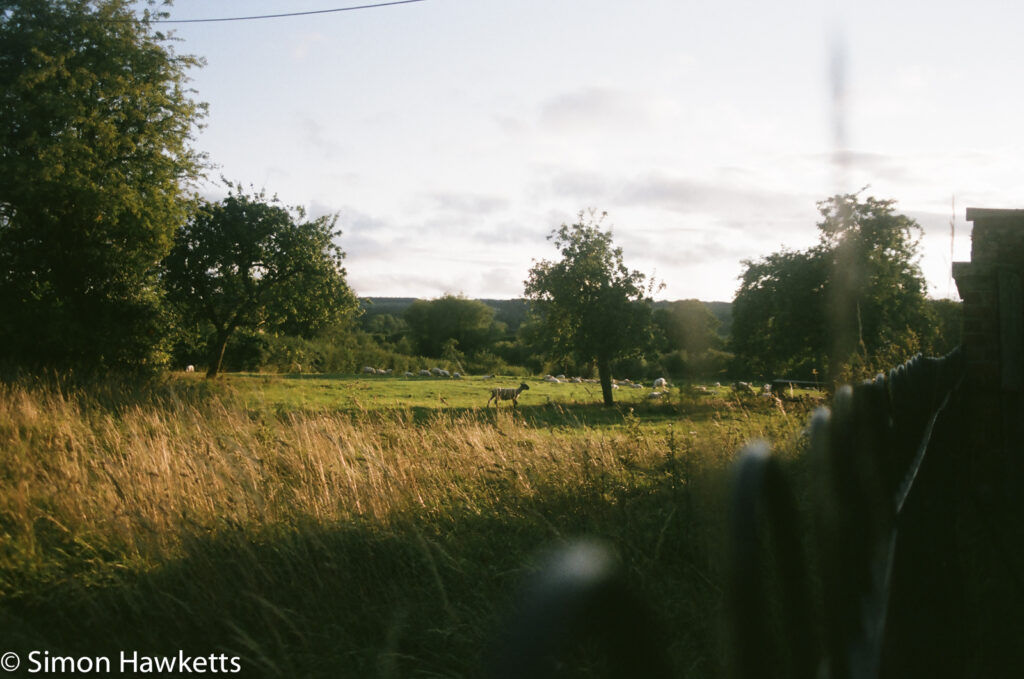
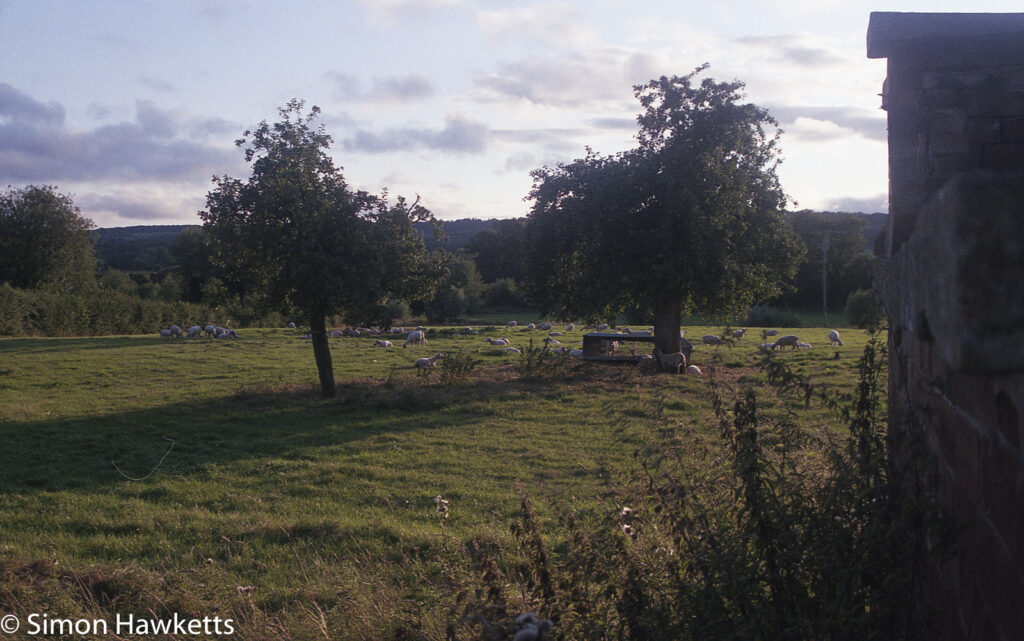
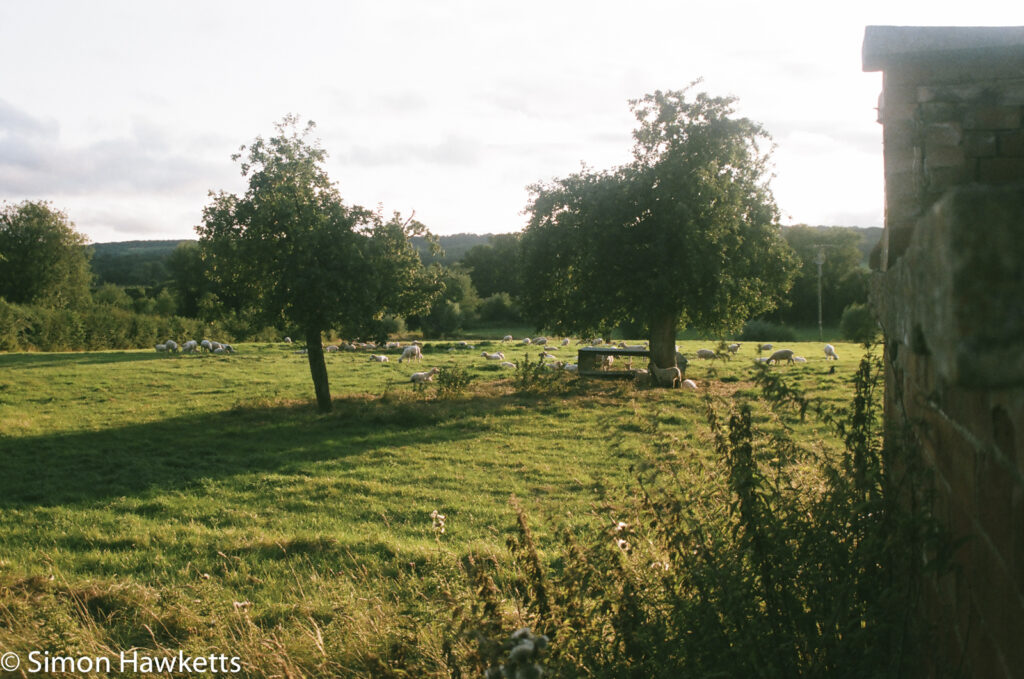
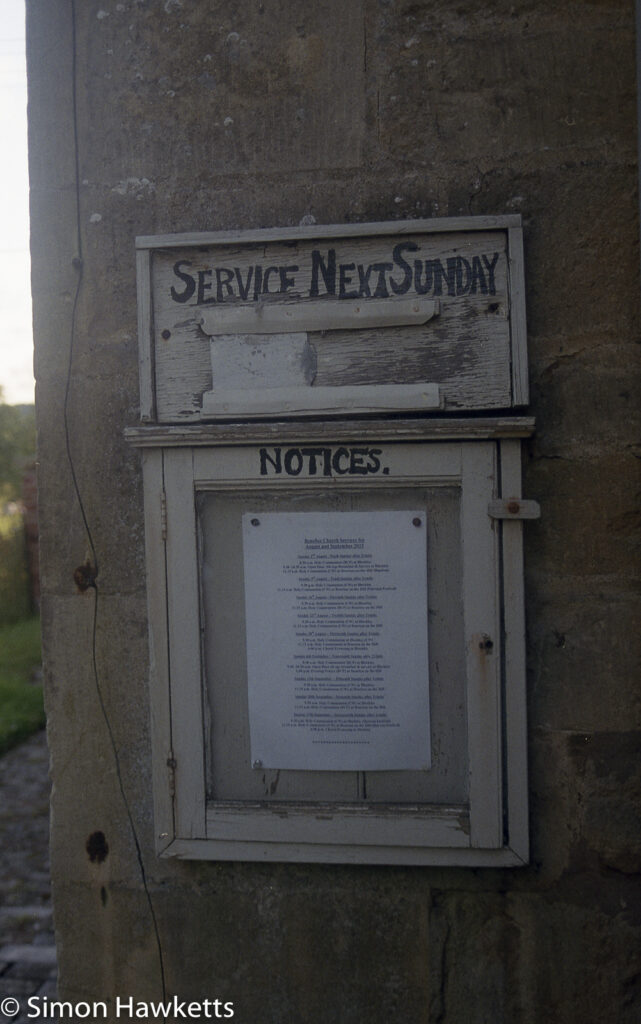
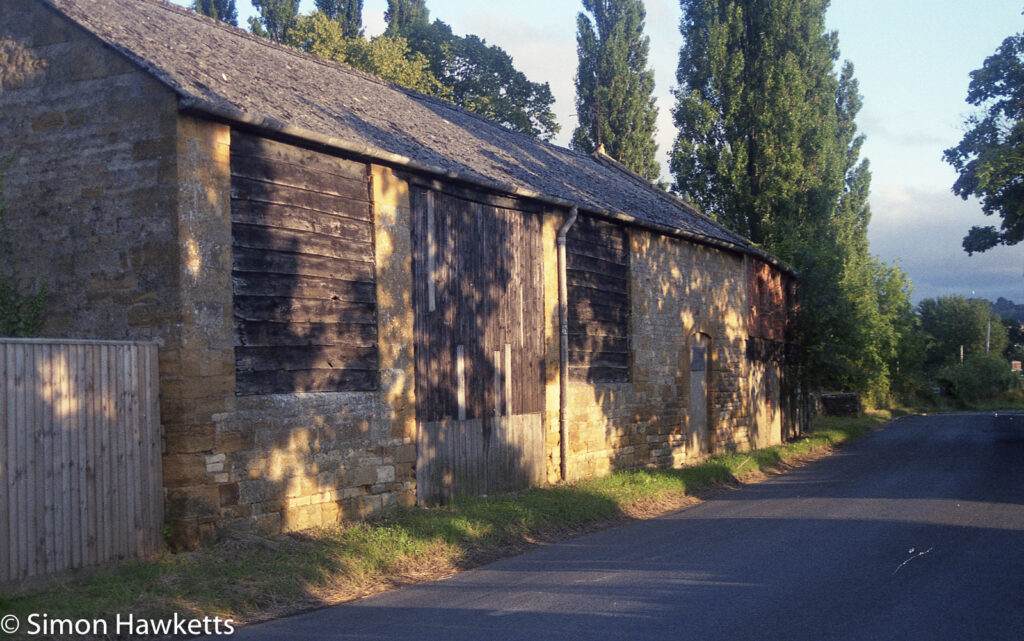
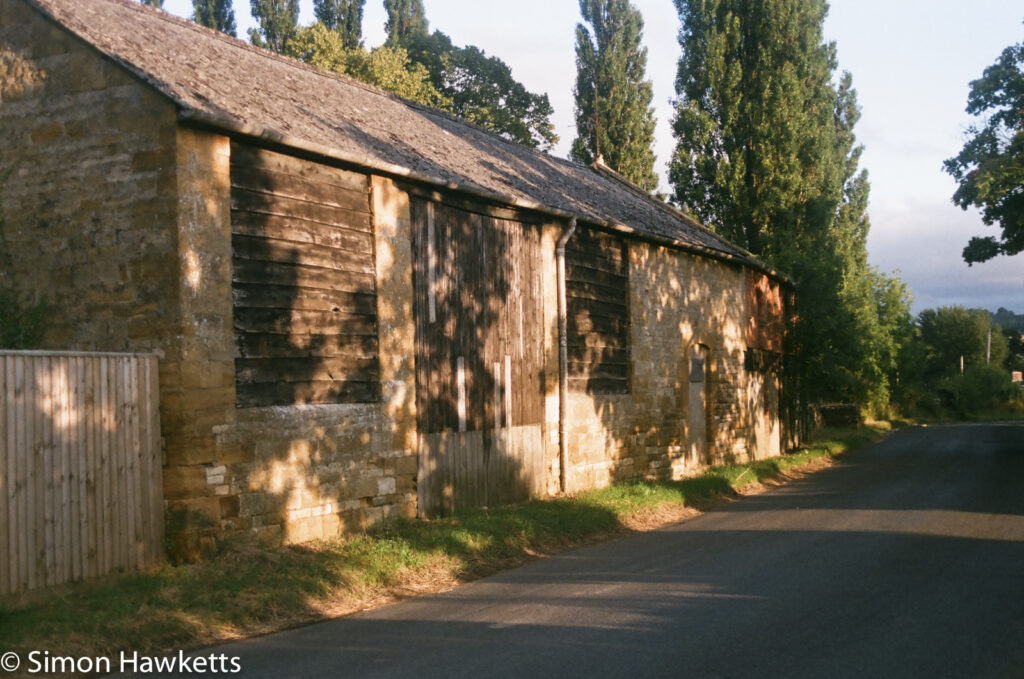
The results below are taken from a set of negatives I recently shot using my Pentax SFX-n whilst we were on holiday in Gloucestershire. I’ve scanned the negatives in TIFF format and then taken a JPEG copy of the file just after import into Lightroom. I then did exactly the same with the files I already had from the scans the lab supplied (which were also scanned in TIFF format).
In the gallery below the first image in every case is from the v550 and the second is from the lab. I guess all these type tests are subjective, but in my view the first file shows more detail in shadow areas and the highlights are less blown, although the colours are slightly more muted. I’ve also found that the default scan area using the epson software is slightly cropped. I would recommend looking at these pictures in full screen to properly gauge the scans yourself.

Epson Scan software
The epson scan software is supplied with the scanner and is easy enough to use to scan both negatives and slides. I’ve also looked as a couple of alternatives called VueScan and Silverfast and downloaded some demo versions of those.
At the moment I’ve found the IR scanning to not work very well using the default Epson software but have found it to be more successful using VueScan. The Silverfast software has not been terribly successful on my Mac because it has crashed when making a second scan to reduce noise. I’ve going to carry on experimenting with all the software packages now I know that the scanner itself is capable of good results.
Update:
As it happens in the end I purchased a copy of the SilverFast software to control this scanner and I’ve found it to be streets ahead of the original Epson software.



[…] 35mm shots were developed by Photo Express in Hull and also scanned by them, although following the success I’ve had with home scanned negatives, I may rescan some of my favourite pictures myself later. All the pictures were imported into […]
[…] film I shot with this camera back from the development lab. Because I’ve recently acquired an epson v550 perfection scanner, I didn’t have these negatives scanned during development, but scanned them myself […]
[…] scanned the negatives with an Epson V550 flat bed scanner using 16 bit greyscale and 3200 dpi settings. Every other option on the scanner software was […]
[…] scanned the negatives with an Epson V550 flat bed scanner using 16 bit greyscale and 3200 dpi settings. Every other option on the scanner software was […]
[…] or a Minolta Dynax 505si loaded with Fuji Superia Xtra 400. The negatives were scanned using an Epson V550 photo scanner and both the scans and digital pictures were post processed in […]
[…] FP4+ which was exposed at the box speed of 125 ASA. The resulting negatives were then scanned on my Epson V550 perfection scanner as 48 bit colour scans and converted to black & white in […]
[…] the film was washed and dried I cut it into 4 strips of 3 negatives and scanned them on an Epson V550 perfection scanner in 48 bit depth as black and white negatives. I turned off all the automatic features that the […]
[…] scanned the film using my Epson V550 flat bed scanner using a resolution of 3200 dpi and turned off all the auto options at the scanning stage, […]
[…] The film was developed using the digibase C-41 pre-diluted kit and the negatives scanned with an Epson V550 perfection photo scanner. The resulting scans were imported into Lightroom where I used my normal workflow for […]
[…] for the record, the film was scanned with an Epson V550 perfection scanner as TIFF files, imported into Lightoom CC and just had some exposure correction applied, some […]
[…] in a lab because my digibase C41 kit is exhausted, but I scanned the negatives myself using an Epson perfection V550. Post processing was carried out in Lightroom and consisted mostly of tweaking the exposure and […]
[…] really high grade scanner to convert the film to a digital image. I actually scan the film with an Epson V550 perfection scanner, which is the cheapest and simplest scanner Epson make, and use a copy of SilverFast to control it. […]
[…] for another 7 minutes. Once the film had been washed and was dry, I scanned the negatives on an Epson V550 perfection scanner using Silverfast […]
[…] shot of my daughter Emma, this was developed in Rodinal at 1 to 25 concentration and scanned with an Epson V550 Perfection […]
[…] This is the walkway leading to the main part of the ‘village’ at the Crich Tramway museum which we visited last week. As with the pictures I published earlier, this picture was taken with a Pentax MZ-3 autofocus 35mm slr on HP5+ film developed in Rodinal and scanned with an Epson V550 Perfection scanner. […]
[…] pictures above were scanned on an Epson V550 Perfection scanner as TIFF files and were imported into Lightroom where they had minimal tweaks before […]
[…] I received the negatives I scanned them on an Epson V550 Perfection scanner with SilverFast and imported them into Lightroom as TIFF files. In Lightroom I did a bit of […]
[…] few pictures on that day, and the favourites are shown below. The film pictures were scanned on an Epson V550 Perfection scanner and then imported into Lightroom, along with the digital pictures from the […]
I have a Canon 9000 Mk2 flatbed scanner with its own software, but I have used the pro version of Vuescan for over ten years, with regular software upgrades free. The Canon software I only use for slides and the results are always good.. I have tried the Epson software before and find it easier and better to use than Canon, although the Canon output is better quality…..
Best of luck with your Chinese problem – is there a better machine elsewhere ?
mike
Unfortunately, there isn’t another 8mm film scanner available – or at least there isn’t another one which isn’t the same one with a different makers name attached.
[…] for another 7 minutes. Once the film had been washed and was dry, I scanned the negatives on an Epson V550 perfection scanner using Silverfast […]
[…] these pictures were scanned on an Epson V550 perfection and imported to Lightroom for (minimal) post […]
[…] the film was washed and dried I cut it into 4 strips of 3 negatives and scanned them on an Epson V550 perfection scanner in 48 bit depth as black and white negatives. I turned off all the automatic features that the […]
[…] scanned the negatives with an Epson V550 flat bed scanner using 16 bit greyscale and 3200 dpi settings. Every other option on the scanner software was […]
[…] pictures above were scanned on an Epson V550 Perfection scanner as TIFF files and were imported into Lightroom where they had minimal tweaks before […]
[…] for the record, the film was scanned with an Epson V550 perfection scanner as TIFF files, imported into Lightoom CC and just had some exposure correction applied, some […]
[…] The film was developed using the digibase C-41 pre-diluted kit and the negatives scanned with an Epson V550 perfection photo scanner. The resulting scans were imported into Lightroom where I used my normal workflow for […]
[…] film I shot with this camera back from the development lab. Because I’ve recently acquired an epson v550 perfection scanner, I didn’t have these negatives scanned during development, but scanned them myself instead. […]
[…] few pictures on that day, and the favourites are shown below. The film pictures were scanned on an Epson V550 Perfection scanner and then imported into Lightroom, along with the digital pictures from the […]
[…] hung up and was fully dried, I cut it into sections and scanned the resulting negatives using an Epson V550 Photo scanner. The results, after import into Lightroom and a bit of post processing, are shown above. In […]
[…] I received the negatives I scanned them on an Epson V550 Perfection scanner with SilverFast and imported them into Lightroom as TIFF files. In Lightroom I did a bit of […]
[…] in a lab because my digibase C41 kit is exhausted, but I scanned the negatives myself using an Epson perfection V550. Post processing was carried out in Lightroom and consisted mostly of tweaking the exposure and […]
[…] the film had properly dried I cut it into strips and then scanned it on my Epson V550 photo scanner and imported the results into Lightroom. In terms of post processing I found that I only had to do […]
[…] FP4+ which was exposed at the box speed of 125 ASA. The resulting negatives were then scanned on my Epson V550 perfection scanner as 48 bit colour scans and converted to black & white in […]