Disappointing results using the digibase C41 kit – part 3
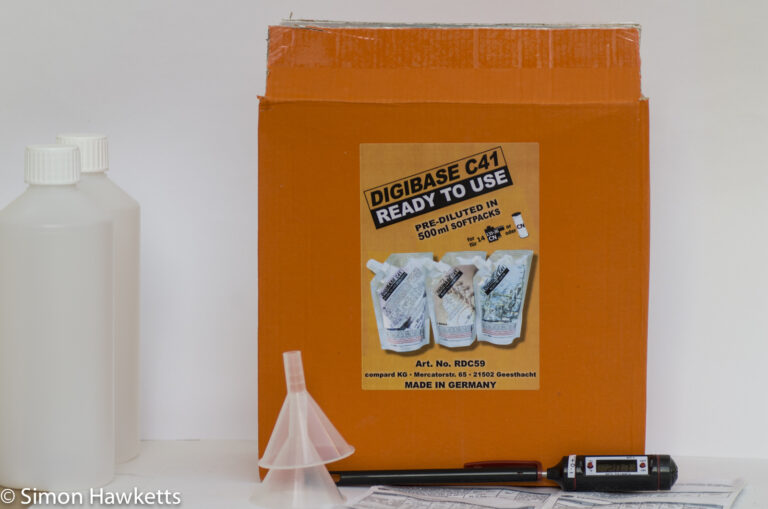
This is third and final part of my series on home developing of colour negative film using the digibase C41 kit. In this part I’m going to describe the scanning, final results and look at possible ways I can improve the process for next time.
Digibase C41 Kit Results
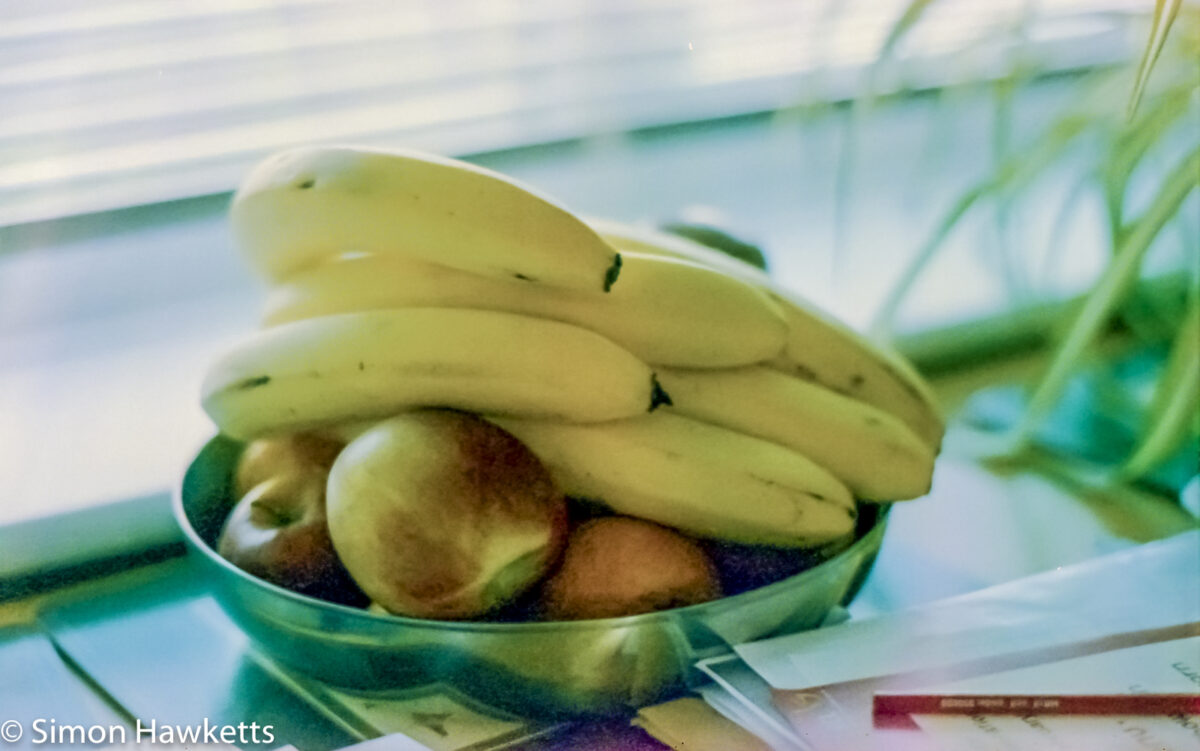
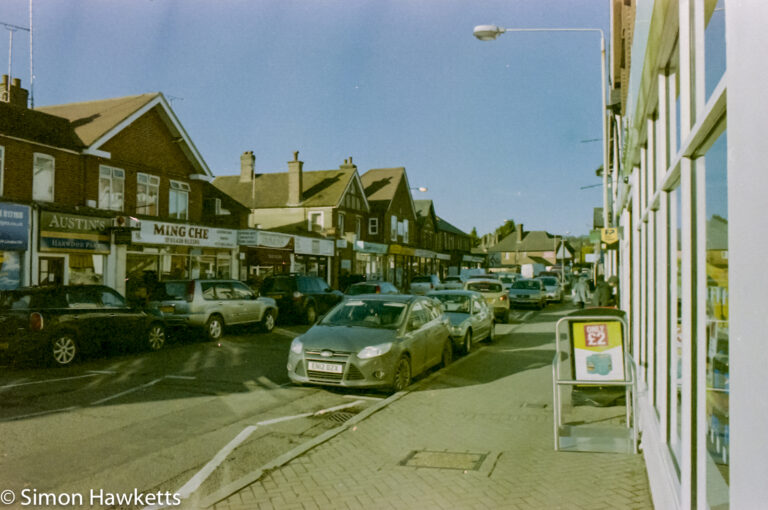
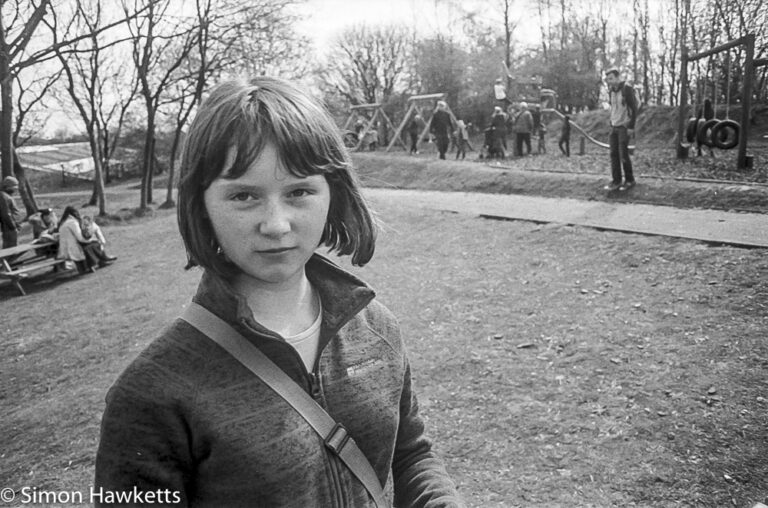
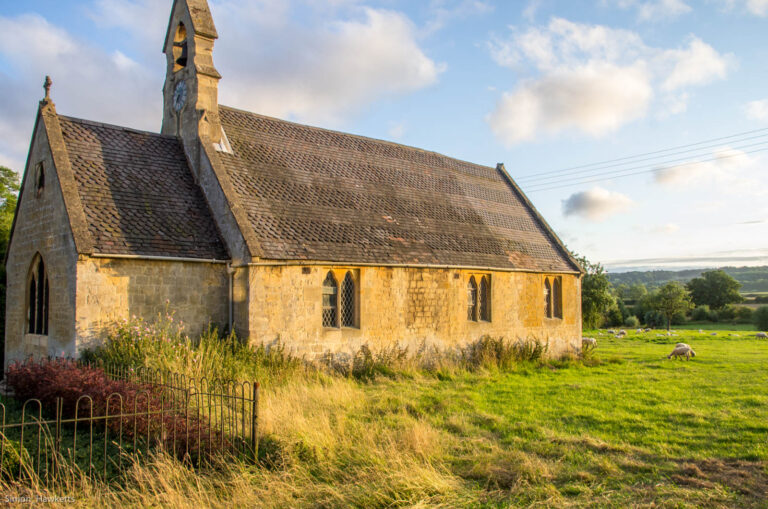
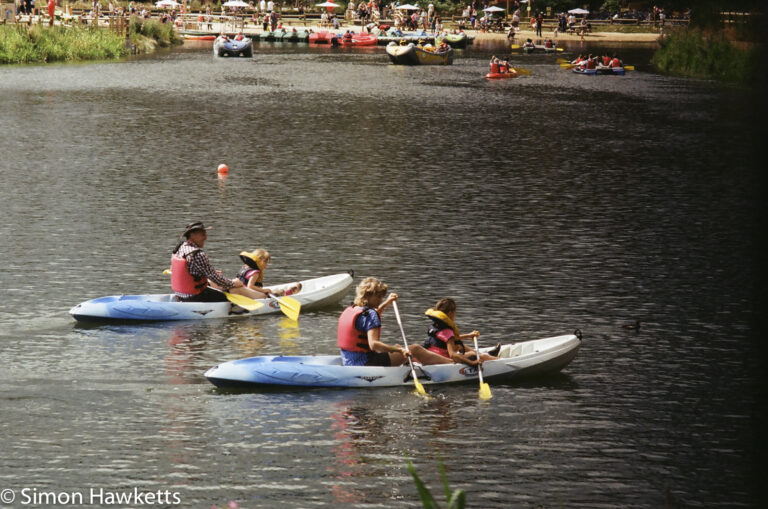
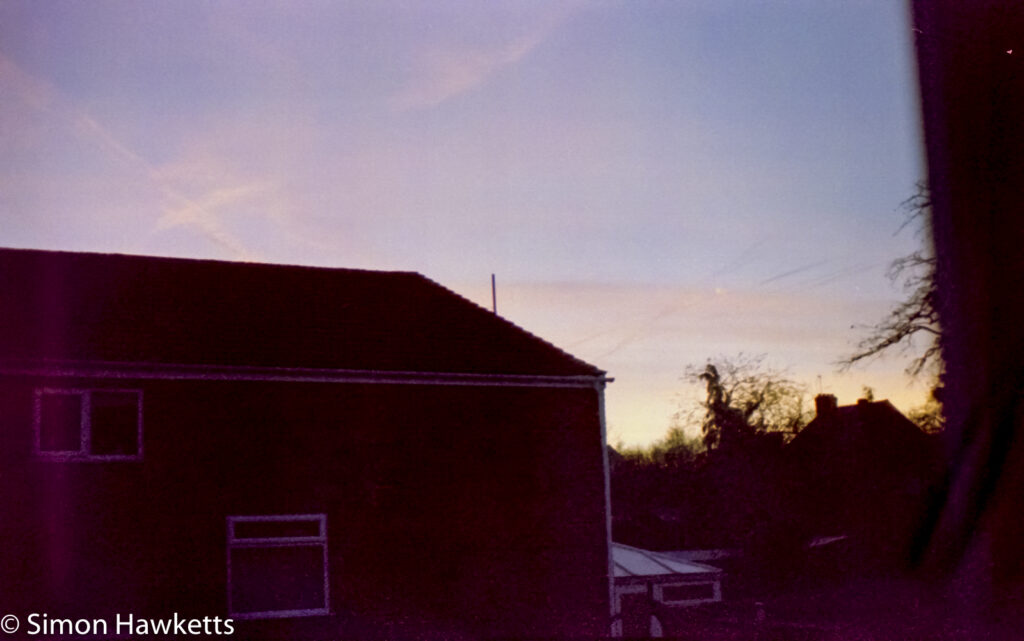
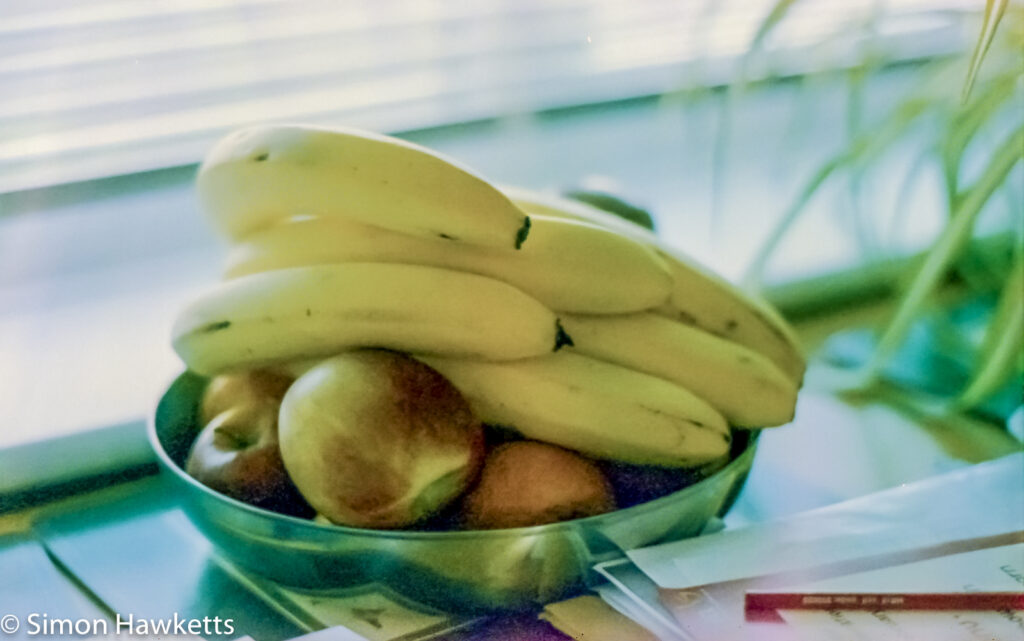
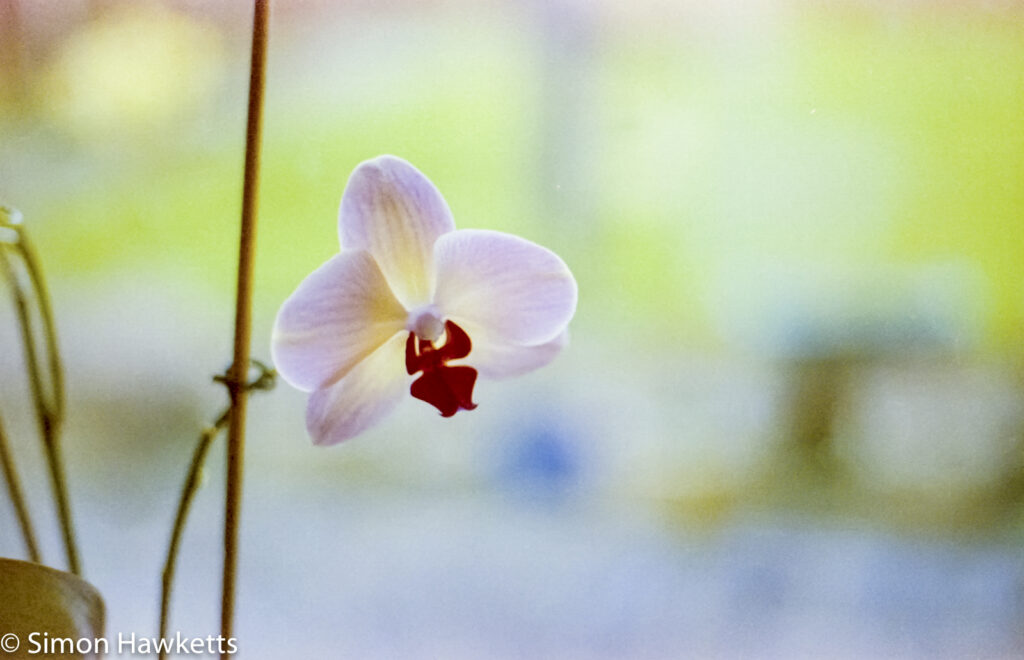
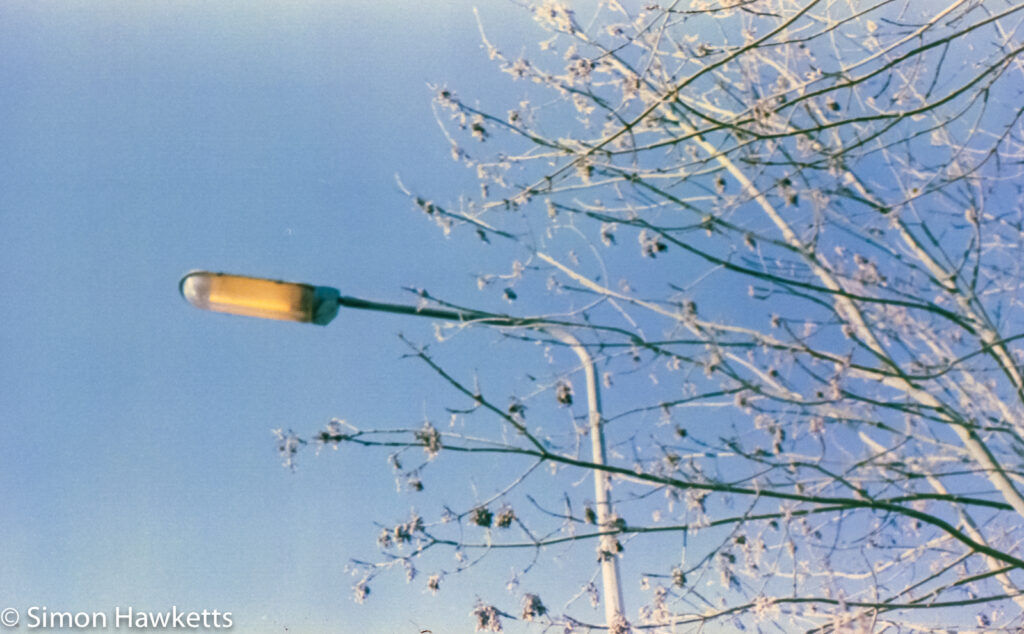
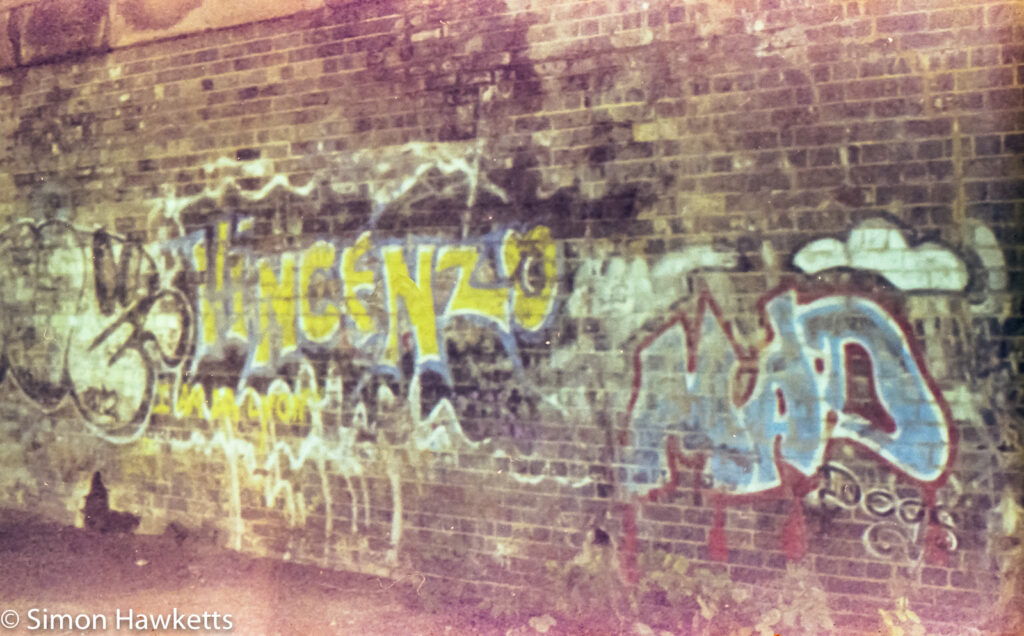
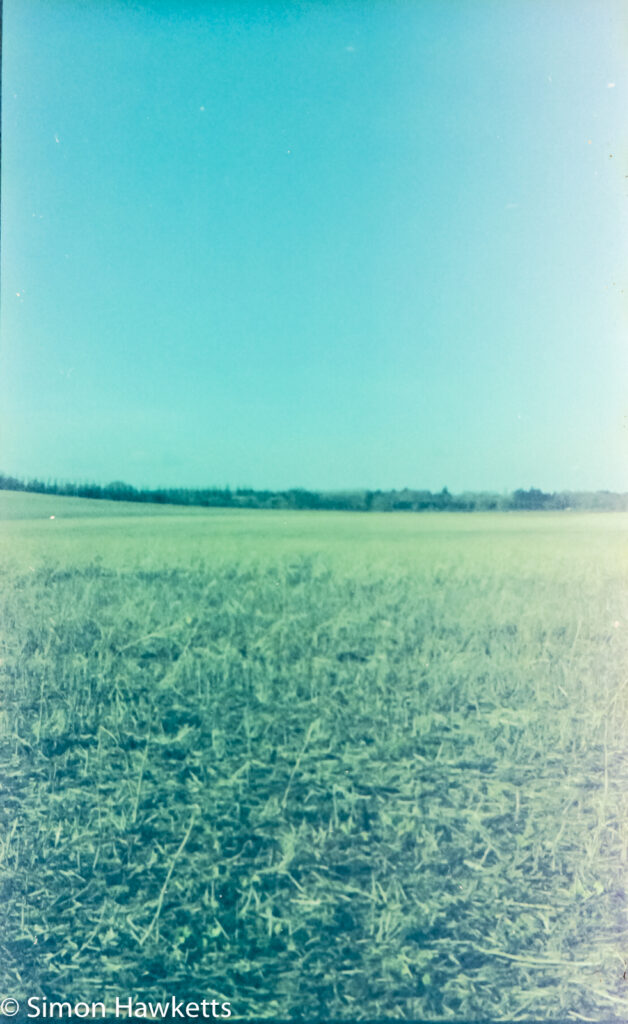
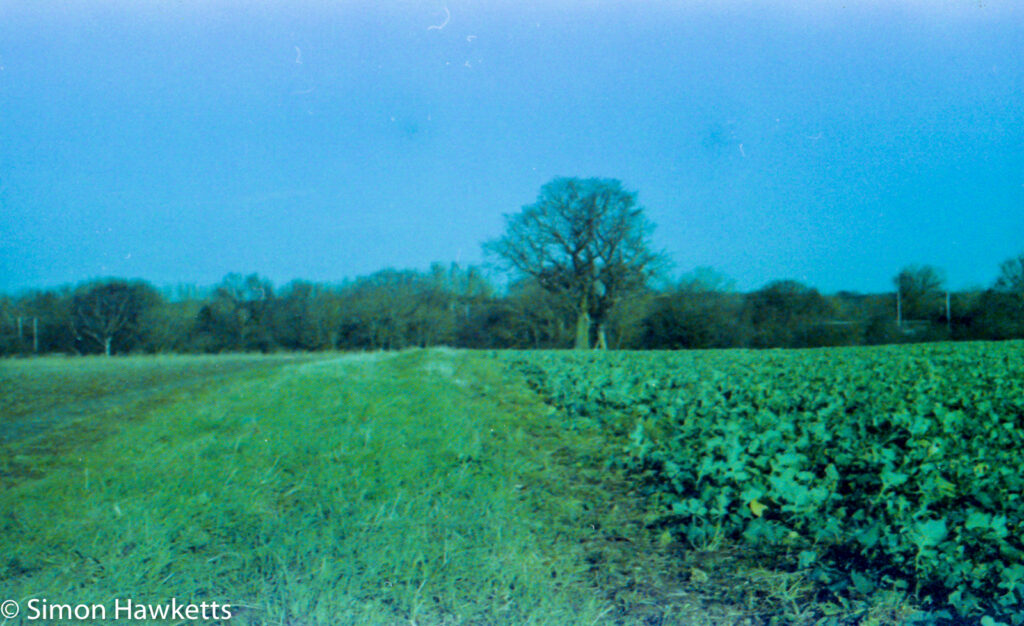
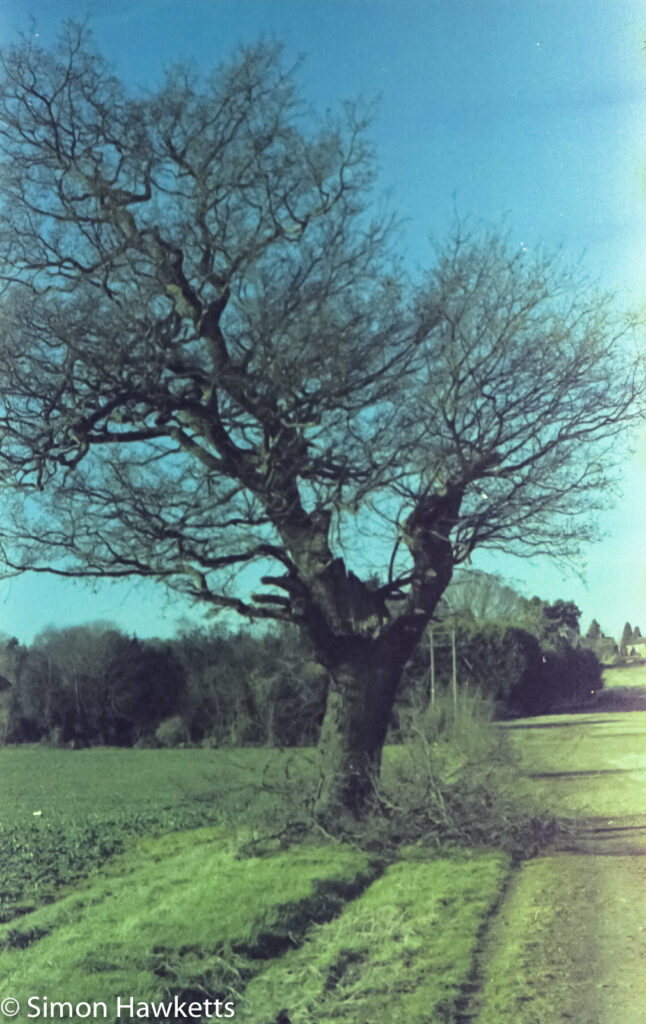
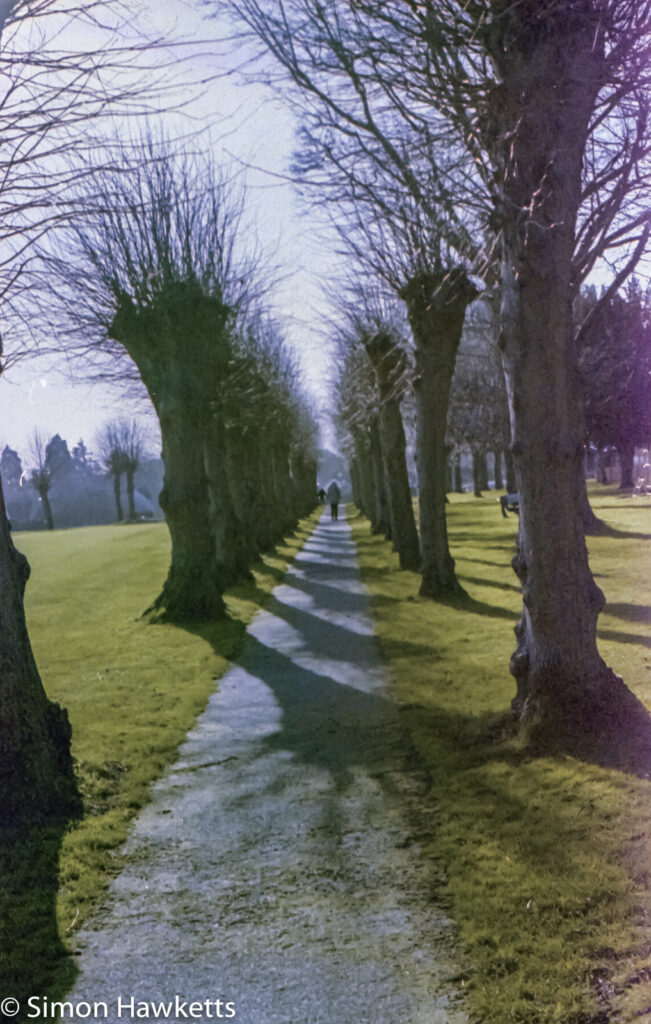
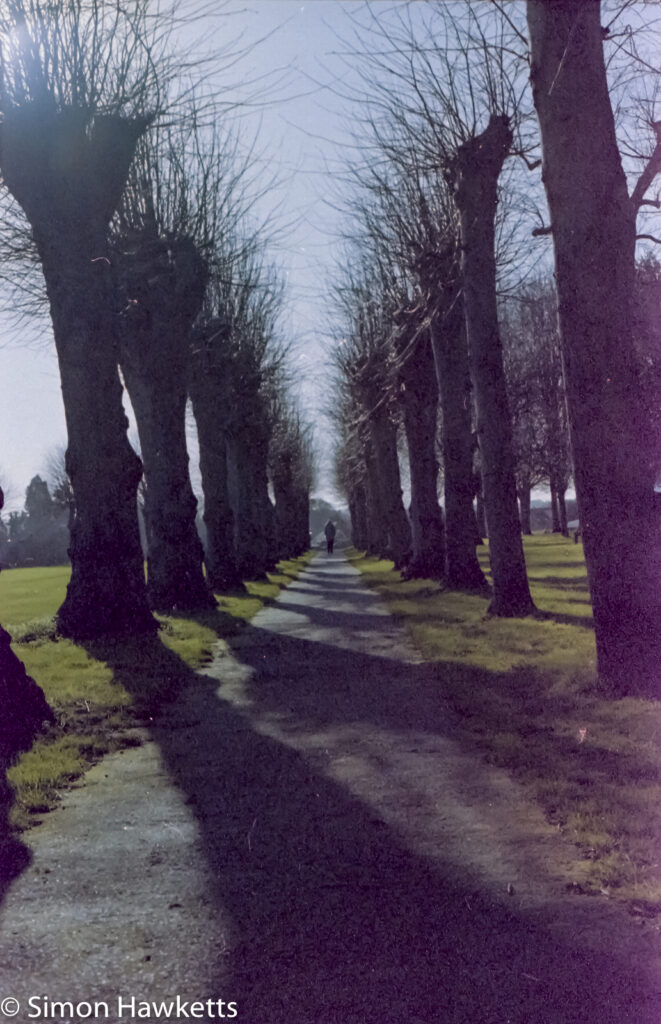
First, here are the results I obtained from the Digibase C41 kit.
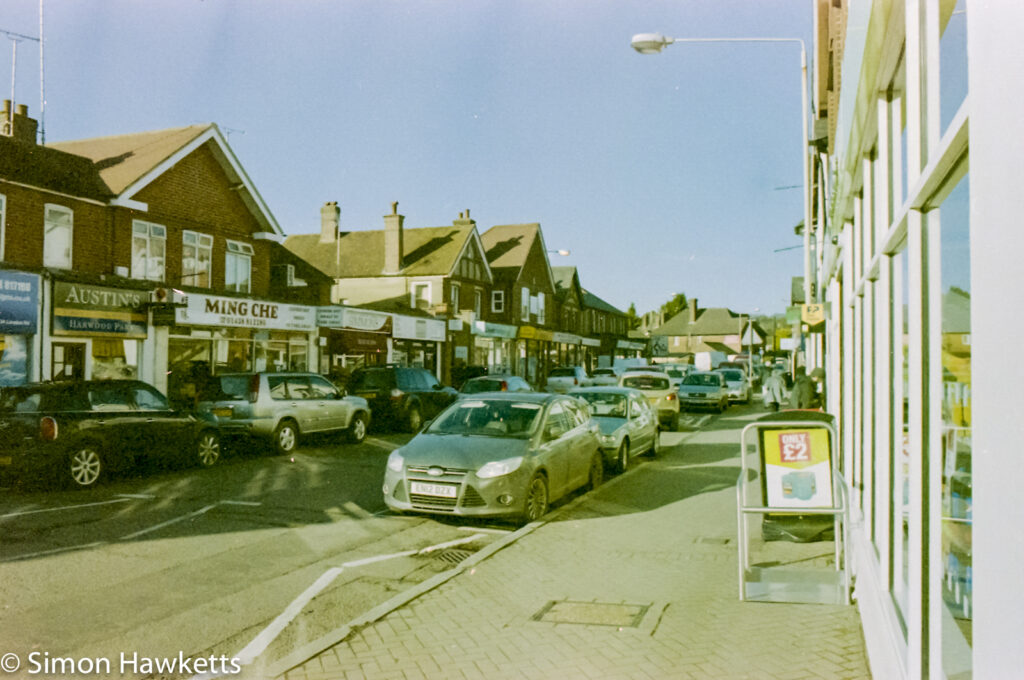
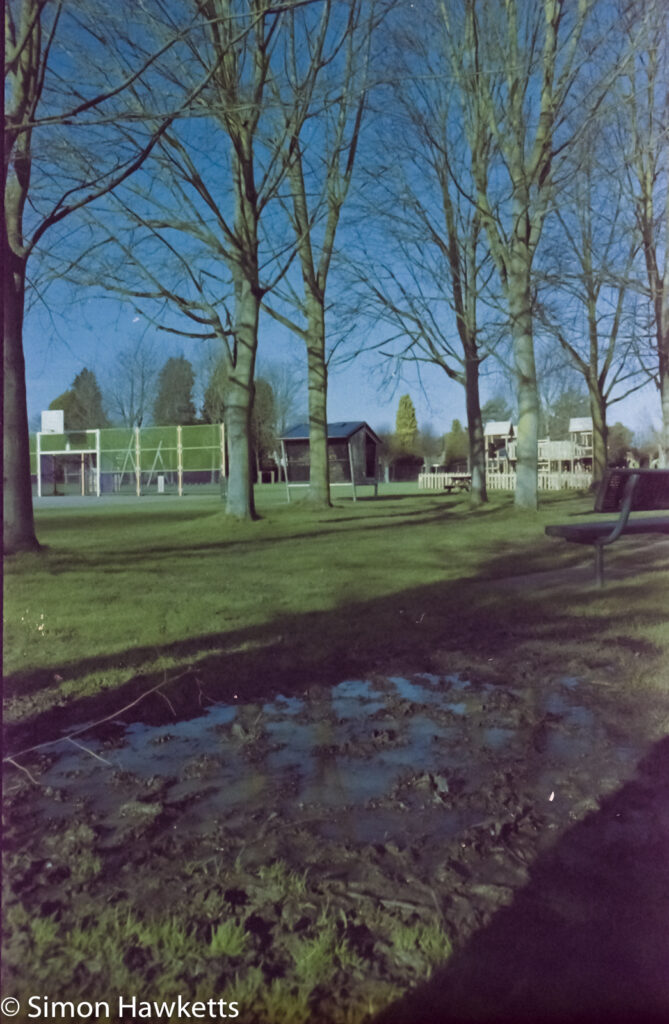
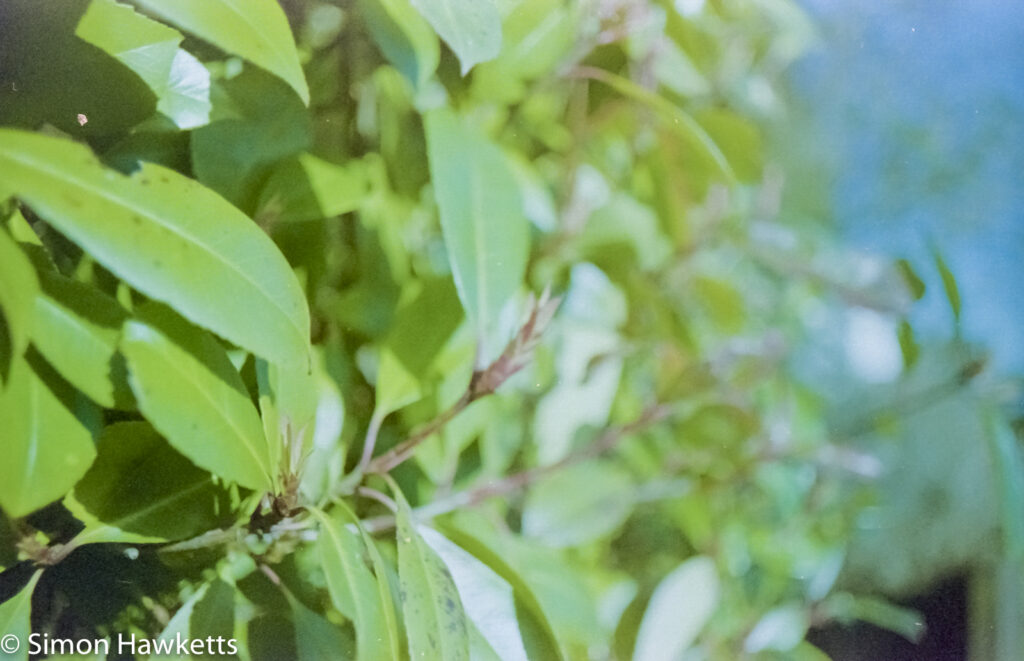
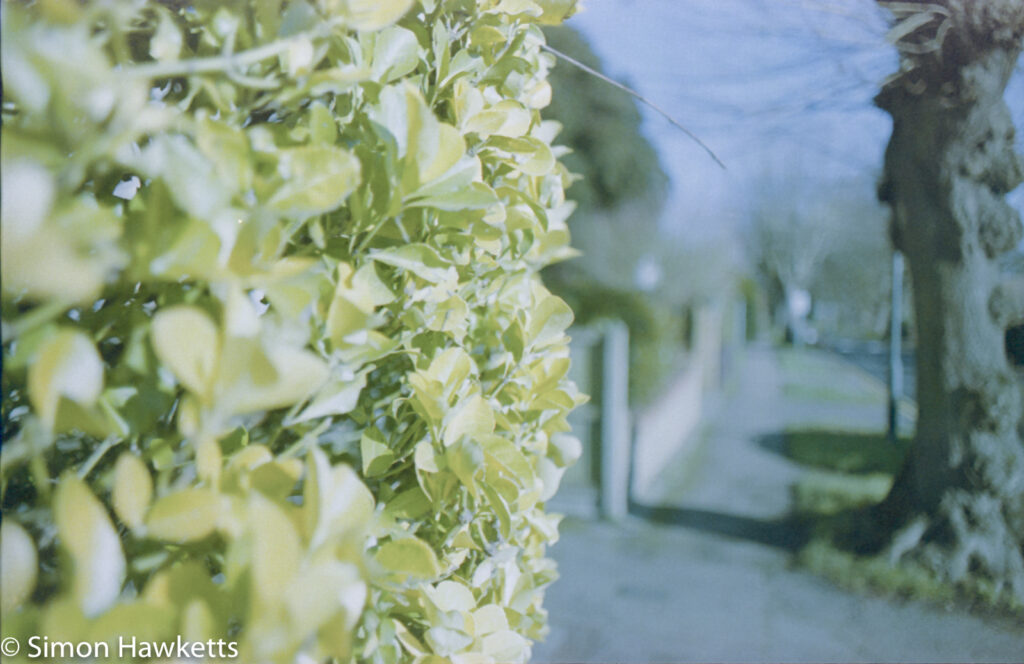
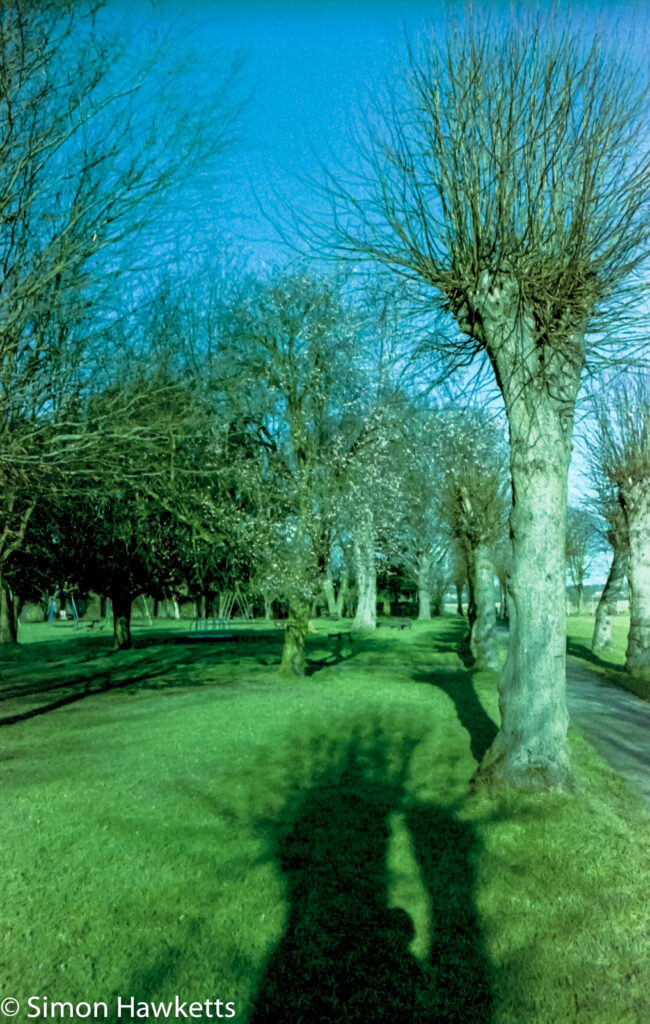
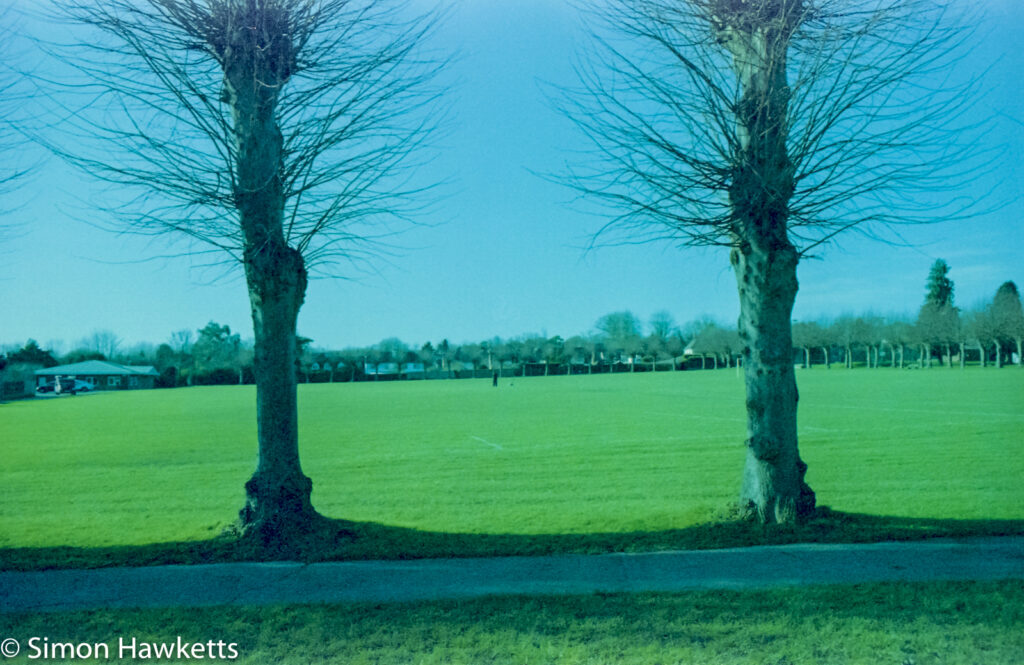
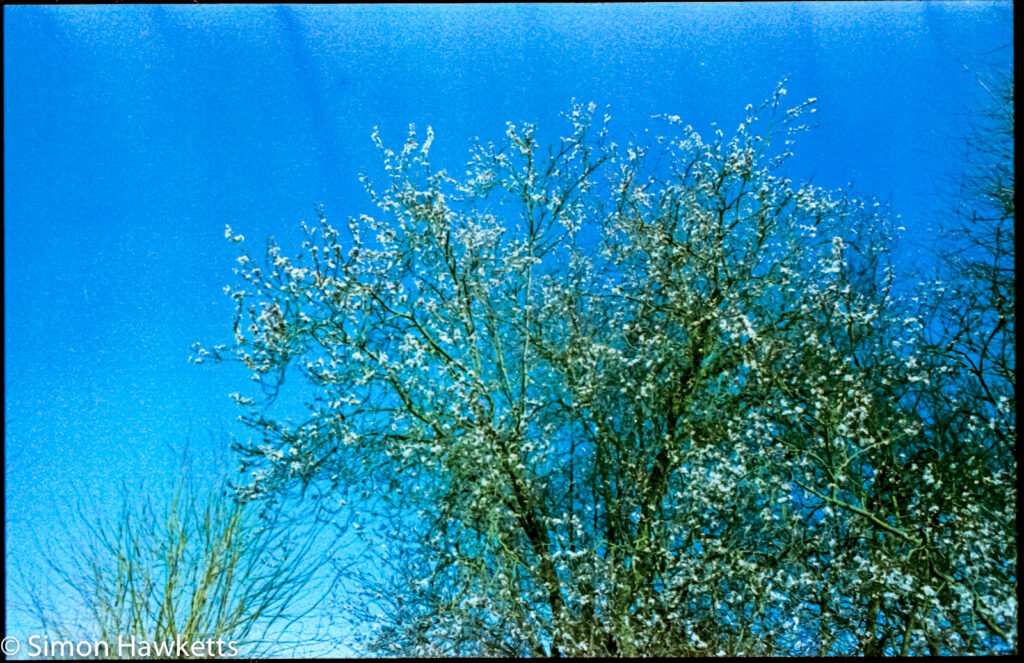
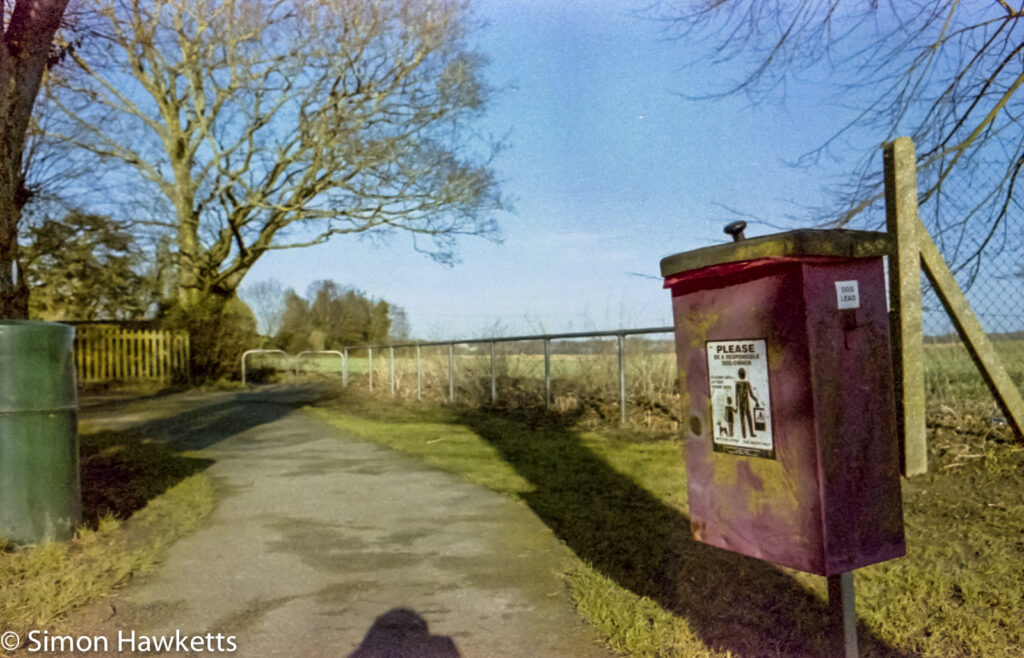
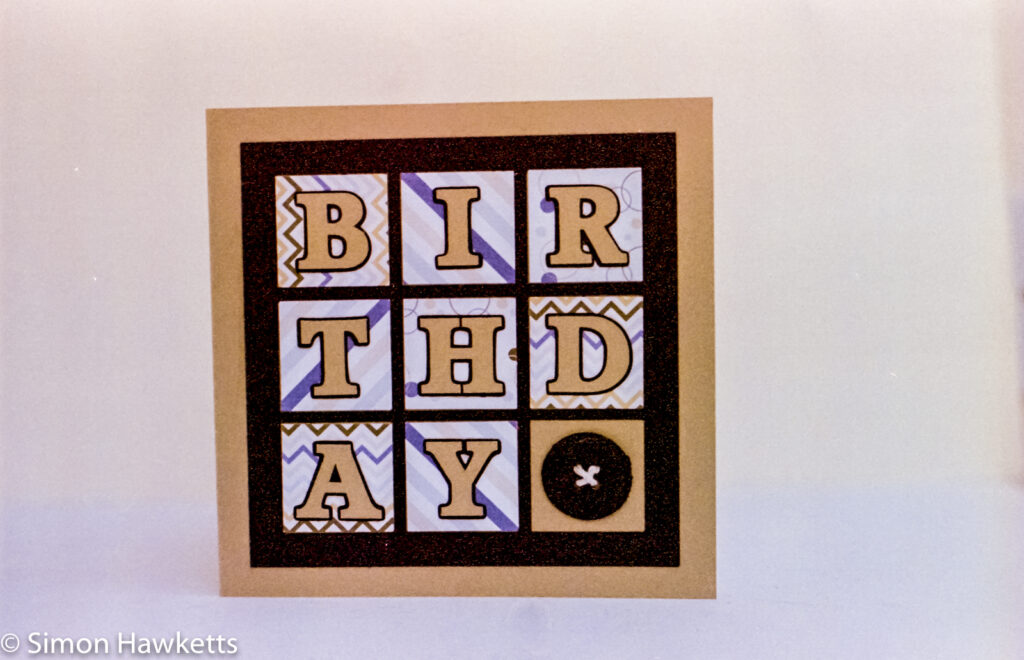
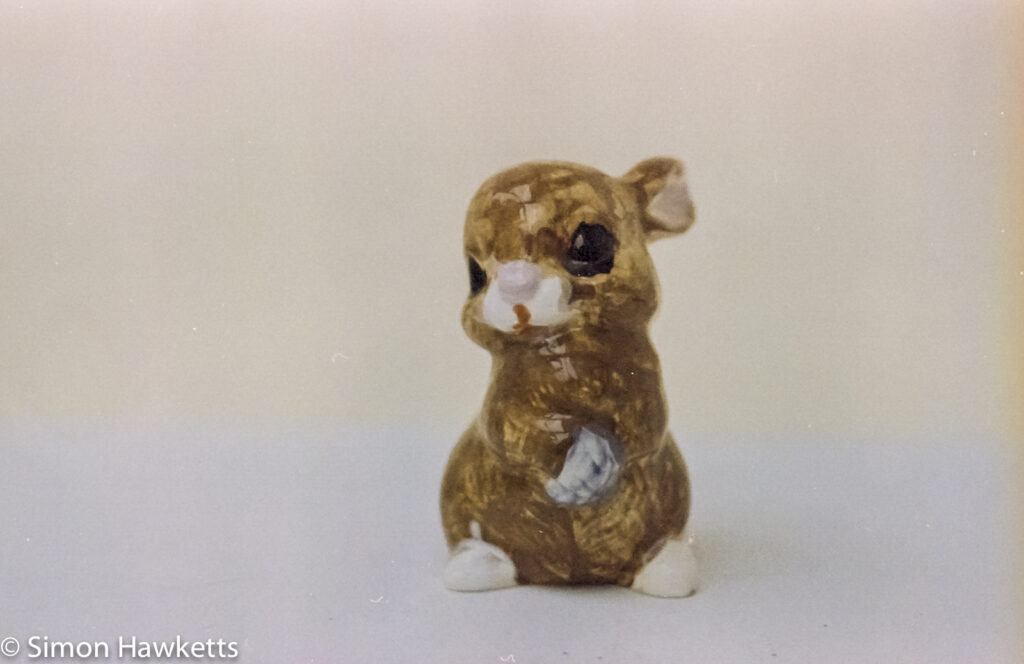
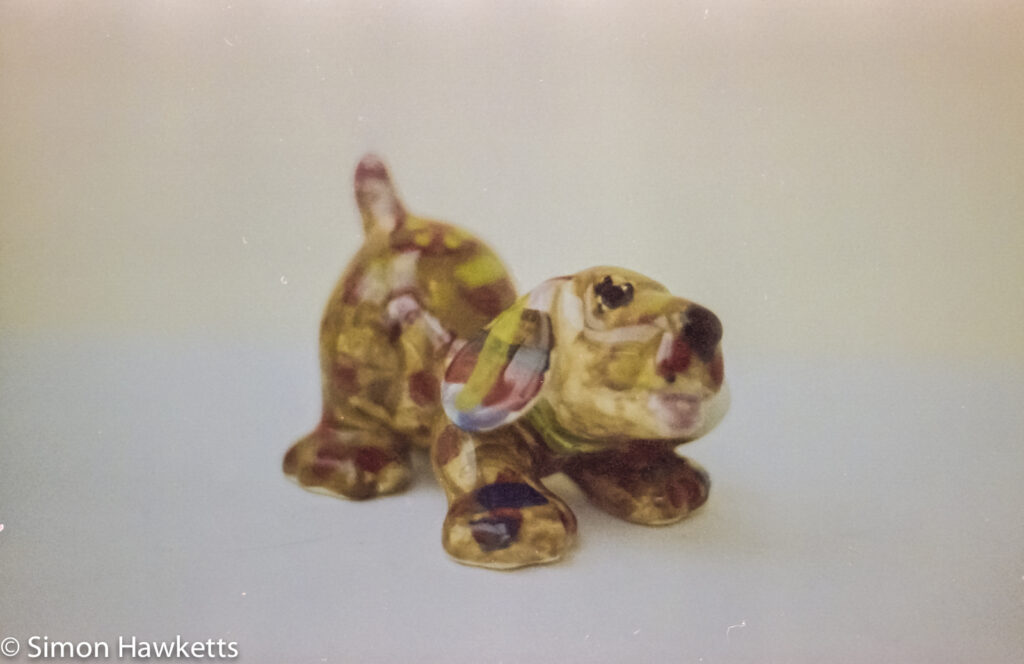
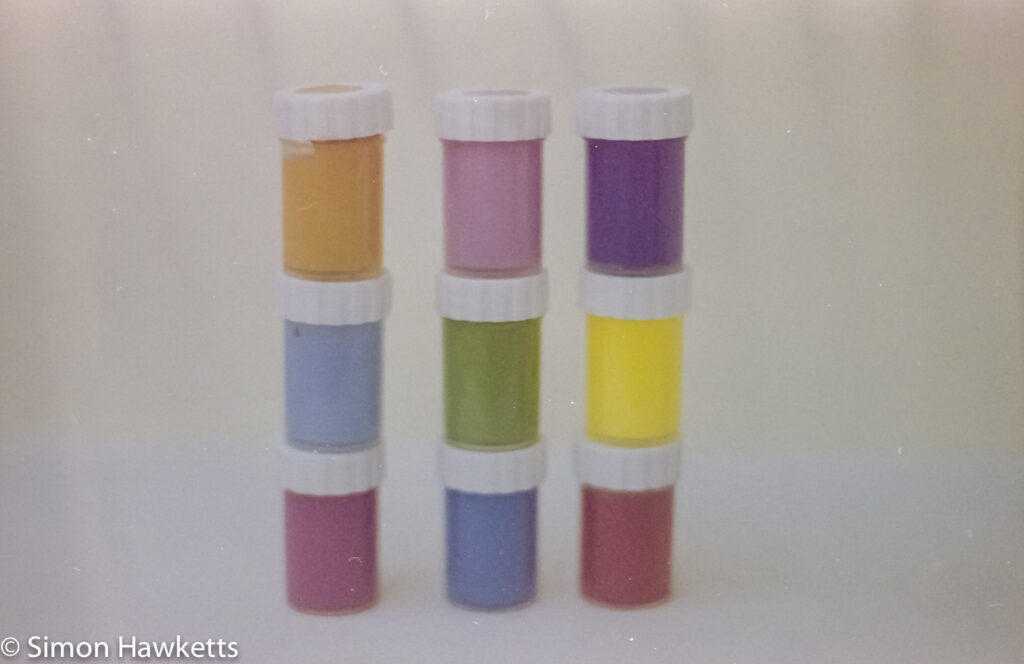
Scanning & Post Processing
In the cold light of day I took another look at the negatives to assess how the development had gone.
Although I could definitely see images, they seemed to be quite low contrast and mostly uniformly orange in colour. There was also a lot of curl on the negatives, which I knew was going to cause problems with trying to get them to hold flat in the negative carrier. However, I wanted to see how they came out, so I fitted the first couple of strips in the carrier and started the scanner.
I scanned the negatives using an Epson V550 Photo scanner using the following settings.
- Professional mode
- Colour Negative
- 24 bit
- 2400 dpi
I scanned each negative individually and adjusted the levels in each to try to get the most from each scan.
Once scanned I imported the tiff files into Lightroom and adjusted the colour balance, exposure, contrast and added noise reduction and sharpening to each image.
Results and problems
So the results are shown above and it’s obvious I’ve had some problems with the development of this film.
Although there are a couple of results which look ok none of them have the proper amount of dynamic range or definition that I’d expect. Several of the pictures have excessive brightness along one edge, but I think that is the result of the negatives being curled very badly and the scanner leaking light round the edge of the film.
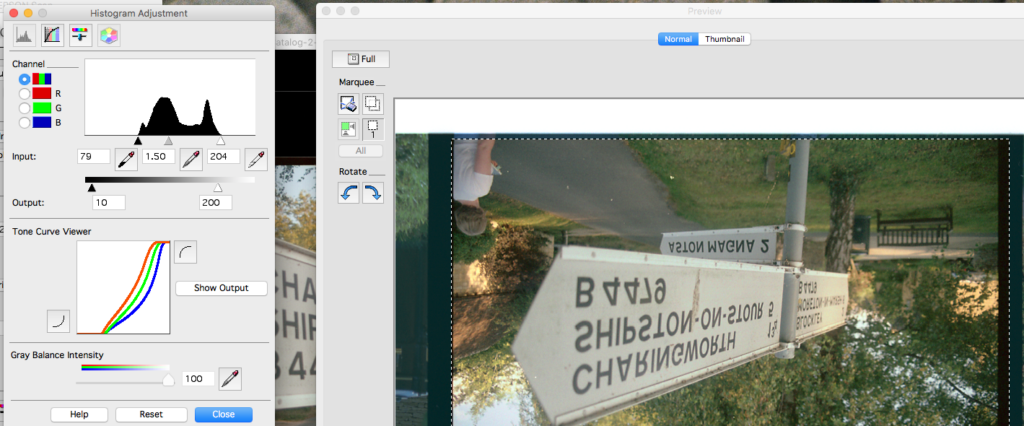
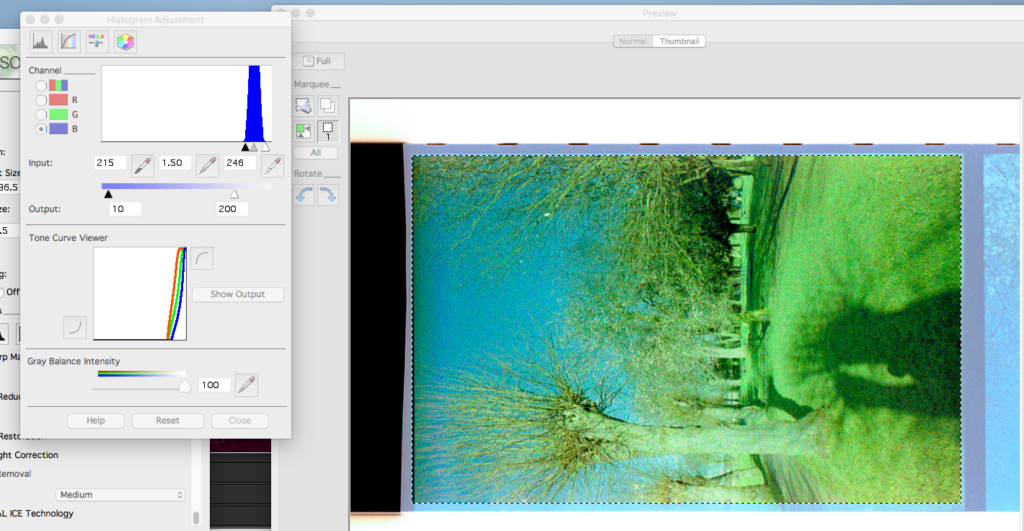
When it comes to the dynamic range, the last couple of picture above are screen shots of the Epson software taken during the scanning of one of these negatives and then scanning a lab developed negative I shot last year. You can see that the lab negative ranges from 79 on the black end to 204 on the white end, whereas the negative from this batch is starting at 215 and finishing at 246. That means the whole picture is contained within 31 steps whereas the lab developed negative has 125 steps or 4 times as many.
So what has gone wrong?
Well first I’m reasonably happy that the processing kit is ok. I only received it this week and this is the first time I’ve used it so it’s unlikely that the chemistry is off.
I’m also reasonably confident that the camera isn’t to blame. Although it’s possible that the shutter is completely out, I used it over a range of shutter speeds and although I know it isn’t a scientific test I checked the speeds by eye looking through the back of the camera and each successive speed did seem to be about half the last one and certainly the light was reducing.
I know the lenses used are ok because I’ve used all of them on other cameras and have confirmed the result.
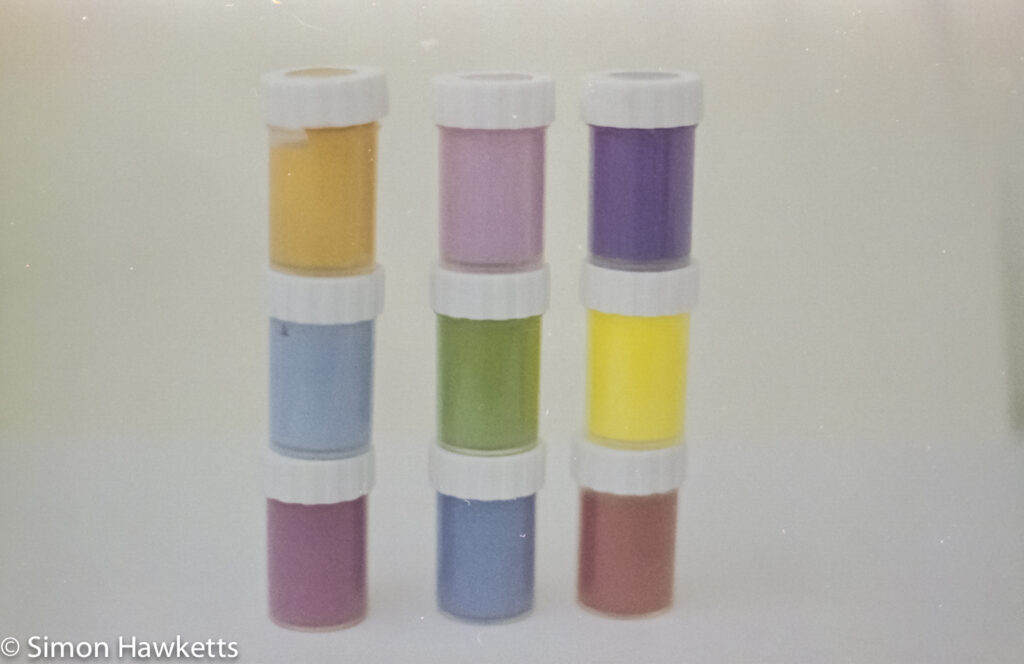
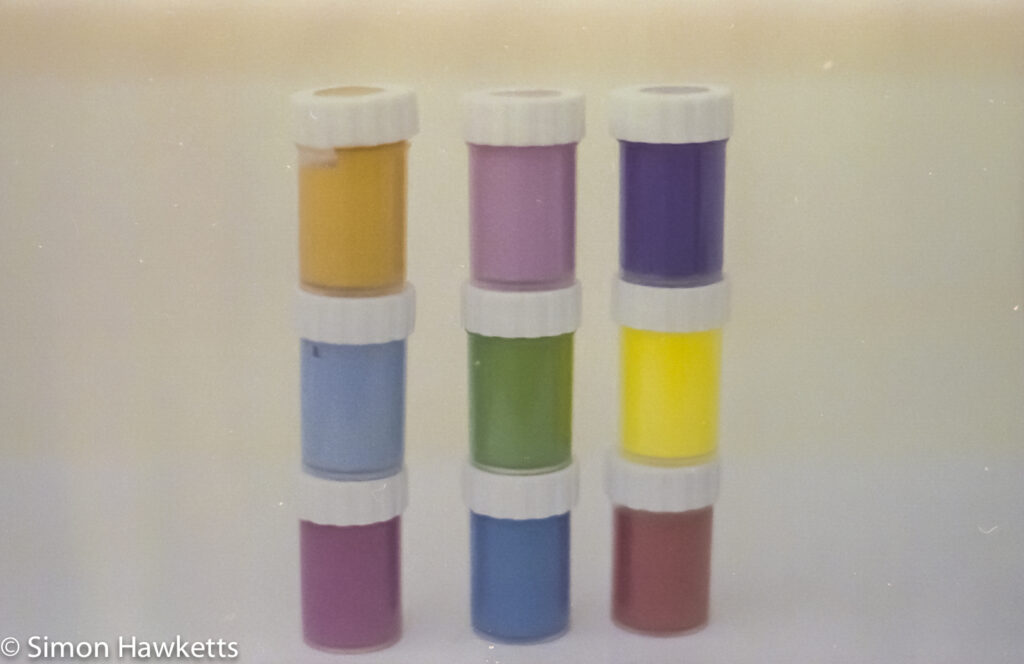
I also find it interesting that I took a series of pictures of my Daughters paints as the last pictures on the reel and deliberately over exposed by +2 and +3 stops and it made no difference to the quality of the image on the film.
So that leaves the possibility of me doing something wrong in the processing stage, or the film. I’m absolutely certain that I followed all the steps in the instructions and I’m happy that the temperature was within a few 1/10th of the correct temperature, but there are some things I will change the next time I develop a colour film.
First, the instructions say that the tank should be inverted at the start and then agitated every 30 seconds after that. I took agitated to mean use the stick in the middle of the tank to spin the film – having watched a few more YouTube videos, I think I will now use inversion to agitate rather than the stick. That seems to be the preferred way, and it’s inline with how I develop black & white films – it’s also much easier to do because you can keep the lid on and not worry as much about having to hold the tank upright in the water bath.
Another part of the process which isn’t completely defined is the wash stages between the main chemical baths. I gave the film about 30 seconds in water the same temperature as the chemical, but perhaps more time is needed?
The bleach and fix stages had a range of times in the instructions, bleach was 3min to 4min 30sec and fix was 4min 20sec to 6min 30sec. I set my timer to the mid point of these times, but I’ve subsequently done some reading and found that it’s better to err on the side of being too long rather than too short, so in future I will extend these times.
When I think about the film it’s possible that could be the problem.
I used a reel out of my 35mm film stock, just choosing a 400 ASA kodak which I thought was Kodak Gold 400. After I’d developed the film I looked again at the canister and I find it is Kodak Gold Ultra 400. Now I don’t remember buying any Kodak Gold Ultra so it’s possible it is a roll that’s been given to me or has been included in a vintage camera that I’ve bought. If that is the case it could be 10 years old and not been stored correctly. At the moment that is the best option I have.
I’d welcome any comments from anyone with more experience than I in C41 development. If I can get it right it is in many ways easier that black & white because there are far less variables to consider, i.e. don’t need to think about which developer to use or if you should push the development etc.

