Trying out colour slide film
When we were recently on holiday in Lincolnshire I took a camera loaded with colour slide film because I was interested to see what sort of results I would get with this medium. We’ve been back a week now and I’ve just received the film back from the lab so I’m using this post to publish my thoughts about the results.
Colour slide film images
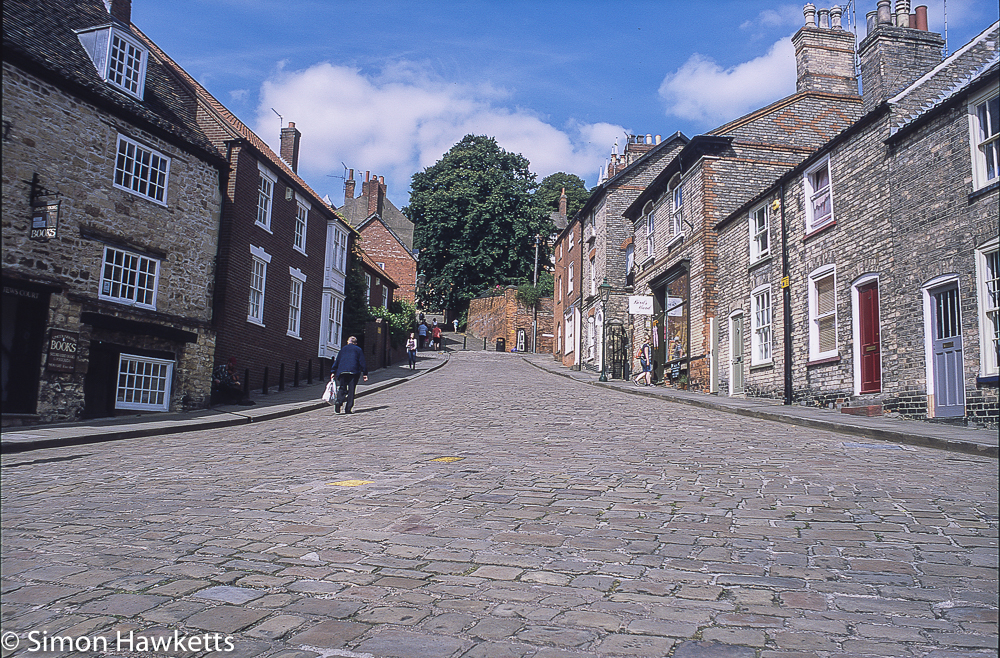
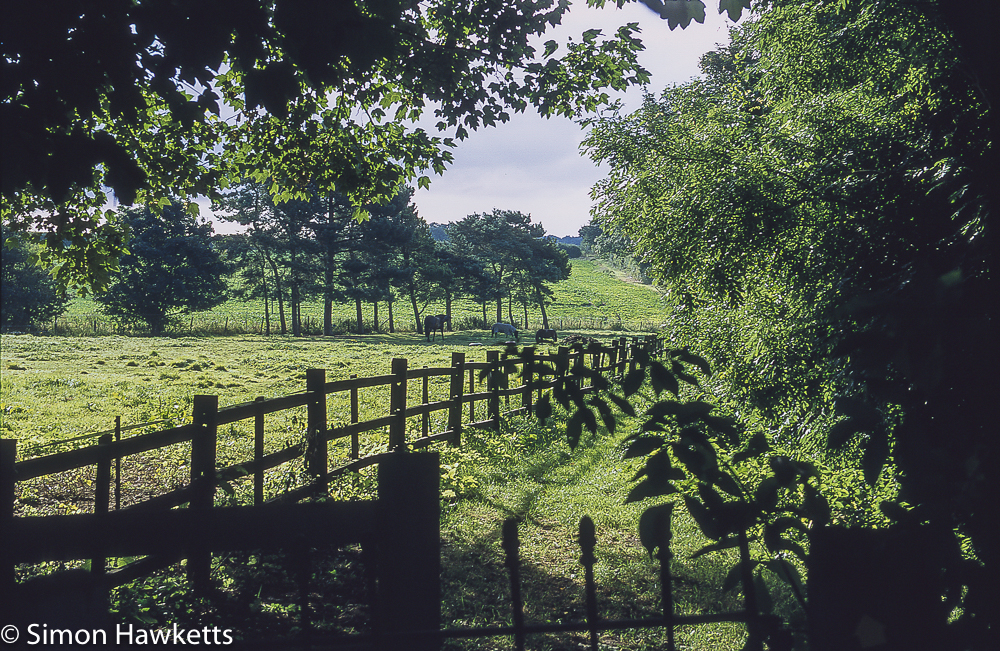
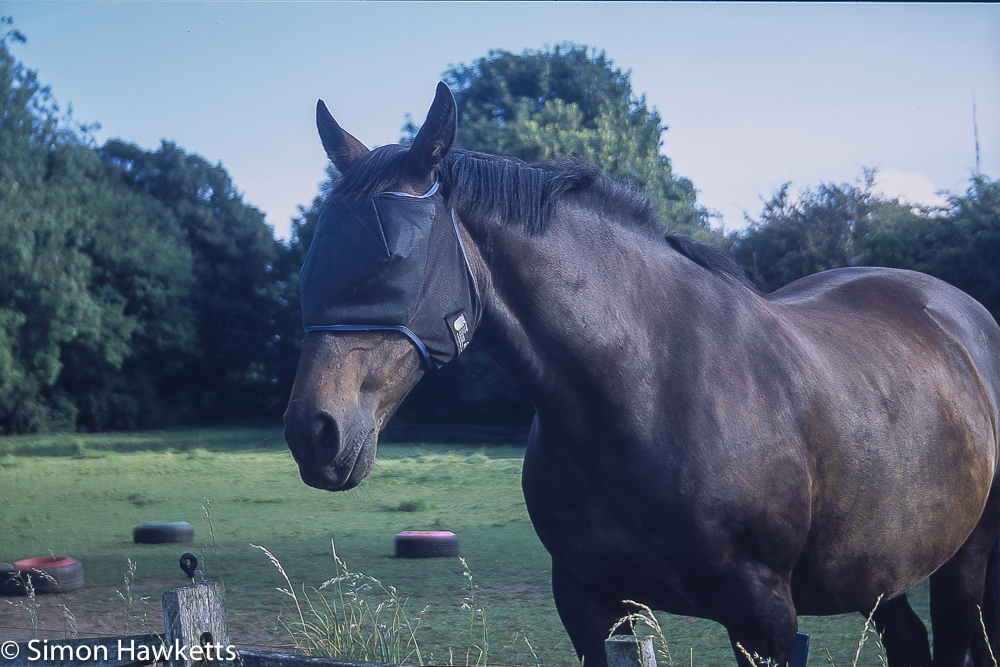
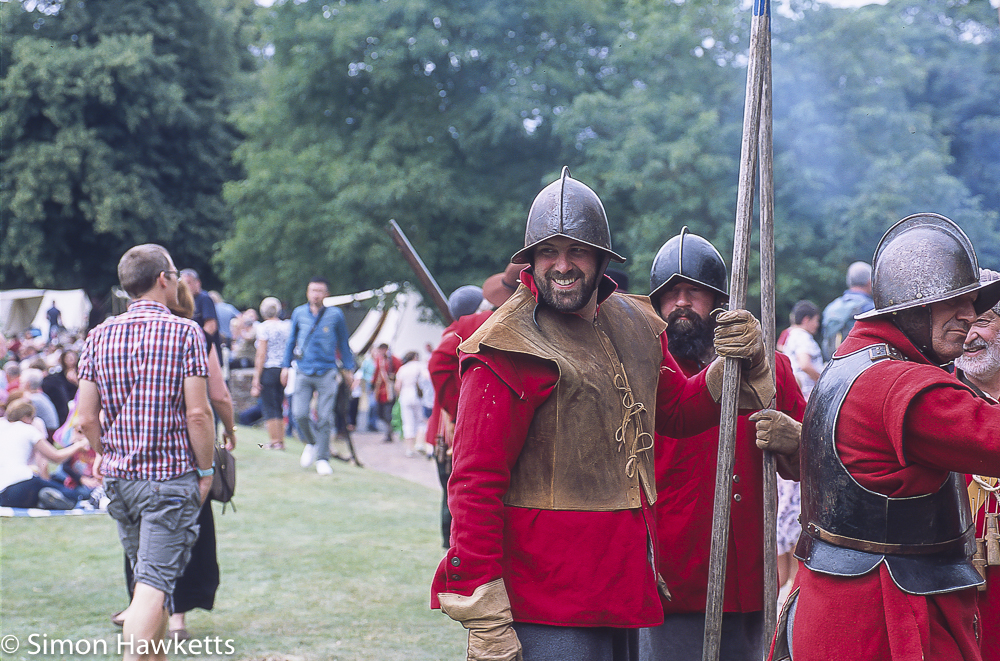
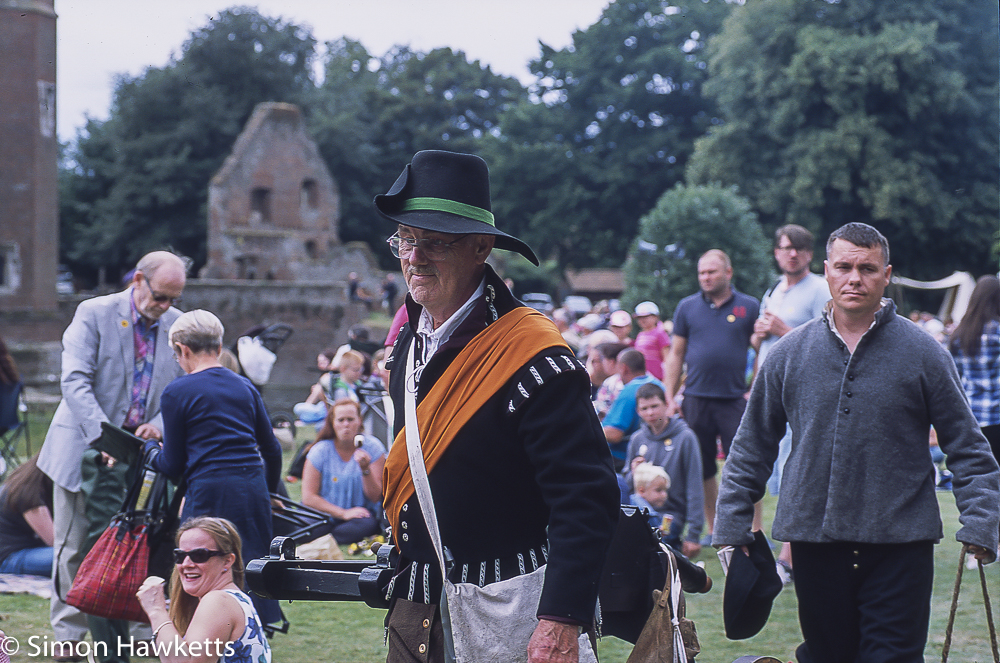
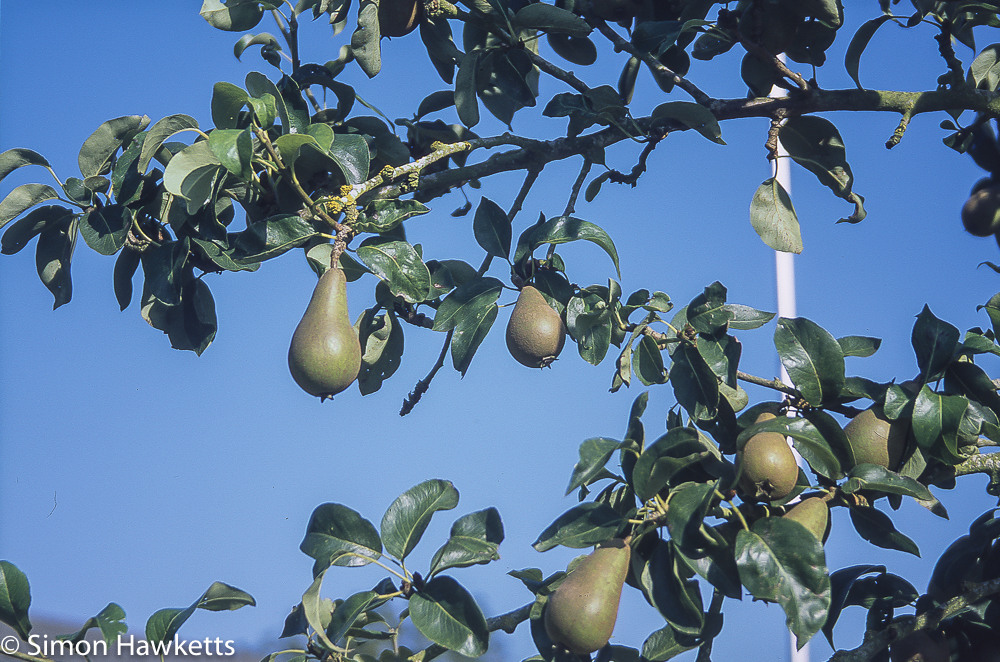
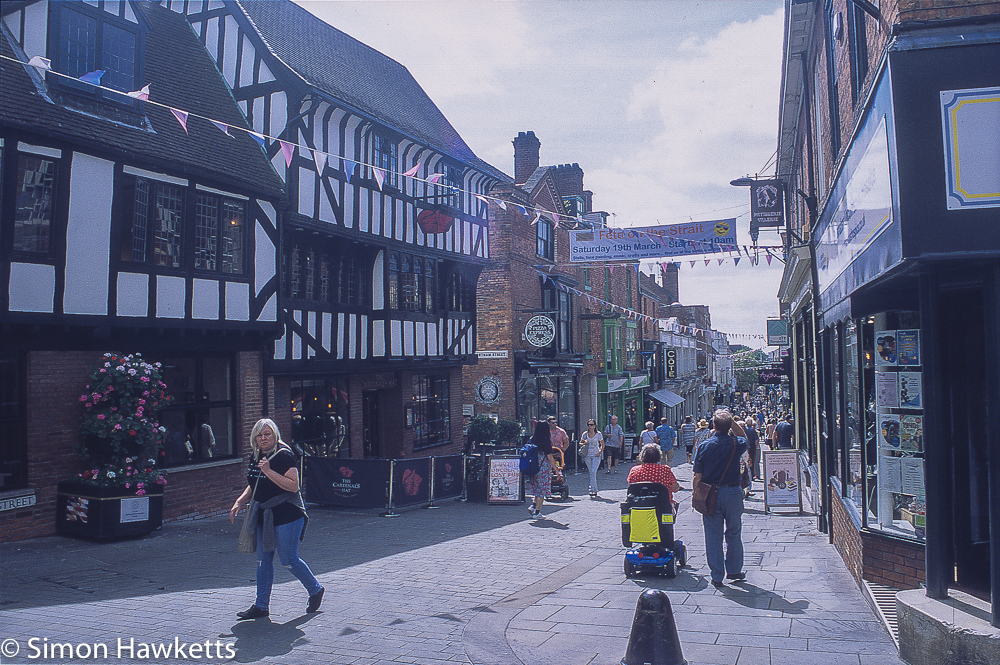
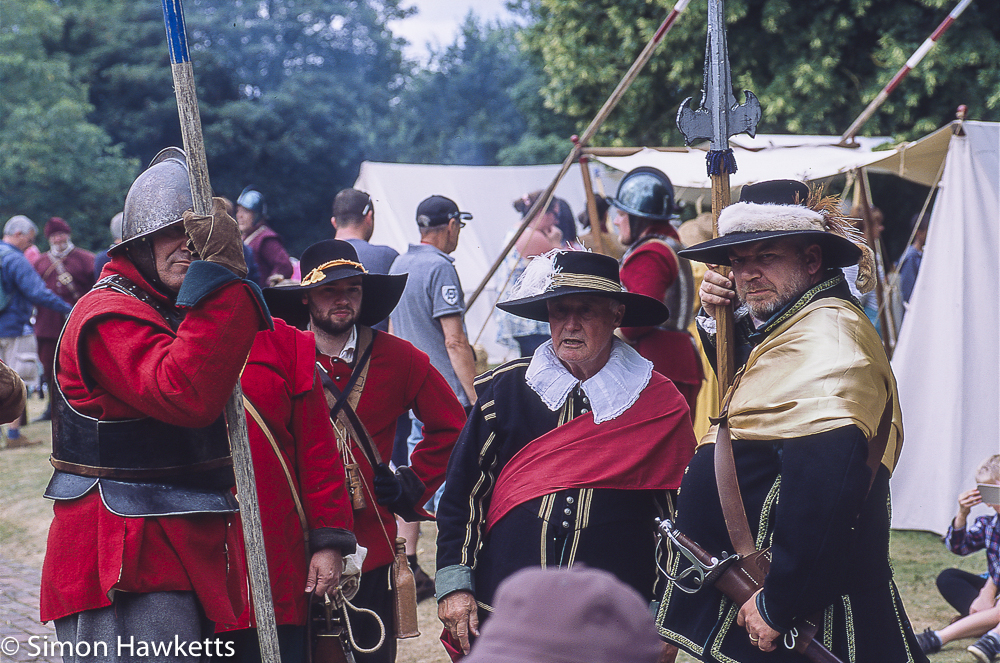
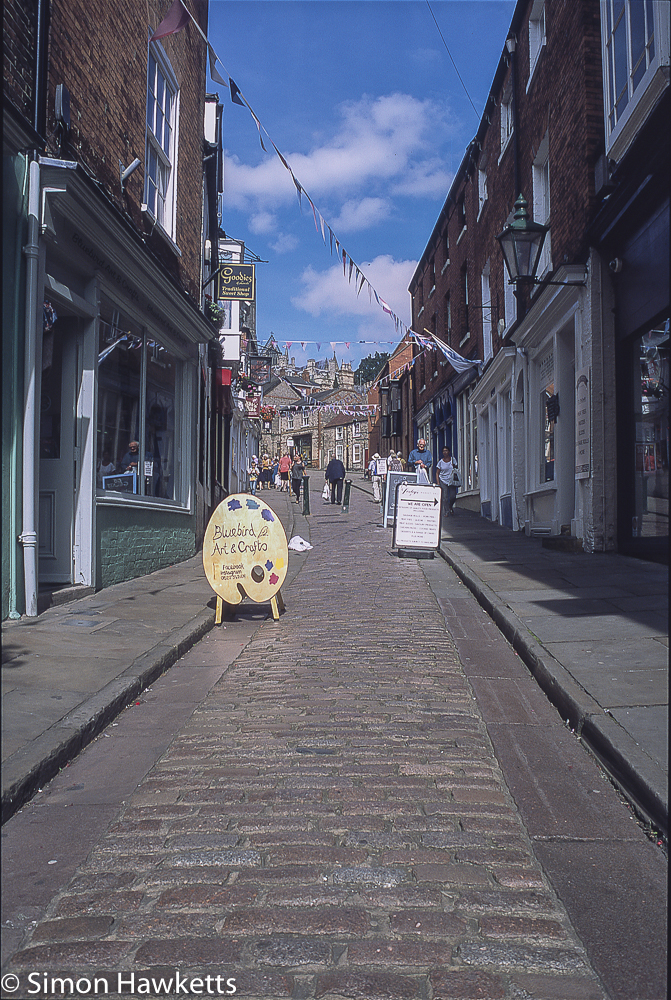
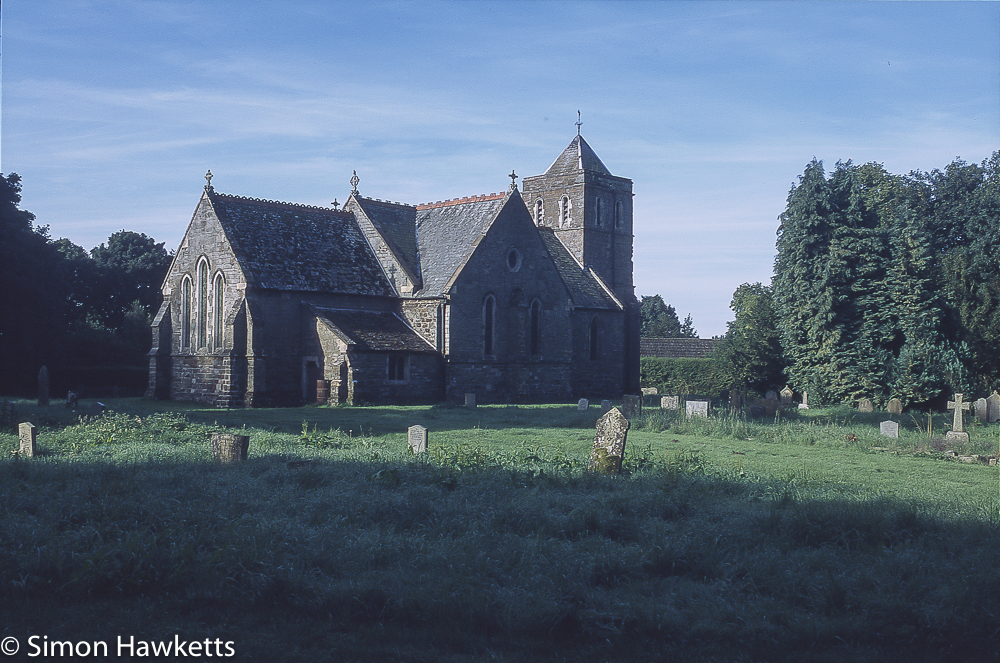
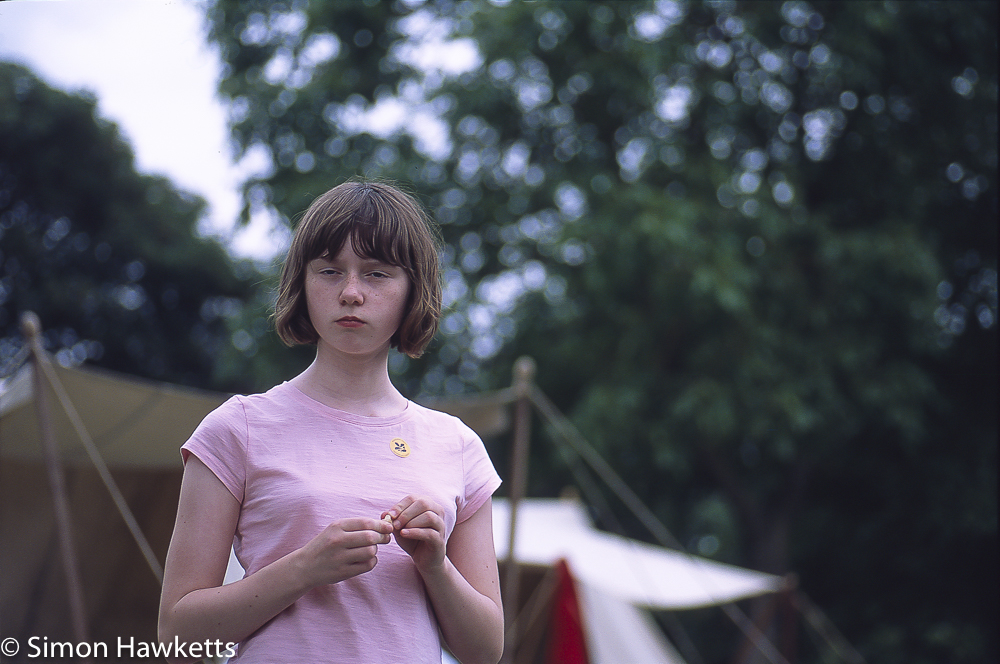
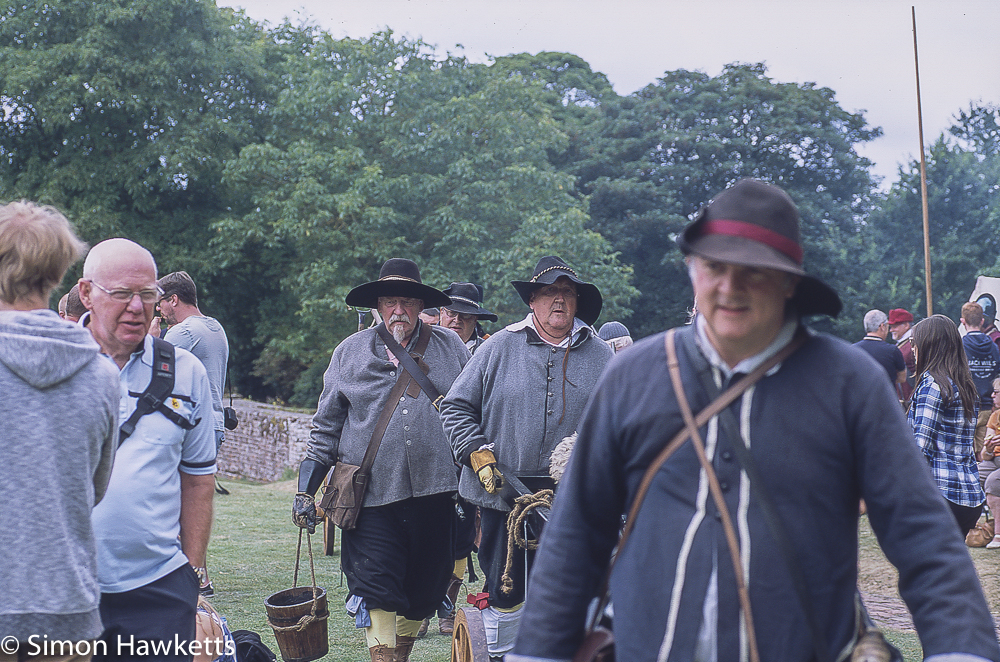
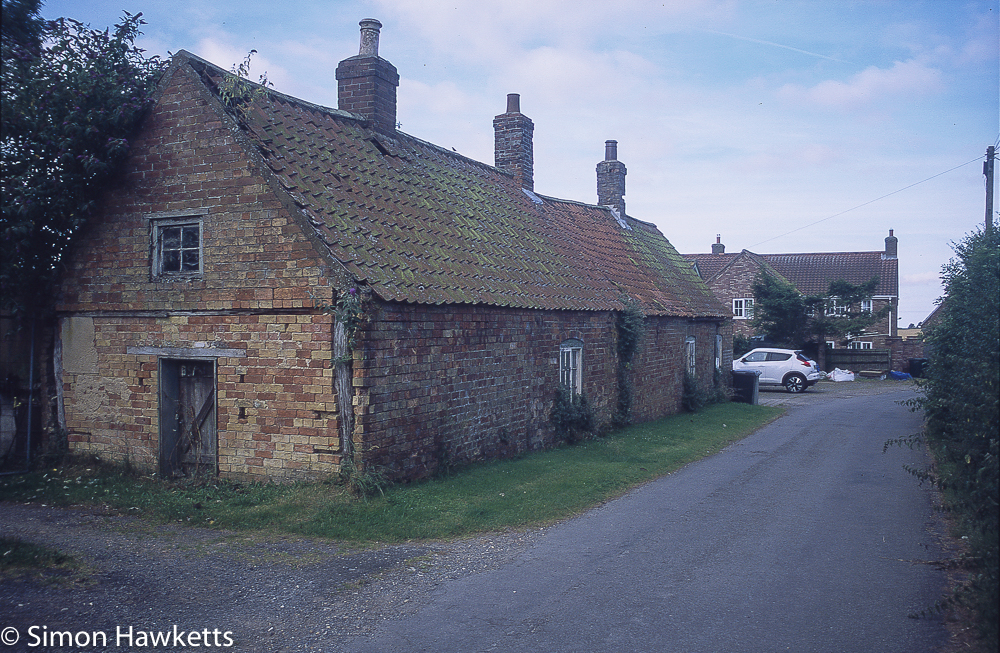
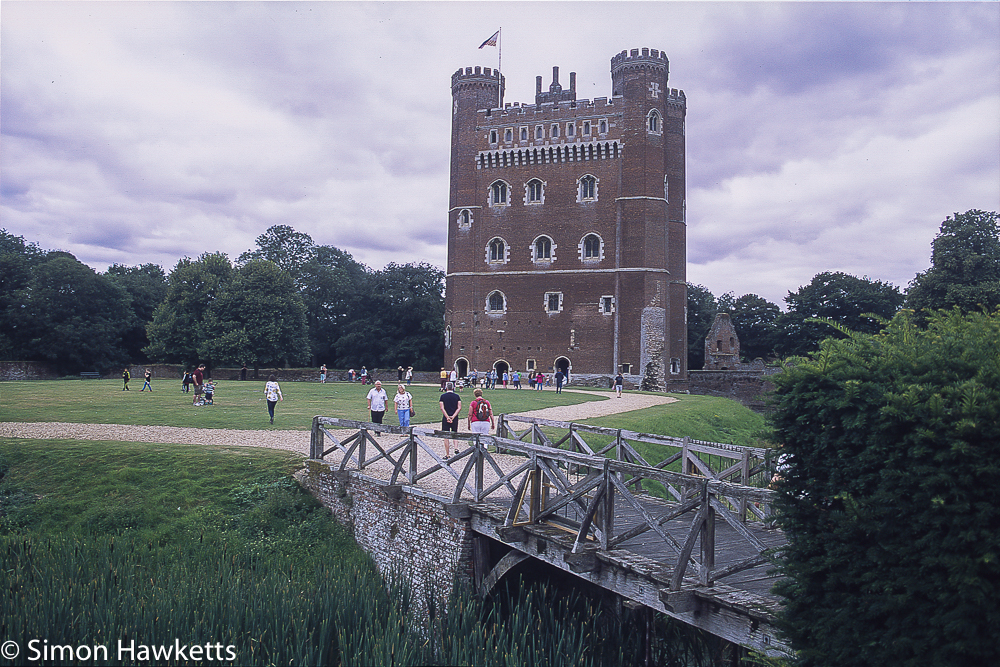
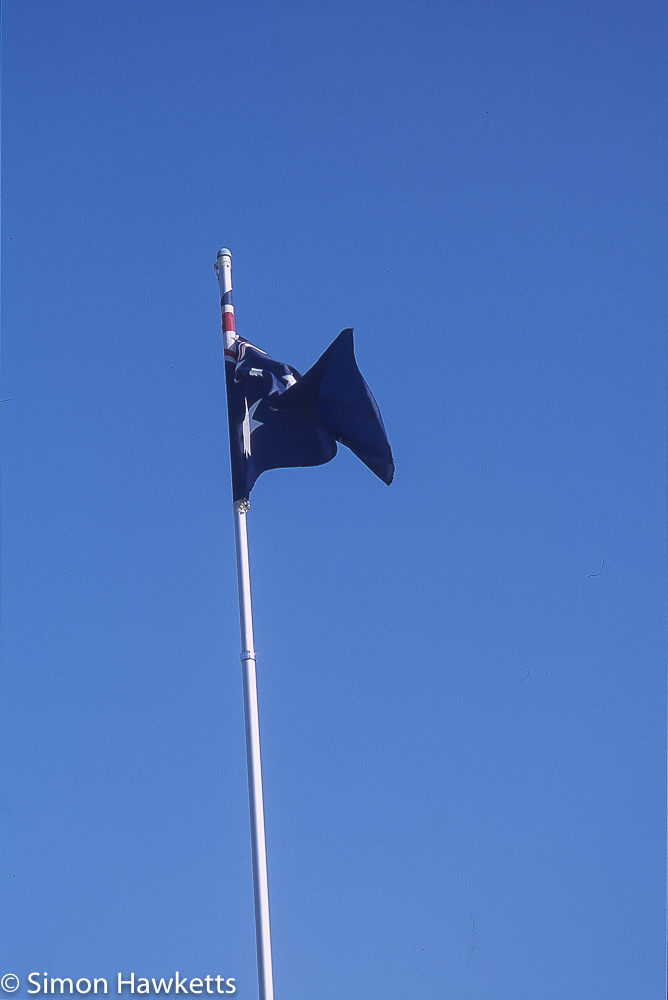
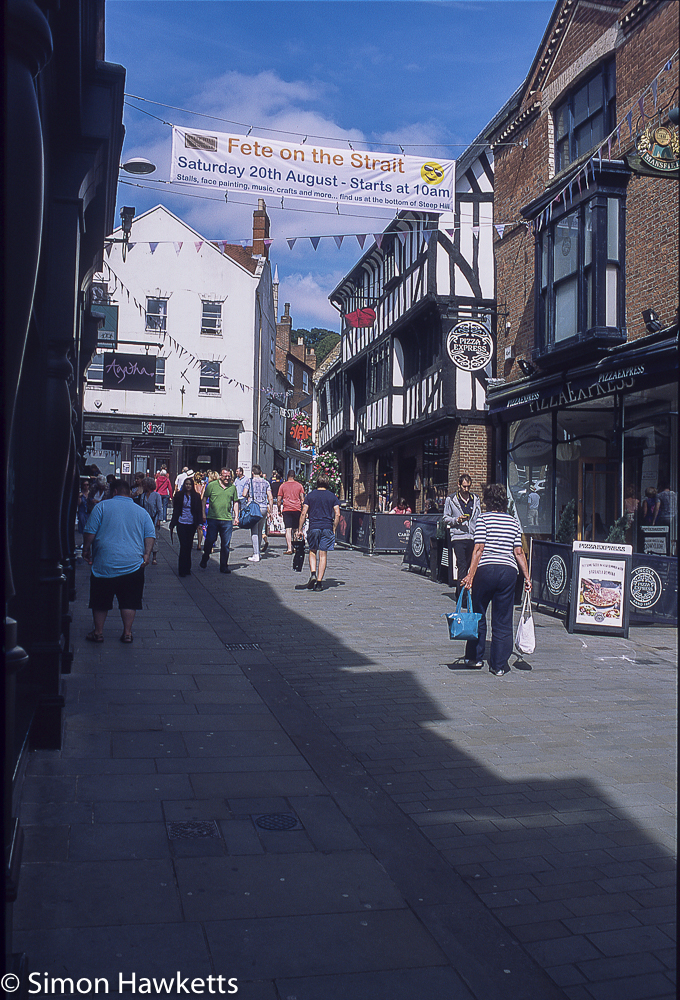
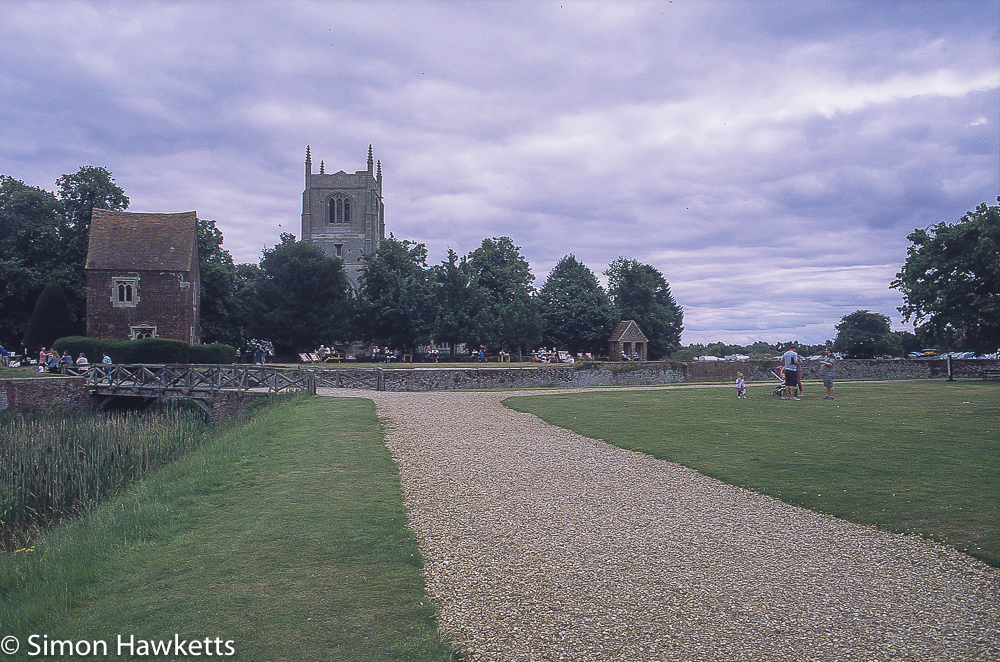
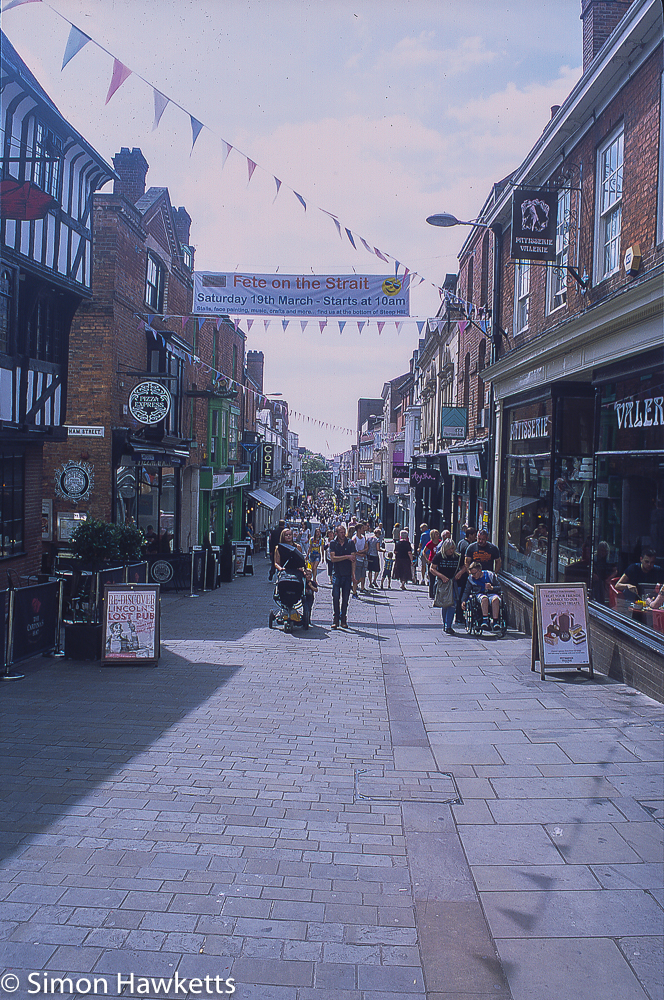
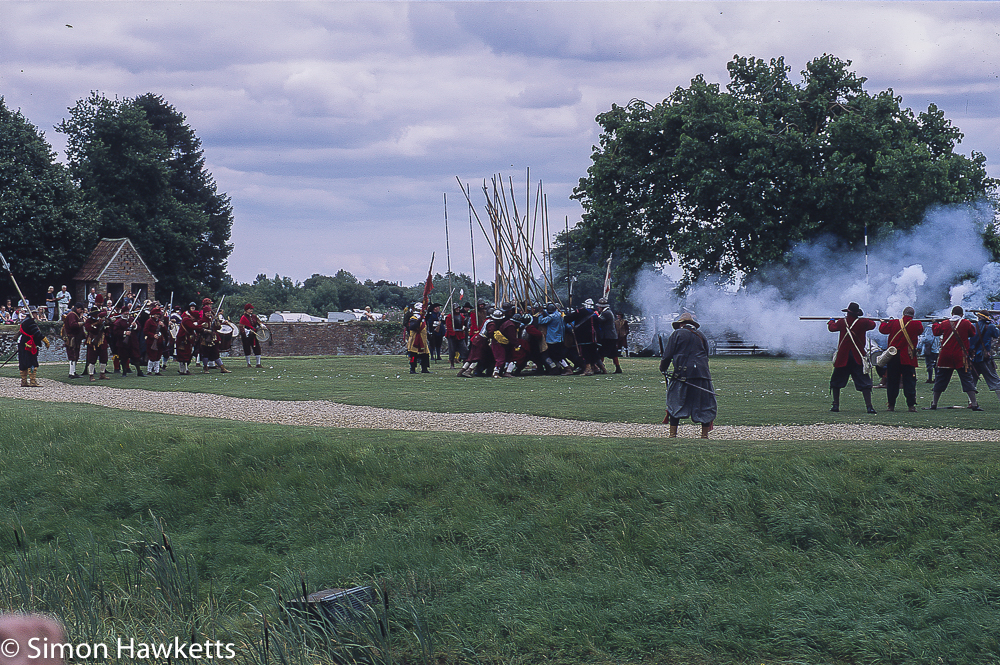
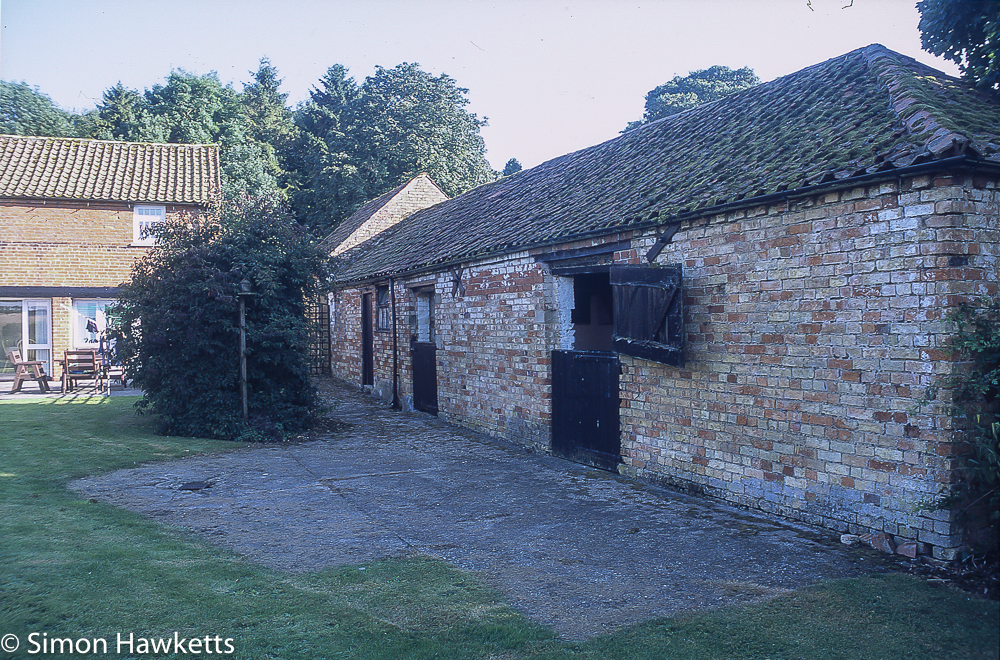
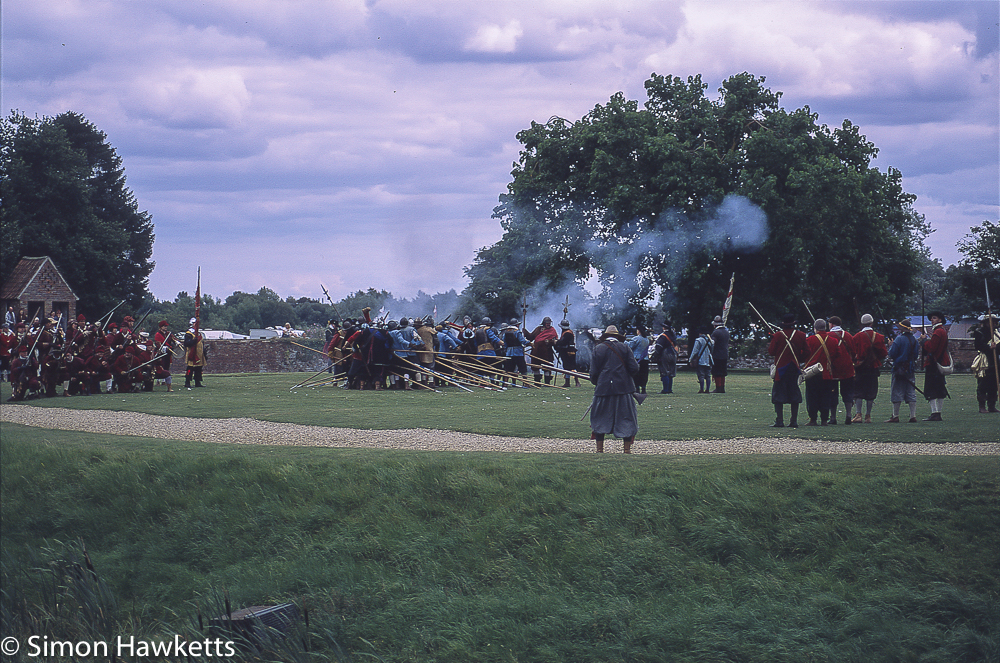
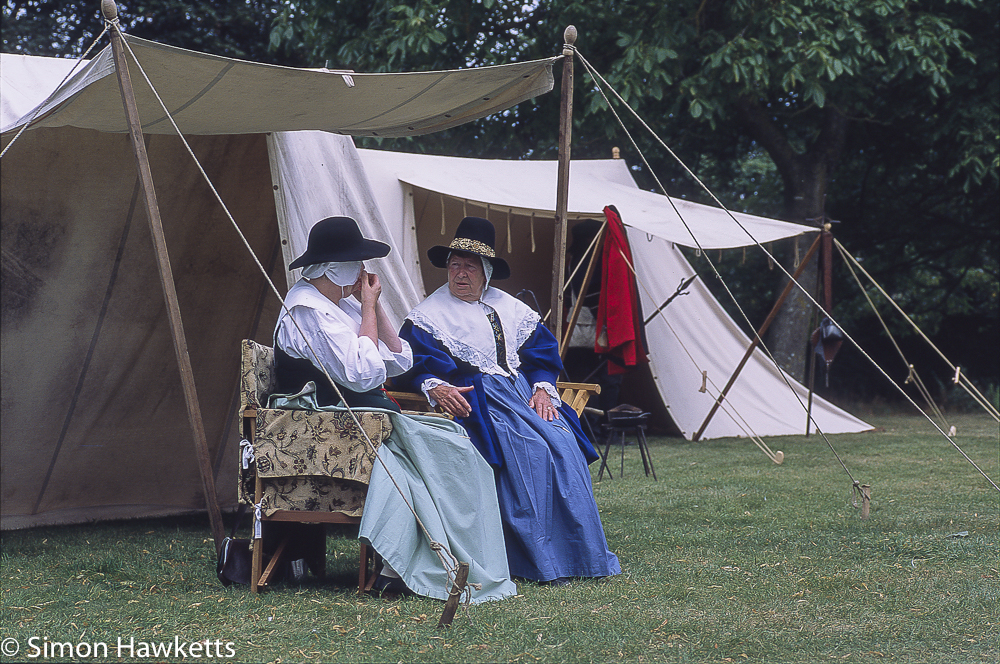
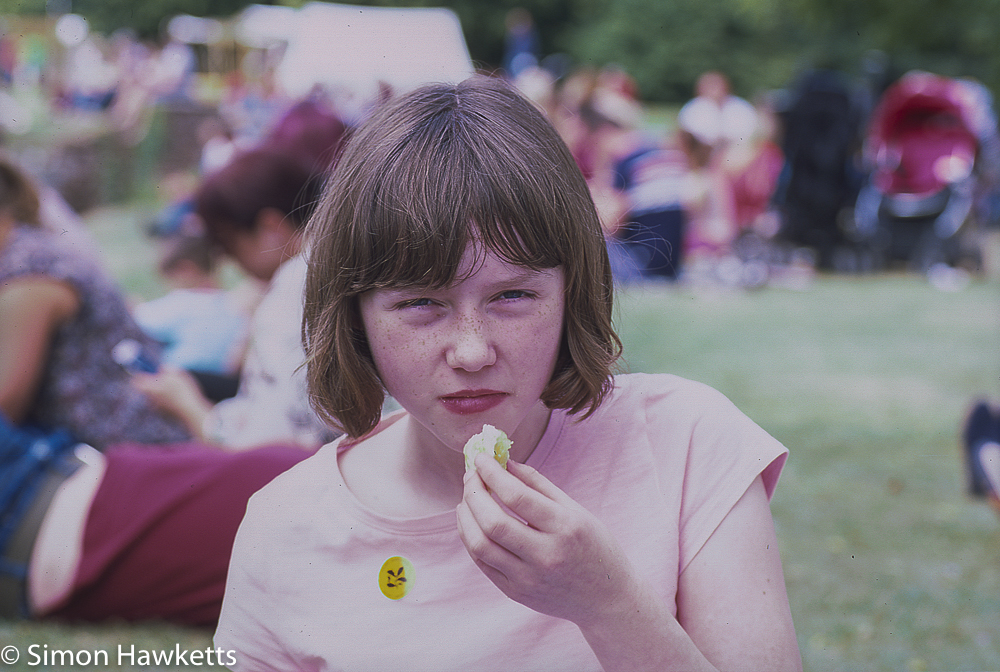
The camera I used was a Pentax MZ-3 autofocus 35mm SLR, which I judged would be able to correctly judge the exposure to suit reversal film.
I well remember how tricky it is to get the exposure right with slide film – many times in my youth I would shoot a roll of ORWO film, only to find that the majority of shots were either completely dark or totally washed out. At the time I was probably using a Zenith B with a hand held light meter or just using Sunny 16 to estimate the exposure, and knowing how unforgiving slide film is it’s not really a surprise I got it wrong. This time however, I wanted to be as sure as I could that the pictures would come out well.
The film I loaded was Agfa Precisa CT100 colour slide film which I bought from Amazon UK for just over £8 and is a general purpose film made for normal, amateur use. I considered getting one of the more professional colour slide films such as Provia or Velvia but they are quite a lot more expensive and I thought I’d test the water with a slightly cheaper film to start.
I took the camera with me to a trip to Lincoln City and to a visit to Tattershall Castle as well as taking some exposures on the Farm house we stayed in whilst on holiday. All the shots were taken with the metering on the MZ-3 set to pattern mode and the only lens I used was a standard Pentax 28 to 80mm f/3.5 zoom. Since the film is quite slow at 100 ISO, most of the shots were limited to days when we had a good amount of sunlight so that probably helped with the colour saturation a bit.
The film was developed at AG Photo Lab and took about 3 days to be processed. I think E6 takes a bit longer than C41 – presumably they get less transparency film to develop these days and need to batch it up. Once I had the film back I scanned it with an Epson V550 perfection scanner as TIFF files which I imported into Lightroom. Within Lightroom I carried out minimal post processing and exported the results as 1000 px jpeg images.
So what do you think of the results? I have to say I’m staggered.
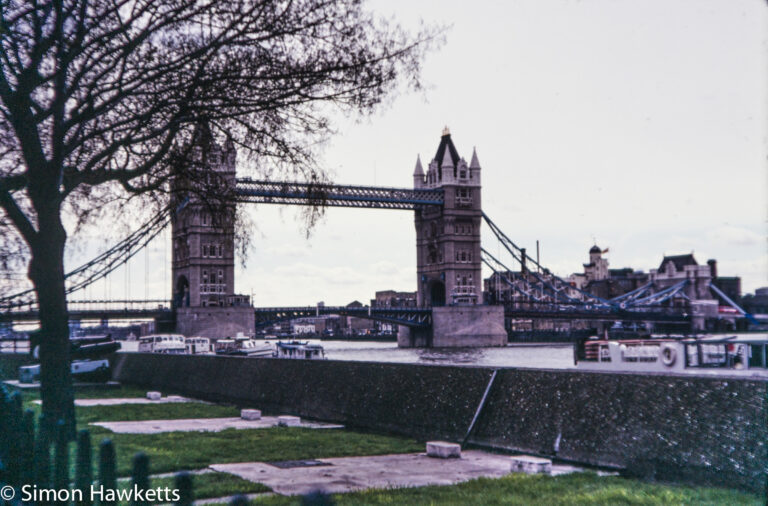
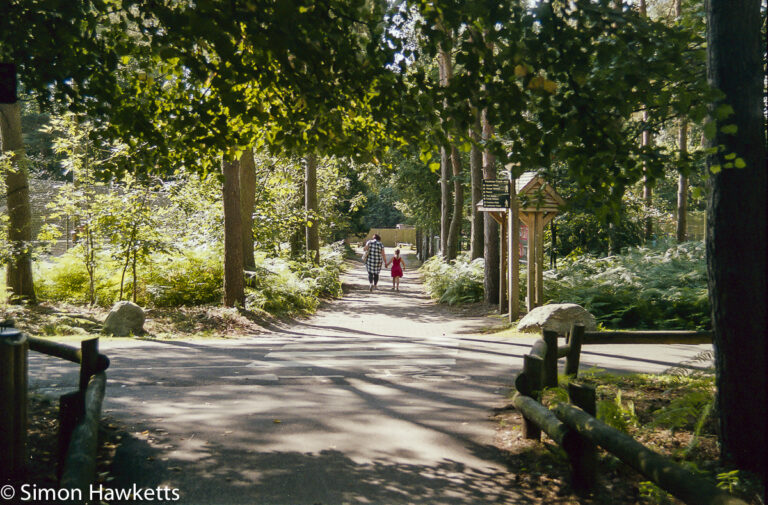
The first thing which struck me was the accuracy of the metering. Although I’ve only included 23 of the 36 images in this post because some were very similar to others in the set, every one of the images was just about perfectly exposed. I had to do almost no alteration of exposure in Lightroom other than pull the highlights back a tiny bit to get some definition into the sky on a couple of images.
On the first image I thought the white balance was off a bit and tried adjusting it but quickly found that it just doesn’t work well with transparencies, so I reset it to ‘As Shot’ and left all the others alone. They may be slightly off but I think that is one of the factors you accept with film photography.
The next thing I noticed as I moved into the Detail panel on Lightroom to add some noise reduction and sharpening, was the really fine grain detail in the images. They really didn’t need much noise reduction because there wasn’t much noise to remove. I suppose this is the result of the low speed of the film (only 100 ISO) but it meant the pictures have a lot of fine detail when you zoom in.
The above are reason enough to like the results, but I think the thing which impressed me most was simply the look of the pictures. Many of them are not great pictures in themselves, in many cases they are just holiday snaps, but some of the pictures really stand out with a classical ‘film’ look.
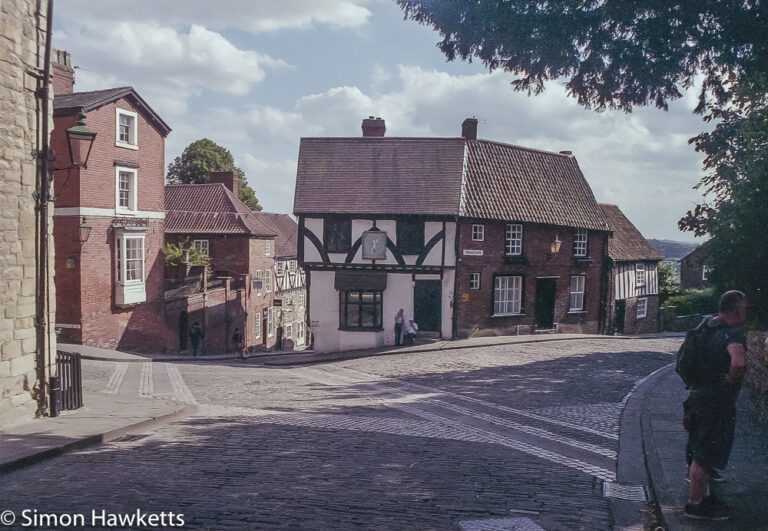
I wanted to examine this in a bit more detail so I’ve reproduced below a picture I took of Steep Hill in Lincoln with my Fuji X-T1 and compared it to one taken on colour slide film from the set above. Although they are not exactly the same picture because of people walking into the scene, they are from roughly the same viewpoint and taken in the same lighting conditions.

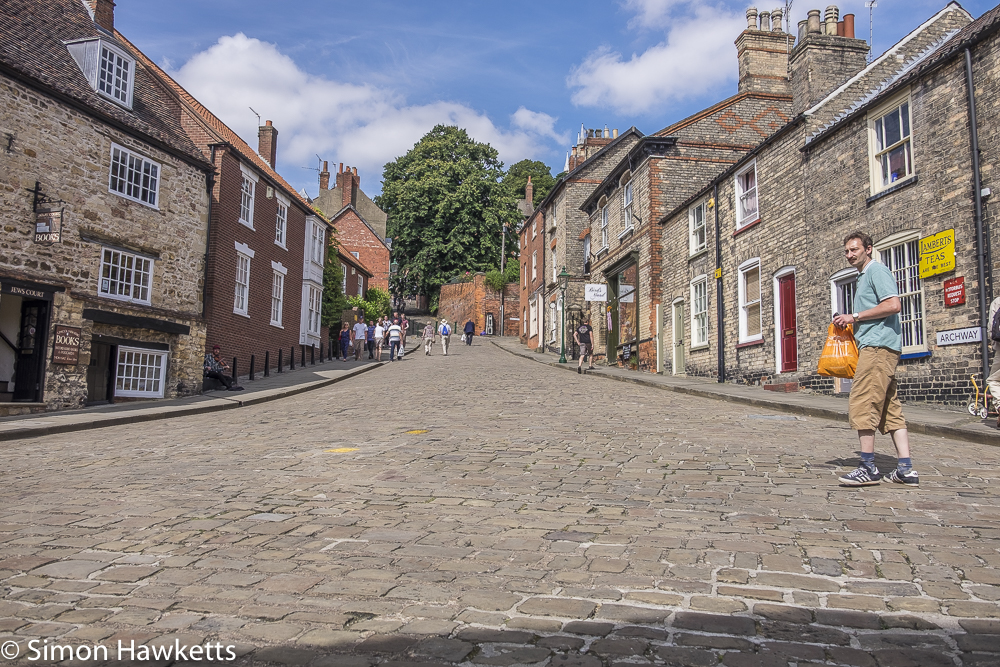
I find the comparison quite interesting – I suspect either picture could be considered ‘better’ depending on the criteria used to assess them, but when it comes to impact I think the film image seems to have it. It’s certainly interesting that it’s possible to take a picture using a 1990’s camera and an £8 roll of film that is in some ways at least as good as a modern mirror-less camera!
It’s been an interesting experience using transparency film again. I suspect the last time I used it was about 40 years ago, but I still remember the excitement of getting back images that you could see on the film and didn’t need to print. In fact, the camera I used this time is considerably better than any camera I or anyone else in my family could have afforded to buy then, so I’m seeing now what would have been the very highest level in film photography. It may not be up the the technical standards of digital, but there is certainly a ‘look’ which is hard to replicate any other way.


You really can’t beat a well exposed transparency frame. Given colour darkroom printing is all but dead and print output is hybrid anyway via scanning, it’s crazy that more people don’t use it in preference to colour neg, the main benefits of which were ease of print generation and more forgiving exposure latitude and dynamic range. It’s true that reversal films are less tolerant of metering errors but they do not have to be difficult to expose accurately. Your Pentax has done an excellent job of getting exposure right but the simplest way to ensure perfect exposed transparencies is to meter with a reliable incident meter.
Now, you have to put these into a projector. Viewing your scanned images is all very well, but nothing—repeat, nothing—can surpass the spectacular brilliance of a projected transparency. 🙂
Cheers
Brett
I didn’t have them mounted because I intended to scan them but I think I’ve got a box of empty mounts somewhere that were my Dad’s, and I’ve got his old projector so I may give that a try. I have another roll of the same film in my Dynax 5 so when I get it developed I may have them mounted – after all, I can still scan them they just take a bit longer. Thanks for taking a look at the post by the way.
[…] be honest I’m a bit disappointed with these pictures. I think viewing the slide film I received back from the lab last week led me to believe that these colour negatives would look as […]
[…] few weeks ago I tried shooting colour slide film for the first time in many years and was really impressed with the results. Well, last week we had a really bright sunny autumn day […]
[…] pictures I’ve found on cameras I’ve acquired from eBay. I’ve also recently taken some pictures using colour slide film during a holiday this summer, and I’ve picked up a slide projector so I can replicate the […]
[…] pictures I’ve found on cameras I’ve acquired from eBay. I’ve also recently taken some pictures using colour slide film during a holiday this summer, and I’ve picked up a slide projector so I can replicate the […]
[…] be honest I’m a bit disappointed with these pictures. I think viewing the slide film I received back from the lab last week led me to believe that these colour negatives would look as […]
[…] few weeks ago I tried shooting colour slide film for the first time in many years and was really impressed with the results. Well, last week we had a really bright sunny autumn day […]