How to easily set up Vagrant to develop on WordPress
This post walks through the steps required to set up Vagrant as a WordPress development environment which can be easily fired up on any platform.
Introduction
Over the years I’ve set up many different environments to develop WordPress plugins on.
Initially I used to just install all the individual components necessary on my laptop or desktop and configure the sites straight on the native OS. This is fine but it means having to repeat that operation on every machine you want to develop on. That is time consuming, and sometimes fraught with problems if, for example, you use machines with different operating systems. I certainly found this when I switched to using a MacBook a while ago.
For a while I set up a docker system to develop on, and although this is a good, lightweight way of getting a development environment which can be easily used on many different platforms, I found setting up debugging to be a pain.
Another alternative is Vagrant, which I’ve tried in the past, but although it meets the requirement of multi platform use, I still found I had to configure the basic WordPress system during the vagrant provisioning stage. At one point I actually had a system set up using Ansible to provision the sites, which worked for a while, but then I bought a new laptop and found my Ansible scripts didn’t work and I didn’t have time to fix them.
Using VVV for Vagrant WordPress Development
A few months ago I discovered a system called VVV [efn_note]Varying Vagrant Vagrants[/efn_note] which allows simple setup of new WordPress development sites with the minimum of fuss and simple configuration using yaml.
The main requirements to run the VVV system are that Vagrant itself is installed and VirtualBox is available, which is used to run the virtual environment. The other requirements are fairly simple and are listed on the System Requirements page of the project website.
With the requirements installed all you need to do the get vvv itself installed is to clone the repository into a new directory, or unzip a downloaded archive file if you don’t use git (you should, by the way).
Once the system is installed a quick
vagrant upin the install directory will get the system running.
The initial startup will take some time to complete as the virtual machine image is downloaded and various other dependencies are fetched, but once it’s been run once the system is quick and easy to start.

One of the great things about vvv is that is updates the local hosts file on the machine it’s running on so that the test sites are available with proper host names on the local machine.
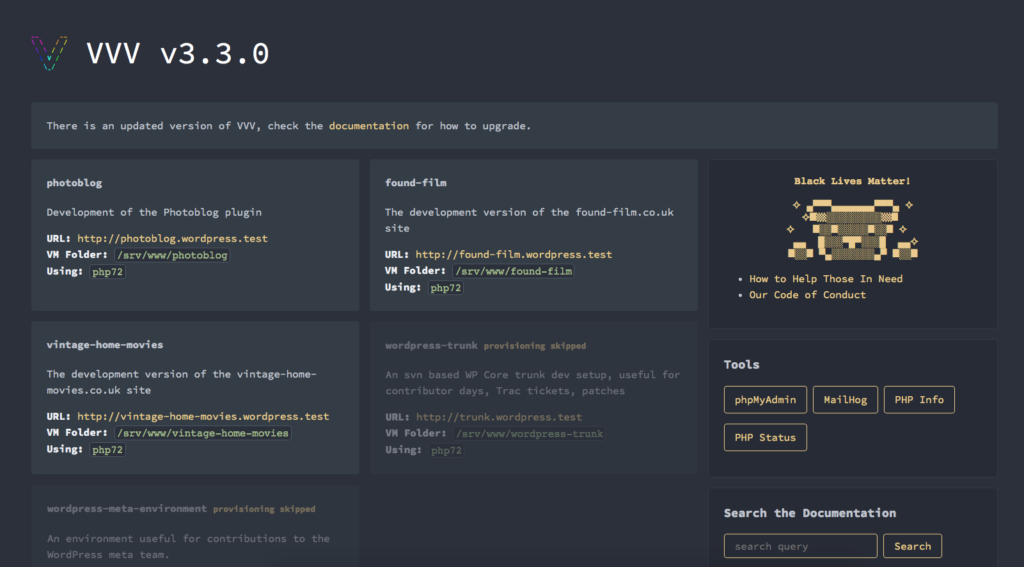
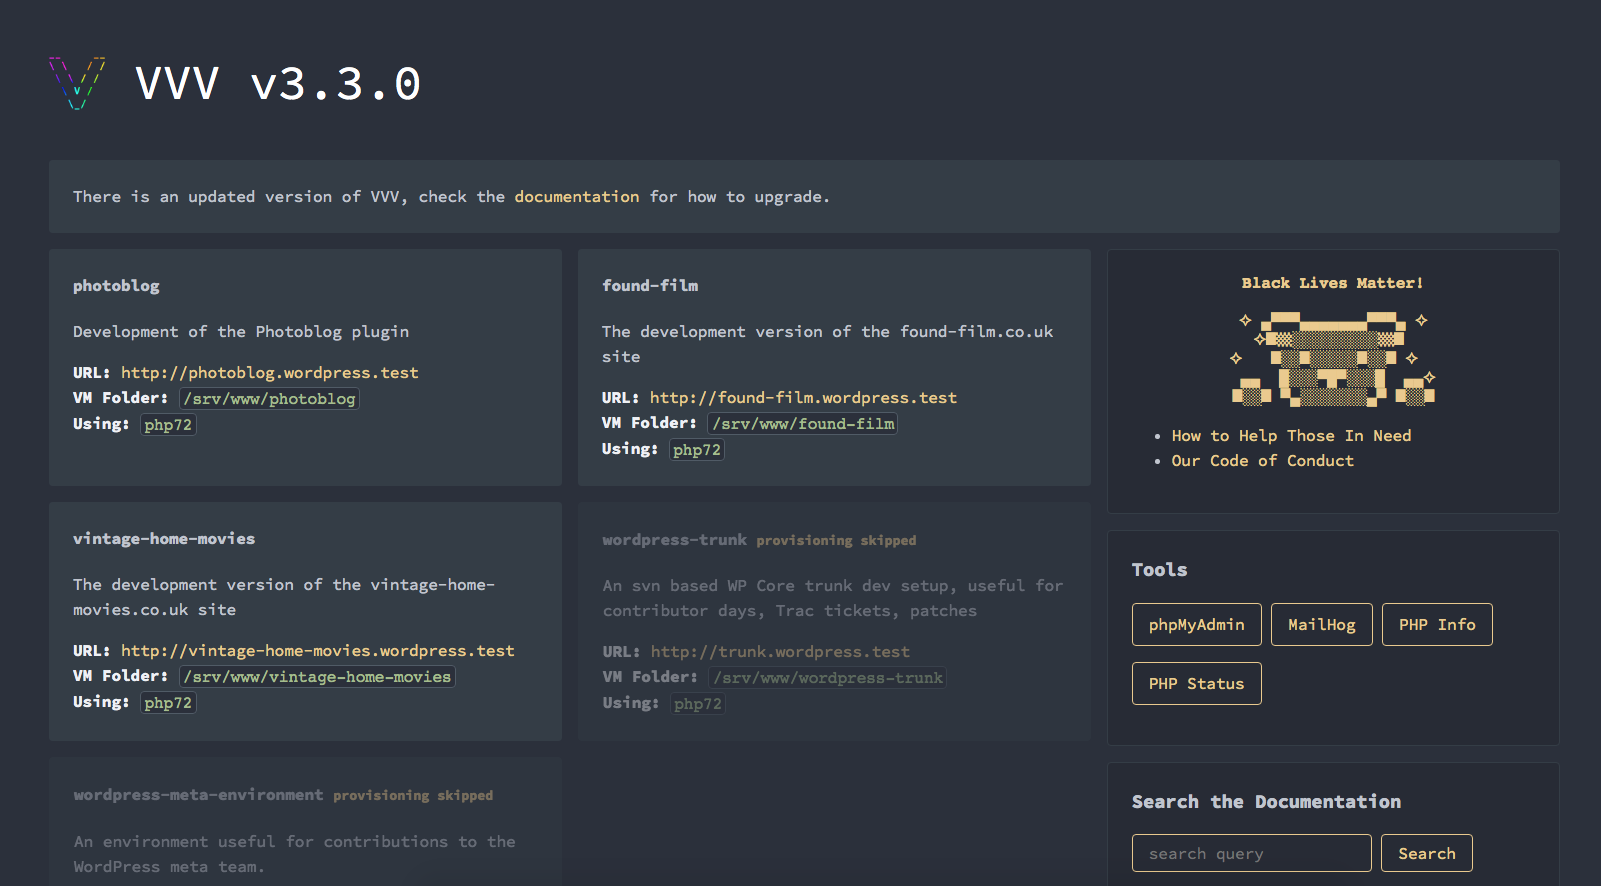
Once it’s running, a visit to vvv.test in your browser will show a page similar to that shown here. The sites being developed are available as links from this page, and there are also links to useful utilities like phpmyadmin for database actions and the phpinfo page.
Adding a new test site to VVV.
To add a new site to the VVV system you just need to make an entry in a yaml file and re-run the site provisioning. The yaml file is in the config directory and is called config.yml and the file structure allows you to set a list of plugins to load and a theme to apply. When the site is provisioned these assets are downloaded and installed in your test site.
There are a lot of options available in the config.yml file which makes the site provisioning very flexible. For example you can set a different version of PHP on a per site basis which is very useful if you want to test the effect of upgrading php on an existing site.
Although you can do a lot from the host machine, if you need access to the server running in the vagrant virtual machine, you can use
vagrant sshin the vvv install directory to get ssh access to the virtual machine. One reason you might want to do this is to turn on the xdebug extension which is off by default. A quick ssh into the machine and running
xdebug_onfixes that.
I would recommend VVV to any WordPress developer who needs to have multiple sites available to work on, and if fact any WordPress developer.
Useful links
- VVV – https://github.org/Varying-Vagrant-Vagrants/VVV
- VirtualBox – https://virtualbox.org
- Vagrant – https://www.vagrantup.com


