Pluggable USB microscope review
This is a look at a novel little device I bought a few days ago – a Pluggable USB microscope which allows you to view close up pictures on you laptop.
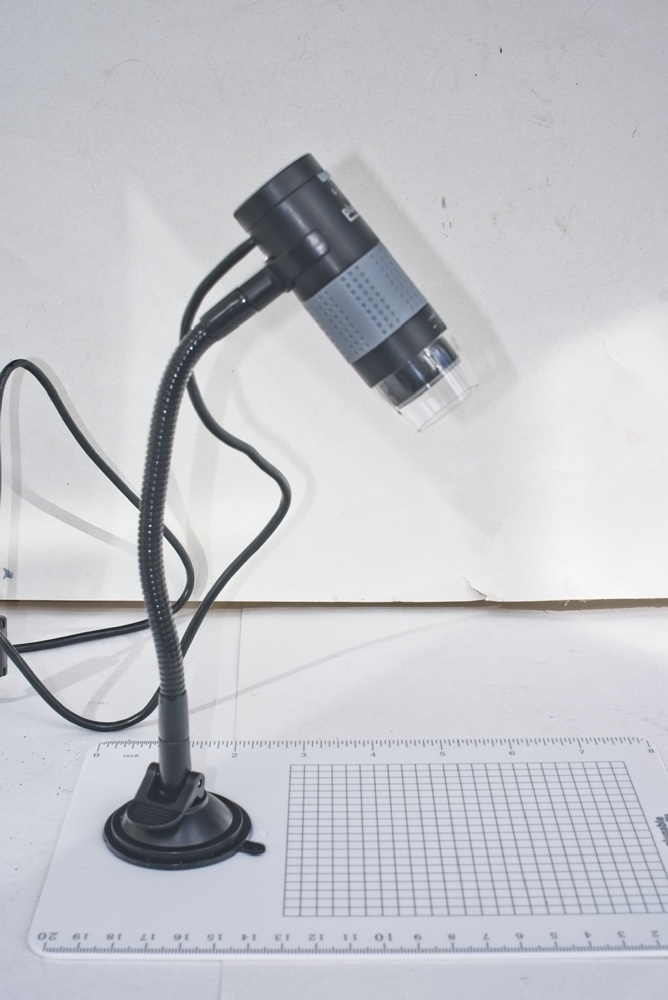
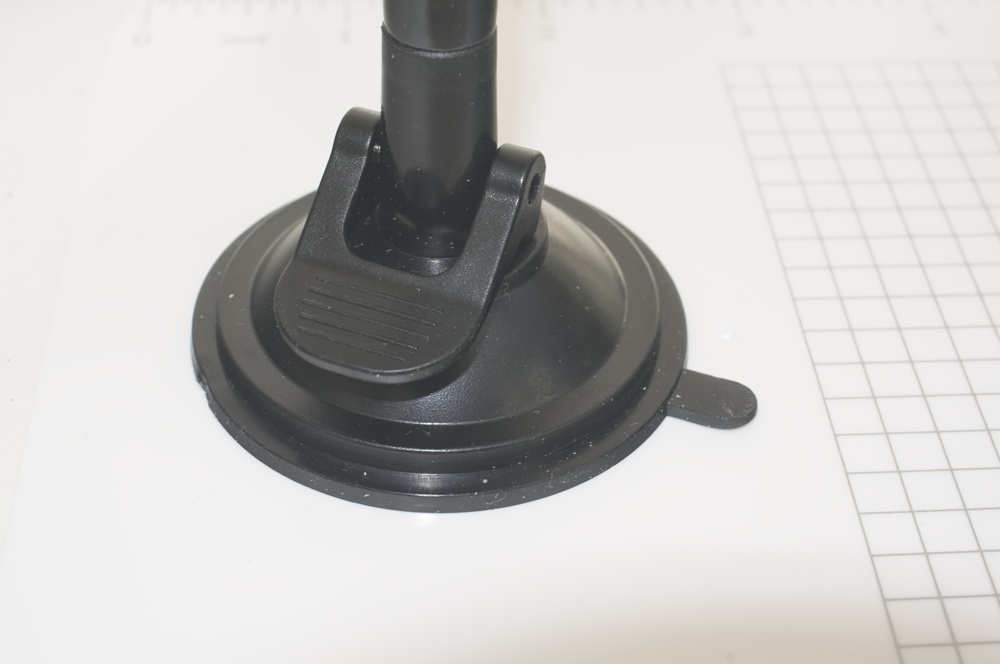
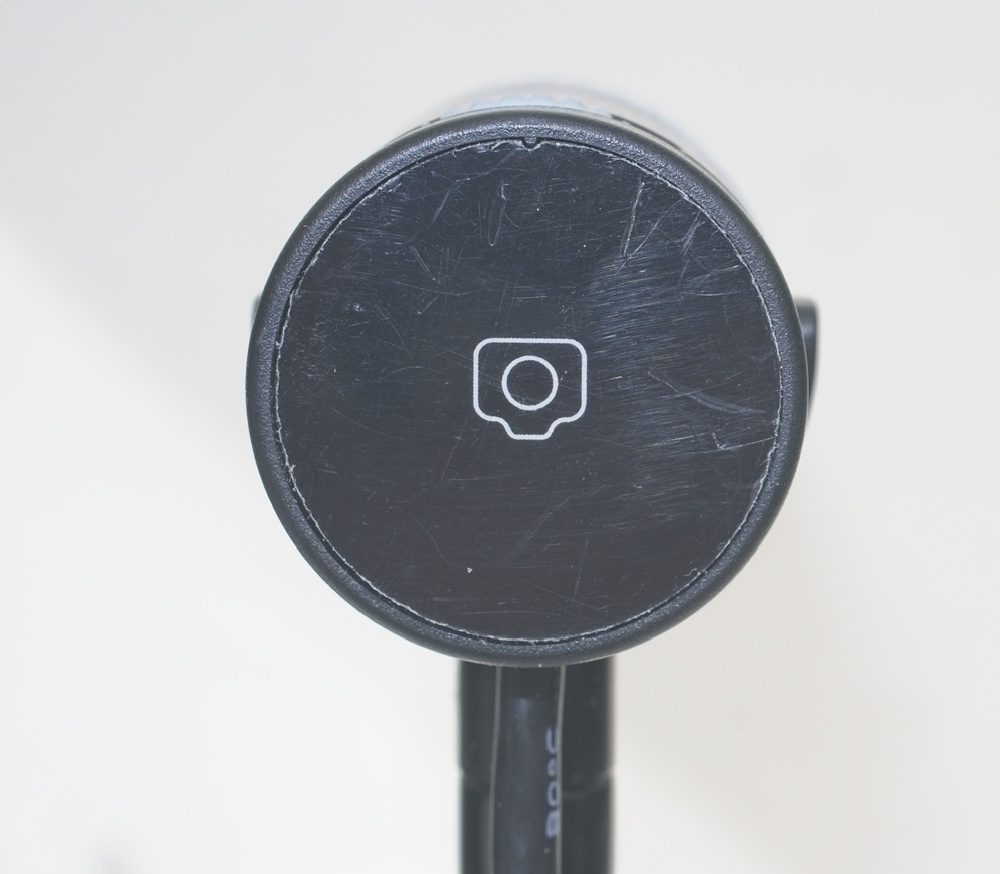
I bought this device for about £35 from amazon, and the main driver for purchasing it was to see if it would provide a good image to use in my continuing 8mm telecine project. That is something I will investigate in the next few days and weeks, but in the mean time I’ve been trying out the device to see how it performs as a microscope.
Pluggable USB microscope design
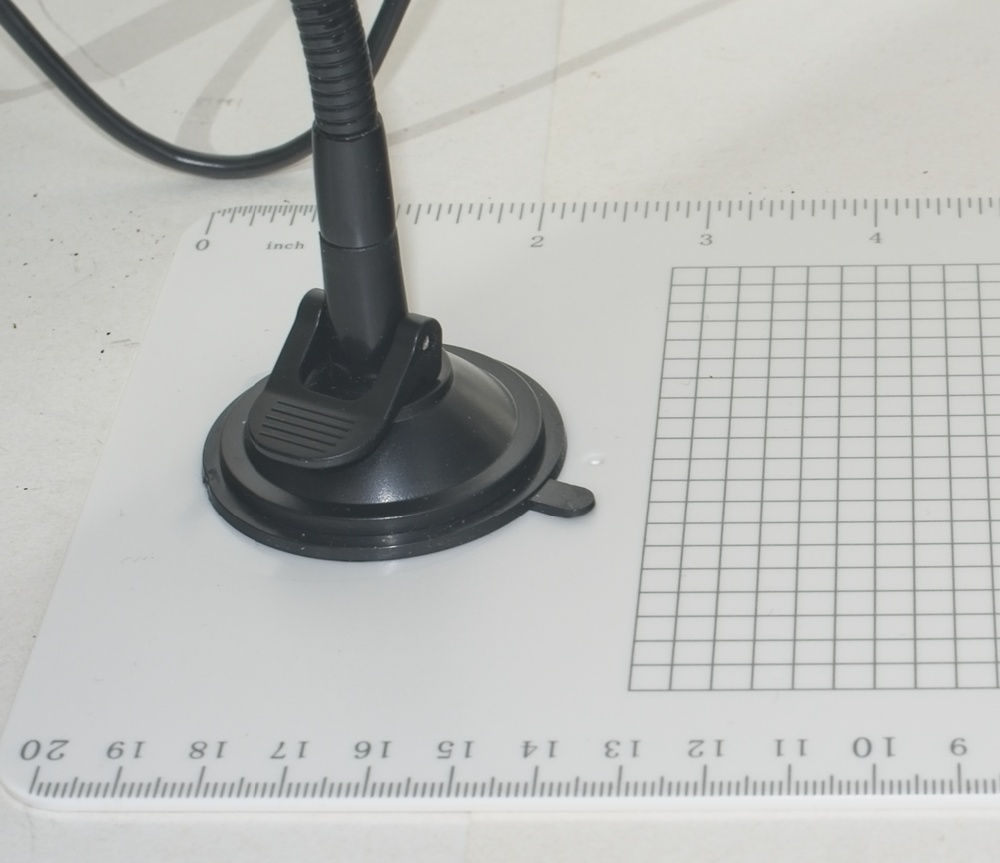
The design of the unit does not resemble a conventional microscope with a set of lenses and viewing screen or eyepiece and a source of illumination from below. Instead, the unit a supplied with a flat board to place specimens on, and a flexible stand which holds the microscope. The flexible stand or arm has a suction grip which fixes to the flat board on one end, and a cradle which mates with the camera at the other. On the end of the camera body is a touch switch which can be used to take pictures.
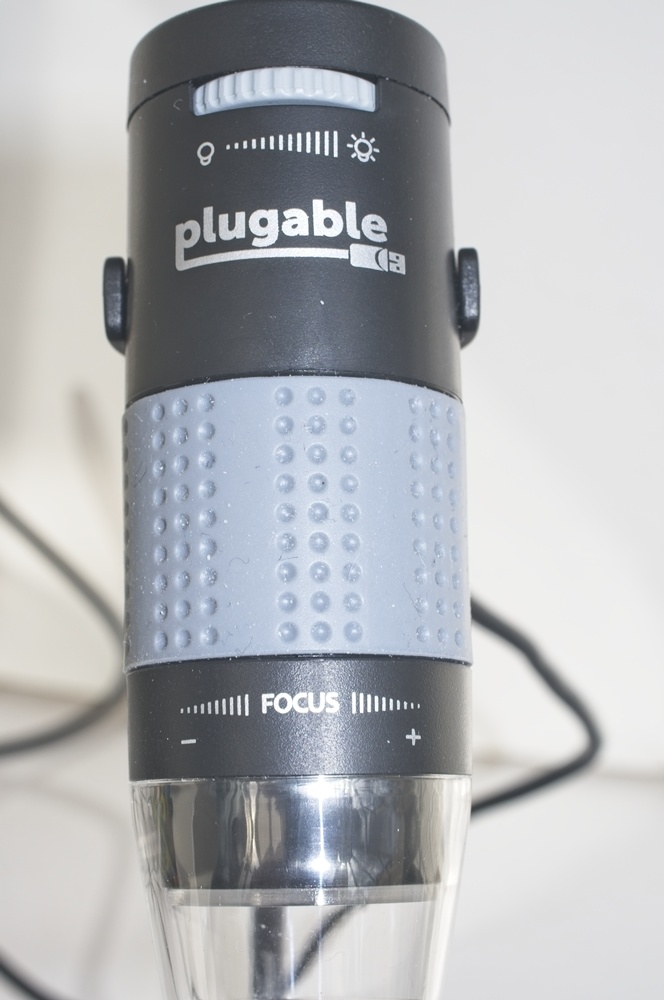
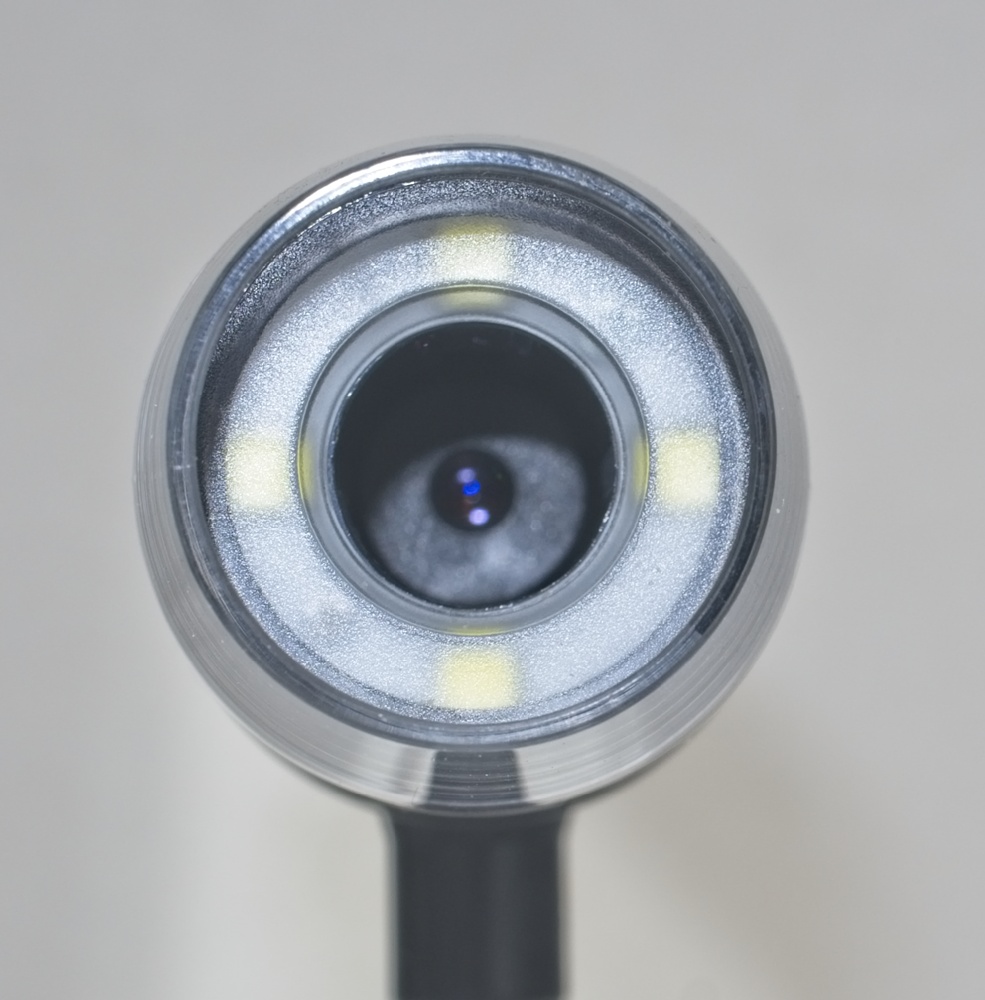
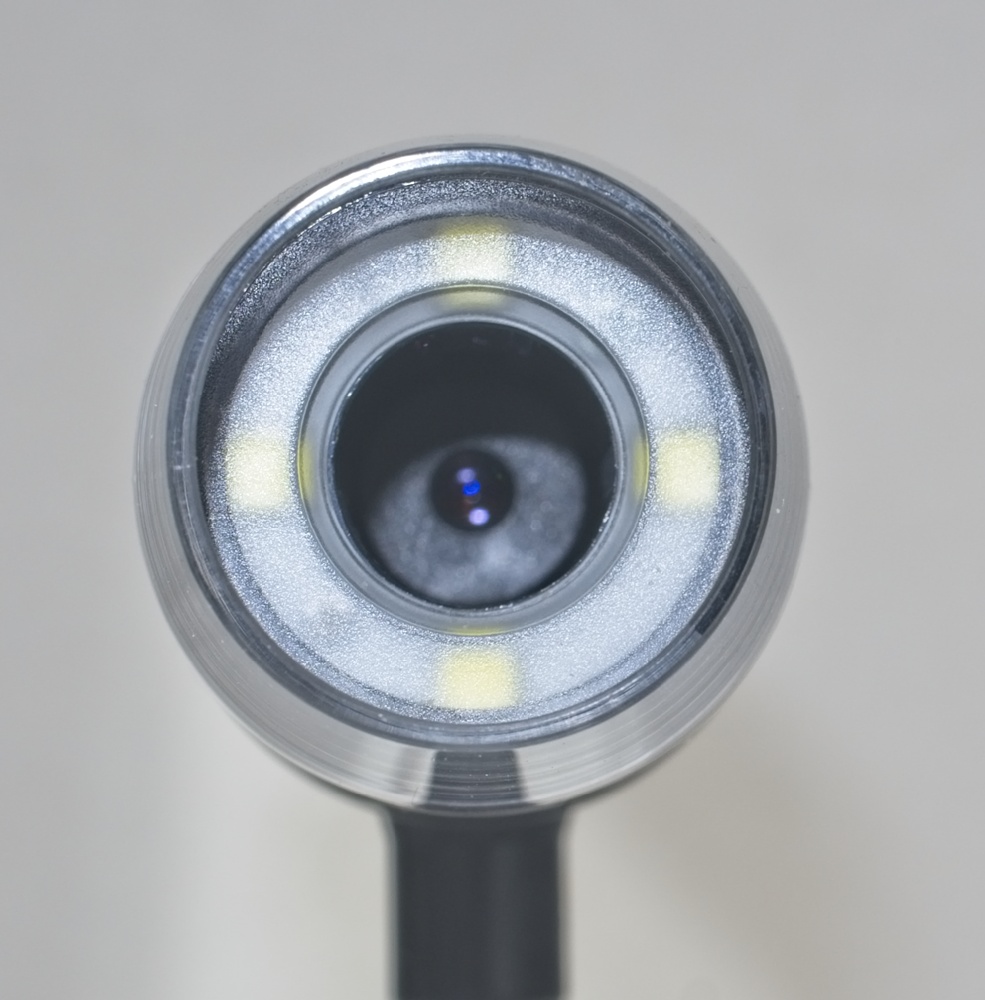
Initially, I thought the flat board was a bit unnecessary, but in fact it has a shaped space to hold the suction grip and it is very effective at holding the microscope in place during use. Illumination of the subject is supplied by 4 LEDs fitted around the barrel of the unit with a thumb dial which sets the level of illumination.
To focus the image, there is a large rubber grip around the barrel of the unit which has a range from infinity to a subject actually touching the front of the unit. The feel of this control is really smooth – I was quite surprised that a relatively inexpensive device has such a precise and smooth control.
In order to protect the unit there is a clear ring fitted to the front.
There is no software supplied in the packaging, but the accompanying booklet gives the URL where software for Windows and Mac can be downloaded and on the homepage for the product I found links to software which works with Linux.
Pluggable microscope in use
I used the microscope on my iMac and my Manjaro linux laptop and found it to be pretty easy to use.
Basically, the unit is plugged into the computer and the software started. Once the microscope camera has been selected (the software may start using the computer’s internal camera if it has one fitted), it’s just a case of placing subjects on the board, setting the illumination and adjusting the focus ring to get a clear picture.
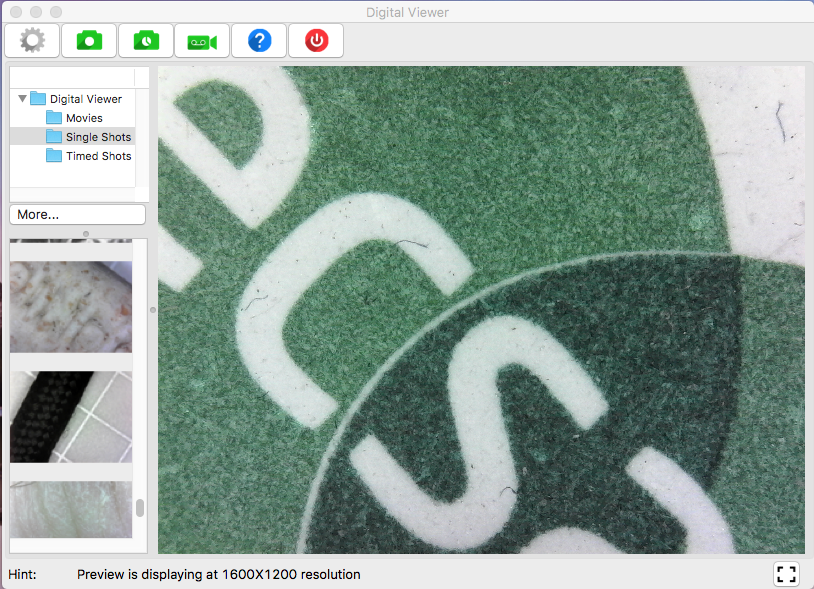
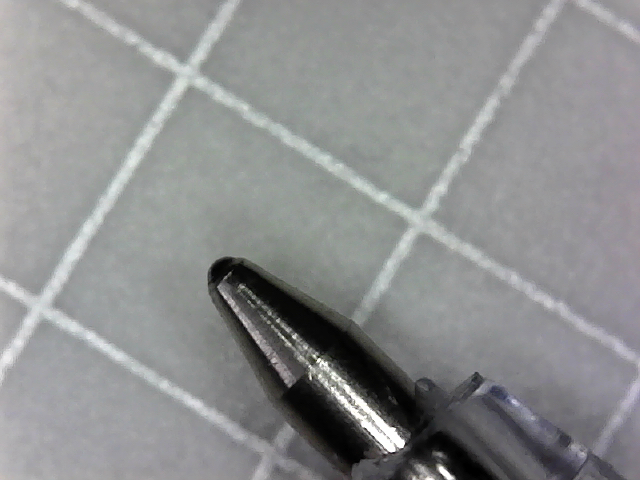
I found the unit quite fun to play with and it gives some interesting views of household objects at close quarters. I found that at the higher resolutions ( 1600 x 1200 is the top resolution) you need to be pretty careful to keep the unit still otherwise the image is quite blurred and distorted, and the switch on the back of the unit is pretty much useless for actually taking an image. As soon as you touch it, the microscope the image will bounce about so the picture you take will be worthless; fortunately this doesn’t really matter because it’s easy to take pictures from the software.
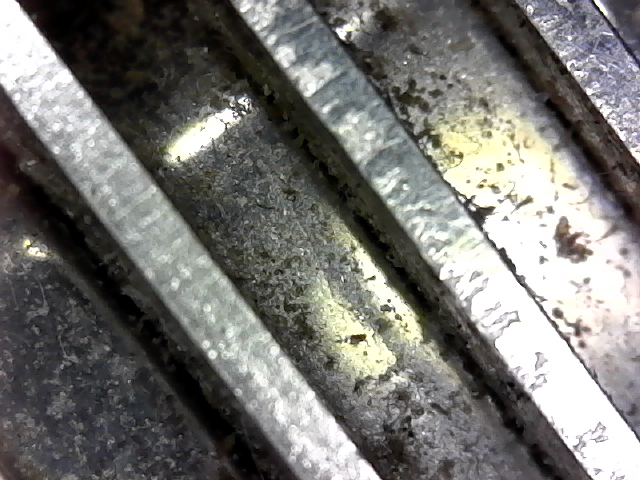
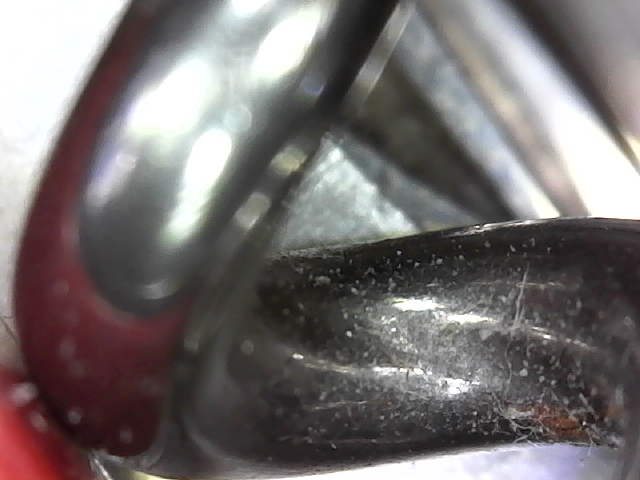
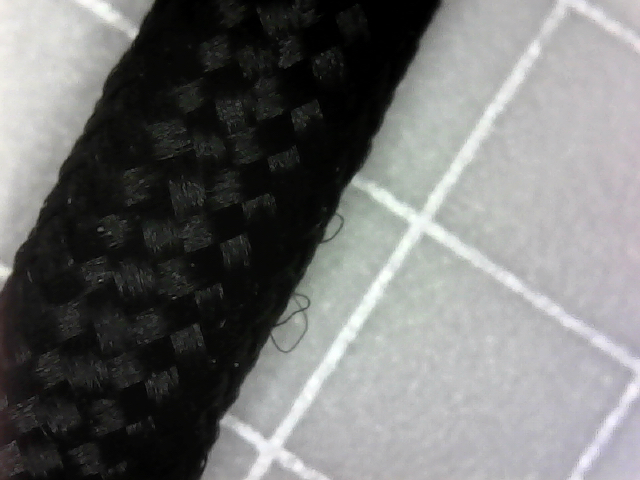
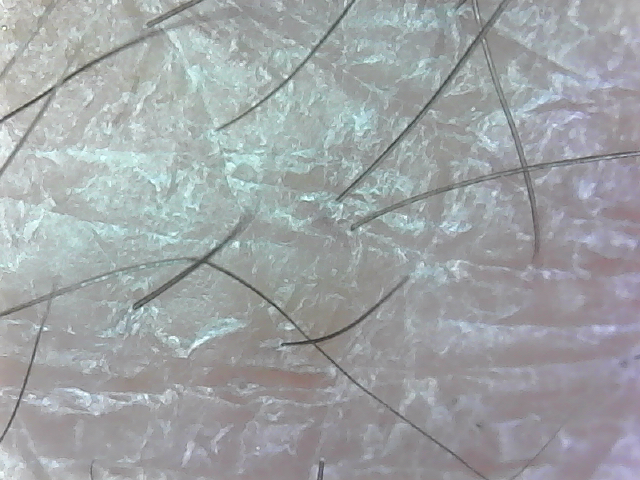
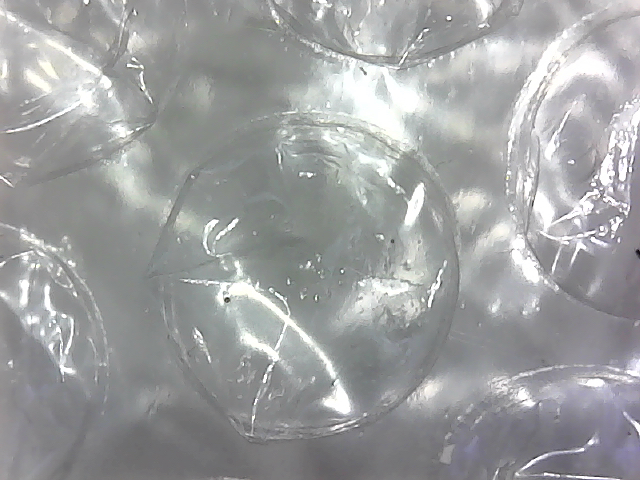
The images below were all taken with the microscope and are straight jpeg images from the Mac version of the software with no enhancements or changes.



Hi Simon, I build a telecini machine using a Eumig Mark S 712 machine with a Kaiser Bass digital microscope for a camera in 2013.
I digitised about 7000 ft of film some of which had sound. Spent a great deal of time achieving sound sync.
I was asked recently to digitise more footage for a friend and had to revisit what I acturally did 6 years ago.
Thinking I may need an improved light source.