Caffenol trial no 2
I was fascinated last week to try my hand at developing film in caffenol. So fascinated that I decided I really needed to have another go to see if I could get better results, so this post describe my experiences during caffenol trial no 2.
One thing which really needed to change was the tank I used. Last week I used my Agfa Rondinax daylight tank but all the film got bunched up in the centre of the reel and only the outside few exposures actually got developed, so this time I ventured into the cupboard under the stairs, shut the door and, with my Son James pushing the door as tightly shut as he could I loaded up my Paterson Universal tank instead.
The only issue I have had with this tank is the reel pulling apart just as I got the film loaded, so I stuck a couple of loom bands from my Daughters set around the central tube to stop this!
The other issue I was concerned about last time I tried caffenol was measuring the quantities of the ingredients because I used a set of kitchen scales. Although they were digital scales, they didn’t resolve down to 1g so I couldn’t be sure that the measurements were accurate. To resolve that problem I bought a small portable scale from Amazon for only a few pounds which could resolve to 0.01g. Using this I was pretty sure the measurement would be more accurate.
Once again I used the same basic formula, Caffenol C-M, this time mixing up enough for the Paterson tank which was
- 330 ml Water
- 18g washing soda
- 5.3g vitamin C
- 14g Coffee
using the same method as my last post. I used the same development time of 12 minutes, with an inversion of the tank every minute and a couple of washes with water prior to the fixing bath.
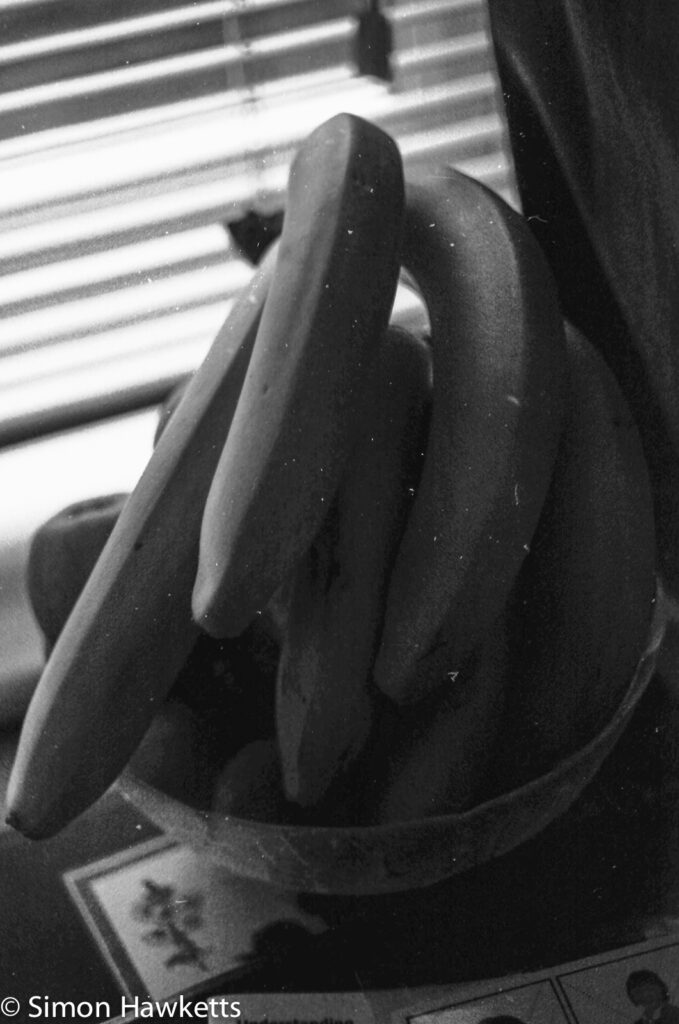
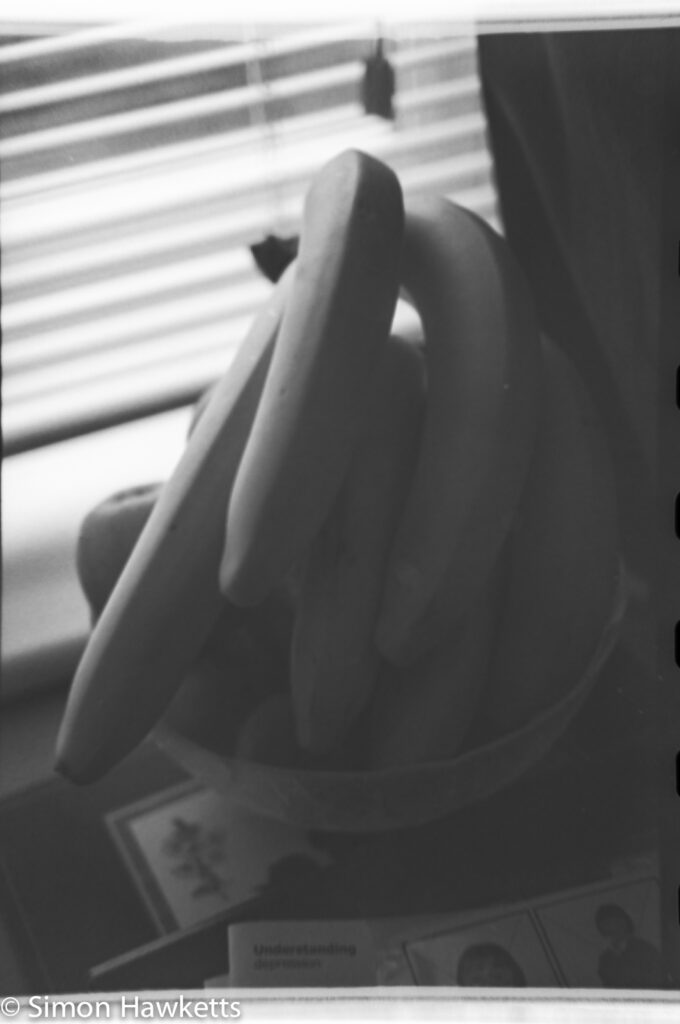
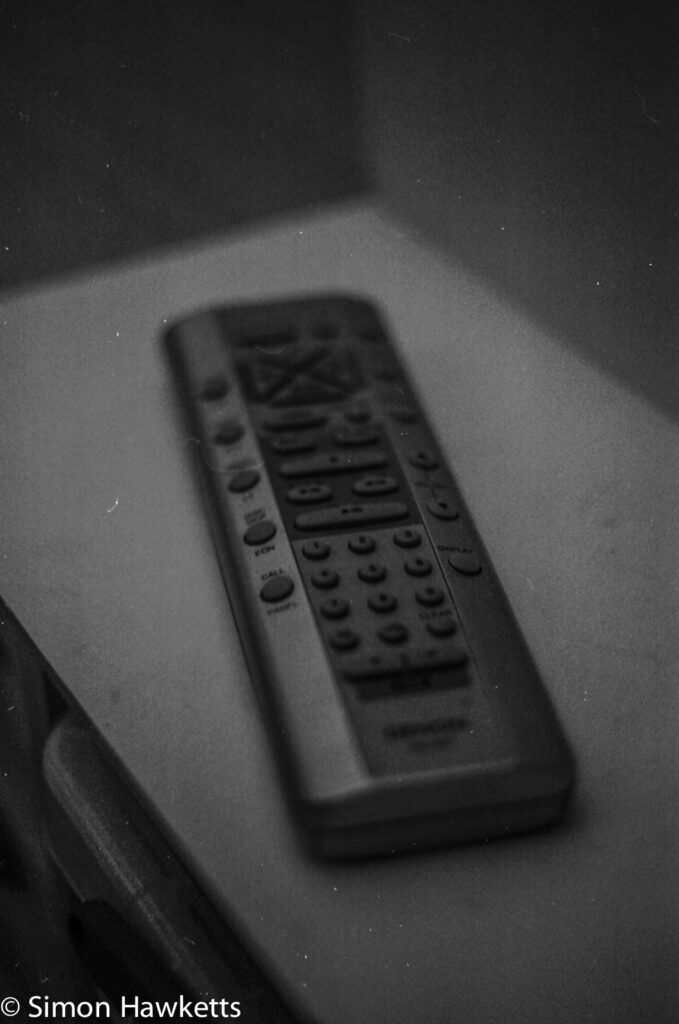
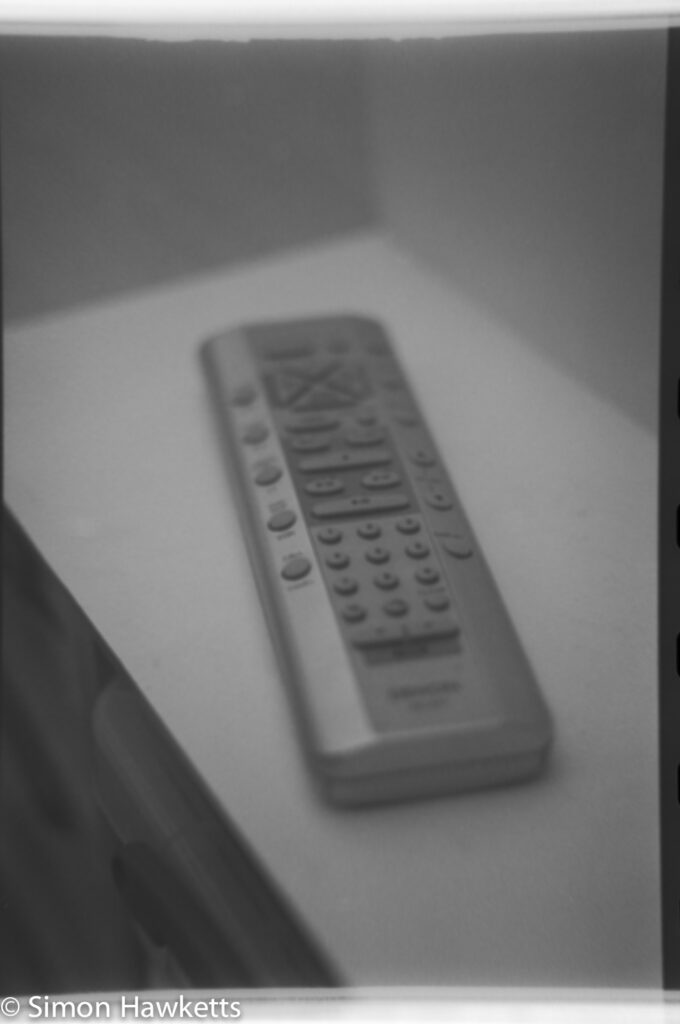
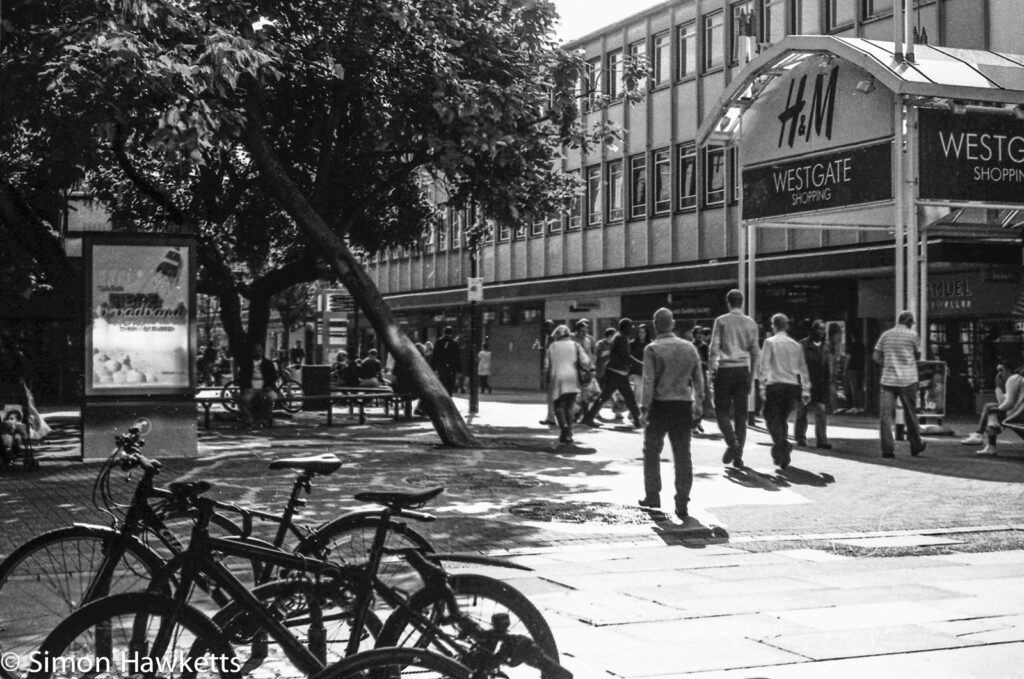
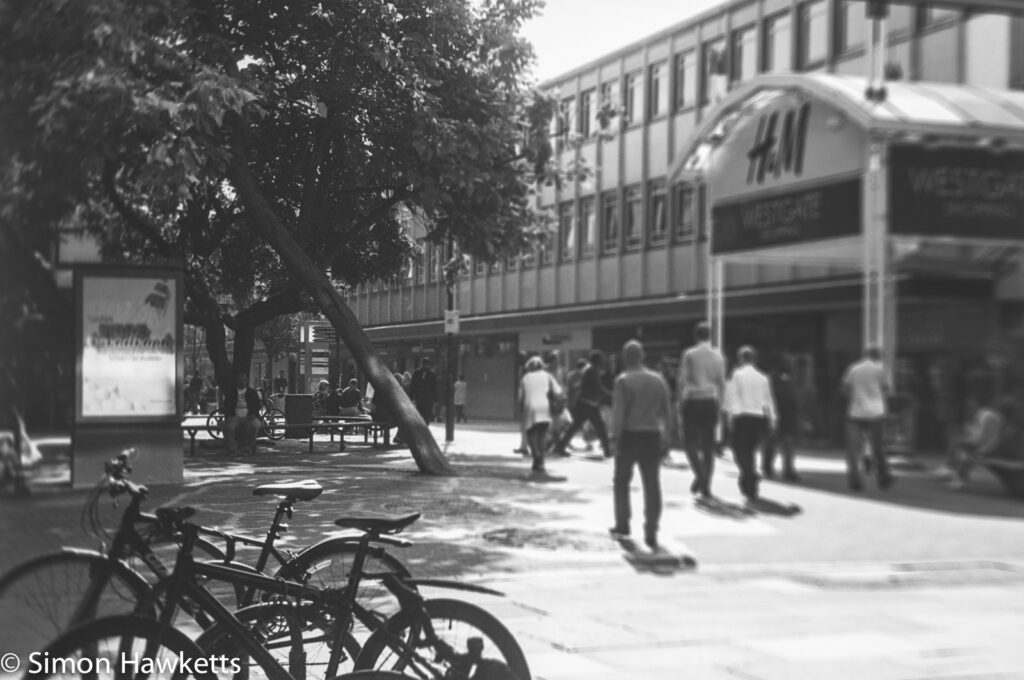
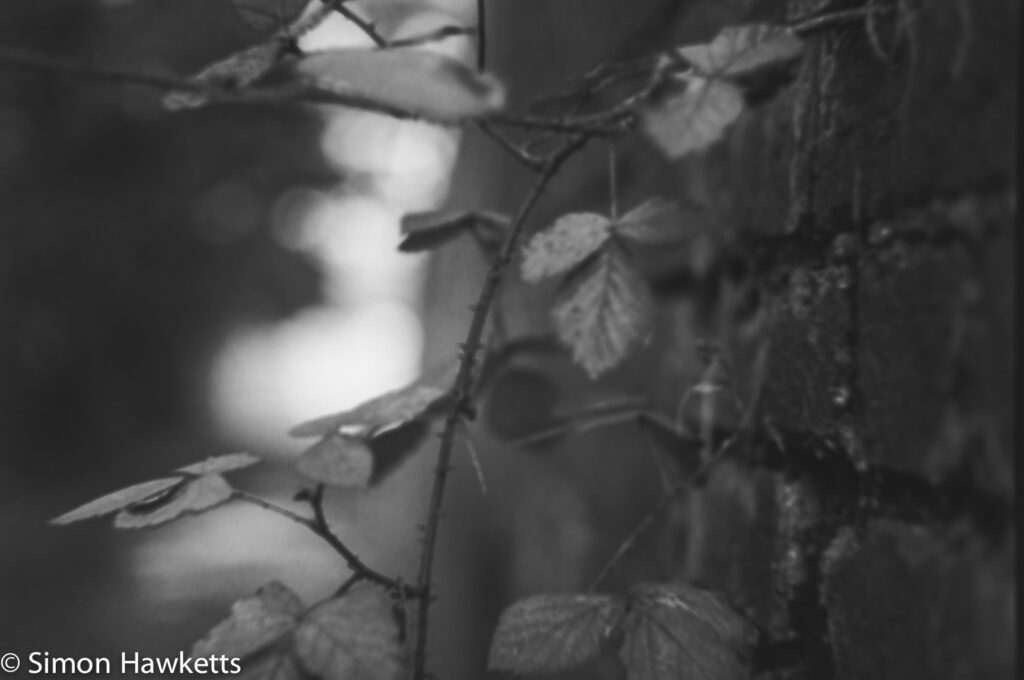
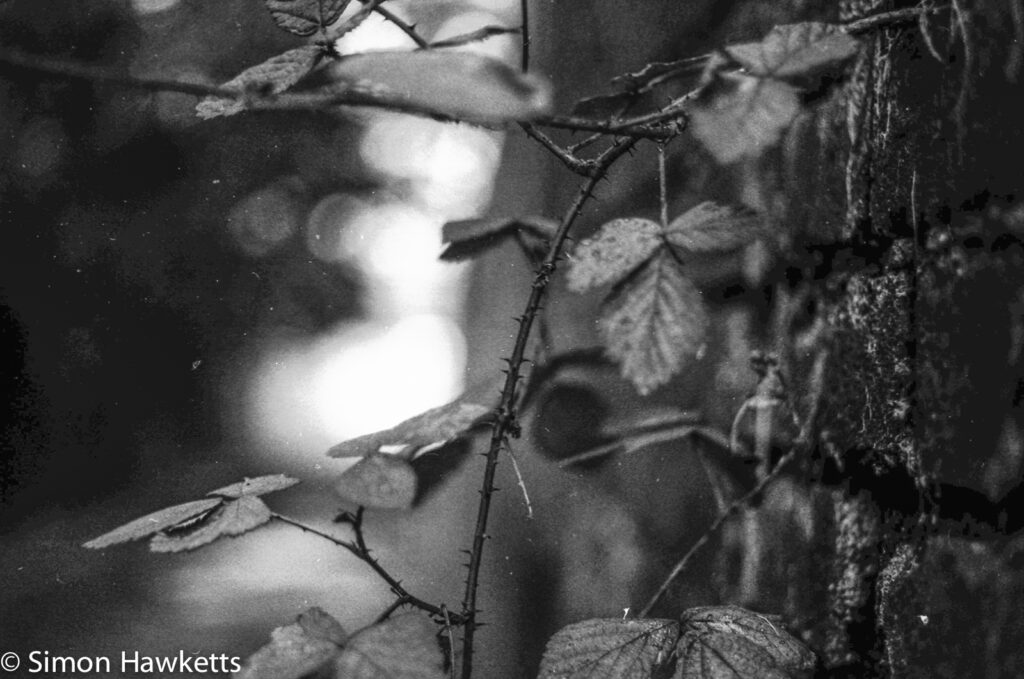
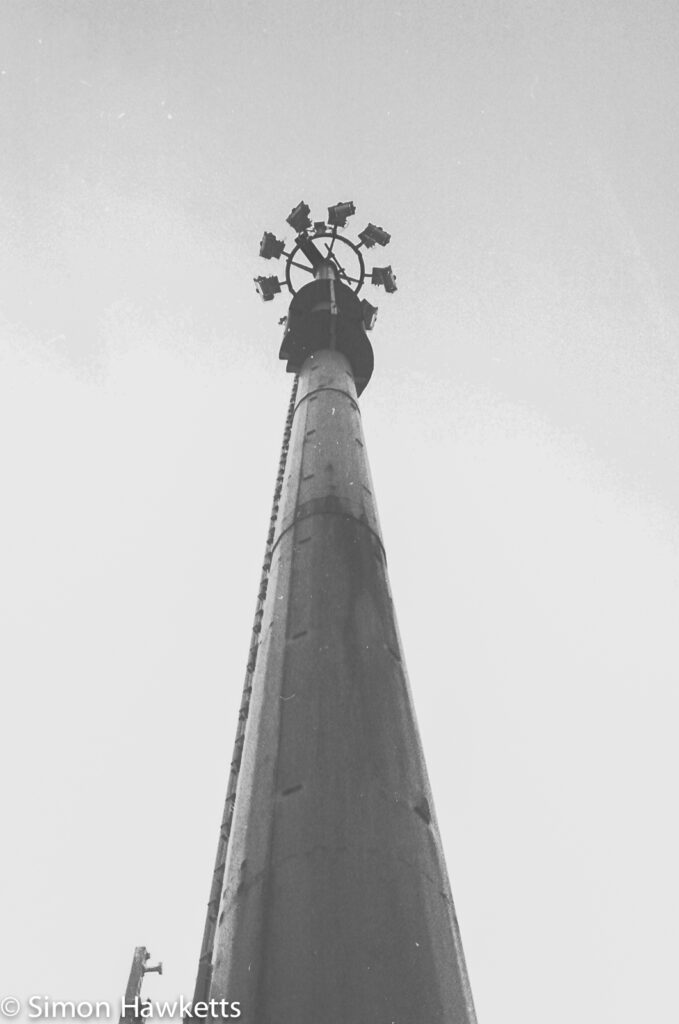
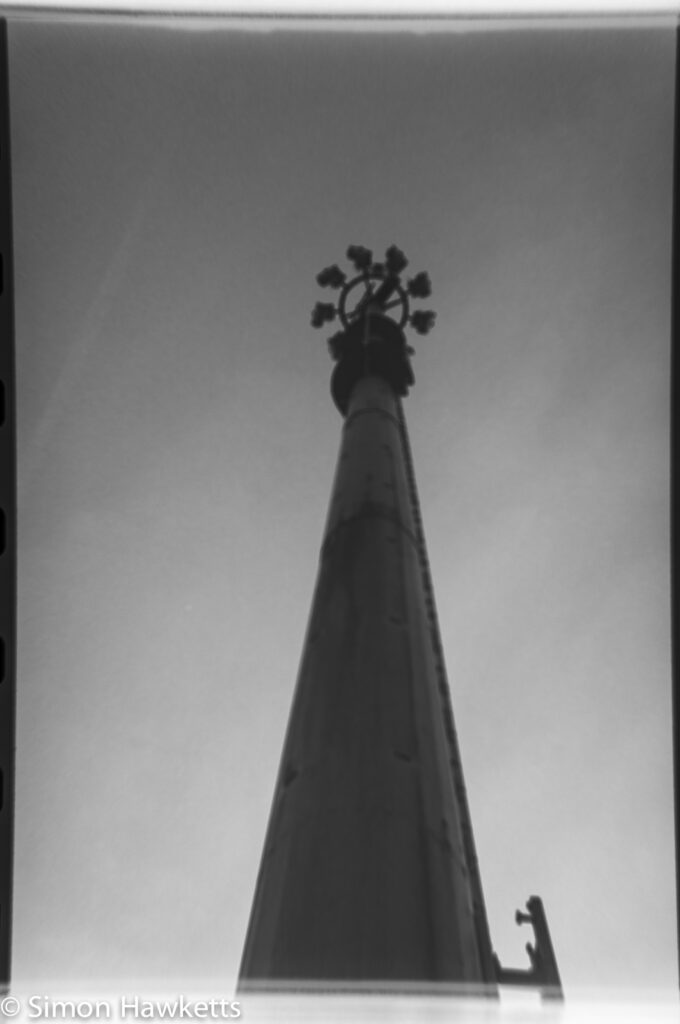
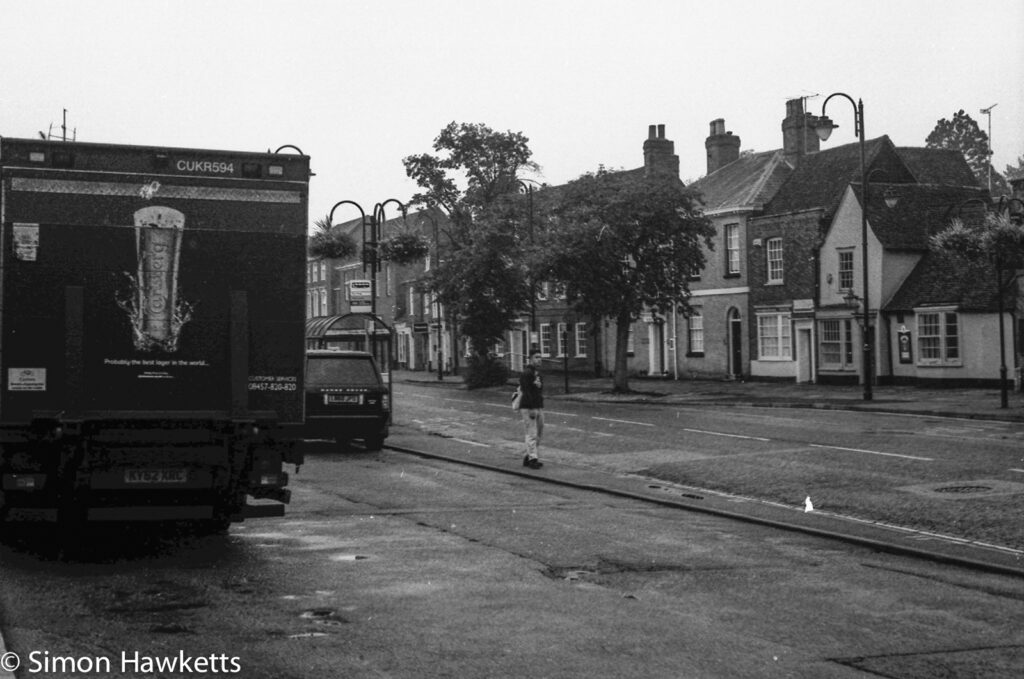
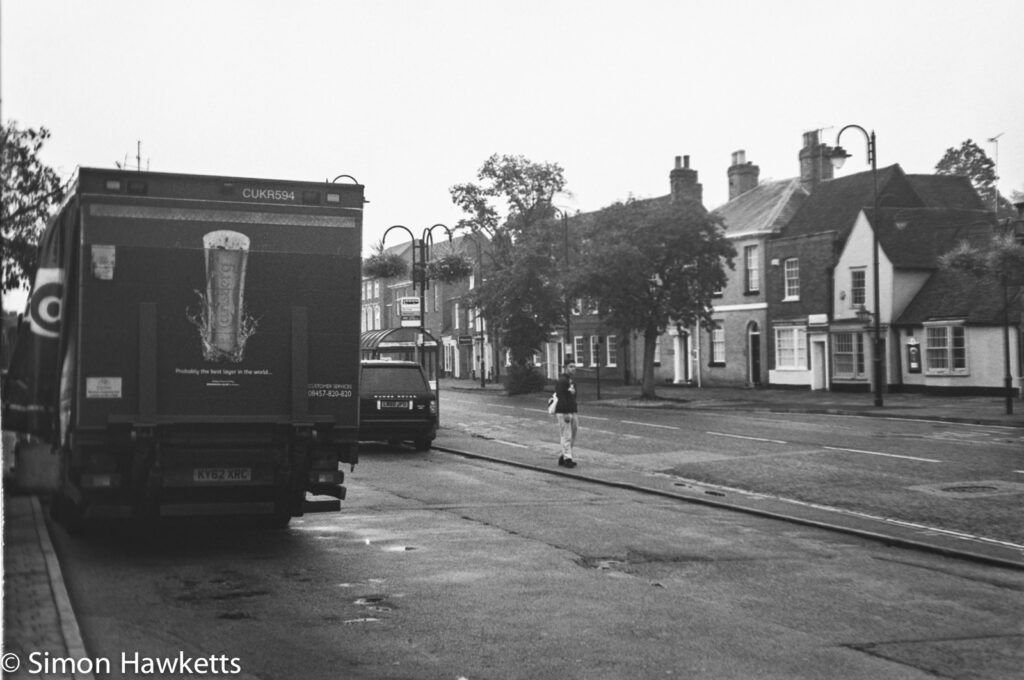
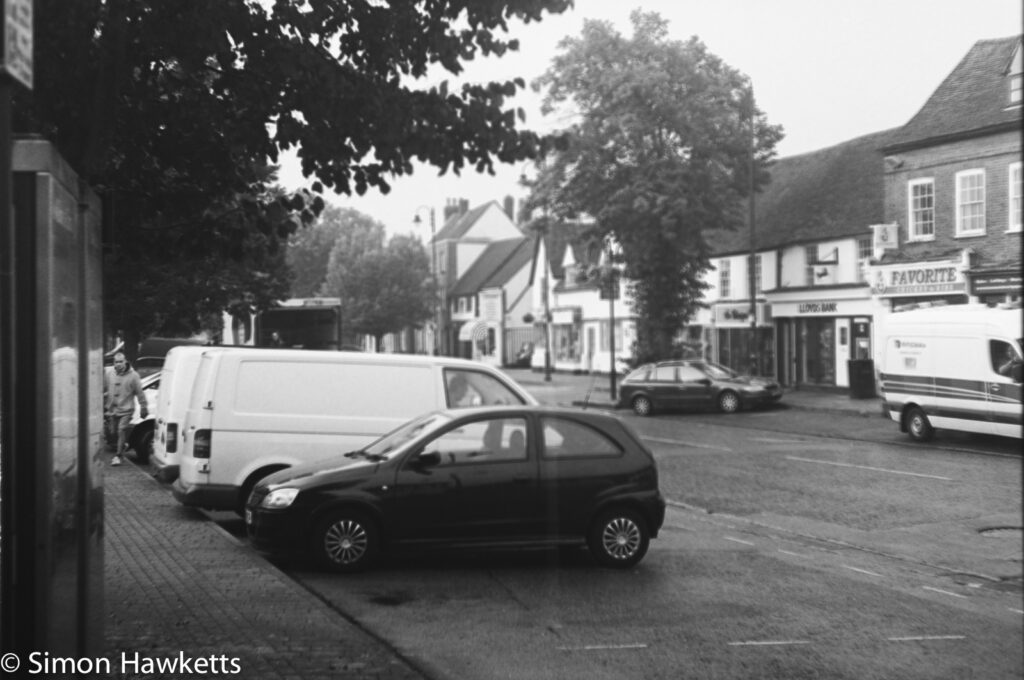
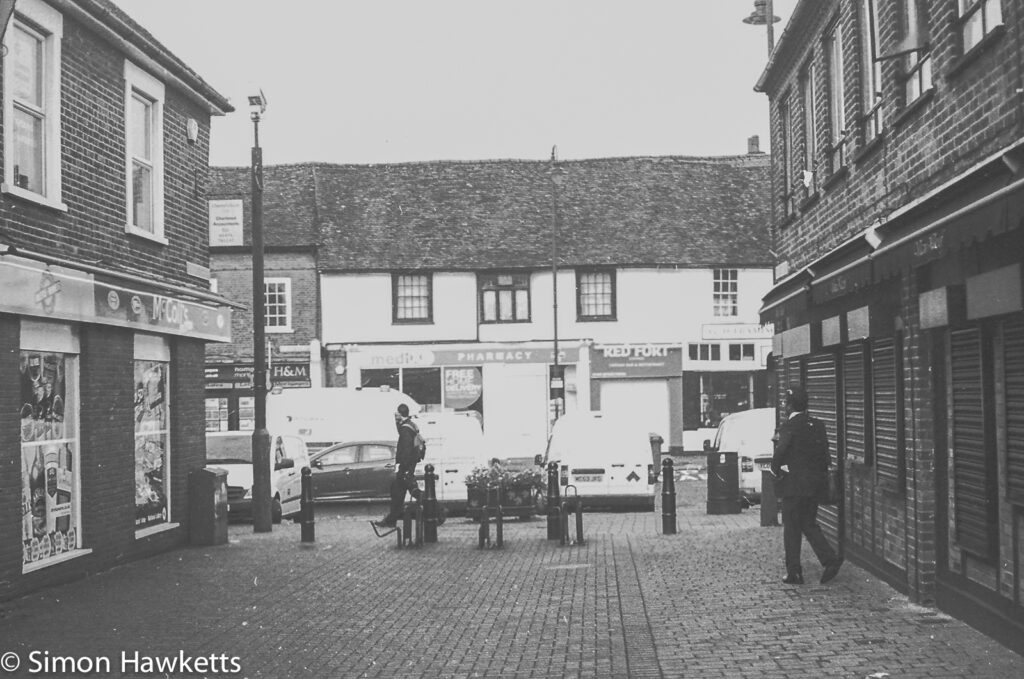
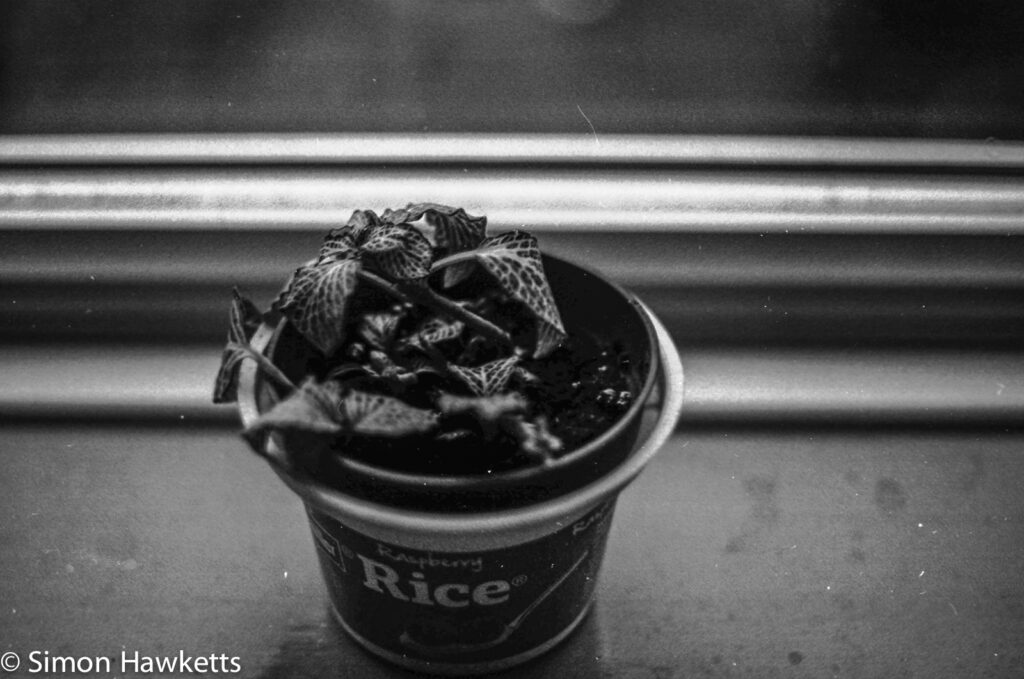
I’m happy to say that this time all the frames got exposed and the results are posted below. These were taken with a Mamiya ZM Quartz camera which I had loaded with an FP4 film a few weeks ago when I bought it.
So to the results.
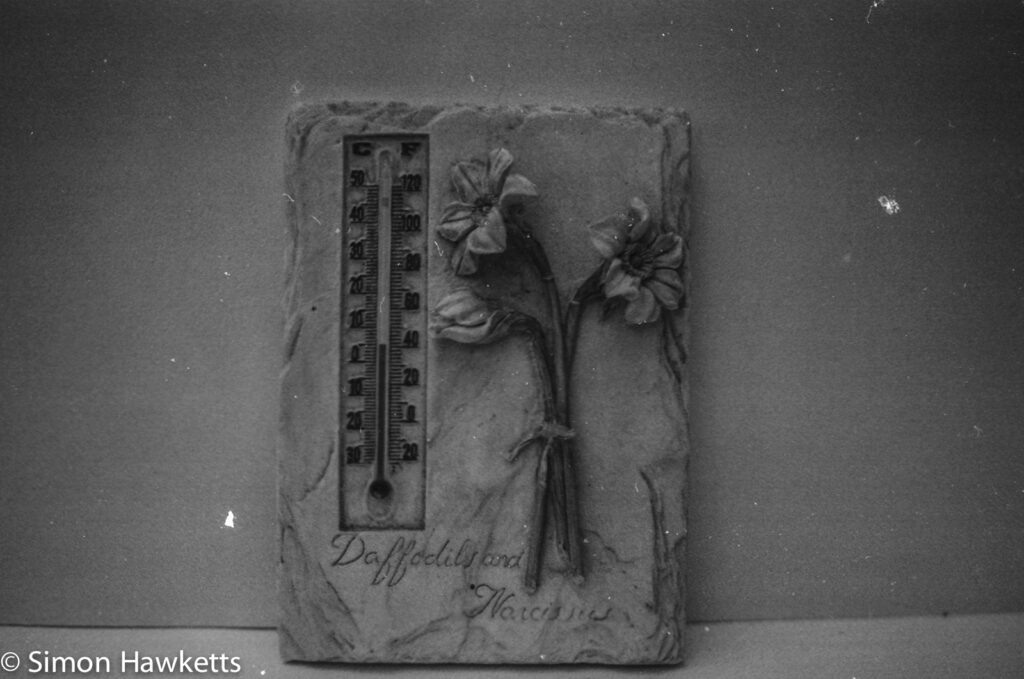
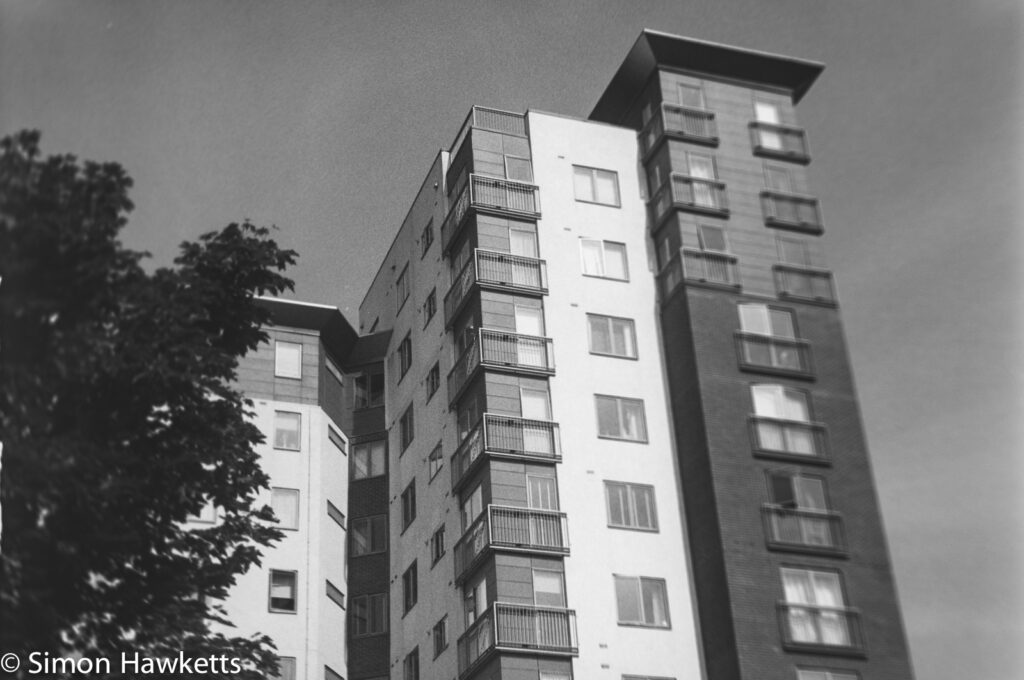
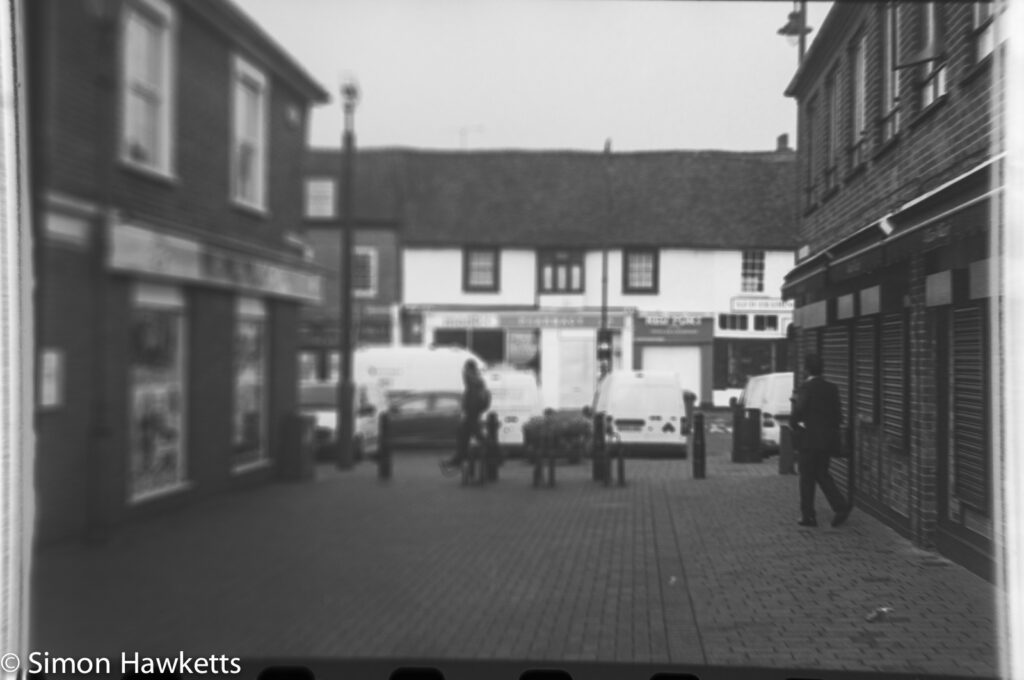
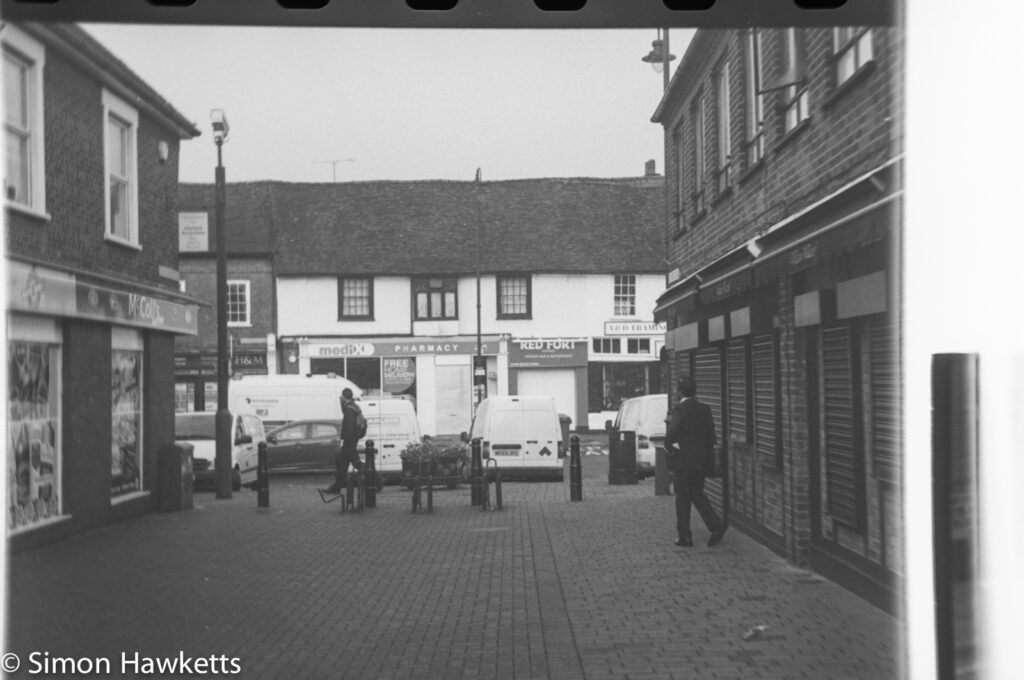
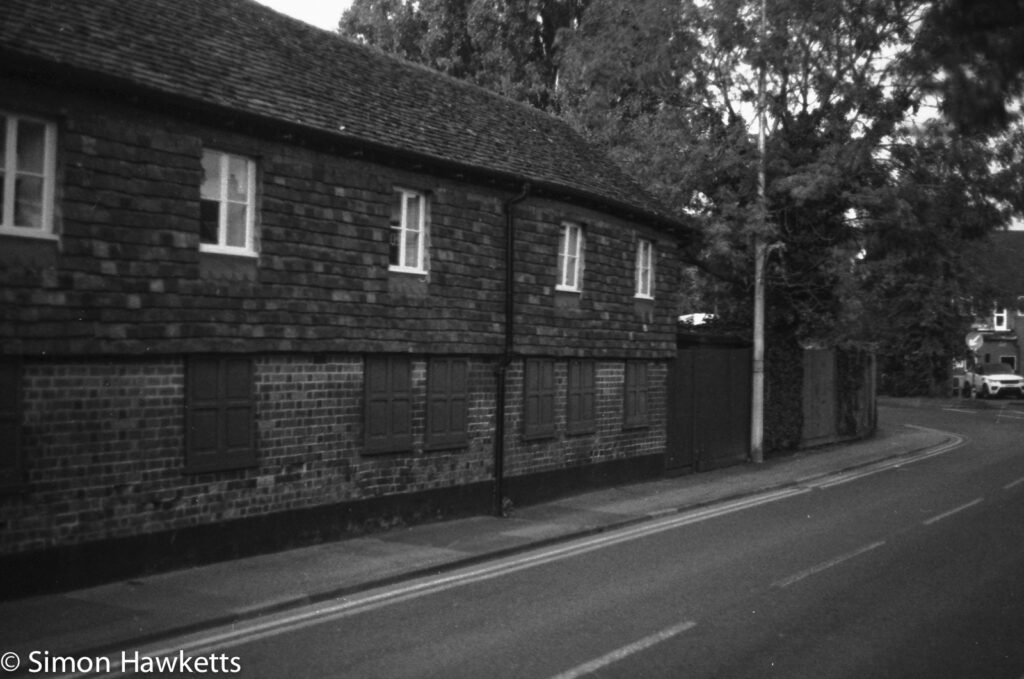
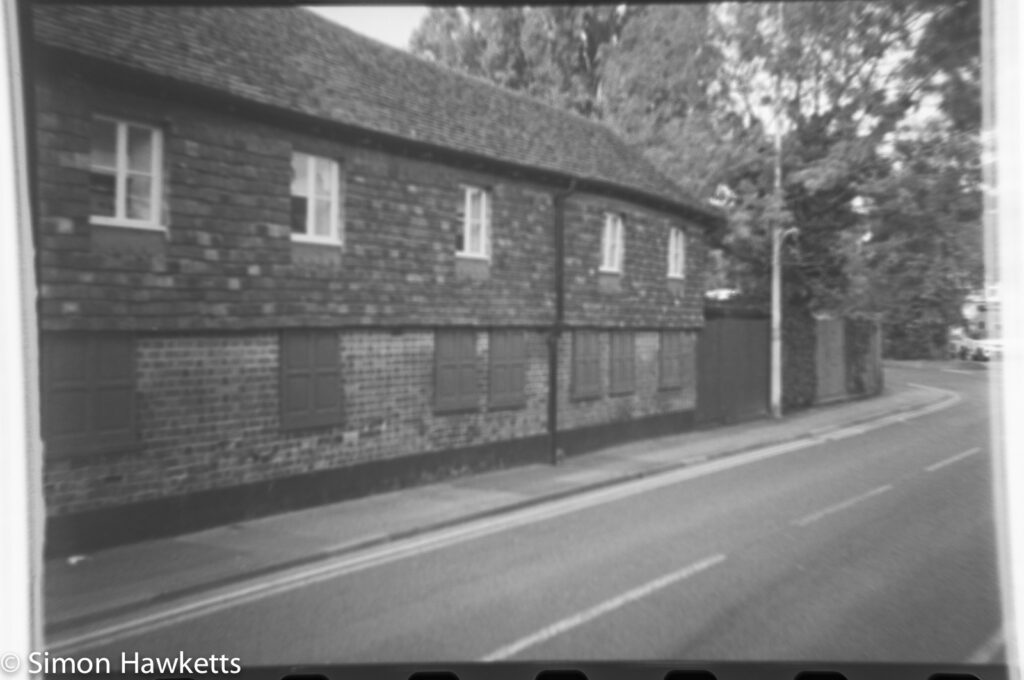
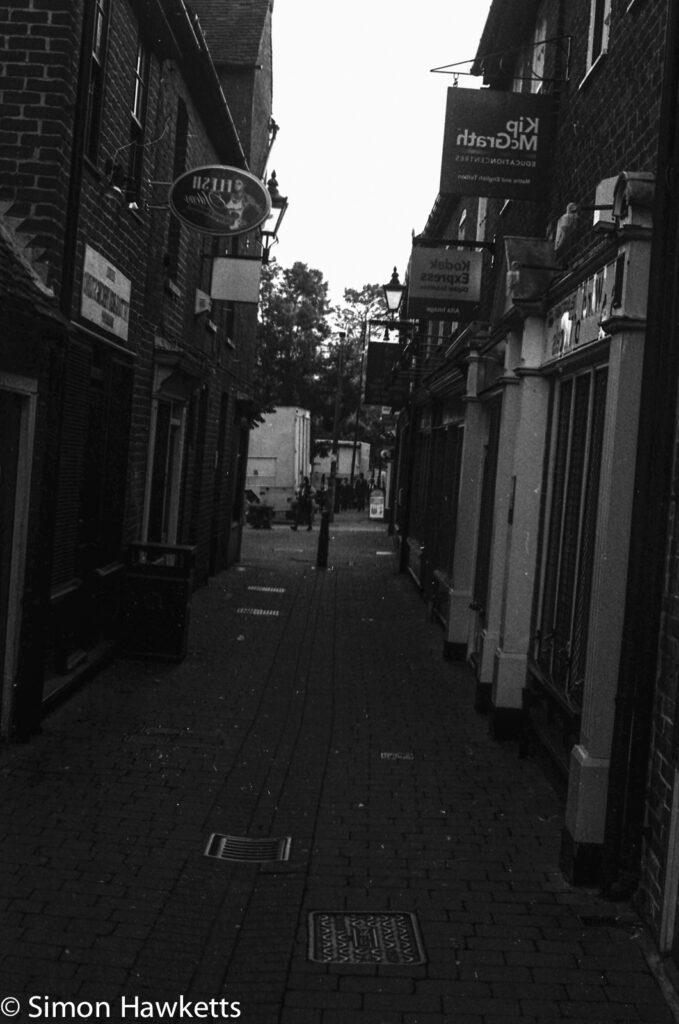
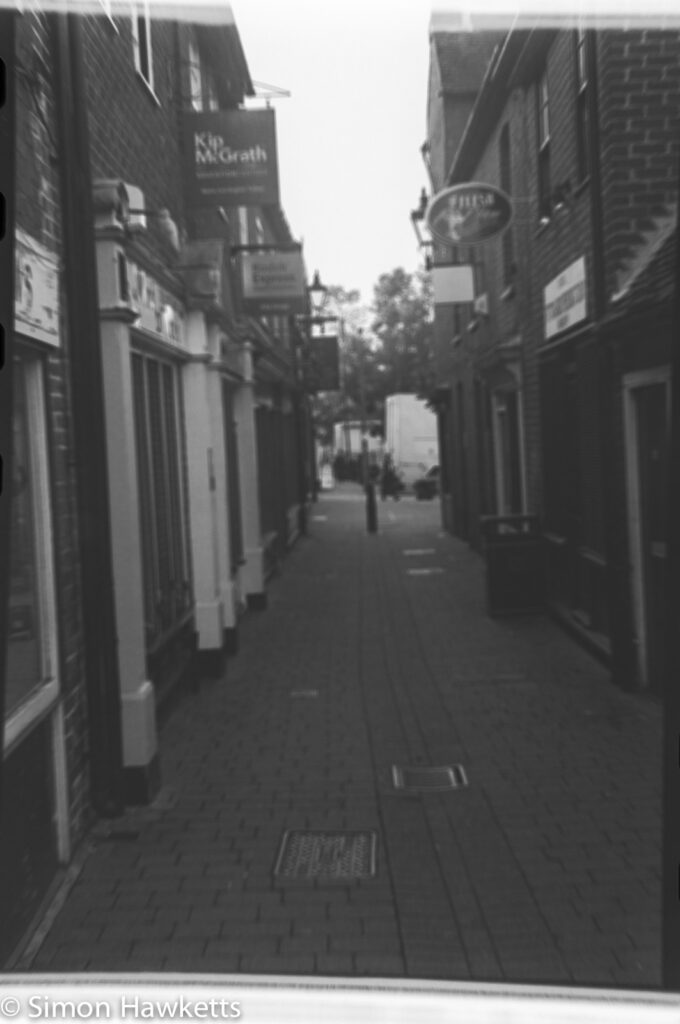
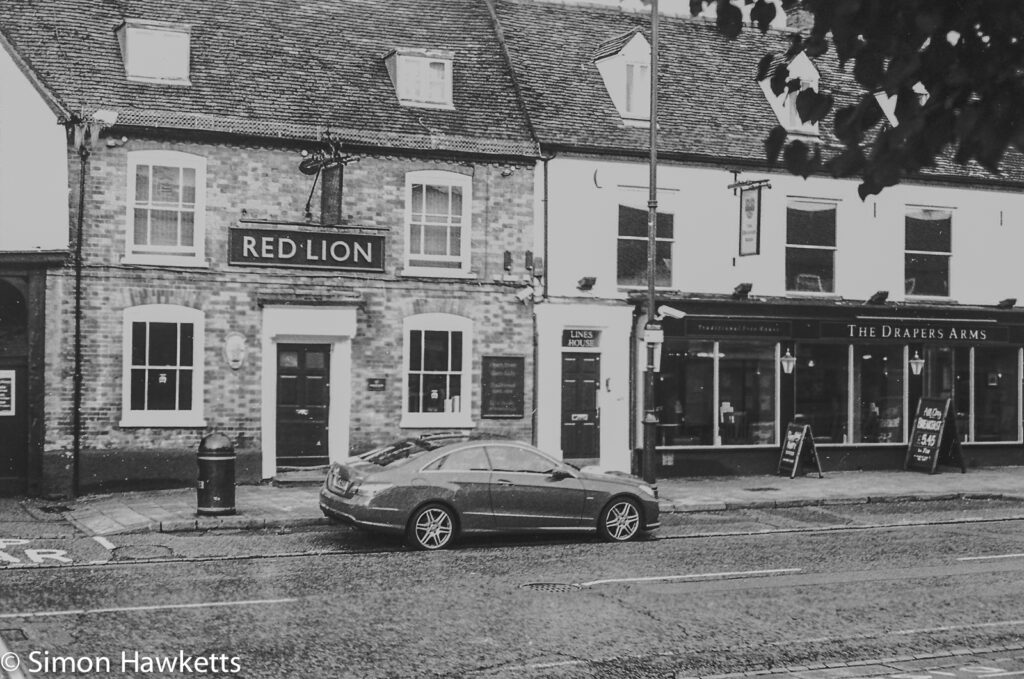
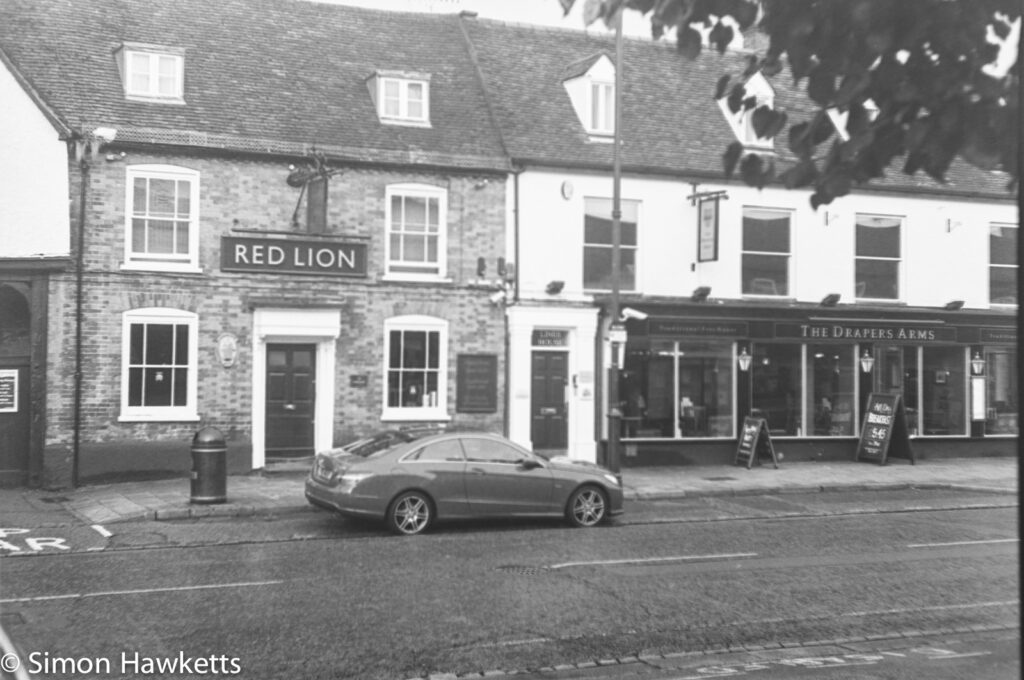
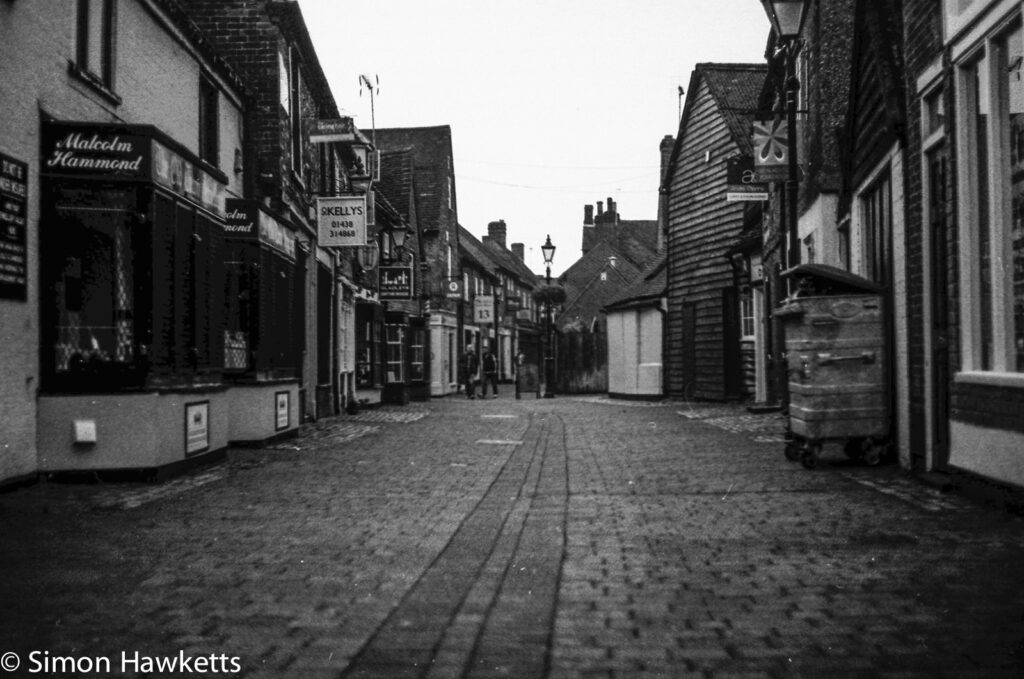
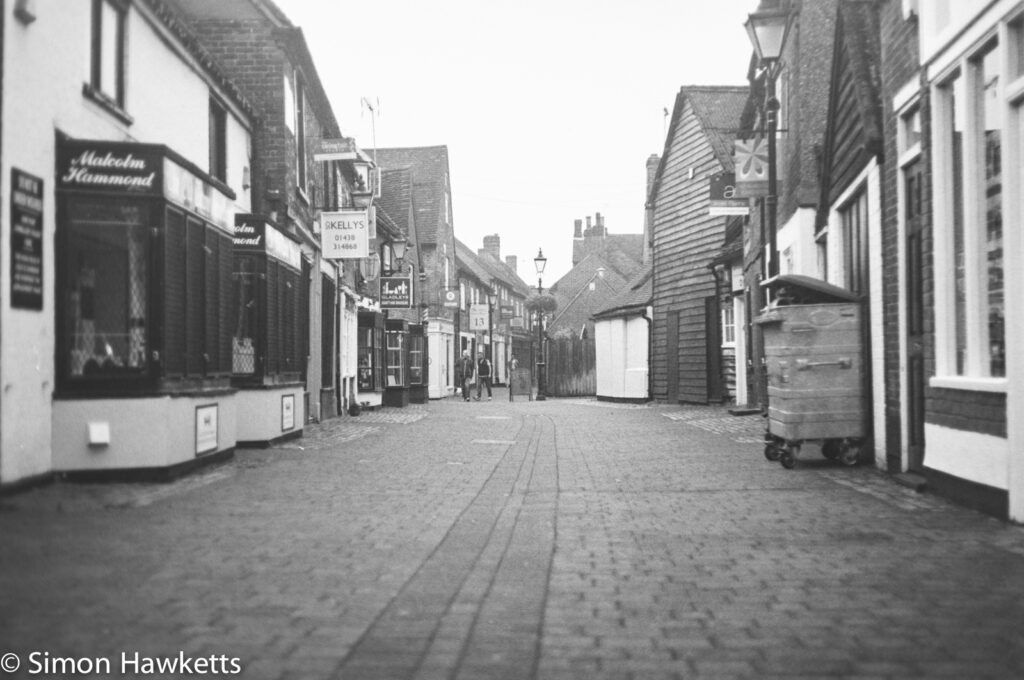
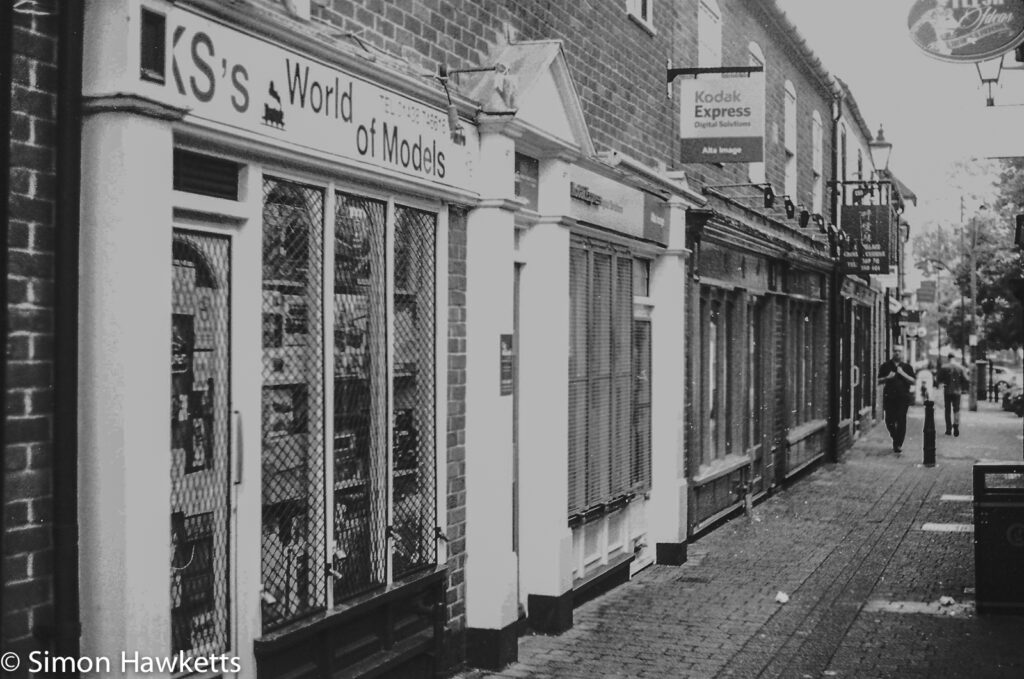
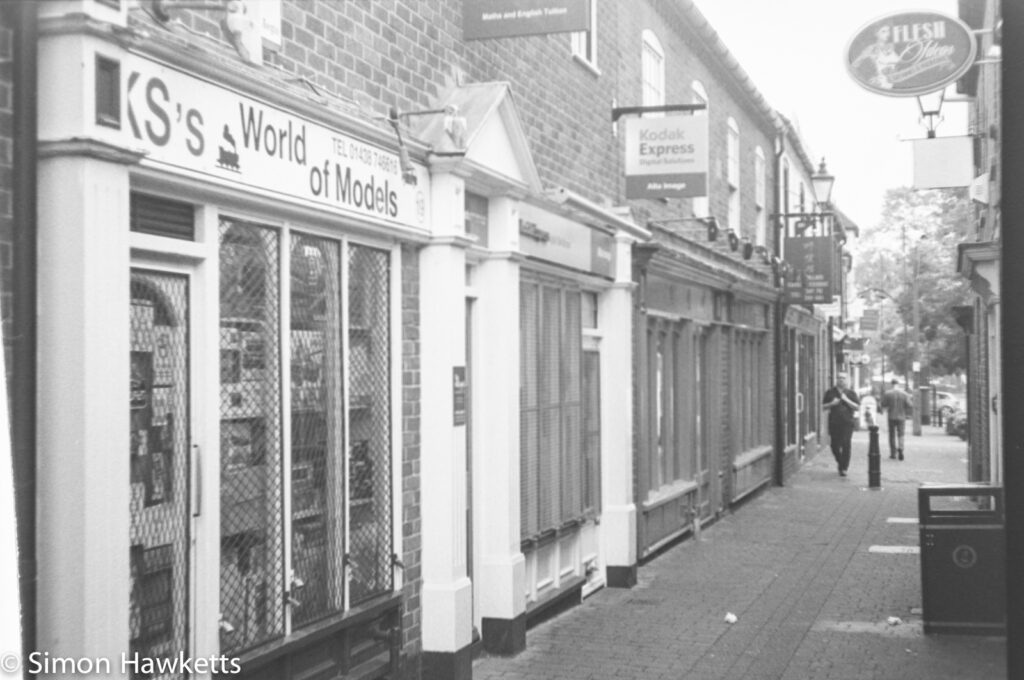
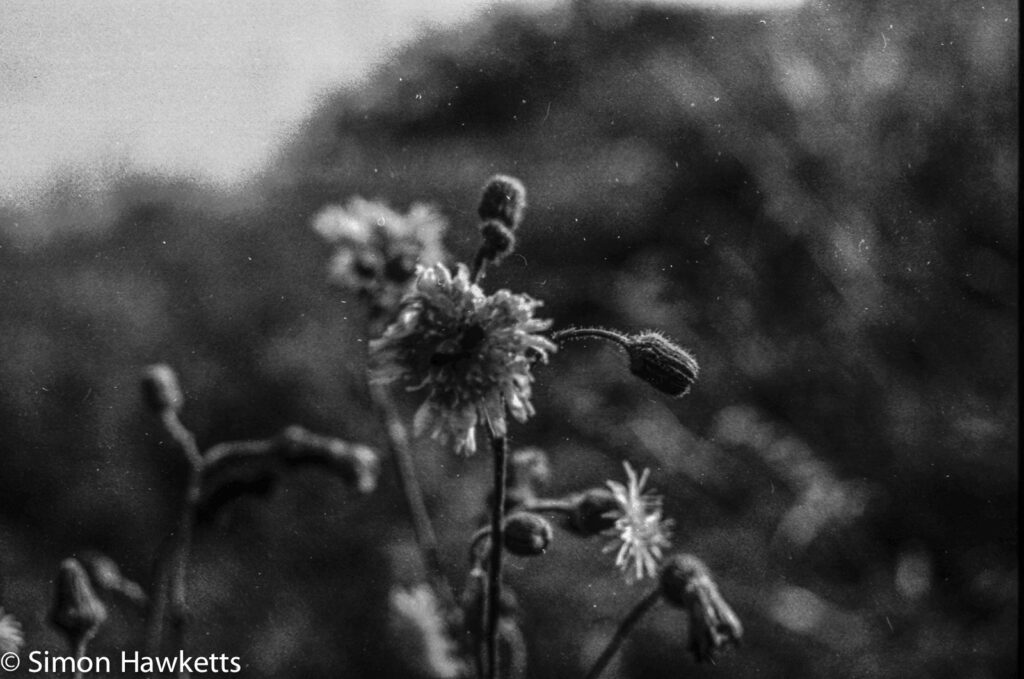
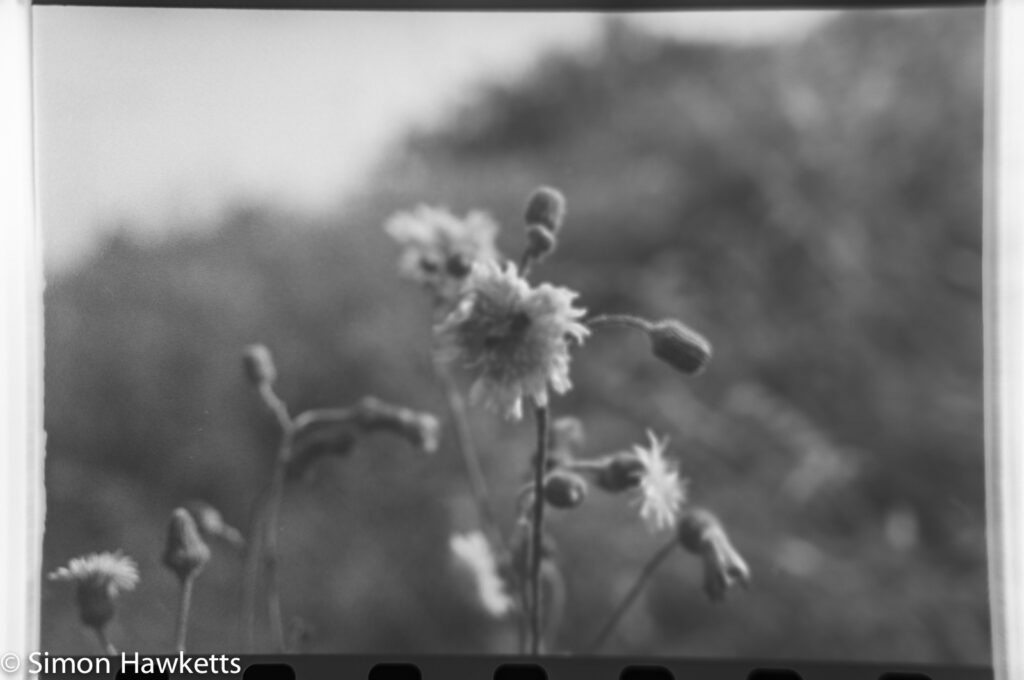
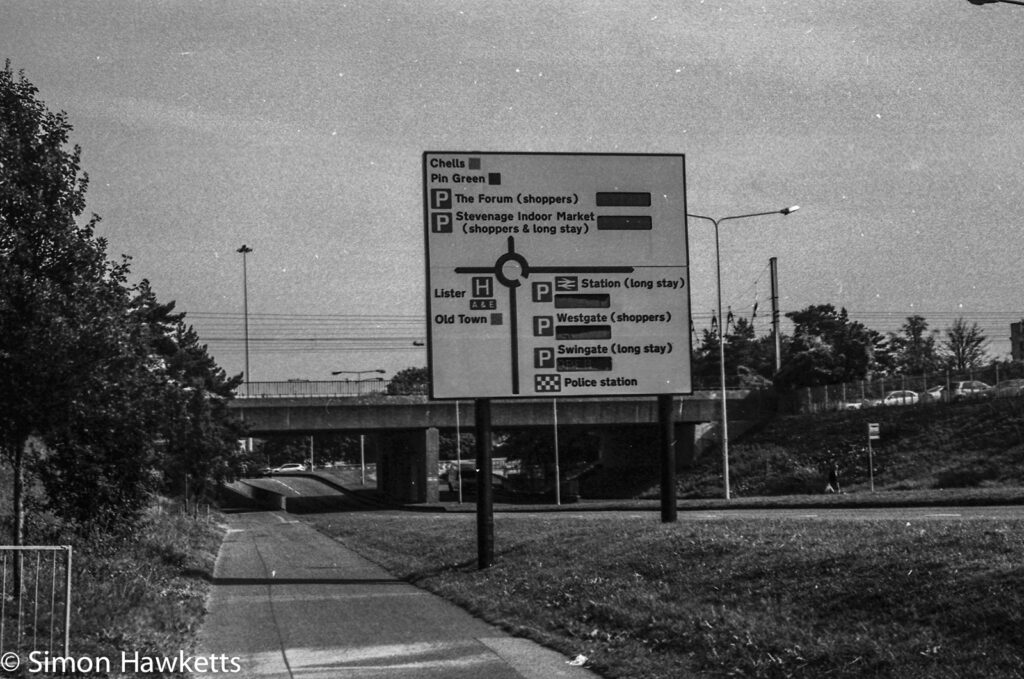
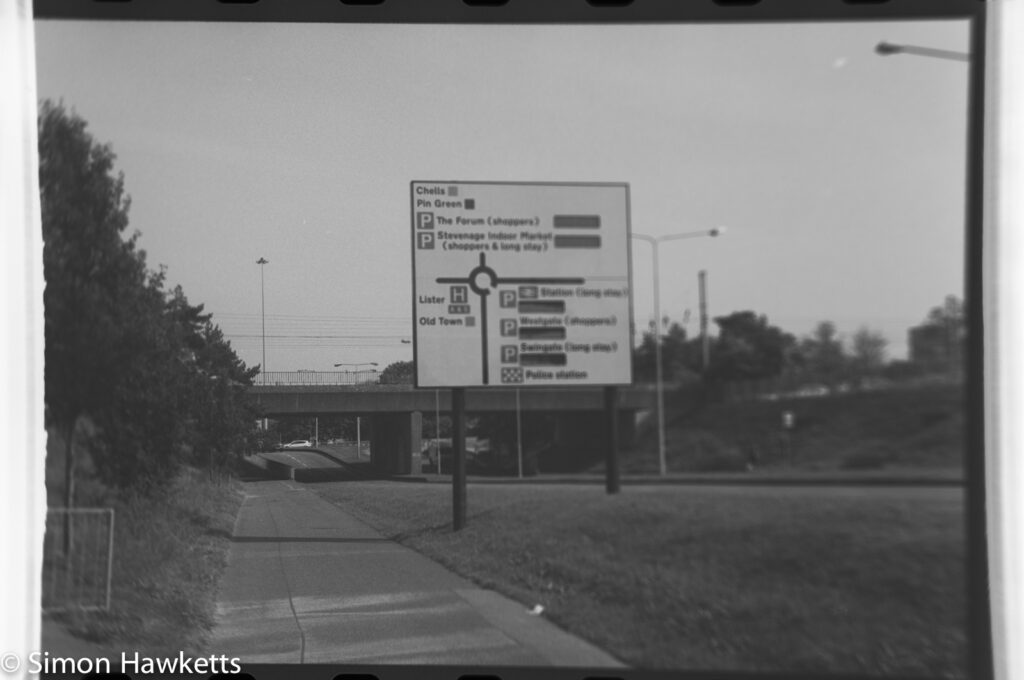
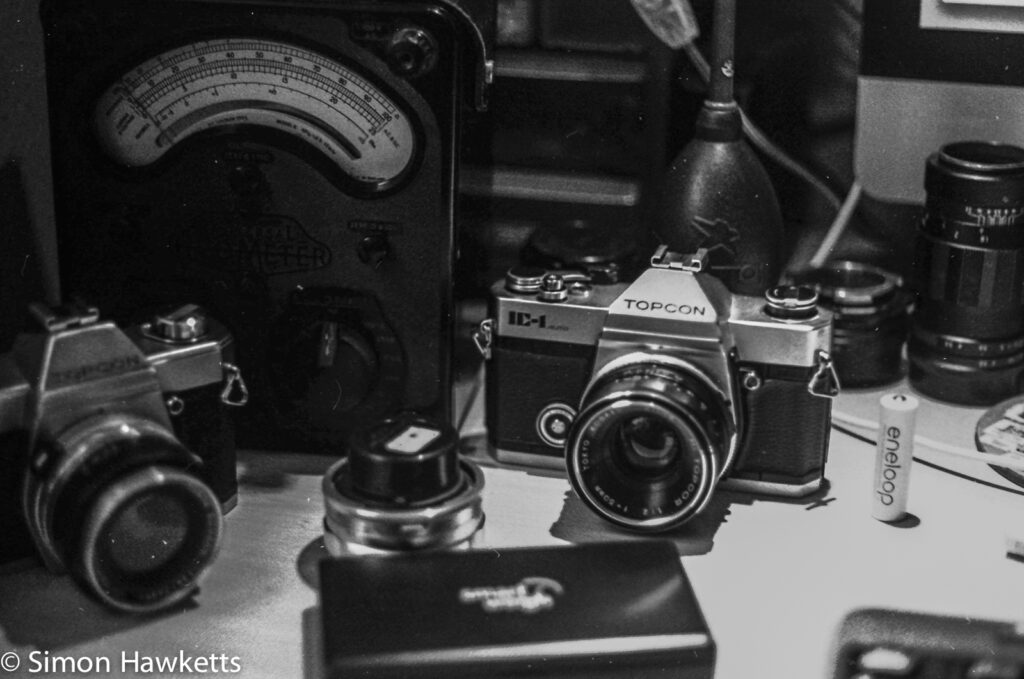
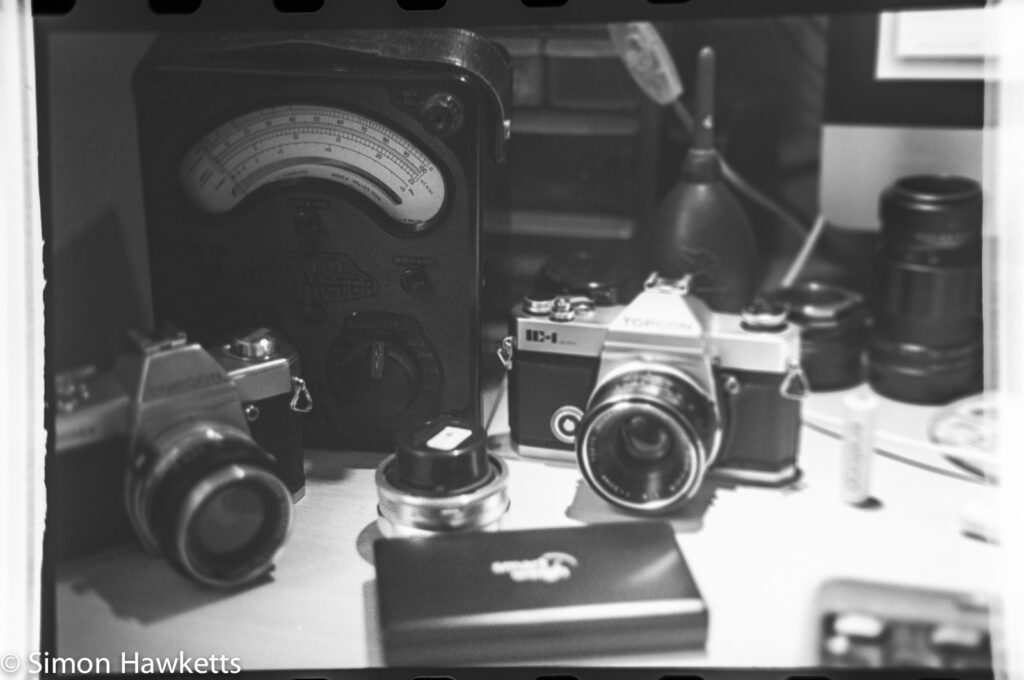
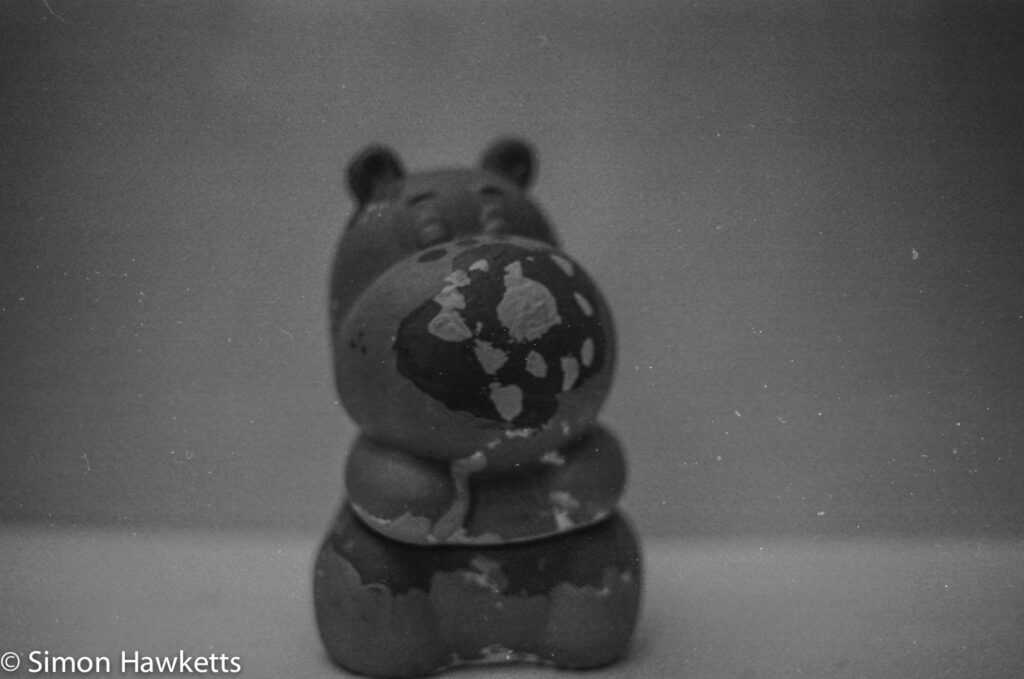
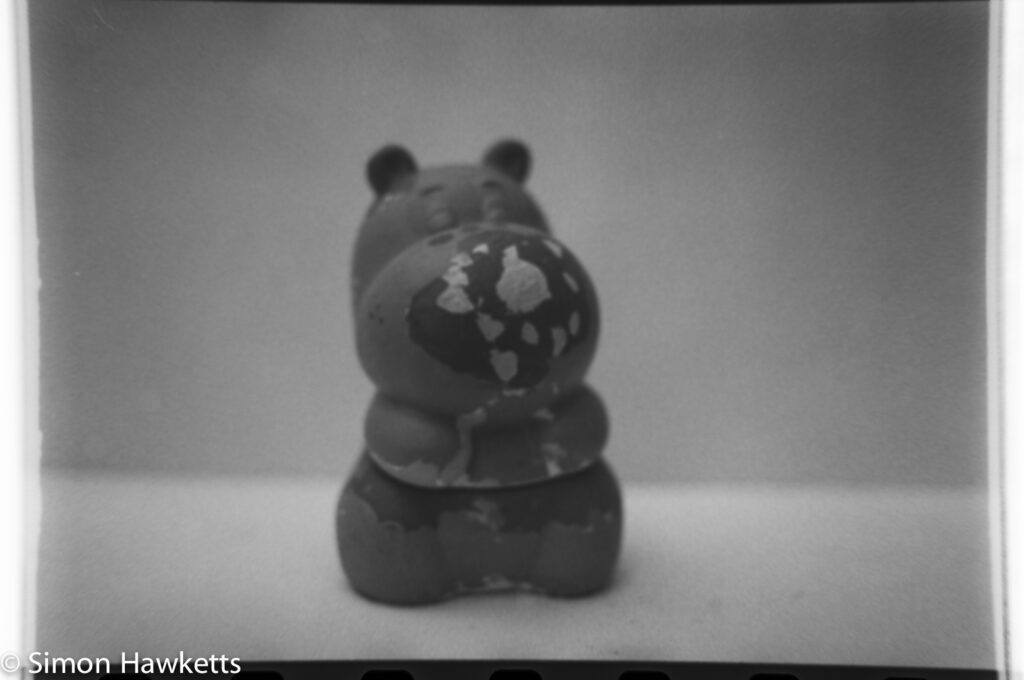
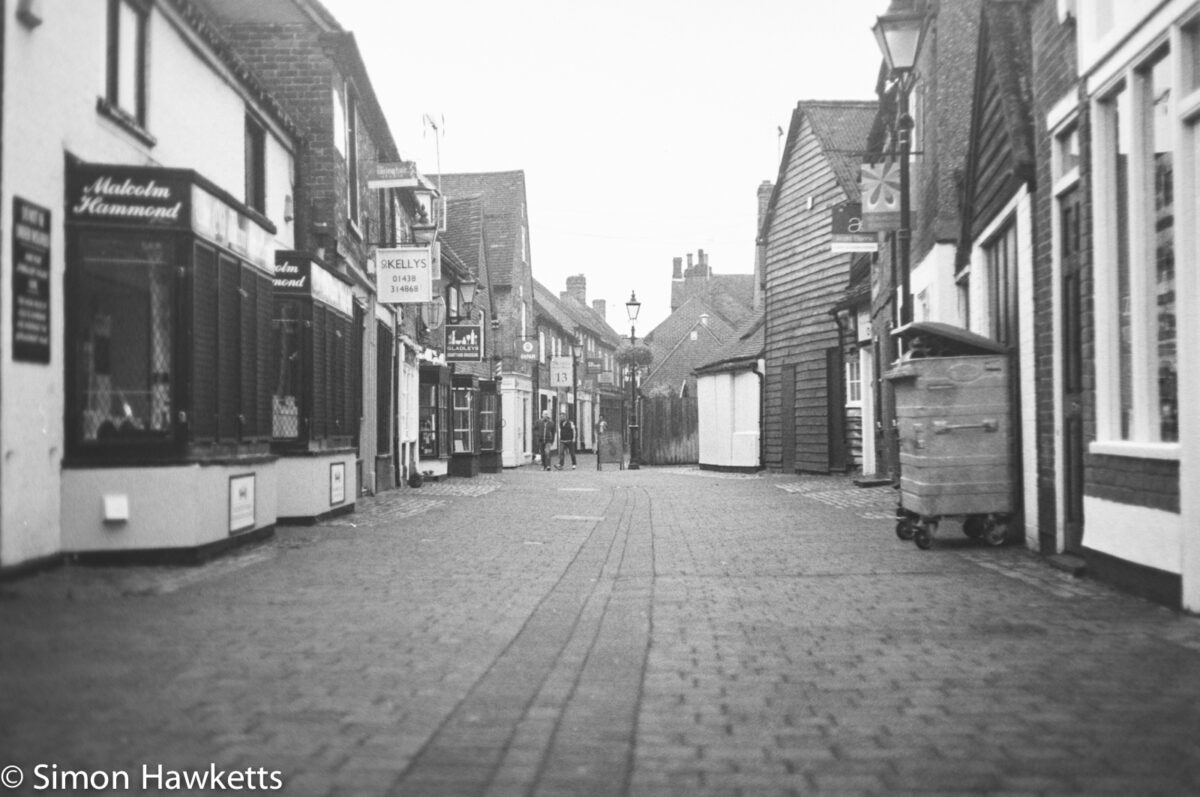
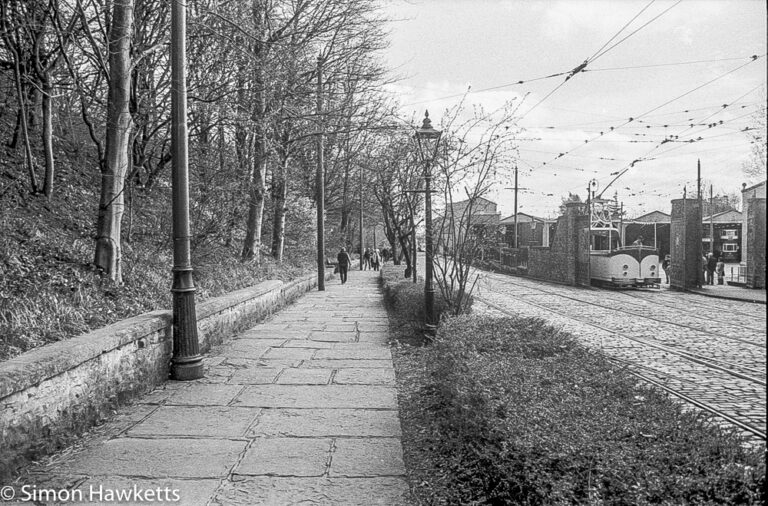
Well I’m glad to say they were more successful that last time. There are a full 24 frames which are developed pretty nicely with some good definition and reasonably low grain structure. There are however some issues with the transfer of the negatives to my iMac for processing.
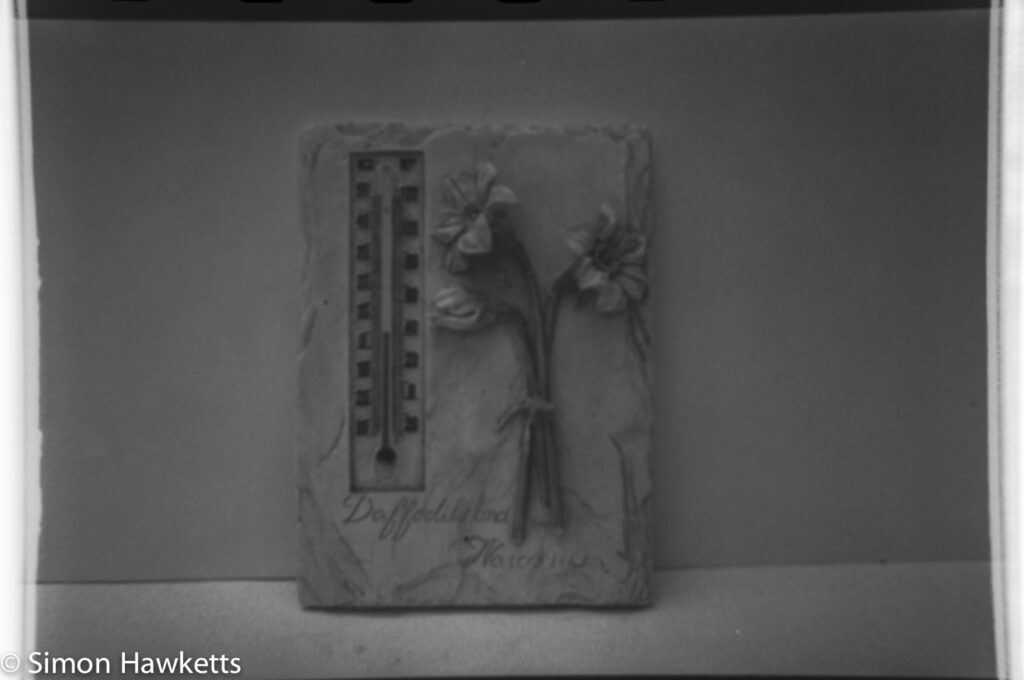
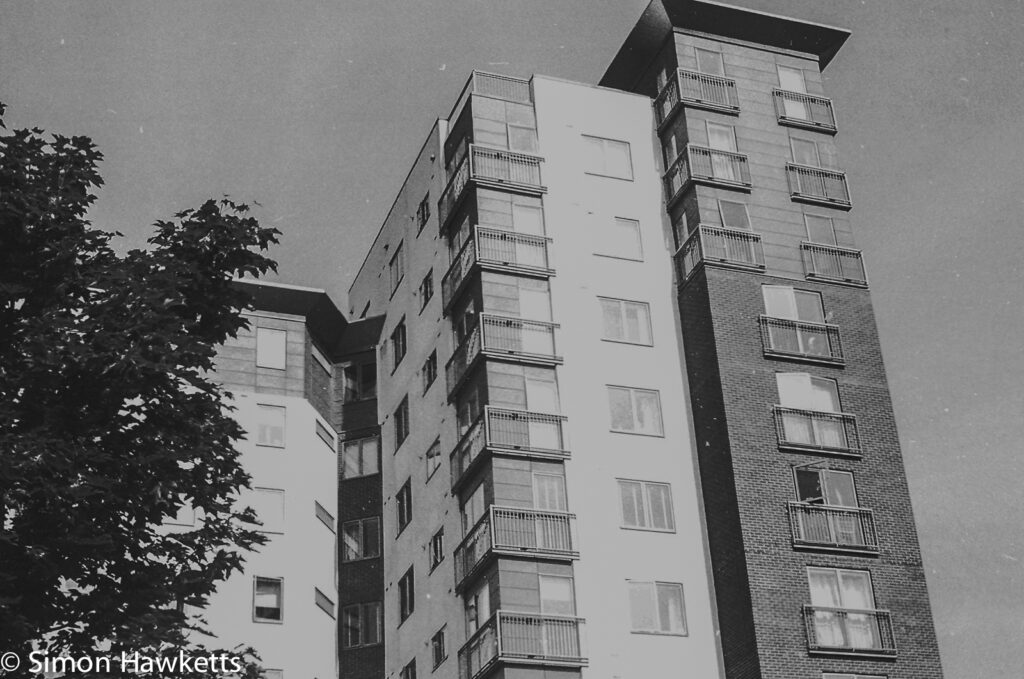
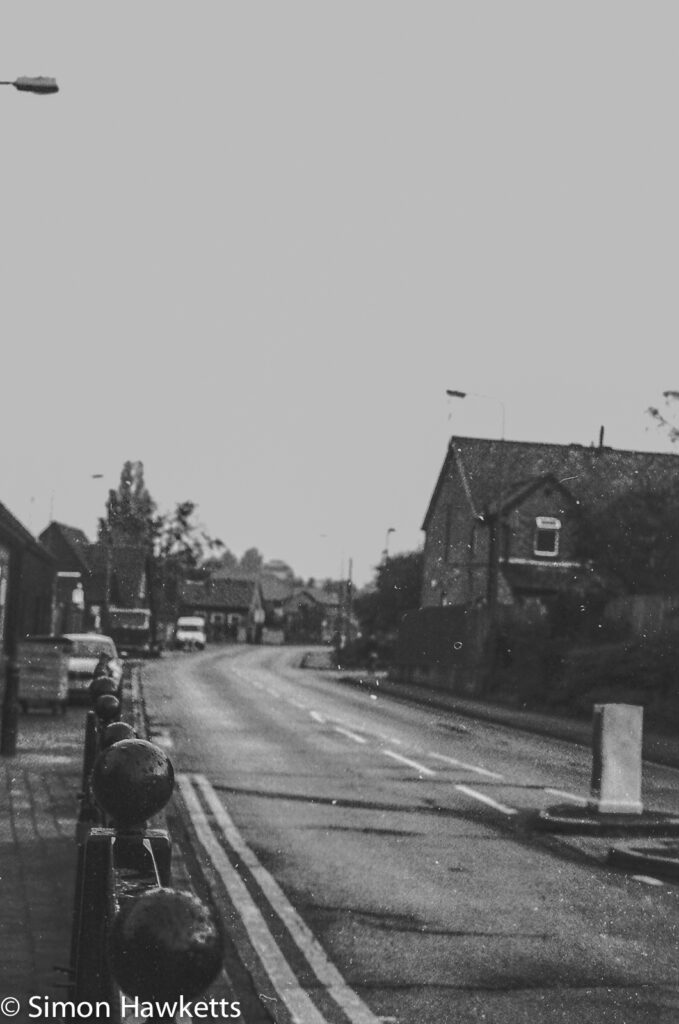
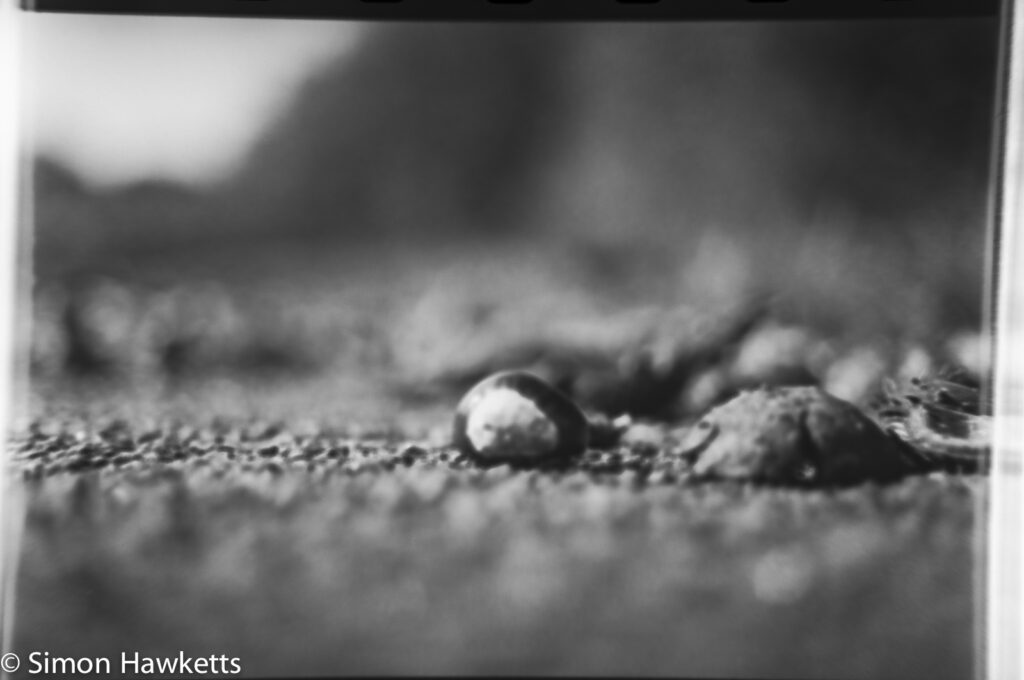
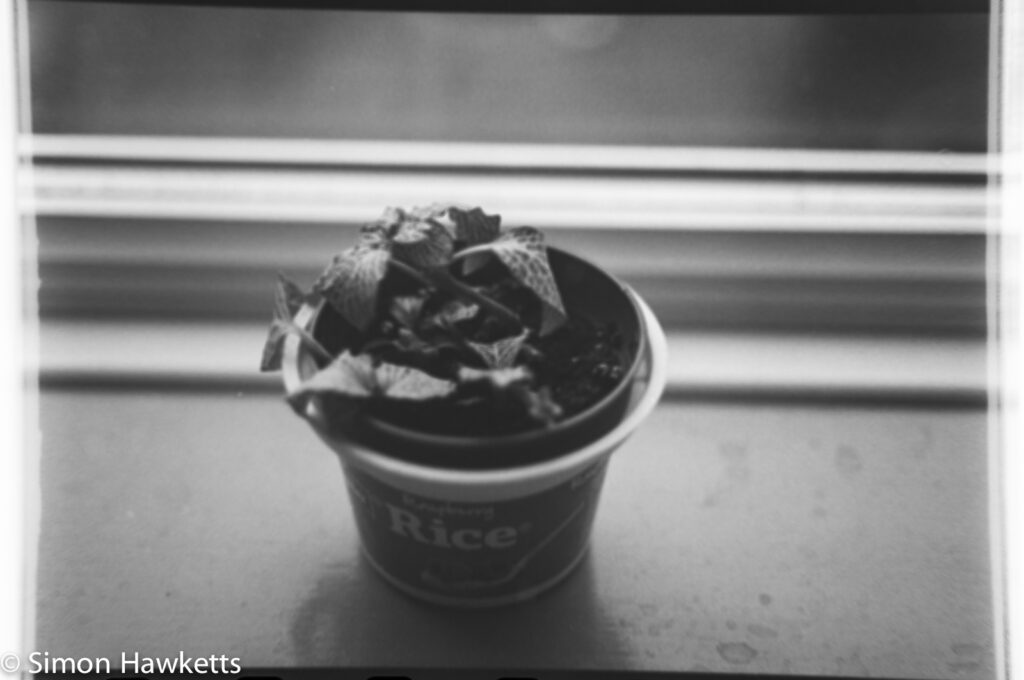
I tried using my slide duplicator but this is quite difficult because I don’t have a film holder for it – only a slide holder. I pushed the film into the front of the slide carrier to try to get a picture on my Sony Nex 6 but I couldn’t get the film flat enough to take good images.
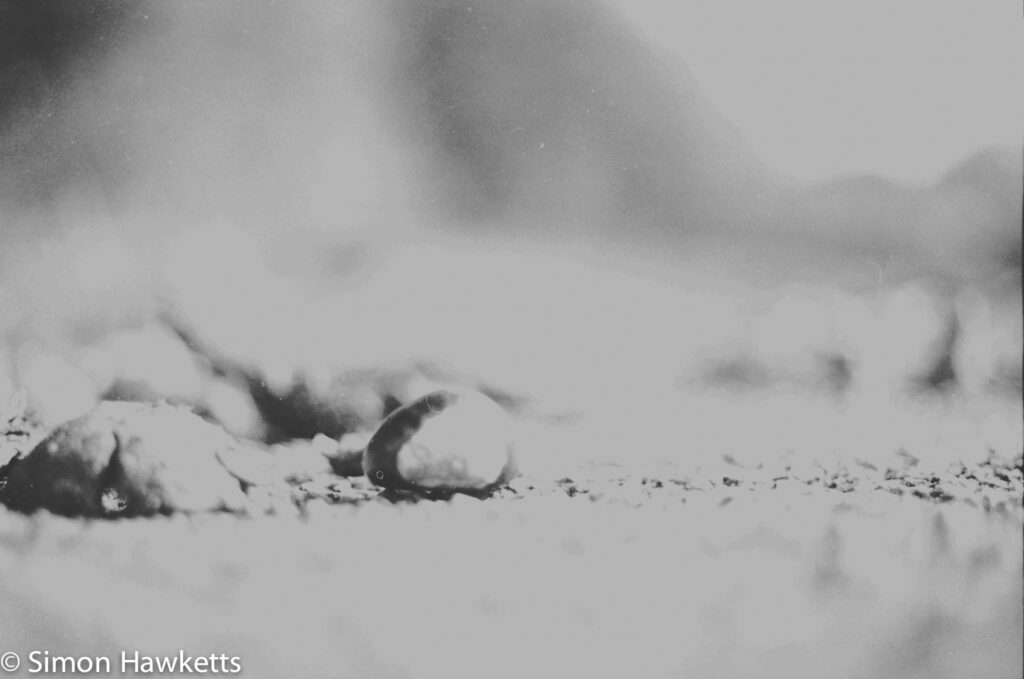
I also scanned the film on our HP flatbed scanner but since there is no control over the exposure on that if the negative is at all under exposed or under developed, so the negative is a bit light, the scanner seems to make a mess of it. This has resulted in the images looking worst than I think they actually are with more dust spots showing up and flattened highlights.
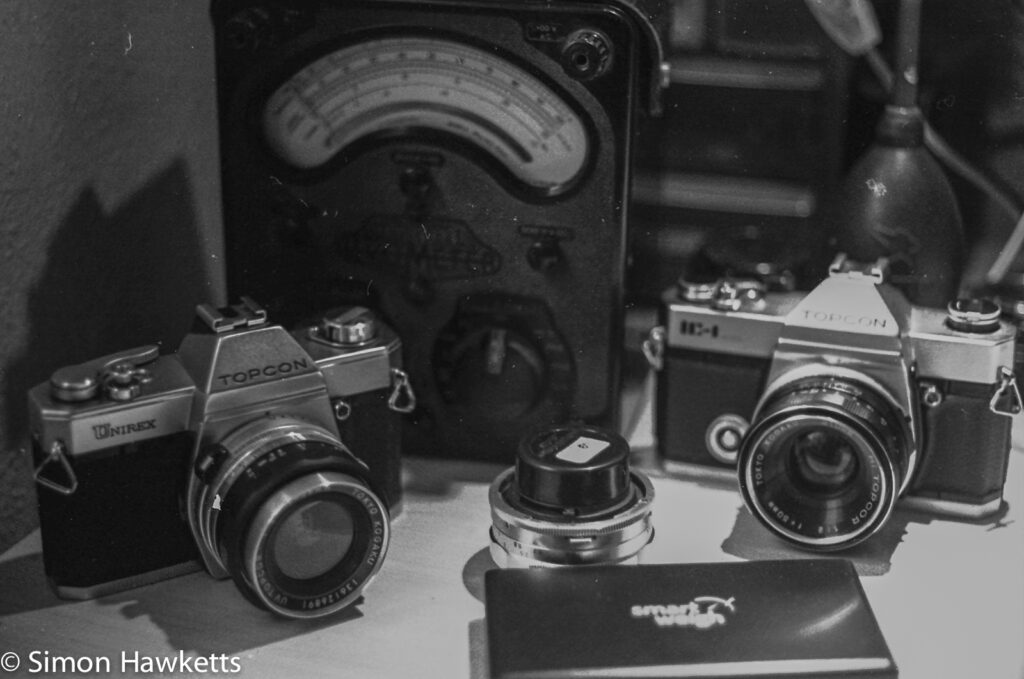
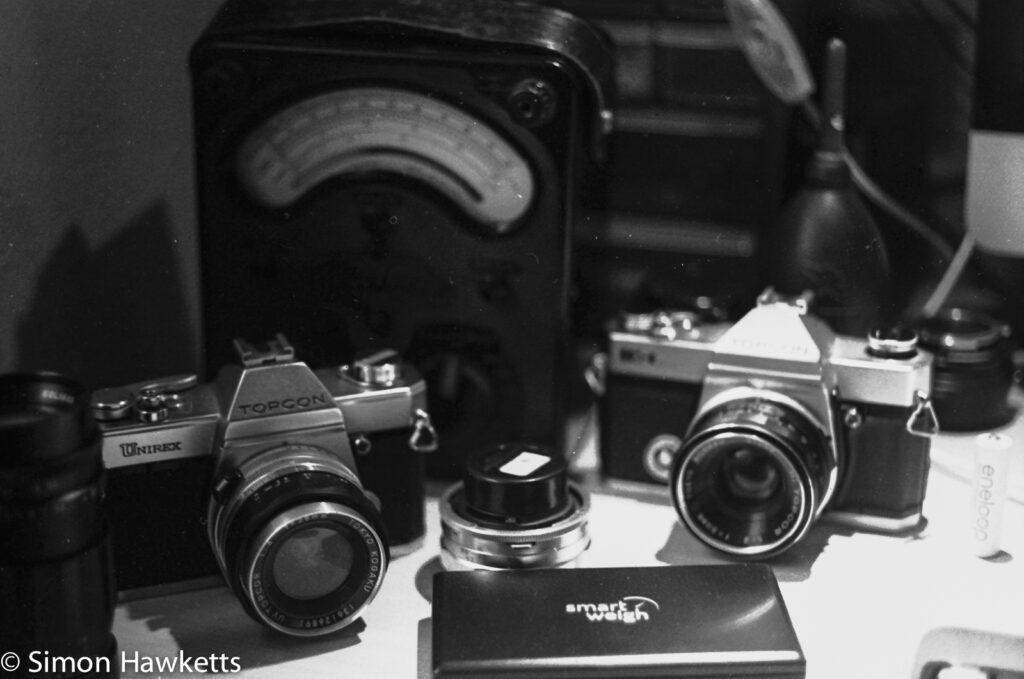
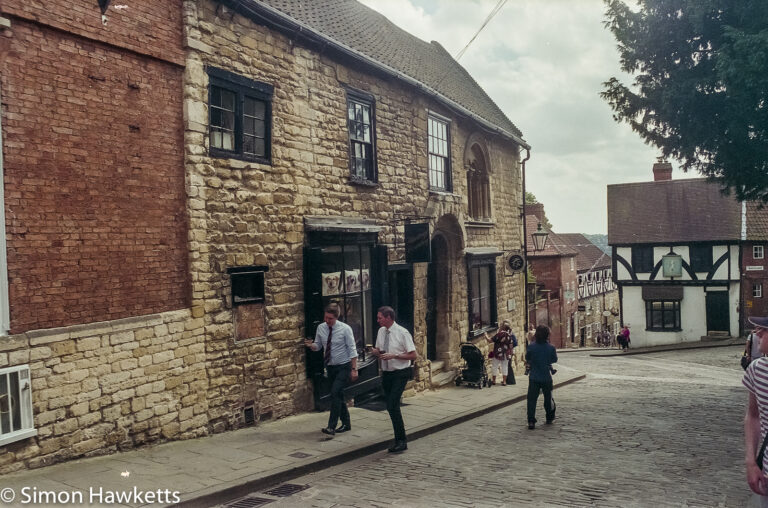
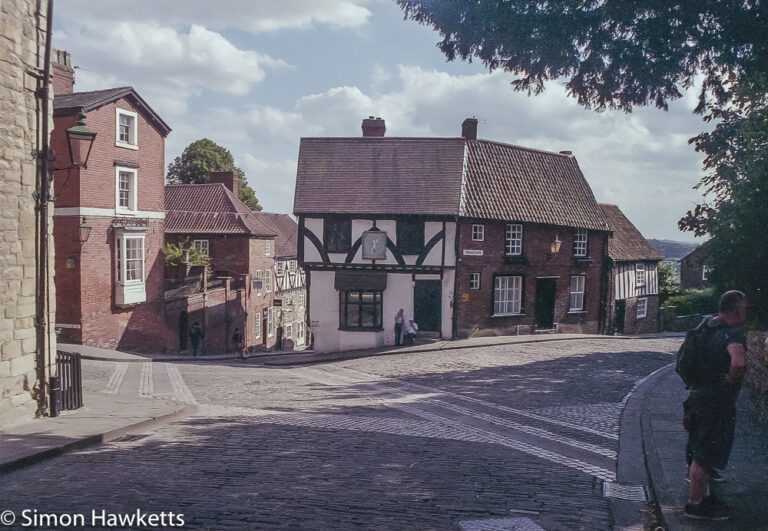
Anyway I’ve included both scans and duplicated versions below – the scans are first and the duplicated images follow. I’ve done a bit of processing with Lightroom to try to get the images to the best they can be but this really only means improving the contrast on the images which seem to be flat and adding a bit of shadow lift on a few images.
There is definitely room for improvement but I’m certainly going to try again.
Caffenol trial No 2 Results


[…] as part of an experiment I have been carrying out using caffenol as a developer. Those images are here along with a description of that […]
[…] load correctly so I ended up with a section of film which didn’t get developed. My next attempt was a bit more successful, because at least all the images got developed, but I still had problems, I think because the […]
[…] Mamiya ZM Quartz – Sample pictures from this camera […]
[…] as part of an experiment I have been carrying out using caffenol as a developer. Those images are here along with a description of that […]
[…] load correctly so I ended up with a section of film which didn’t get developed. My next attempt was a bit more successful, because at least all the images got developed, but I still had problems, I think because the […]