Successful C41 development using the digibase kit – part 2
In the last post I described a bit of background to the decision to use the digibase kit for my first venture into C41 development. In this post I’m getting down to the nitty-gritty and describing the actual film development.
C41 Development Preparation
I said in the last post that I’d bought a quantity of 5, 500ml plastic bottles which I intended to use to warm up the chemistry prior the use.
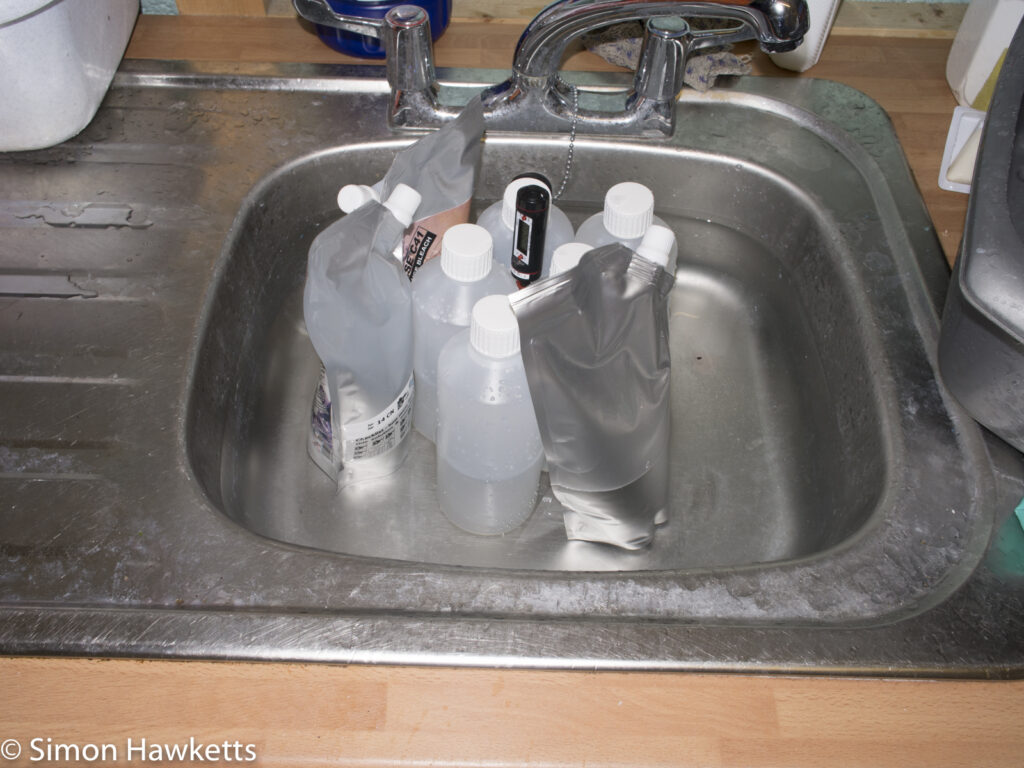
It turned out that I didn’t need bottles those as the pouches which the chemistry is supplied in are fine to just stand in a warm water bath. So, since I had the bottles and there are several points in the process which specify a wash, I filled all 5 bottles with water so I could have 5 prepared wash baths at the right temperature. Actually I filled them with distilled water, since we have a tumble dryer which stores filtered water from drying clothes and therefore have a ready supply.
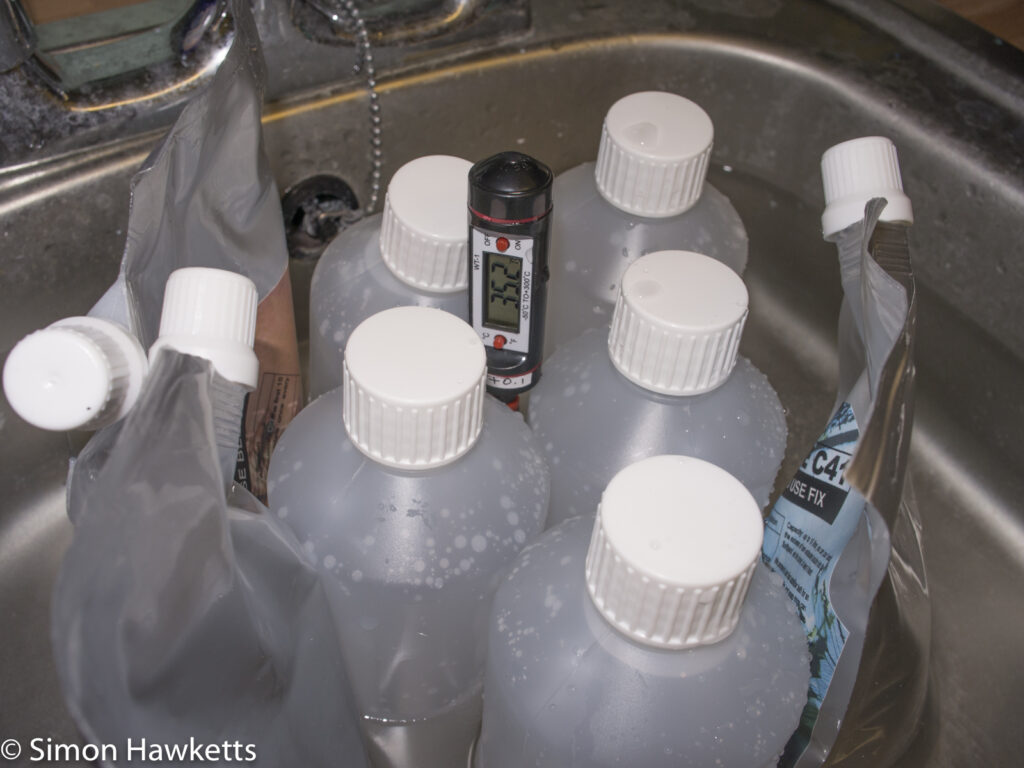
So the first stage was to get the chemicals and the wash water up to a temperature as close to the final temperature as possible. To do this I took the chemicals and water bottles into our utility room and filled a bowl with water as warm as I could get it from the hot tap, and placed all three chemical pouches and my water bath bottles in it a couple of hours before I intended to start. I also put the thermometer in the same water so I could check how it was all going.
Every 30 minutes or so I went and checked the temperature and added more hot water if it was too low with an aim of getting everything up to 37.8C ready for the development.
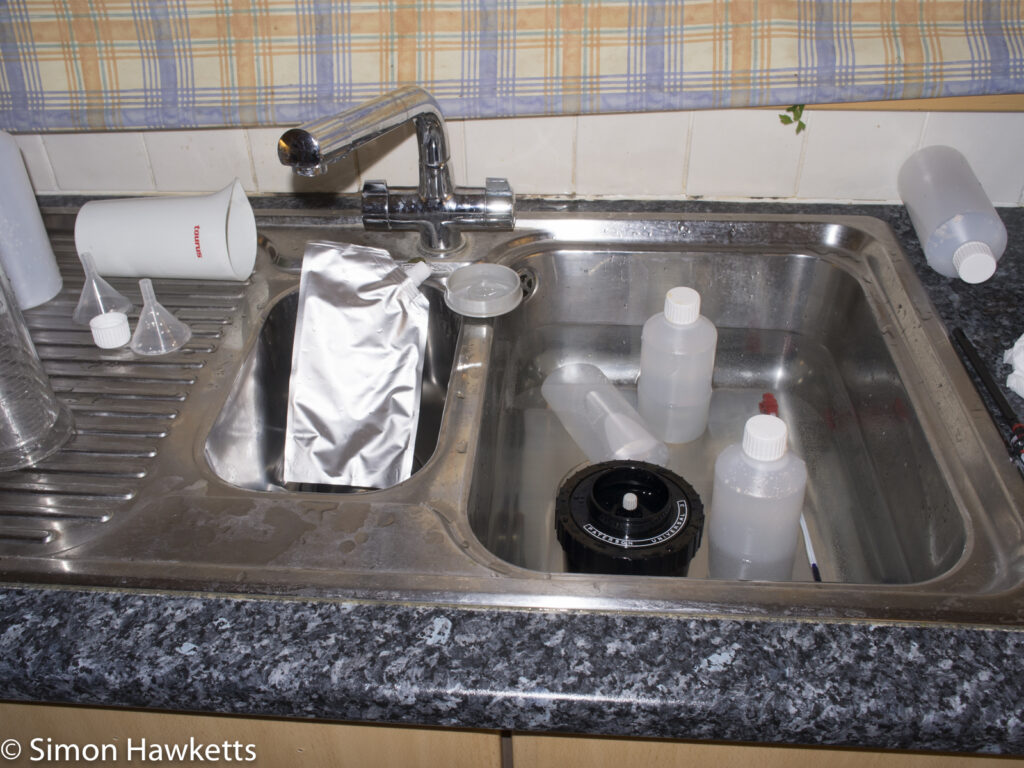
The other equipment I prepared was a large Paterson graduated measure, which I intended to use to pour the chemicals into from the tank at the end of each stage, and I set up a multi-timer app on my phone with the timings for the three baths.
C41 Development
Loading the development tank with the film was easier than the last time I attempted it because when I rewound the film in the camera I made sure to leave the leader out. All I had to do was cut the film off square and I could feed it into the reel of the tank without opening the film canister. Obviously this was done in a changing bag.
With the film in the developing tank I was ready to start the C41 development process itself, so I moved everything into the kitchen (which is where I normally do development), ran a sink of water at the correct temperature and placed all the chemicals and water bottles in. I measured the temperature of the developer and it was 37.1C, so, using the lookup chart I’d created, I set the colour development timer to 3 min 20 sec and started the process.
The full process, according to the instruction in the digibase kit is
- Pre-soak at the same temperature as the colour developer
- Colour Developer
- Wash at the same temp
- Bleach
- Wash
- Fix
- Wash
The first process is the pre-wash to get the film up to temperature. That was easy because I just used one of my water bottles and gave the film a 3 minute soak. When I poured the water out it was green in colour so I knew it had done something.
Next was the colour developer which I poured in and followed the instructions to the letter – inversion for the first 15 sec followed by agitation every 30 seconds after. That was the easiest bath to get right because there isn’t anything else to do while you wait.
All the while the development was going on I held the tank in the water bath to maintain the temperature as much as possible. At the end of the development time I poured the colour developer into my graduated measure and poured another of the water bottles into the tank to wash the developer off.
After I’d poured the wash water away, I added the bleach to the tank and this was when my problems started.
I’d intended to pour the developer back into it’s pouch while the bleach was progressing, but I discovered that the funnel I’d bought was too big to fit into the mouth of the pouch! So I had to carefully pour it into the pouch using the graduated measure while I also watched the timer and agitated the tank every 30 seconds. I had to get the developer back in its pouch before the end of the bleach bath so I could get the graduated measure washed and ready to accept the bleach when it’s job was done!
Fortunately, I managed to get it back in the pouch and maintain the agitation, but it’s not something I would recommend.
With the bleach completed and safely in the graduated measure I carried out one more wash, and I started the fix, carrying out the same juggling trick with the bleach to get it back in its pouch before the fix bath finished. Again, I got it done but I’m going to buy some plastic jugs to allow me to concentrate on the development process next time!
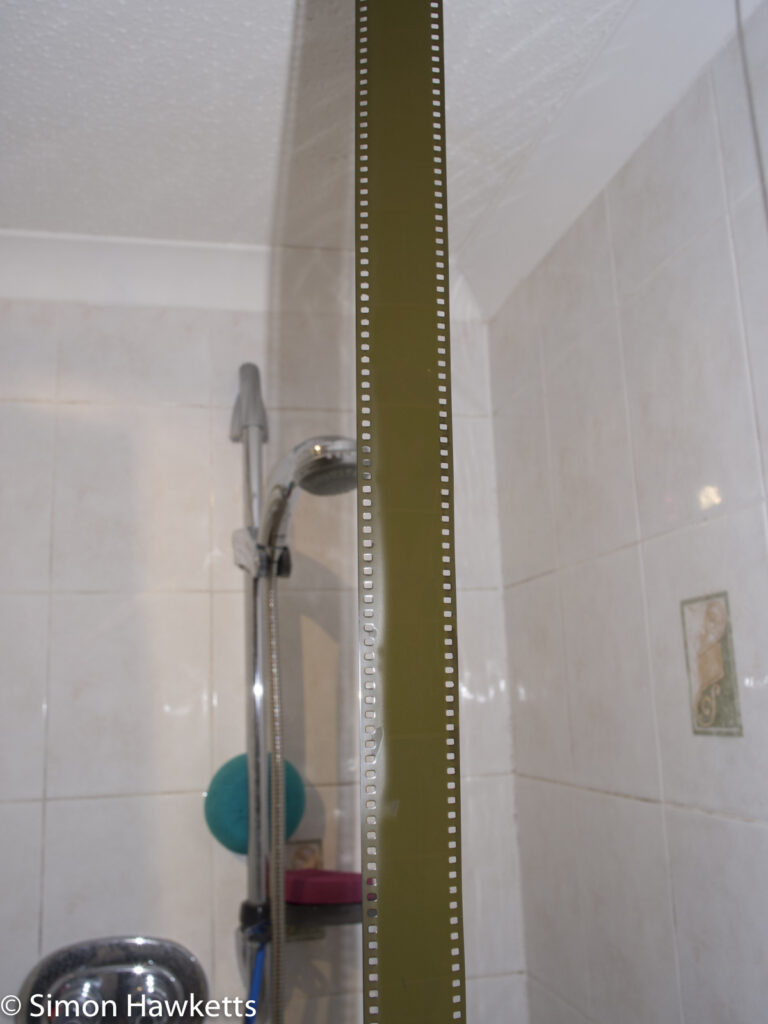
Once the fix was complete I used my remaining two water bottles to give the film a wash and removed it carefully from the tank. To dry the film I used a clothes peg to hang it in the shower (with an extra couple of pegs on the bottom to keep it straight) to reduce the chance of dust contamination and waited for it to dry.
Results
First impressions of the results as the film came out of the tank, was that the negatives seemed very dark but with almost no actual picture information at all. I could just make out frames where the exposure had happened, but other than that the film looked almost uniformly dark. Looking at the film at that point, I wondered if my decision to over expose the shots had been the right one.
After a few minutes however I did start to see some picture information, and as the film dried it became more obvious that something had been recorded on the film.
Once the film was completely dry I cut it into strips and put them into a negative sleeve sheet ready for scanning.
Scanning
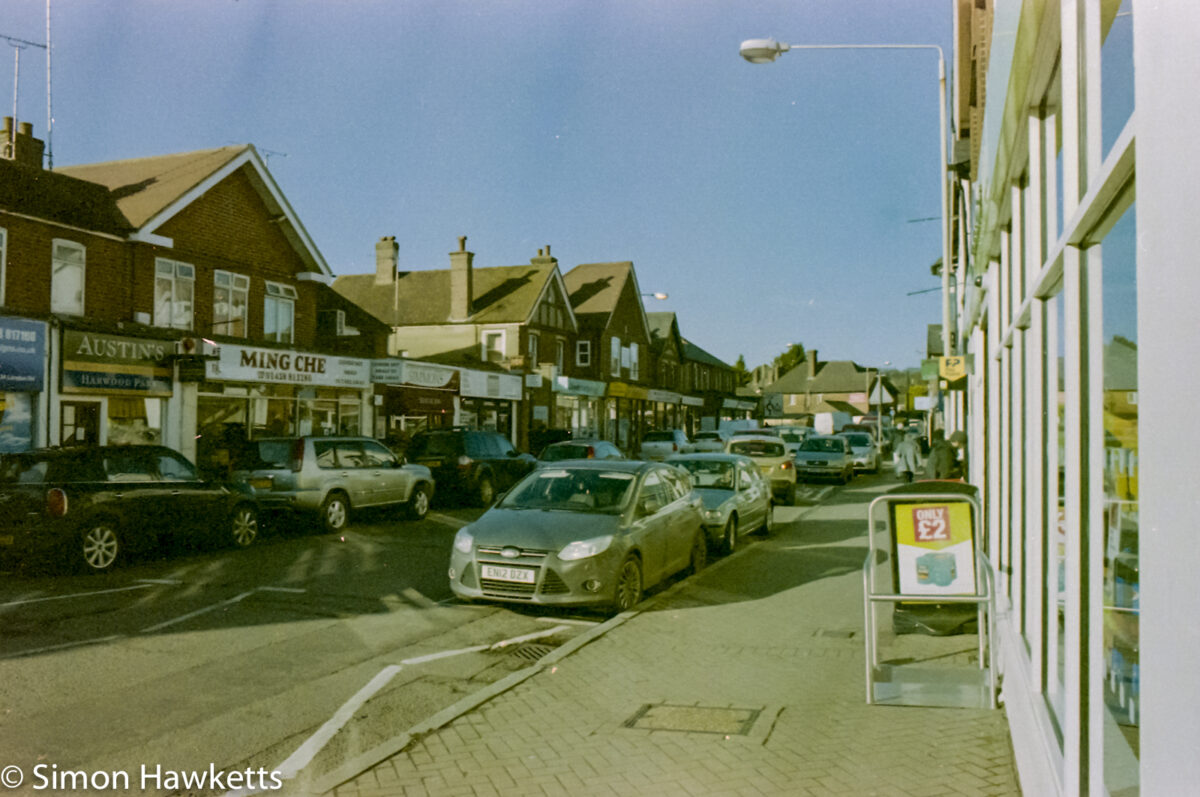
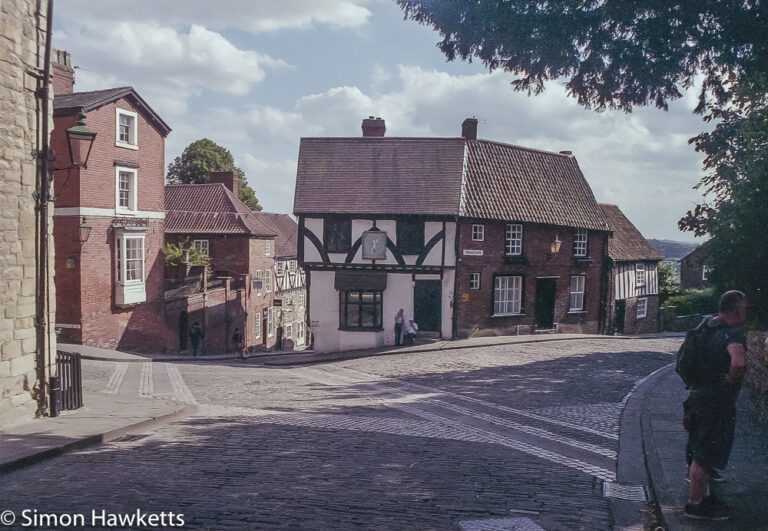
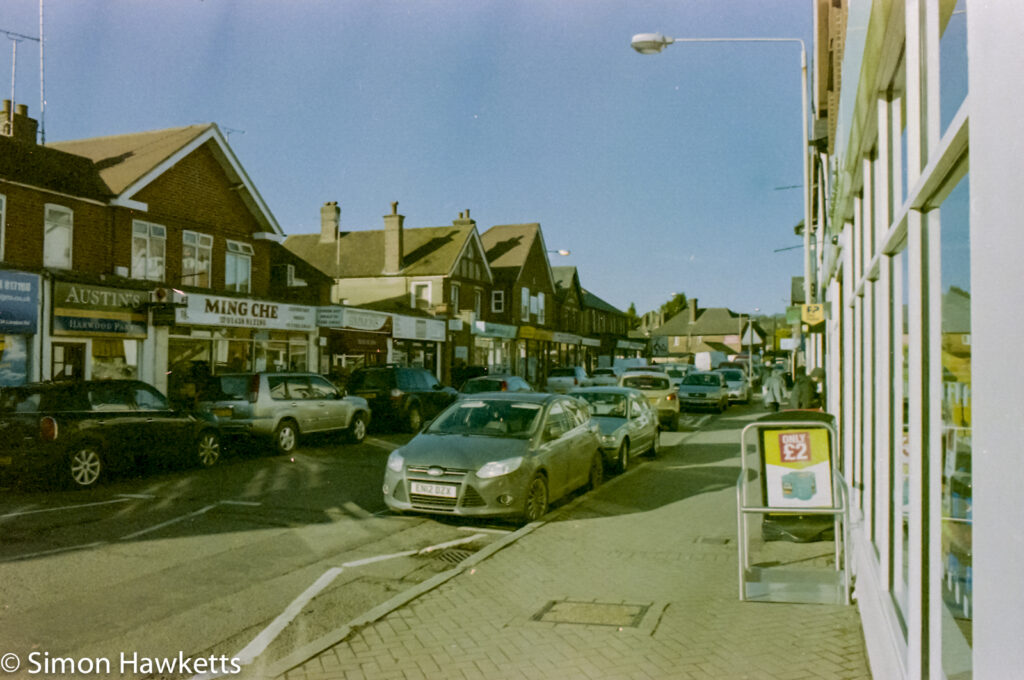
I’m going to cover the scanning and full results in part 3 but I’ve included one scan with this part just to show that I did get usable images from the process.

