Developing colour film using the digibase C41 kit – second attempt
Last week I had my first attempt at developing a colour film using a C41 home processing kit, and it was somewhat less than successful. Although I wasn’t certain of the cause I thought it was probably because I’d inadvertently used an old film, so I decided to have another go with a brand new Kodak ColourPlus 200 film to try to make sure everything went right.
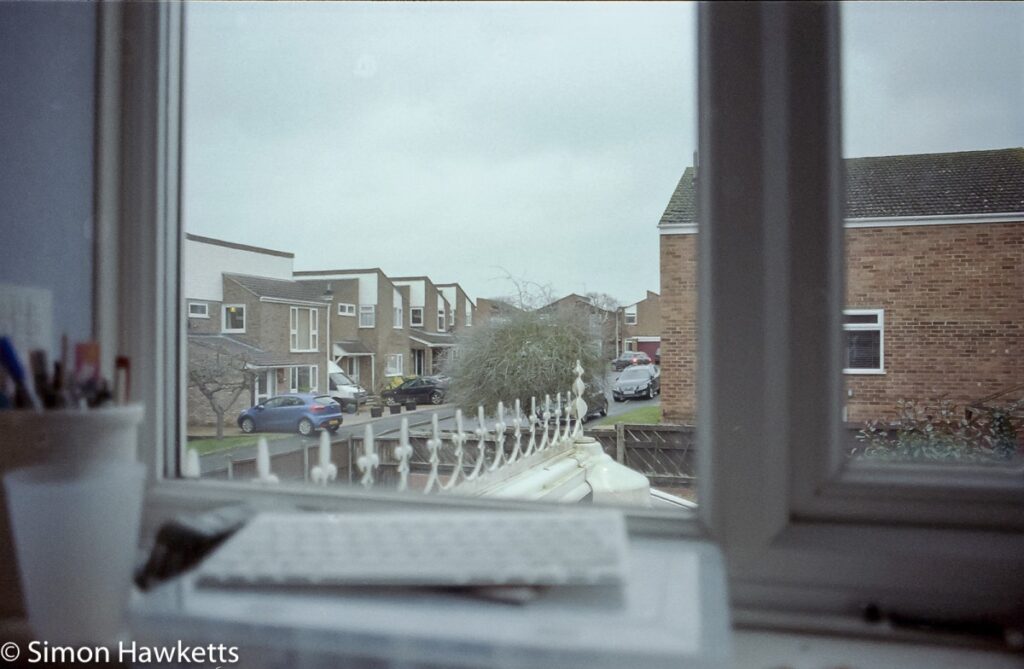
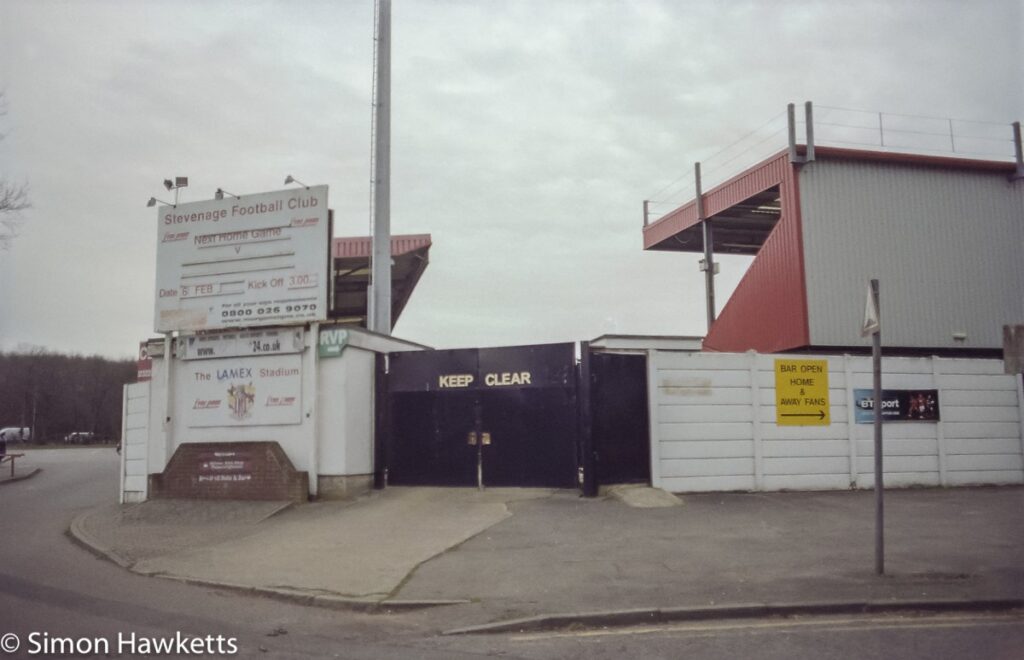


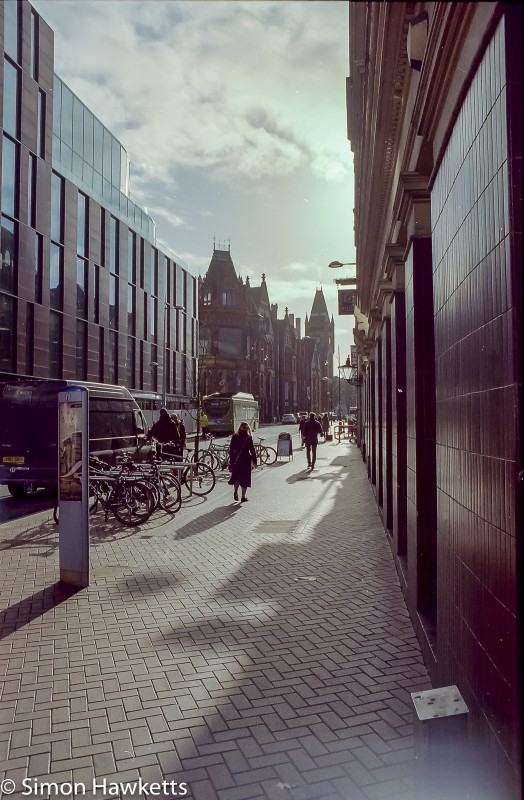
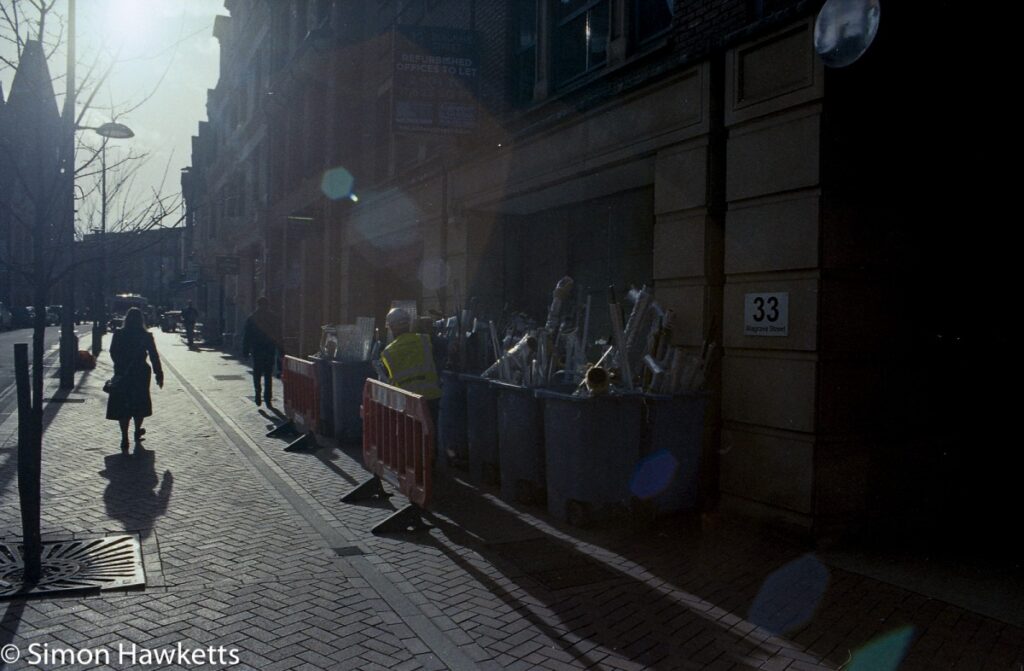




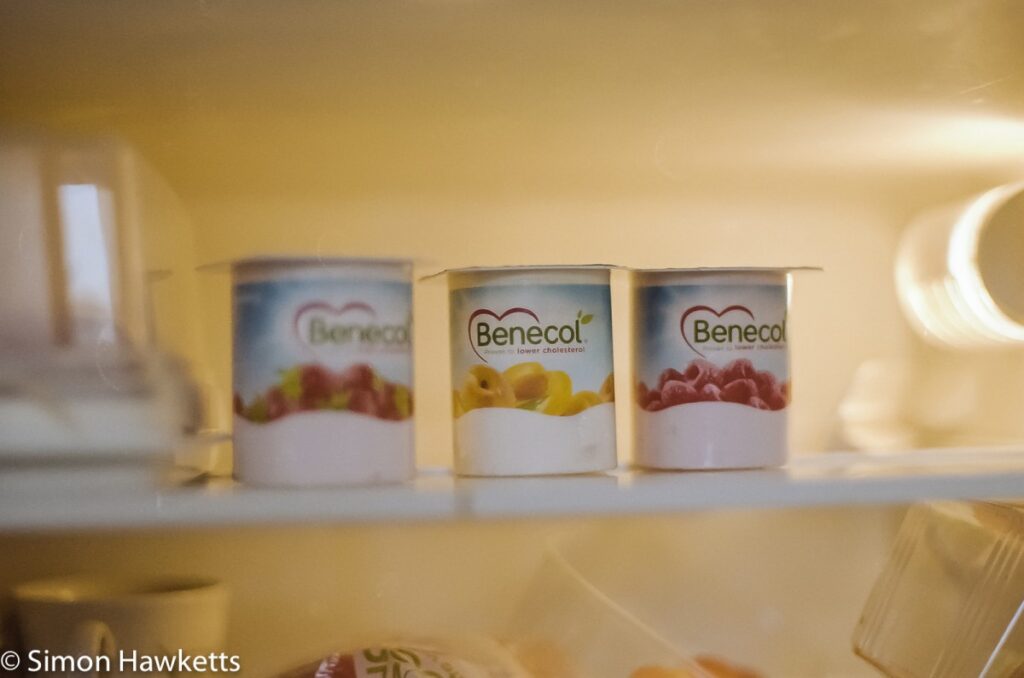

I also spent the week reflecting on what could have gone wrong on my first attempt and I decided to change a few things with the process I’d used.
First I decided to drop the temperature which I was using. The digibase C41 kit is designed to work at a variety of different temperatures and it is not a requirement to develop at 38°C. In fact, I read that the only reason colour film was historically processed at high temperatures, was because it shortens the process and was favoured by the developing labs to increase turn around time. The problem I have with high temperature is two fold:
- It makes subtle mistakes with timing much more apparent because a 10 second error in a 3 minute process is much more important that a 10 second error in a 10 minute process.
- It’s much more difficult to maintain a temperature of 38°C in the UK in winter time.
For that reason, when I tried again this week I used a temperature of 25°C and adjusted the times appropriately.
Another thing I changed was to drop the initial pre-soak to get the film up to temperature. That was driven by two thoughts:
- It’s not as important at 25°C because it’s much closer to room temperature
- The pre-soak will leave some water in the tank which will slightly dilute the developer. Over time this will actually have quite an effect.
I suspect that the agitation I used in my first attempt was also probably a problem area, so this time I used tank inversion instead of the rotation of the film carrier that I used before.
So my process this time was
- Get the tank up to temperature of 25°C by holding it in the water bath but don’t pre-wash
- Colour Developer at 25°C for 13 minutes with inversion every 30 sec
- Wash after developer
- Bleach at 25°C for 6 minutes with inversion every 30 sec
- Wash after bleach
- Fix at 25°C for 7 minutes with inversion every 30 sec
- Wash a couple of times after fix
The other change I made was using a different developing tank. I’ve recently bought a Patterson Super System 4 tank which I used in place of my original Patterson system 3 tank. Not only did this make the loading of the film in the tank easier, the faster pouring time made it much easier to get chemicals in and out of the tank.
Finally, I also invested in 3 one litre plastic jugs which I used to hold the developer, bleach and fixer after I poured them out of the tank and they helped me concentrate on the process rather than on pouring the chemicals back in the pouches!
Results
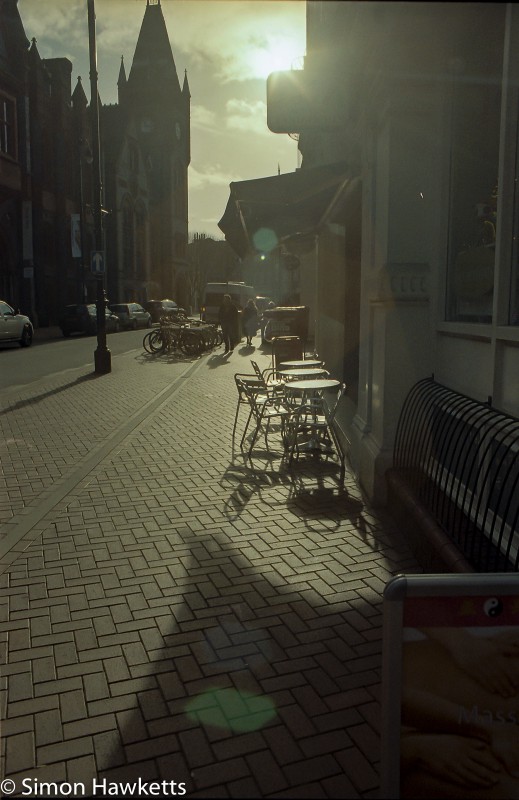
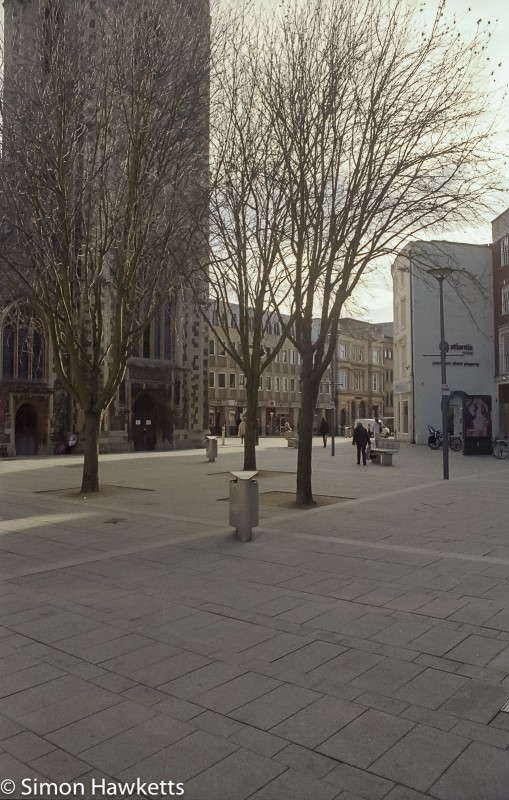
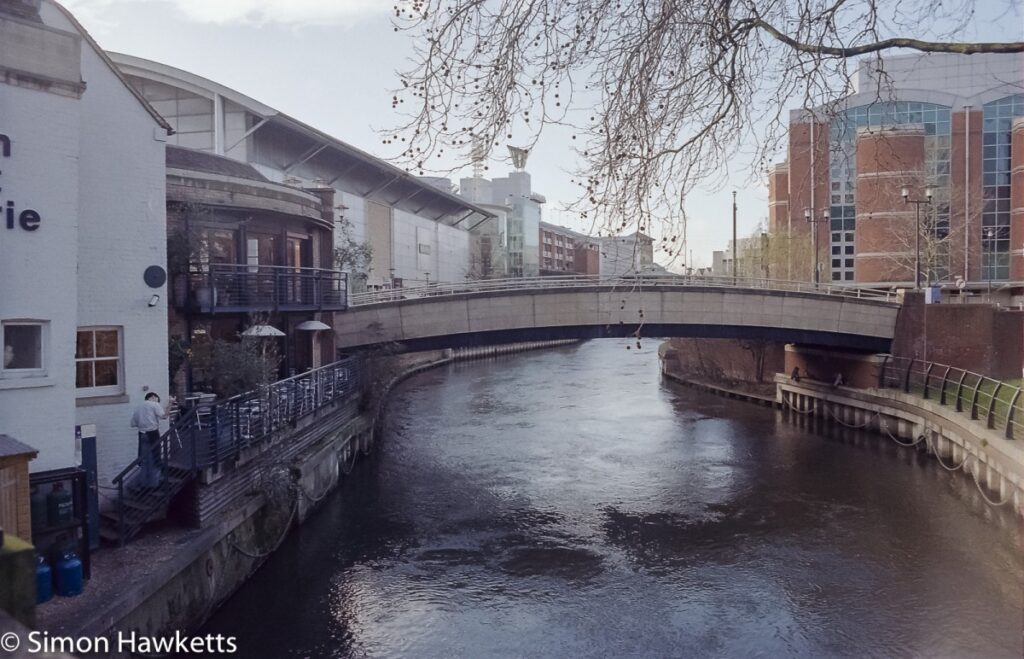
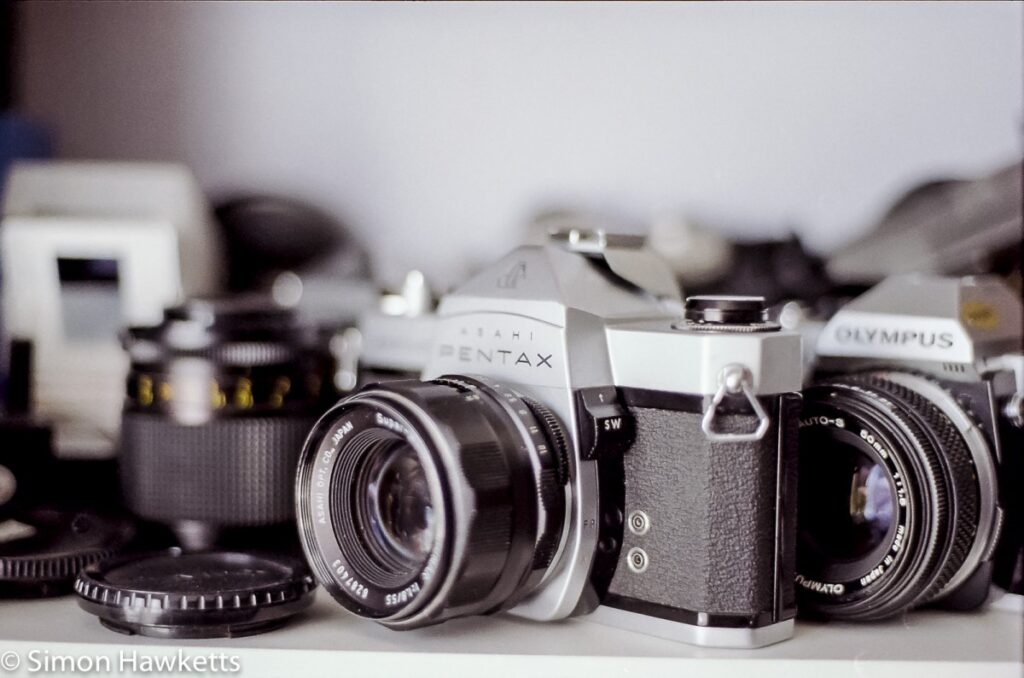
The first thing I noticed as I pulled the film from the tank was the increased contrast of this set of negatives. Last time the film looked almost uniformly orange with only the faintest outline of images on, but this time I could see that the film was properly exposed with well defined pictures.
It was obvious that another problem I had last week had also been resolved, which was the curl of the negatives. This set are completely flat and lay in the negative carriers with no problem at all.
When I started scanning the increased contrast was apparent with the range I was getting in the import much closer to commercially developed films. I also found that the colour balance was much improved, and I only had to slightly tweak it in post processing with Lightroom.
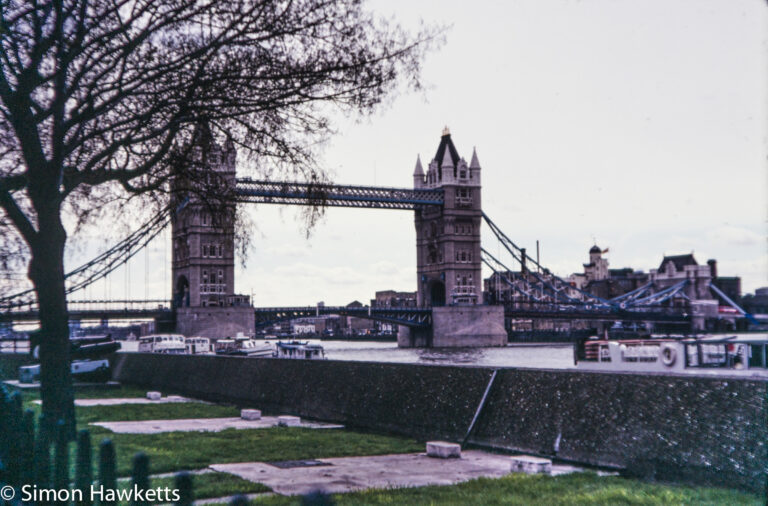
Overall, I’m now very pleased with the results of this film – these are the sort of results I would get if I’d sent the film to a lab so I think I can now say if I follow the procedure I used this time I should get good results. I’m certainly hoping that is the case because my next film should be a roll of Portra 160 which is currently in my Bronica ETRsi, from which I’m expecting very good results.




Well done Simon, what a difference!
Thanks Nigel – I have to say I’m quite pleased with the results.
[…] and I exposed a reel of Kodak ColorPlus 200 in my Pentax P30t to do that. I’ve already posted on the development process – this post is to cover the use of the […]
[…] I’ve developed a couple of 35mm colour films before, this is the first roll of medium format film, and the first roll of Portra I’ve developed, […]
[…] camera used mostly in either program mode or aperture priority. The film was developed using the digibase C-41 pre-diluted kit and the negatives scanned with an Epson V550 perfection photo scanner. The […]
Hi Simon
Thank you for this write up. I’ve been looking all over the place to see reviews/blog posts about this ready kit because I was also confused that the Stab is not included in the kit yet it’s written in the manual. So you think there’s really no need for the Stab? Also I have read in other forums that you shouldn’t rinse the film between chemicals. But from what I read on your blog the manual does tell you to do so right? Thanks so much!
Hi Kitty – thanks for the comment. I have used a wash between chemicals and found it to not make much difference so I would carry on doing it. In the instructions with the kit it recommends a wash because it prolongs the life by reducing contamination. Regarding the stabilizer I believe this is just an additional step which adds a protection to the negatives. It isn’t supplied with the kit but you can purchase it separately if you want and use it. I know if you do use it you don’t wash the film afterwards or you will remove it and therefore negate it’s use.
Ah got it! Thank you so much for your reply and for these blog posts. They are very informative and easy to follow. Thank you!
[…] I’ve developed a couple of 35mm colour films before, this is the first roll of medium format film, and the first roll of Portra I’ve developed, […]
[…] camera used mostly in either program mode or aperture priority. The film was developed using the digibase C-41 pre-diluted kit and the negatives scanned with an Epson V550 perfection photo scanner. The […]
[…] and I exposed a reel of Kodak ColorPlus 200 in my Pentax P30t to do that. I’ve already posted on the development process – this post is to cover the use of the P30t and to highlight the Pentax P30T sample […]
Simon,
I have found your enthusiam infective! Just bought a Rollei C41 Digibase 1litre kit.
Can I warn your readers how important it is to measure accurately all the chemicals used for the developer, etc.? I bought the 1 litre kit.
I was 10ml short of fix concentrate (not a huge problem as I will increase fix time slightly), and only received 50ml of stabliser concentrate – only sufficient for 500ml and not the 1 litre of stbliser I was expecting. Again, not that important, but when it comes to the colour developer insufficient, or too much, of the concentrate chemicals could result in unsatisfactory results.
Again, thank you for your infective enthusiasm.
Mike