Developing medium format film
Last week I wrote a post about my Ensign Selfix 1620 folding camera and mentioned in that post how I’d loaded it with some FP4+ to take some sample pictures.
Well, this week I developed the film, having finished taking the test pictures last weekend. Although it’s not the first film I’ve developed, it is the first time I’ve developed medium format film, so I thought I’d write this post to contrast the experience to 35mm.
Obviously the first part of developing medium format film is to get the film into the tank. Fortunately I have a changing bag which makes the process easier than it used to be without one, but it’s certainly different from 35mm film because of the backing paper used on 120 film. In fact, when I got the tank and film into the changing bag and started to unroll the film, I thought for a while that I’d actually started to feed the backing paper rather than the film into the tank reel! I had to feel along the full length of the film and find the sticky tape which attaches it to the backing paper to make absolutely sure it was the film.
Once I was certain that I was dealing with the film, I found it was easier to feed into the reel than 35mm because it’s shorter in length and also because the reel (which is a Patterson’s Universal Tank) is set to it’s full width so it doesn’t open up as the film is fed in.
With the tank loaded and the lid on I started the development process. The last few times I’ve developed 35mm film I’ve used a caffenol recipe but this time I wanted to use a ‘proper’ developer so that I could be sure I was going to get the best results possible. I therefore sent for a packet of Ilford ID-11 in powder form to use. ID-11 is a fine grain developer which should give good results with FP4, and is also remarkably cheap at about £4 for a 1 litre mix, so it seemed a good developer to use.
The first thing I always do when I’m developing a film is to do a pre-wash with some water at about the same temperature as the developer. This gets the film wet and also up to the same temperature. The difference I found this time is that when I poured that initial water out of the tank it was green in colour. I’ve never seen that and was worried that the film was somehow different and I’d washed off some important layer. However, by that time there was little I could do so I just had to carry on. (Edit: Subsequently found this is the anti-halation layer of the film and it is perfectly normal for this to be washed away during development)
I gave a total of 11 minutes development time with ID-11 at 1+1 concentration with full inversions every minute, and then followed it with another wash and then about 15 minutes in Illford Rapid Fixed at 1+4. Although the fixer should only have been 10 minutes, I’d used it before and wasn’t sure how many times, so I gave it longer since you can’t fix too long.
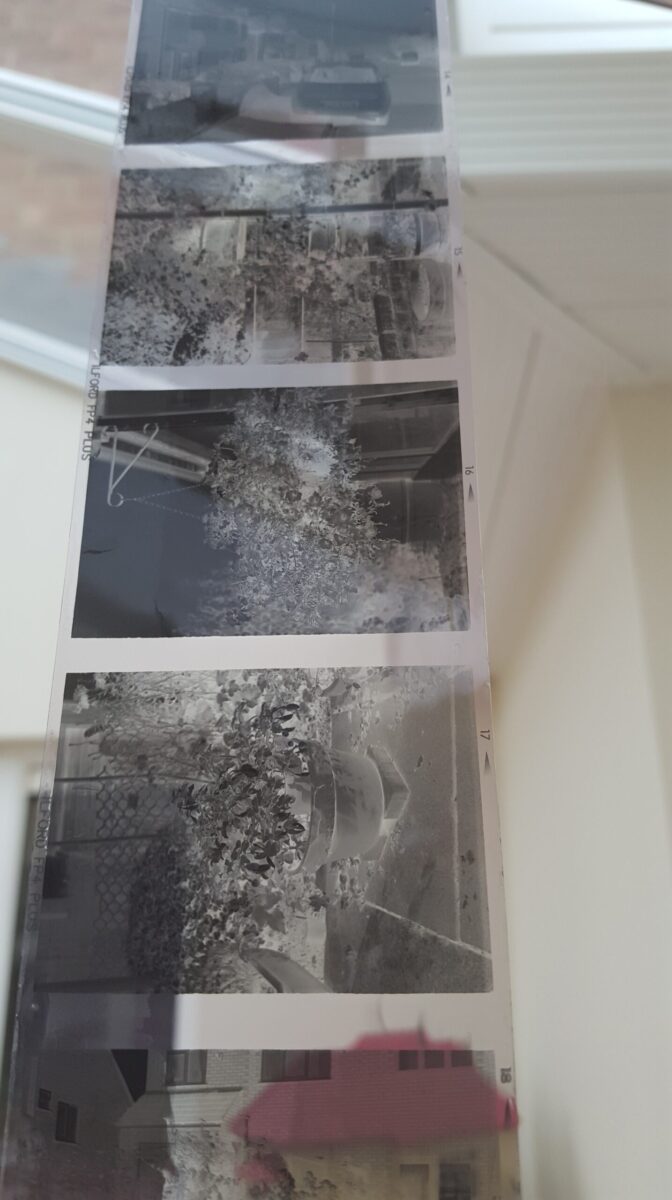
At the moment I’ve only seen the negatives out of the tank and still wet, but I’m pretty encouraged by what I’ve seen so far, they seem well exposed, well developed and nice definition. Obviously I’ll only know for sure when I scan them, but so far so good.
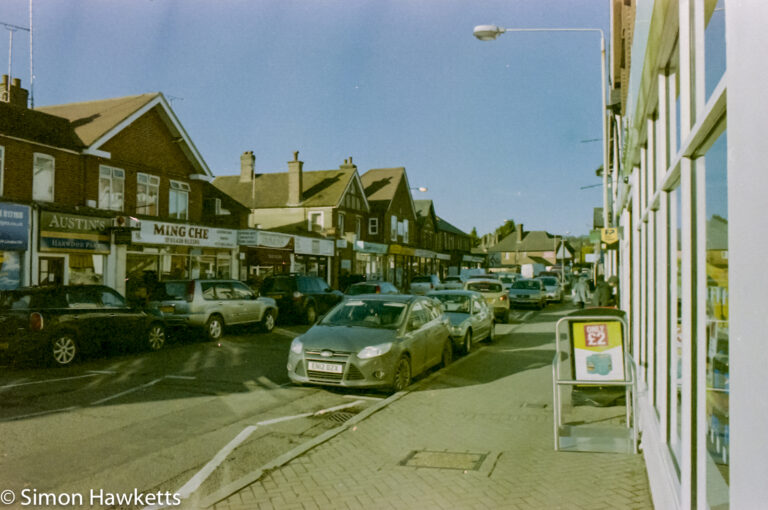
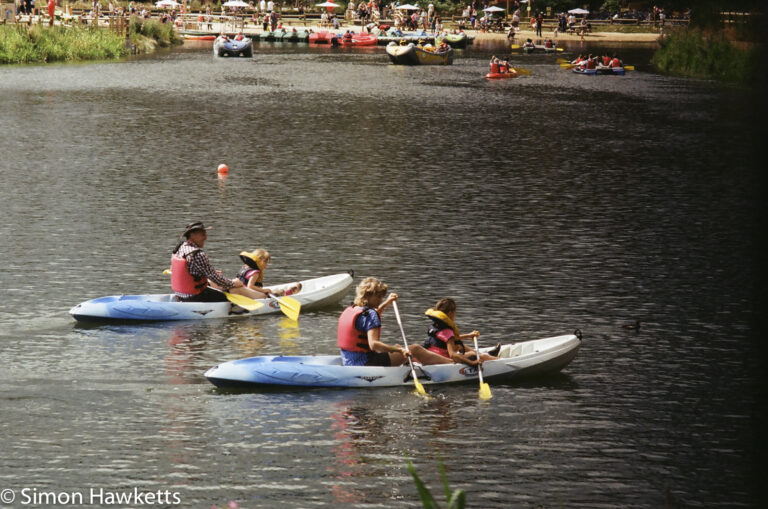
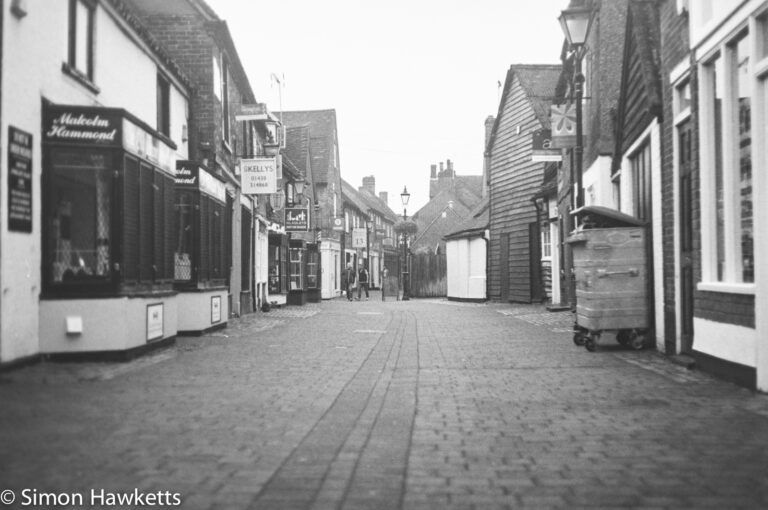
Update: The scans are here.



This brings back some memories Simon! The negatives look good.
Looks like the negatives have come out good. Thanks for posting the information on your methods, I enjoyed reading the post.
[…] selfix 1620 folding camera today, and this post is to publish the resultant scans. As I said in my previous post, I used Illford ID-11 instead of caffinol for the development, and the negatives looked quite good […]
[…] selfix 1620 folding camera today, and this post is to publish the resultant scans. As I said in my previous post, I used Illford ID-11 instead of caffinol for the development, and the negatives looked quite good […]