Building my amazing Dunster House Log Cabin – Part 1
This post is the first part of a series describing my experiences of building a Dunster House log cabin in our back garden. This log cabin is going to be used as a base for my blogging, photographic and electronics hobbies, which have been severely curtailed over the last 18 months as we’ve concentrated on several home improvement projects, culminating last year in the conversion of our garage into a bedroom for my mother-in-law.
Choice of Dunster House
When I first started looking for a Log Cabin kit, I’d not heard of Dunster House, or in fact any other garden building suppliers. I discovered them via a Google search, and ended up choosing their kit over other suppliers because of the shape of the building, and the fact that I could purchase everything I needed from one supplier and have it all delivered together.
For quite a while before I actually bought the cabin, I had decided on the Daisy cabin from Tuin, but although it would have been a little cheaper, by the time all the insulation, flooring etc had been added there wouldn’t have been much cost difference from the unit I eventually chose, the Rhine Cabin and the convenience of not needing to purchase all the additional items etc and co-ordinate the deliveries won out in the end.
I would recommend anyone who is considering purchasing a Dunster House product to keep an eye on the various sales they have running at various times. I found, by timing the purchase correctly, I saved about 20% on the final price.
The kit consists of all the parts needed to make the log cabin. The walls are 44 mm thick Spruce with a double tongue and groove joint milled into the mating edges so they lock together, and then there are shaped assemblies for the roof structure, purloins for the roof support, roof boards cut to size, floor boards etc. I added some optional extras in the form of insulation for the roof and floor, a guttering system and enough preservative and paint to colour the cabin in an attractive (I hope!) light grey colour with blue window and door frames.
Delivery Day and first day of construction
On the day of delivery, there is a tracking system on the Dunster House site which allows you to watch where the lorry bringing the kit is in real time. I found this quite useful to let me be ready to receive the kit and supervise the delivery.
The lorry which turned up was actually smaller than the one I thought would be used; On the Dunster House site it said that log cabins were delivered on a 7.5 ton lorry, but I guess that because mine was ordered and delivered in January, they only had to carry my kit and didn’t need such a big lorry.
I’d prepared a space in the back garden to take the kit and asked the driver and his team if they could offload the kit there, but unfortunately they can’t carry the kit through gates etc, and it needed to be placed on the front garden. This wasn’t unexpected – the Dunster House delivery page makes it plain what the policy was, but I thought I would ask just in case.
As it happens, it didn’t bother me about placing the kit on the front garden because, after several building projects over the last couple of years, and having had numerous skips placed on it, our front garden is destined for a complete makeover soon, so it wasn’t going to be hurt by having wood piled on it!
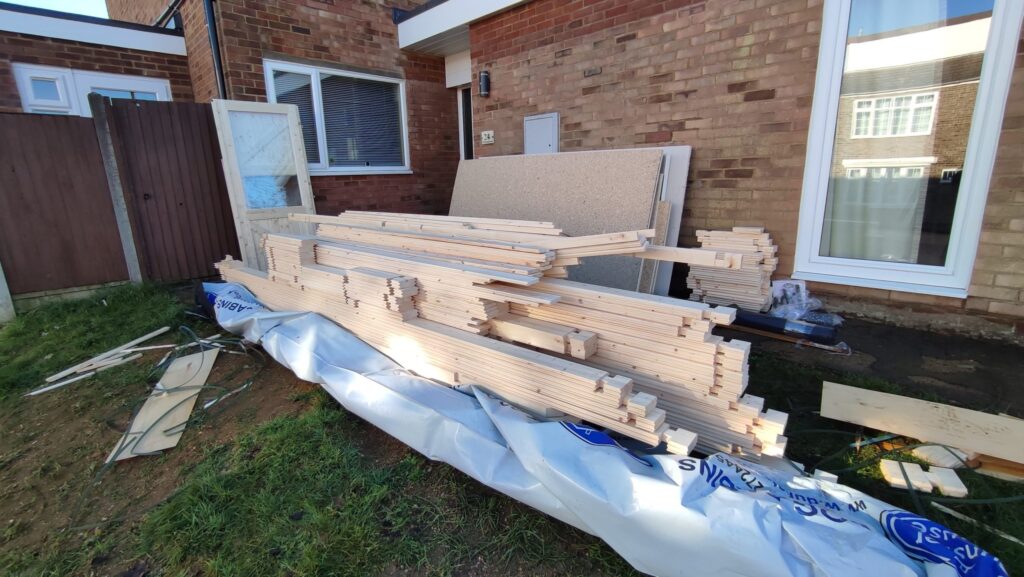
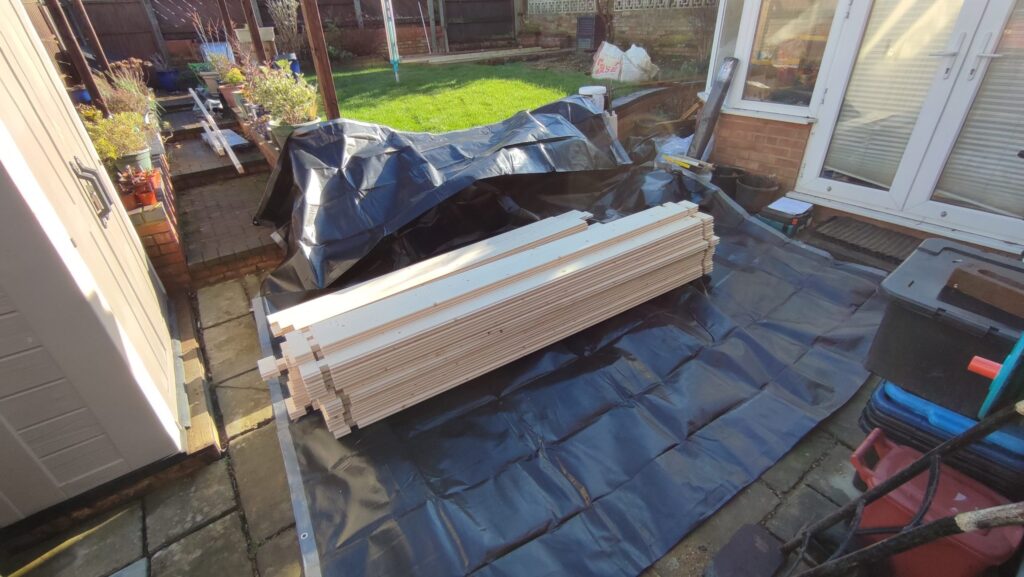
It took about 30 minutes for the delivery team to get everything off the lorry and on to three bearers they placed on the garden to keep the planks straight. In that time I chatted to them about the kit, and they provided lots of useful tips on construction which I filed away for build time.
After the lorry left, I then set about moving the whole kit from the front garden to the back garden.
Most of the parts were easy enough to move, but I could see that some large sheets of chipboard / insulation which go on the roof were going to be problematic. Fortunately, however, one of my neighbours, Dave, was taking his dog for a walk while I was doing this, and stopped for a chat while I was moving the last of the planks. Dave told me he would give me a hand with the chipboard, and between us, we moved them into the back garden.
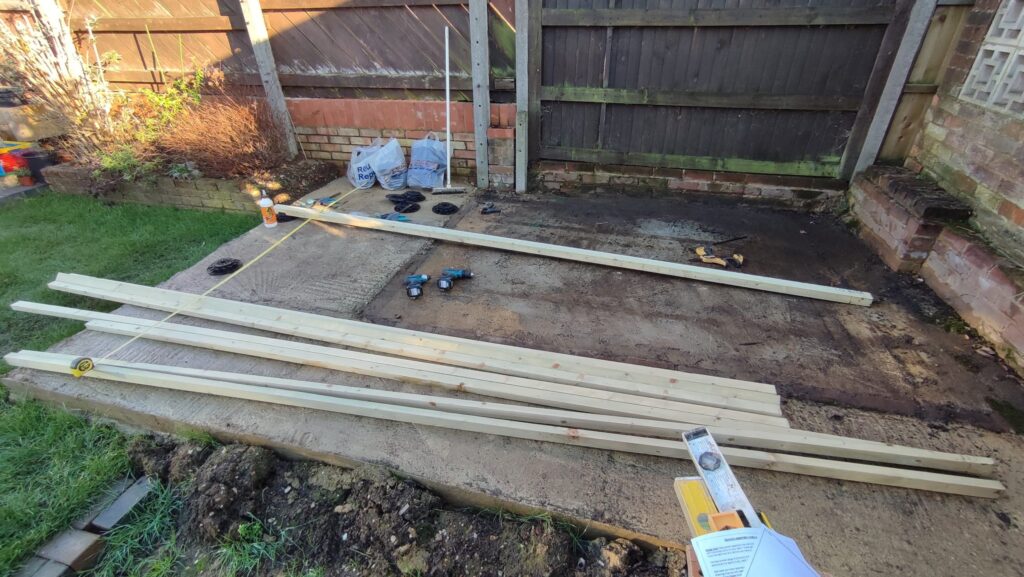
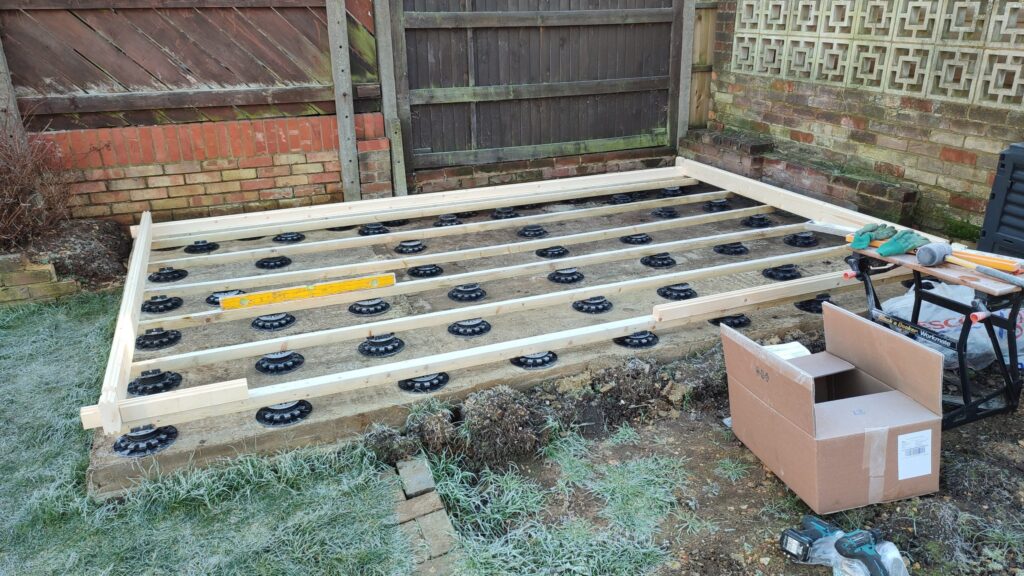
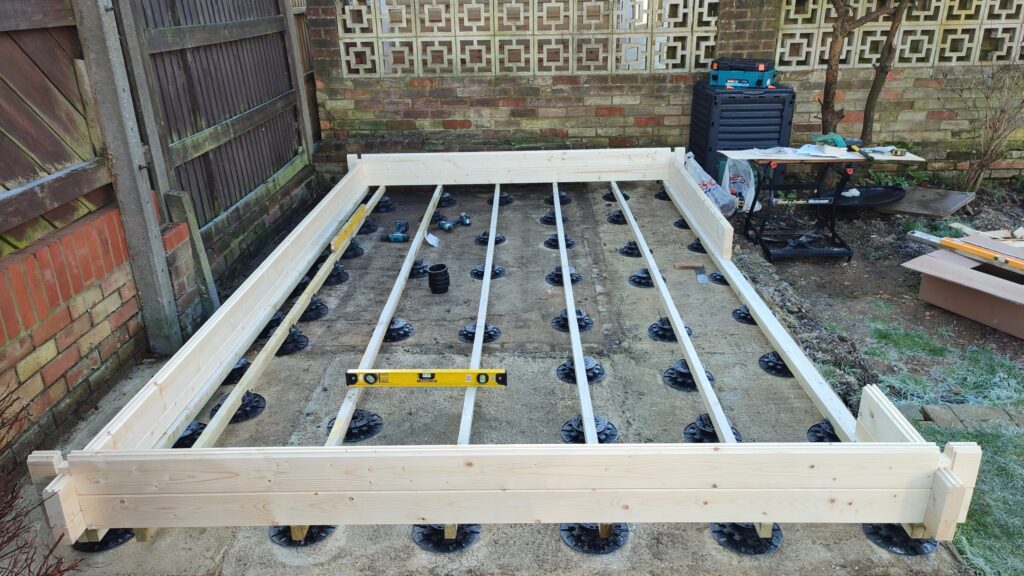
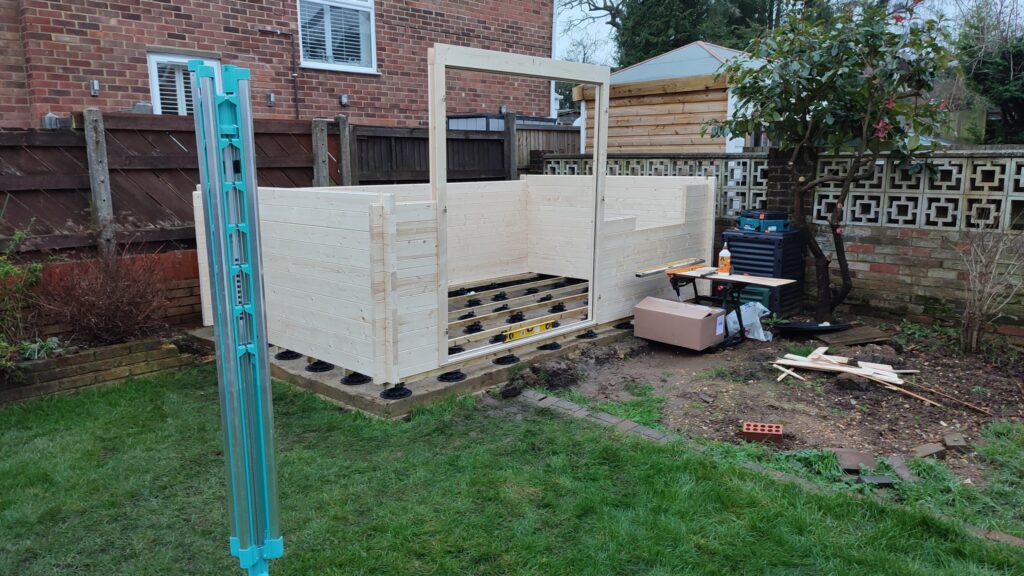
After lunch, I set about the first stage of construction, which is to lay 9 strips of 2 x 1 wood called bearers down on the flat concrete base I’d prepared. Well, that’s the theory, but in practice the concrete base was far from flat.
Initially I’d put down a base about 15 years ago for the shed we used to have in the corner of the garden and I had to extend that area while the shed was still in place, so I couldn’t easily check levels. Also, I had to do the extension in several sessions so there were distinct differences of about 2 inches over the whole base.
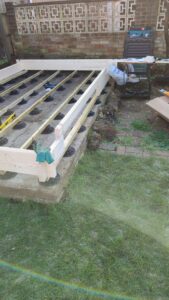
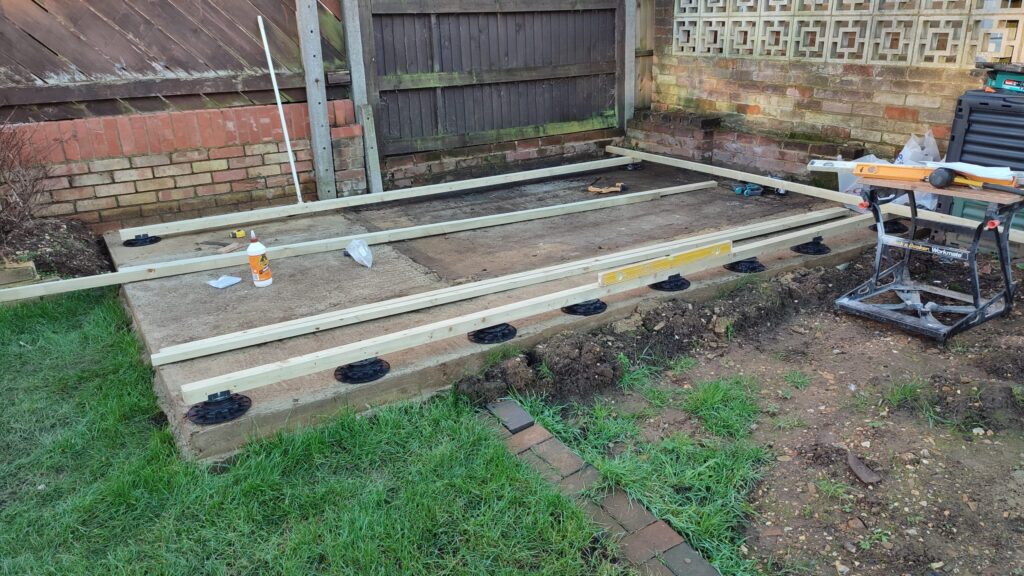
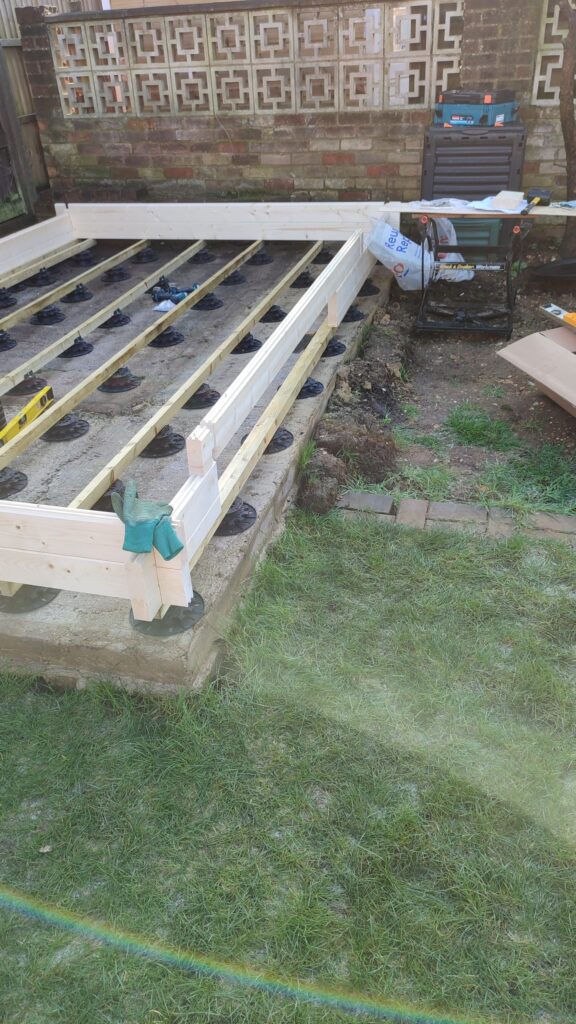
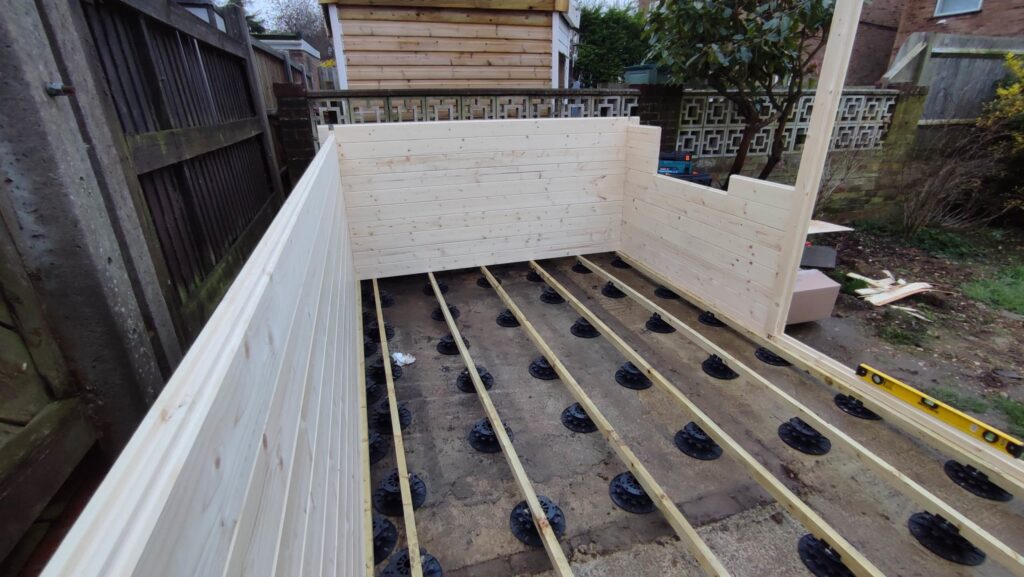
To compensate for this, I bought some Joist supports from Amazon which allowed me to position the bearers with supports fixed every 300 – 400 mm and keep them level. In fact, this gives an advantage over having the bearers directly on the slab, because it ensures there is airflow under the cabin and should preserve the life of the bearers.
The bearers seemed quite flimsy to support the cabin on the joist supports, but I’d seen a Youtube video where a Dunster House log cabin had been supported on similar units, and that cabin was bigger than mine and the builder used fewer joists than I have, so I believe it will be OK.
The two outside bearers, that support the weight of the front and back of the cabin, are doubled up, so I joined them with a good helping of wood glue and clamped them together whilst I screwed them from both sides. By the time it got dark on that first day, I’d got the outside bearers sitting on their supports and worked out which was the highest part of the slab so that I could ensure the cabin was kept as low as possible.
Day one photos
These photos cover the activity from day on of the build
Day two construction
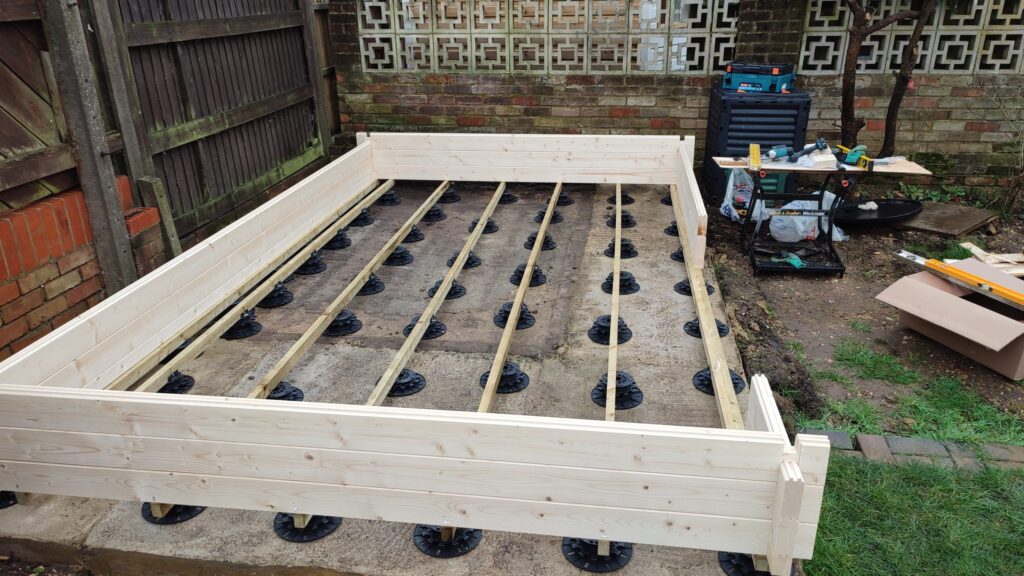
The next day, Tuesday, I fixed the rest of the bearers on their supports and spent a couple of hours making sure they were level. It’s made very clear in the log cabin instructions, that the base needs to be completely level and square otherwise there will be problems later on, so I wanted to make sure I was very thorough about this stage.
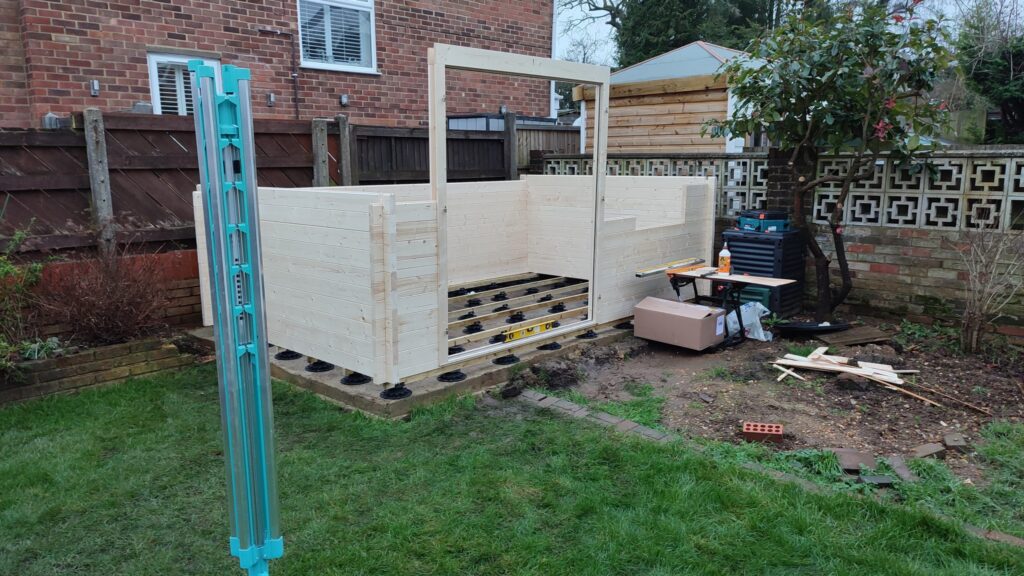
In order to get the base square, I assembled the first row of logs onto the bearers and squared them up by measuring the two diagonal measurements from corner to corner, to check each was the same.
The first row consists of two normal logs on the side of the building, and half logs on the front and back. Because the door opening doesn’t have a half log section, and could float out of true, I temporarily slotted a side log across the gap where the door fitted, so I could make sure that wall was straight. This is shown in the picture to the right.
According to the instructions, the first row of logs should be screwed into the bearers, but although I did this, I waited until I had about 4 rows in place so that I could check that the cabin was going together square and level.
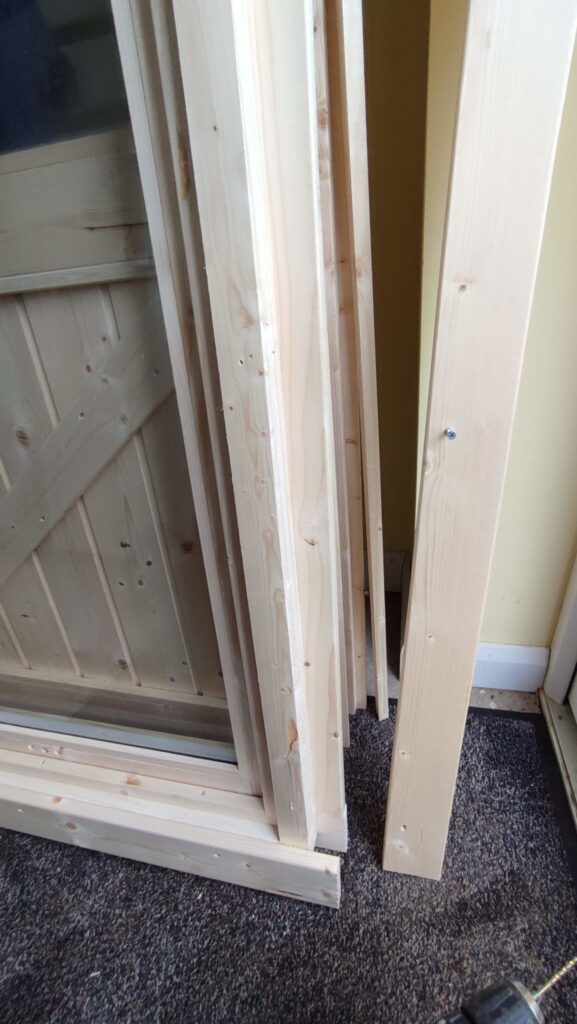
Once I got to 6 rows, the door frame, which is supplied in parts, had to be assembled and slotted into the gap in the front wall. Each of the parts of the frame are supplied ready made, but they need to be screwed together and checked for square.
Because I was doing this work in January, the lawn was soaking wet, and I didn’t have an area large enough and flat enough to assemble the door outside, so I did this part in the lounge and then tried to carry the frame outside to slot into the cabin.
This is when I found that the double door frame which is featured in my cabin is too big to fit through any of our house doors! So I had to disassemble it and take the pieces outside to assemble after all. I calculated that since I’d drilled holes and screwed it together square, it would probably remain square when re-assembled.
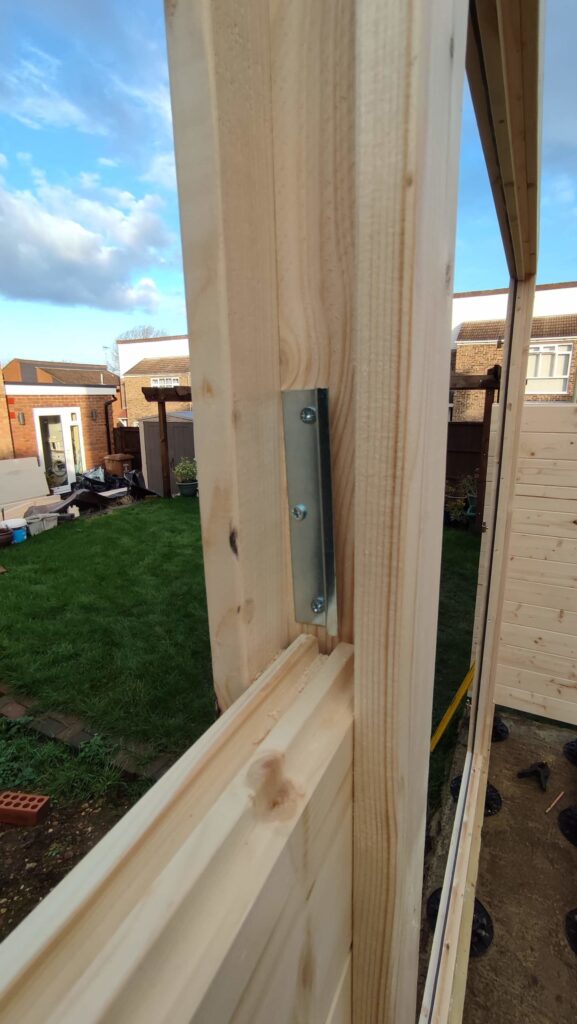
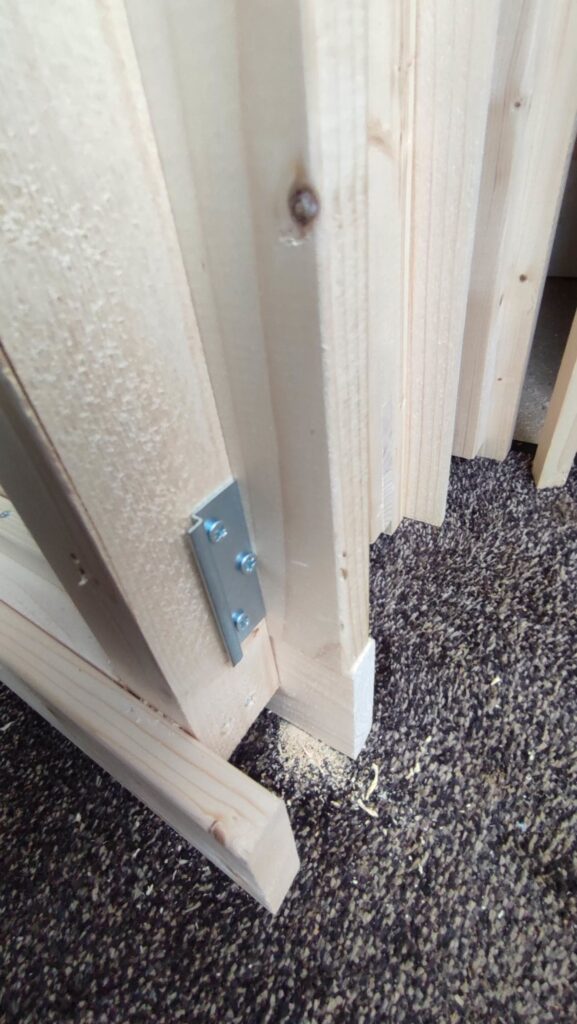
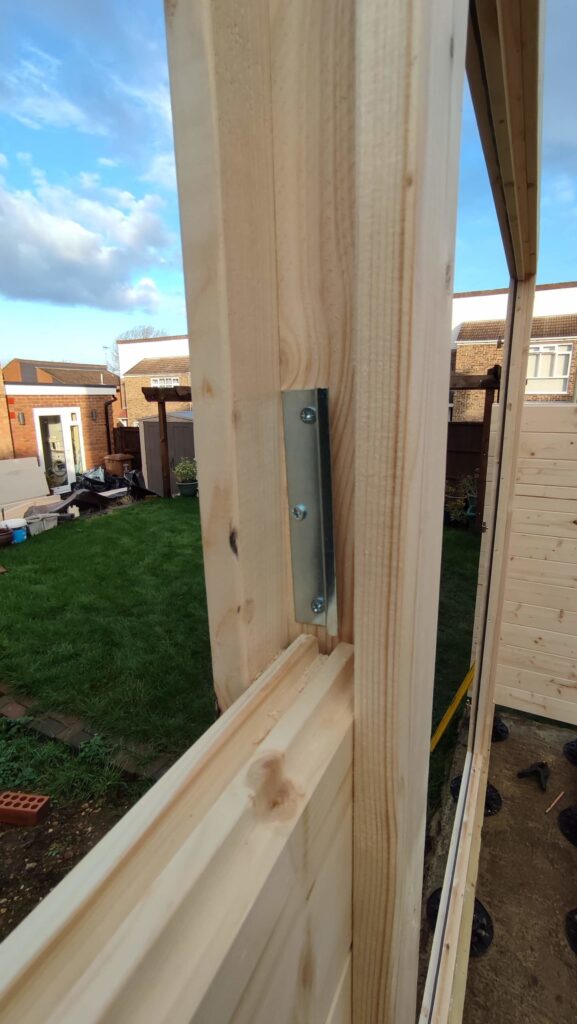
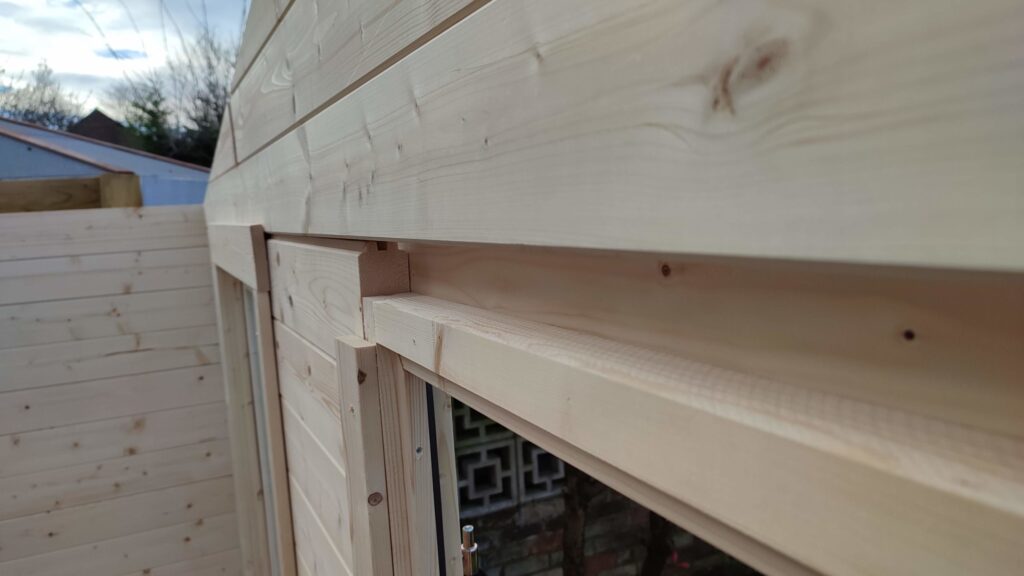
When the door and window unit are fitted into the cabin walls, there are small metal brackets which need to be attached to the logs and the door or window frame to make sure the two are locked together (although still allowing for movement which will happen over the changing seasons). The picture to the left shows the bracket fitted to the door frame.
Because the door frame is quite heavy, I found it easier to remove the internal trim, so I could pull the frame into the slot rather than dropping it in. This also meant I could check the metal brackets engaged properly. It’s then a simple job to just refit the internal trim to lock the door frame in place.
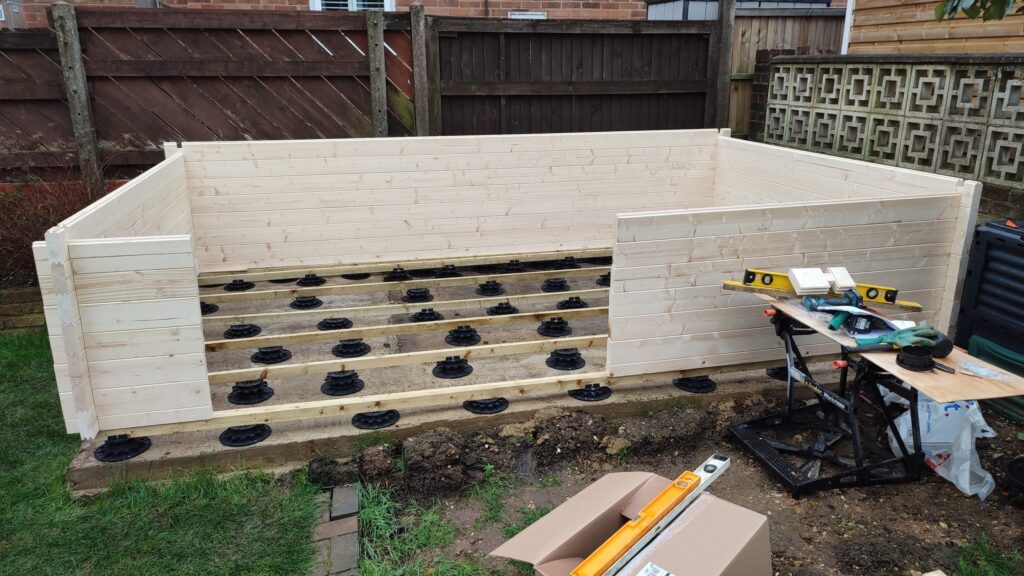
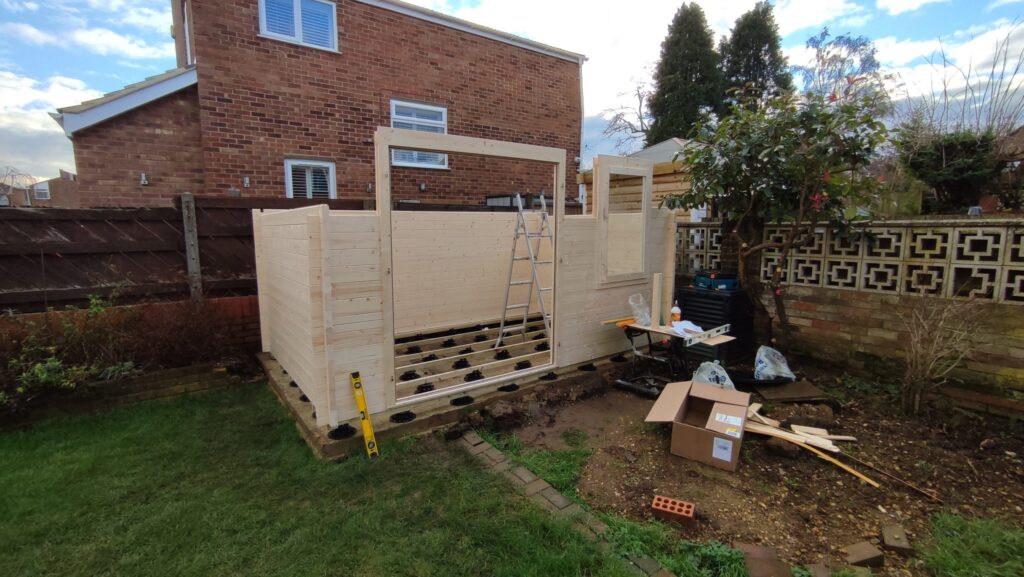
By the end of day two I had about 8 rows of logs assembled and the door frame fitted to the cabin, with a slot for the window taking shape. At that point it started to get too dark to get much more done and I packed up for the day.
The last picture in this gallery shows the progress after two days.
Day two photos
Day three construction
On day three, which was a Wednesday, the first thing I needed to do was add the window unit to the slot I’d created the day before. The window is supplied completely assembled, and just needed to be dropped into place in the same way the door assembly was, but I found it too heavy to lift to that height and drop in my myself, so I used the same trick I used with the door frame. I removed the internal trim and pulled the window into place.
Although this was quite easy and allowed me to engage the metal alignment brackets, I found the window wouldn’t balance, and I had to hold it with one hand and using my phone call my wife to come out from the house to hold it whilst I fitted the internal trim back in place!
Once that drama was out of the way, and the window was fitted, the rest of the construction continued really quite quickly. I found the quality of the logs very high, with no warped units and the majority just slotted together without incident. I did find however that it is worth using a rubber mallet to tap the logs down and help them ‘bed in’. In the kit of parts there are various packing pieces which have the tongue and groove milled in them, and these can be used as a good sacrificial piece to stop damaging the logs themselves.
Once the final level of logs were added the cabin I was constructing had two triangular sections which make sure the roof is correctly angled. Each of these were heavier than the longest logs, but by balancing them with one end on the side wall and the other by the base of the cabin, I could get on a set of steps and pull the unit into place.
With the roof sections in place, there are three purloins which slot into pre-prepared slots and are then screwed into the roof section at an angle. I noticed with these fitted, the whole cabin becomes much more solid and rigid.
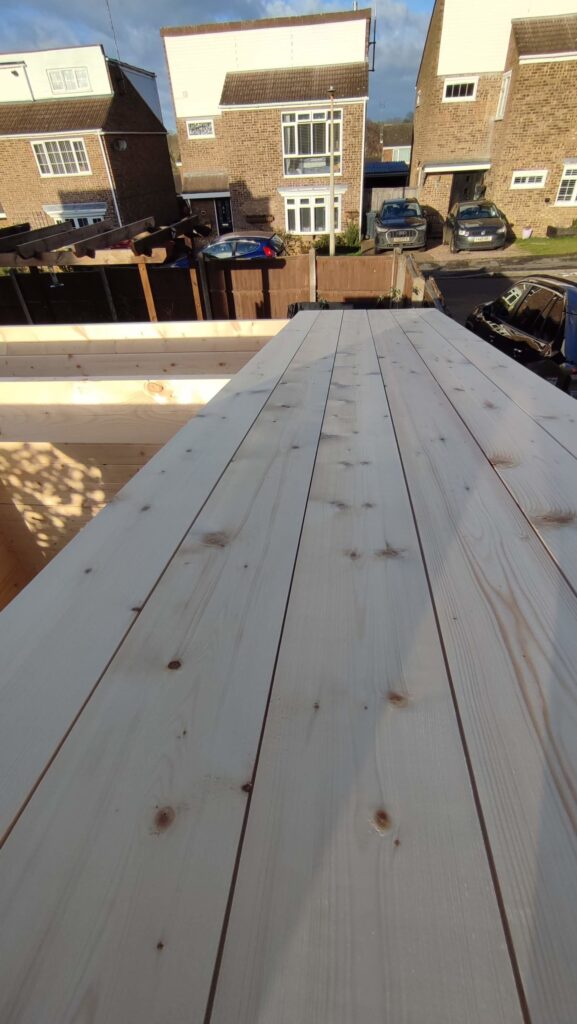
With the purloins in place I could start to nail the roof boards down which also adds to the rigidity of the cabin. Because I was doing the work by myself, I arranged two stepladders inside the building, so I could quickly move from one end to the other to get the boards nailed down. I found it helpful to draw a line down the centre of the middle purloin so I could make sure the boards were correctly positioned.
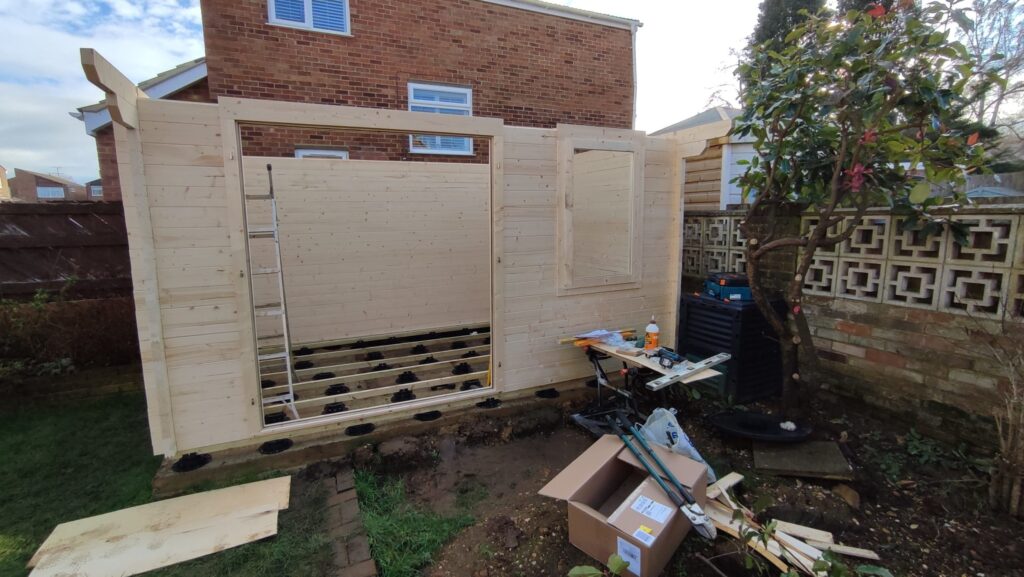
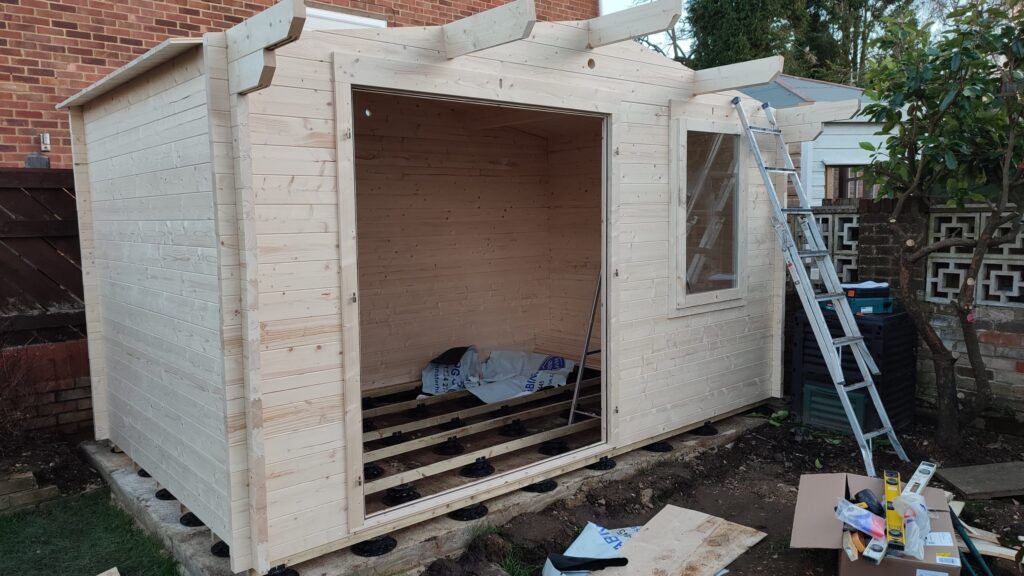
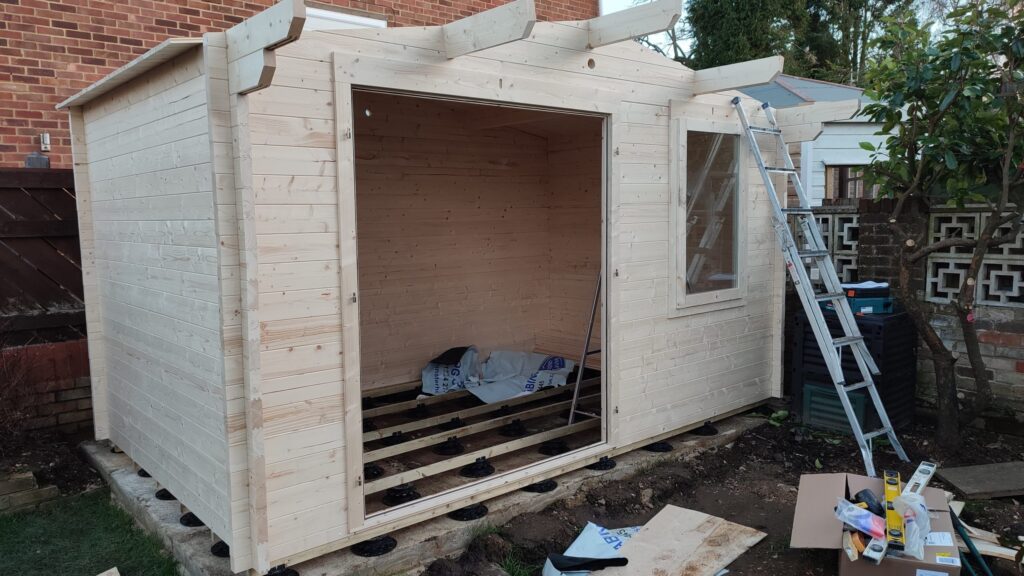
By the time of the sunset on day three, I had the cabin roof section completed, although because my cabin has a canopy the roof wasn’t completely done. However, I could move the rest of the roof boards, floor boards and other trim sections into the building to provide a bit of protection from the frost.
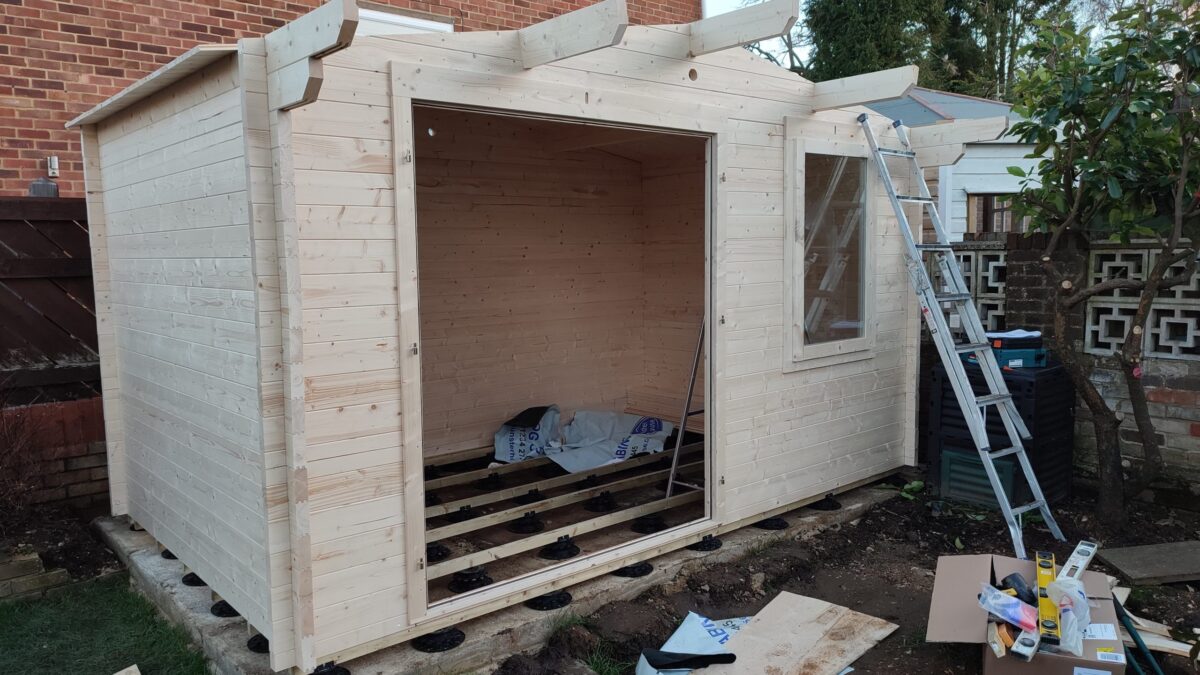
Day three certainly showed the most raw progress towards the completed cabin with the actual basic structure up and the roof mostly on. The final picture in the gallery below shows the state of play at the end of the day.
Day three photos
In the next part, I’ll describe the rest of the build process, the problems I had with the floor and my overall impressions of the kit and build.
Update: The next part in this series is here.

