Creating a simple but effective Emby home media server
This post explains how I created a home media server using a Raspberry Pi single board computer and the Emby media server software.
Background
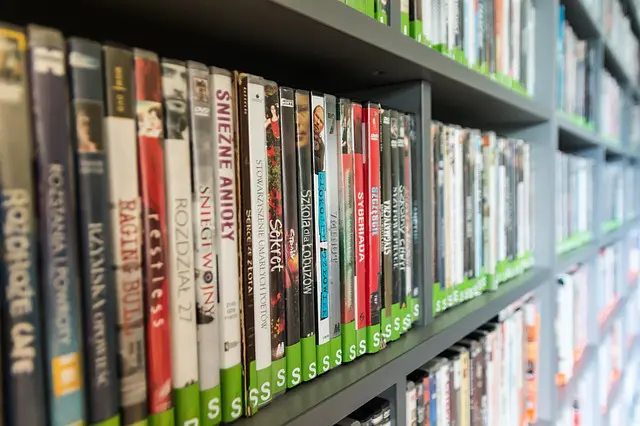
Like many people, over the years I’ve built up quite a sizable collection of DVDs as I’ve watched films or TV series and thought, ‘I’d like to keep a copy of that’. Although many of the films I have in my collection are available on services like Netflix or Amazon Prime, not all of them are[efn_note]Especially some of the older films and TV series I have[/efn_note], and it’s not certain that those titles will always be available or, indeed, that I will always be able to afford to purchase those services.
A couple of weeks ago I suddenly thought I’d like to watch one of the DVD sets in my collection – I Claudius. I purchased it on a whim about 15 years ago and haven’t watched it since then and suddenly felt in the mood for some Roman drama. I searched around for the boxed set of DVDs and settled down with my laptop to start watching the first episode when I realized that my laptop, in common with most made over the last few years, doesn’t have a DVD drive!
Although we have a DVD player with the main family TV, it isn’t always convenient to use that with both our children revising for their GCSE and A Level exams [efn_note]Or whatever replaces them in this year of COVID-19 [/efn_note], and I thought, ‘What I need is the equivalent of Netflix for my own DVD collection’.
Well, after a bit of research I discovered that setting up the equivalent of Netflix for your own DVD collection is not that difficult, and in the sections below I’ll explain how I did it.
Emby Media Server
After my research I decided that for my particular requirements I would use the Emby media server.
There are other choices, like Plex, but I quite like the fact that Emby gives a lot of options to tweak (that’s the sort of thing I like doing), and it solely provides access to your own media rather than also having an ad driven ‘popular films’ option which Plex does. There is nothing at all wrong with that, but I only want my own DVD collection available.
In my mind I had a set-up which involved some items I have which are not being used at the moment; a Raspberry Pi model 3 and a 4Tb USB external hard drive. I didn’t know if this was feasible, but after a bit of research and experimentation I found it was a pretty good starting point for a decent system.
Converting the DVD to mp4.
I’ll admit I don’t know a lot about video encoding formats and containers, so I had a look around the Internet to try to get some information about how I could rip the DVDs to files which would work with Emby.
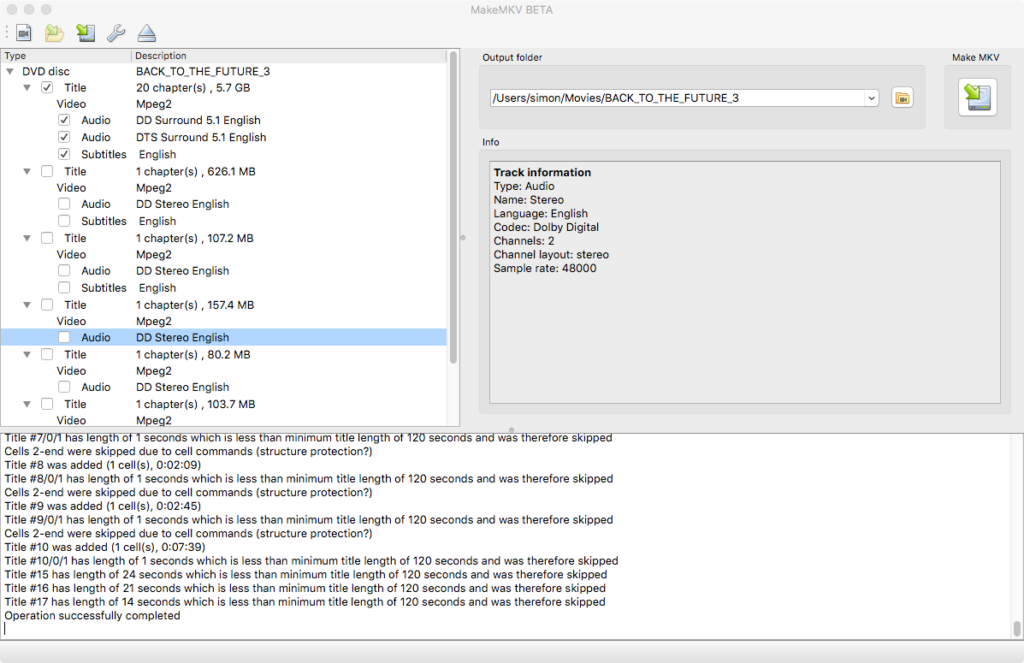
I found a very interesting project called the Automatic Ripping Machine and considered using it for a time, but after some experiments I found it wasn’t for me. The issue I found was that many of my DVDs have additional language tracks, features, subtitles etc which I didn’t want to copy so making the process completely automated didn’t fit my requirements. One of the core components of that project however was useful, and I used it as the first part of the conversion chain. That component is MakeMKV.
MakeMKV is responsible for taking a copy of all the tracks on the DVD and writing them to a .mkv container file. It doesn’t do any compression or re-encoding of the data, so the resultant file is the same size as the data on the disk. For most DVDs this is between 4 and 8Bb.
Although I could use that file with Emby, it reduces the number of films I can store on my 4Tb drive, and also means the network is moving more data around than it needs to, so I looked at another program which would reduce the size of the file and keep the quality of the streamed video at acceptable levels.
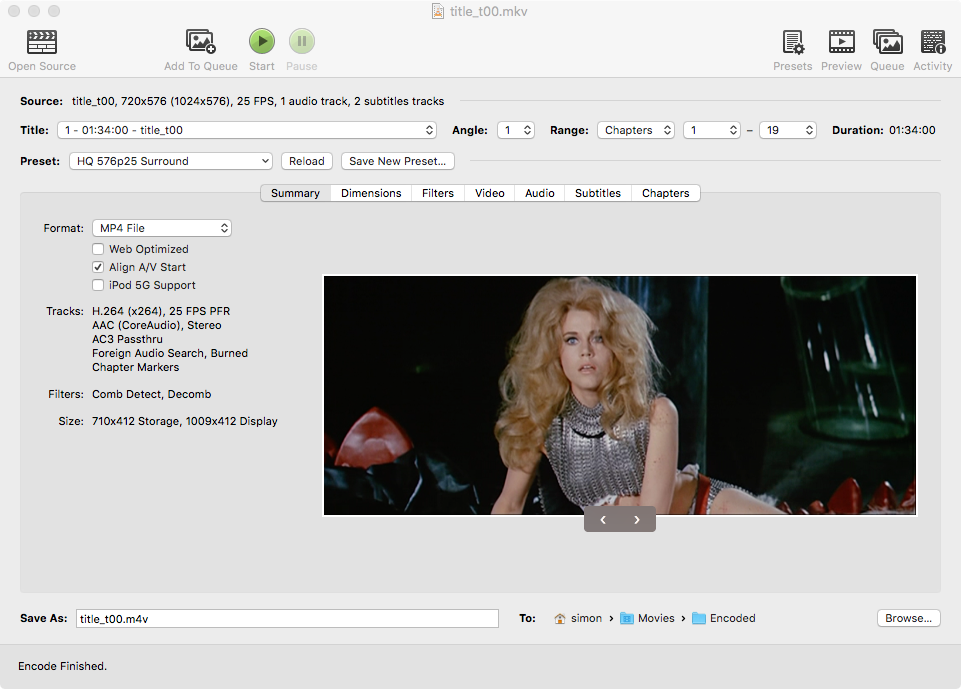
The program I found is called Handbrake, (which I believe uses ffmpeg in the background to do the actual compression). I downloaded a copy for use on my ancient iMac and tried out a few different settings to see what sort of quality I could get.
Initially my first thought was to try a very high quality setting to produce a 1080p high definition image quality and see how it looked. Although the results were OK, the size of the file was large and the encoding took a very long time to process.
After a bit of research I found that increasing the quality beyond that of the original source material would only increase the file size because you can’t improve the quality beyond what you have to start with – yes I know that’s obvious but it only really sinks in after you’ve tried it!
So I settled on one of the standard preset setting in Handbrake of ‘HQ 576p25 Surround’. This reduces the file size to about half and gives a picture quality on the main TV which is pretty much indistinguishable from the original DVD.
At first I started converting DVDs on my mac – Copying the tracks I want using makeMKV and then encoding the resultant file using Handbrake, but I found this was taking a long time to complete, and I could only run the process when I was at the mac.
So to make the process easier to manage, I set up a DigitalOcean $5 droplet running Ubuntu and now do the Handbrake encoding stage remotely.
The set up is like this:
- I do the makeMKV conversion on the mac to produce the raw DVD mkv files. I can select the files I want and make sure only the English subtitles and audio track is selected if the disk has multiple options. The process of reading the DVD to a file takes about 30 minutes and I can do that whilst I’m at work (I work from home, so it’s just a question of popping a DVD in the drive and selecting the correct audio track and subtitle track) or before the work day starts.
- Once I have 3 or 4 files available I use FTP to send them to the droplet and run the Handbrake conversion remotely. There is a CLI version of the program which runs on Linux and can be set to use the same profile.
- At the end of the day all the encoding will be done, and I can FTP the resultant encoded files from the droplet and onto the Emby server. I can then set up another set of files to be encoded during the night.
With this process in place I can add about 6 DVDs a day to the media server. It’s going to take a long time to get every DVD we own onto Emby, but with the droplet only costing $5 a month it’s not too expensive.
There are some limitations of the system I’ve set up. One is that I need to manually trigger the encoding on the remote server when the files have been uploaded, and also the $5 droplet has only 25G of disk space available. For a normal application that would be fine, but in this case lots of disc space is one of the things required.
My plan is to use my Google Drive account, which has 100 G of space, to set up the files to be transcoded and then write a script which runs on the droplet to periodically look at the Google Drive account to find files to process.
It will select one from the queue, transfer it to the droplet, encode it and then transfer the encoded file back to a ‘processed’ folder on Google Drive. This could run every 5 minutes and as long as the first step is to make sure that there is no encoding process running (and that there is disc space to transfer the file) this should be a reliable system. All I need to do then is set up a similar script on the Raspberry Pi which Emby is running on, to look in the Google Drive ‘processed’ folder and transfer any files it finds to the correct folder in Emby.
The Emby Media Server.
Although I’ve only been using it a few weeks, I’ve been very impressed with the Emby media server.
Once it’s setup, for most DVDs all the metadata (cover images, cast list, release date etc) is automatically pulled in from ‘The Movie Database‘ website and instantly makes browsing the collection more interesting.
The gallery below shows some of the standard screens from Emby to give an idea of its look.
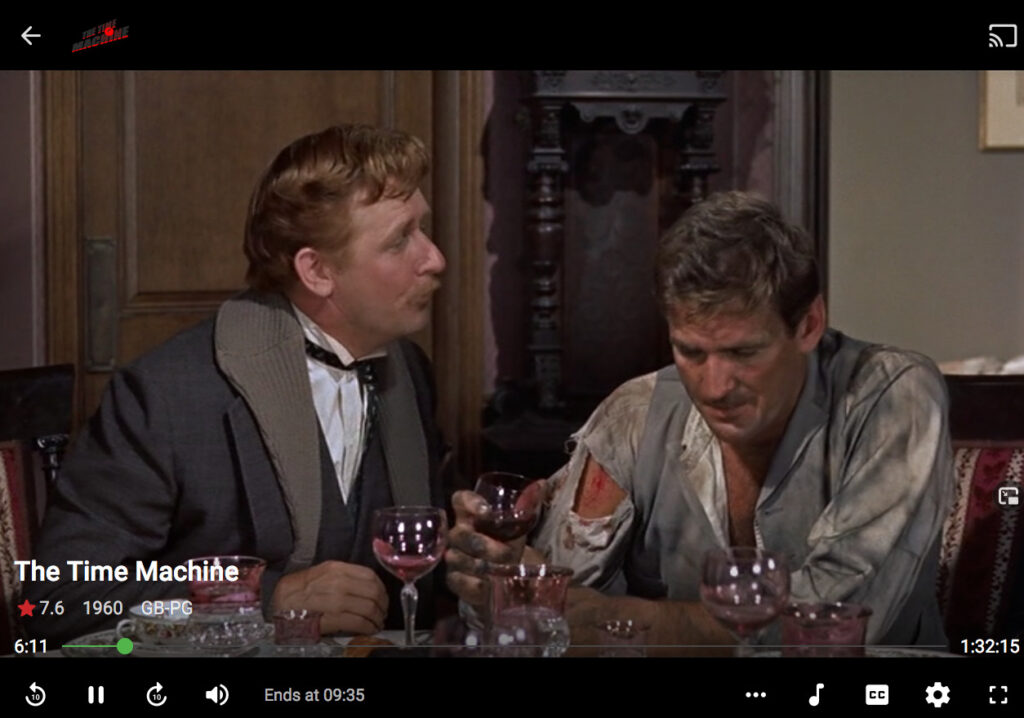
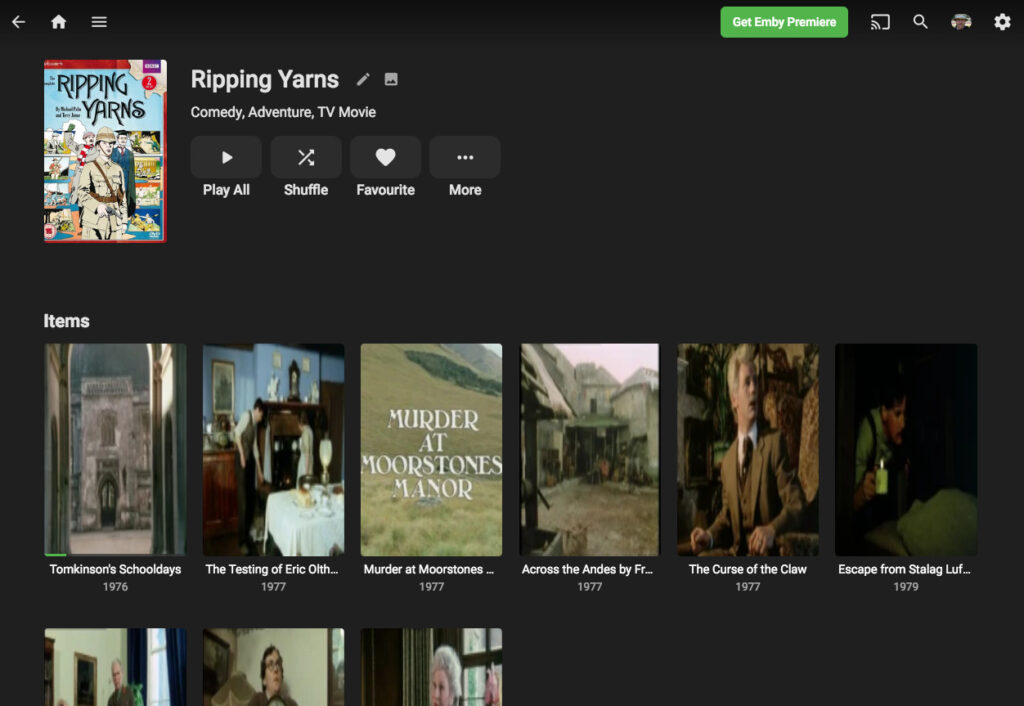
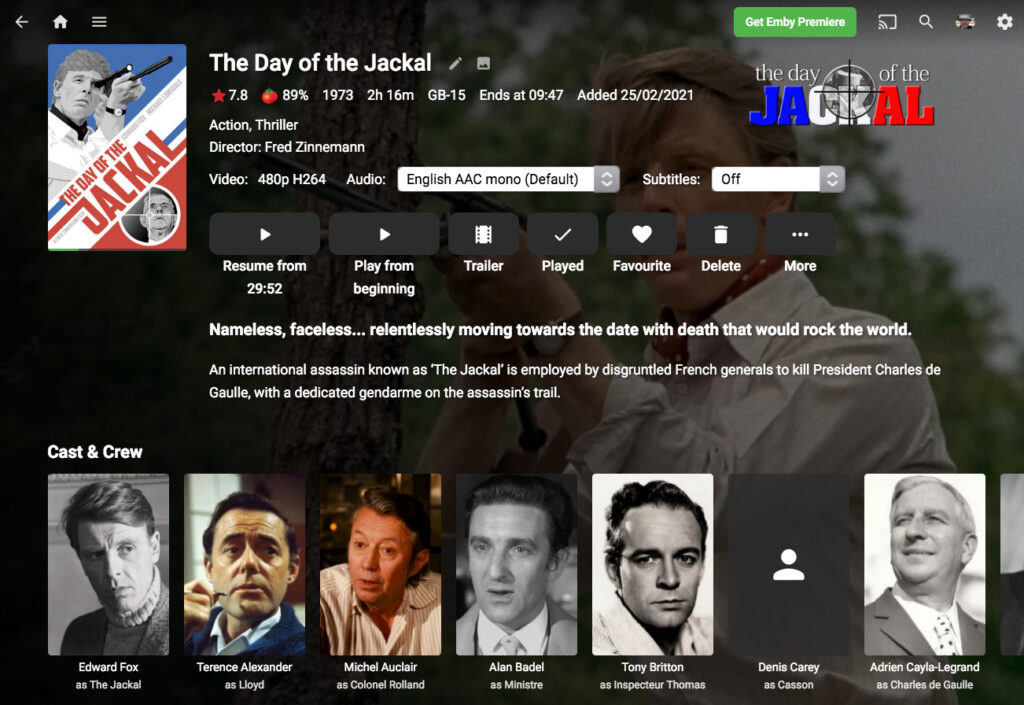
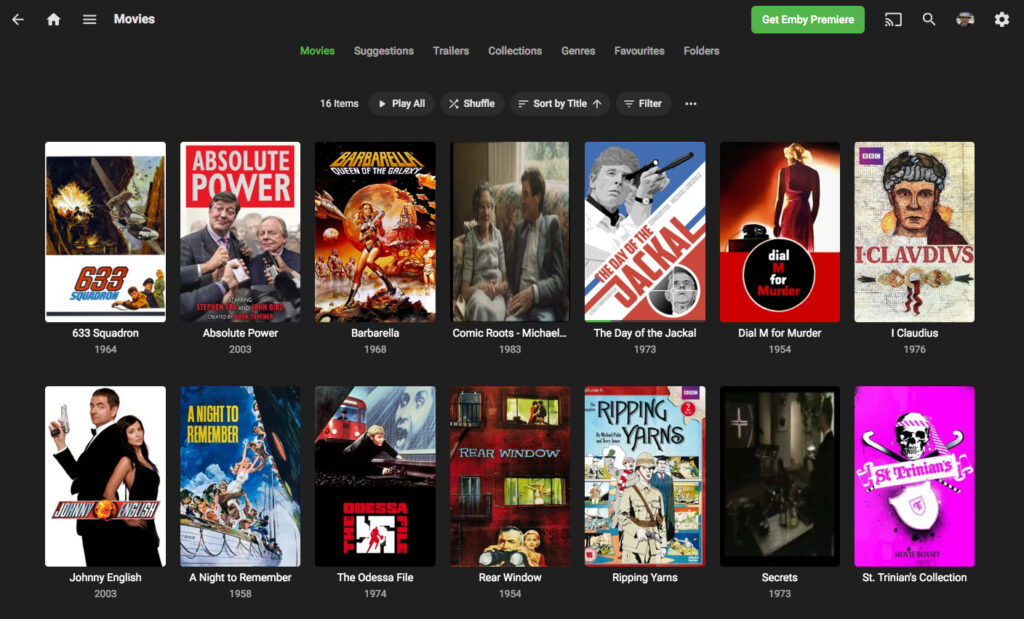
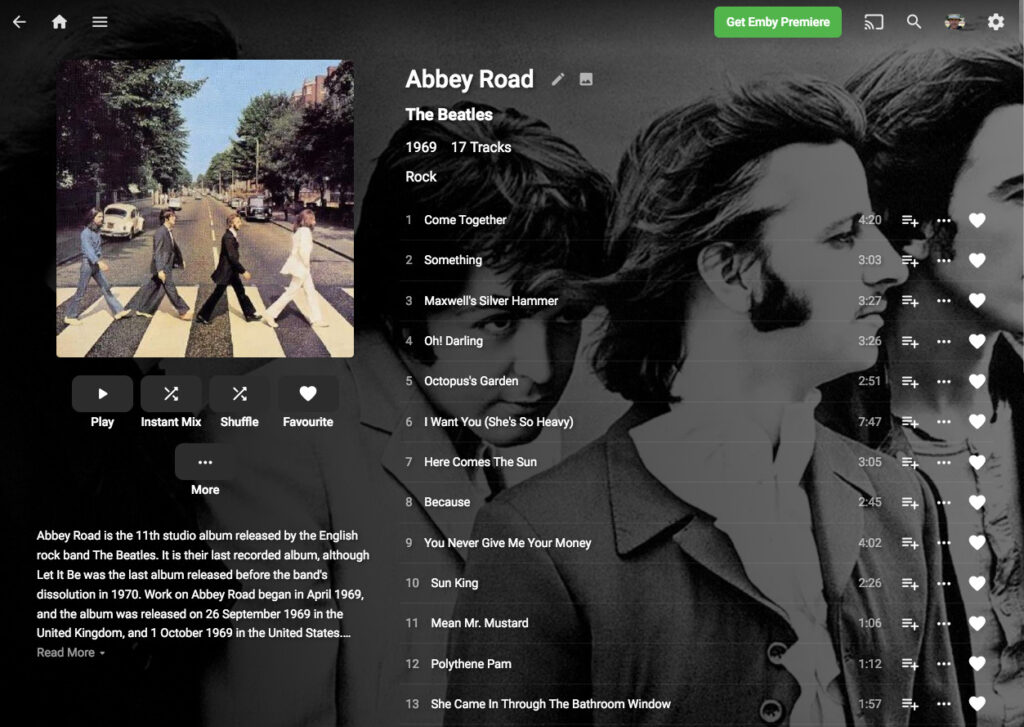
In use the Emby web player is a very similar experience to using Netflix. It’s possible to browse all the content, display it by genre, by collection or to search for an individual title etc
At the moment it’s only me in the family using it, so I’m not sure how it will perform with multiple people accessing, but I’ve been impressed enough that I’ve ordered a Raspberry Pi 4 to replace the Raspberry Pi 3 I’m currently using[efn_note]When I said it was laying about that’s not completely true – it’s the octoprint server for my 3D printer[/efn_note], and I’m pretty confident that its improved networking and speed will mean the system will easily support 4 users.
Conclusion – is a home media server worthwhile?
So now I’ve set it up do I see any advantages in having a home media server? Well, obviously I do, or I wouldn’t have bothered writing this post, so more accurately what are the advantages of a home media server?
Well these are the advantages I’ve found over the first few weeks of using it.
I watch more films on a whim than I did when that involved finding the DVD and using the large screen in the Lounge.
I’ve started to add some of the home video content that we have taken over the years to the system. Like most families we have a lot of video clips of the children growing up and holidays which I’ve never bothered to gather into one place. With the addition of the Emby server I’ve started to do just that, and add the metadata needed to easily find them again. It’s a long process, but over time it makes it easy to relive old memories.
One advantage which I’m thinking will come into play next year is the ability to view the content when you are away from home. Our son James goes to University next year, and it will be useful for him to be able to watch his DVDs without having to take them with him – and his laptop doesn’t have a DVD player either!
As well as video, the Emby server also hosts music and photos, so I’m also going to add some of my CD collection and the best of the photos I’ve taken over the years to it as well.

