Fuji X-T1 and Yongnuo 560 III flash experiments
Although I have a very basic understanding of the use of an electronic flash, I’ve never really spent a lot of time or effort trying to improve my understanding. I think this is mainly because most cameras will take care of the basics and produce a nicely exposed flash picture if you just leave everything on auto and let the camera take the decisions. The problems with that approach however come when you want to do something beyond the basics. I decided therefore that it was time I tried to teach myself a bit more than the basics and spend a bit of time experimenting with a Yongnuo 560 III manual flash.
Because I would be boring for anyone to act as a model whilst I did this, I used one of my Daughter’s toys as a subject – Slick the Beenie Boo fox. My aim was to produce a portrait of the model with a dark background and well exposed model, with any background showing being nicely blurred.
Firstly, a bit about the equipment I used and the setup.
The camera was my Fuji X-T1 mirror-less fitted with the standard 18 – 135 zoom lens. As I said above, the flash gun is a Yongnuo 560 III flash fitted directly on the camera hot shoe and set to manual mode. I pulled out the in-built diffuser on the flash, and pointed the gun directly at the subject. The model sat on a table about 5 feet from the camera and the pictures were taken in our well lit conservatory on a sunny day.
My initial experiments were a bit hampered by an internal setting on the X-T1 which needs to be turned off. When in manual mode the camera will simulate the exposure on the LCD and EVF. This is a really good feature in normal photography, because it means you see the result of your exposure settings. For example, if the camera is set 5 stops under exposed the viewfinder is very dark. That setting however didn’t help me when during flash exposures so I had to find it in the menu and turn it off. I also had to tell the camera to always fire the flash – it’s called ‘Force Flash’ in the menu.
Anyway – on to the experiment itself.
My start point was with the shutter speed set to 1/125 (I meant to use the full sync speed of 1/180 but accidentally set it to 1/125 instead!) and the lens aperture at f/22. The ISO was set to the minimum the camera will allow when shooting RAW of 200 ISO. I used manual focus so that the focus didn’t change on every shot.
Since I didn’t know what power to set the Yongnuo 560 III to I just set it to 1/32 and tried a shot. The reason for this starting point was to make the basic exposure without flash quite dark – this would be the background to the picture. Although that was quite successful, the bits of the background which were showing were very well defined, which was not on my list of objectives.
So I tried compensating for the light with an ND filter (cokin P154 ND8 + P153 ND4) and opened the aperture up to f/4.7 to blur the background. I found as I added these filters that although their description says ‘Neutral Grey’ they are far from neutral and I had a pink cast with one and a blue cast with both. So I selected a custom white balance setting and neutralized that before I carried on.
With the aperture opened up I achieved the desired softening of the background but when I reset the Yongnuo 560 III power to illuminate the subject correctly I was still struggling to get the background dark enough. It was at this point that I discovered the shutter speed was 1/125 rather than 1/180 and reset it. I also tried moving the model closer to the camera so I could reduce the flash power and therefore not ‘leak’ as much light to the background. This did give me better results, but still not exactly what I wanted. I also tried changing the zoom on the flash which had been set to 24mm wide angle up to that point which again made a marginal difference but not a significant one.
As one final throw of the dice I tried stopping the lens down and removing one of the ND filters (P153 ND4). Because I had moved the model closer to the lens I worked out that I could get away with a smaller aperture and still keep any background which is illuminated reasonably blurred. It also makes sense to darken the background as much as possible rather that show it, so that seemed to be a better move.
This finally gave me closer to the sort of image I wanted. The images are shown below and just to clarify they are exactly as they were imported into Lightroom, there has been no white balance, exposure etc changes.
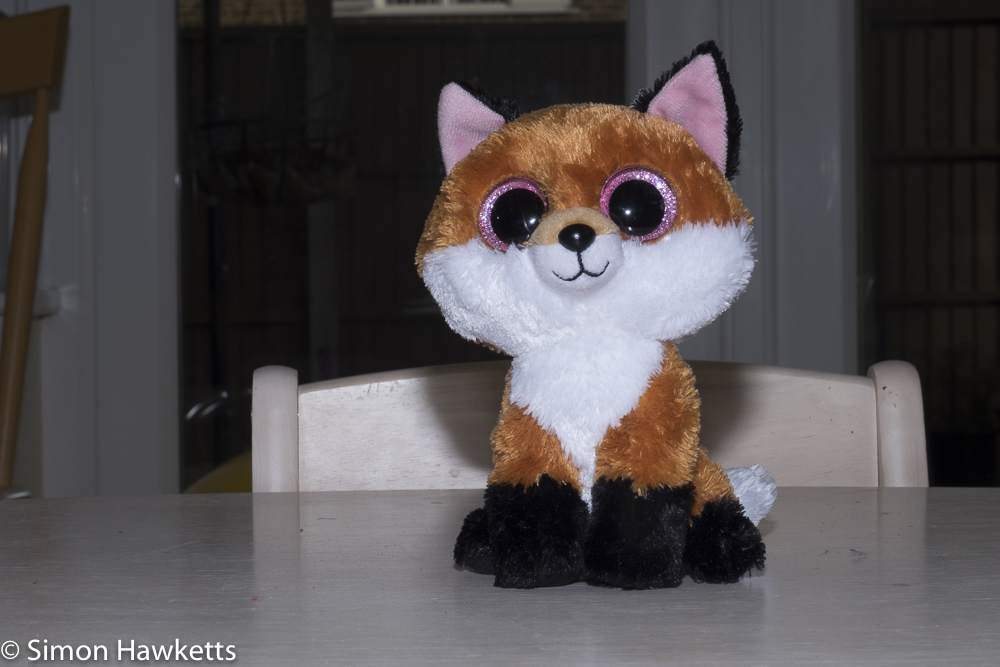
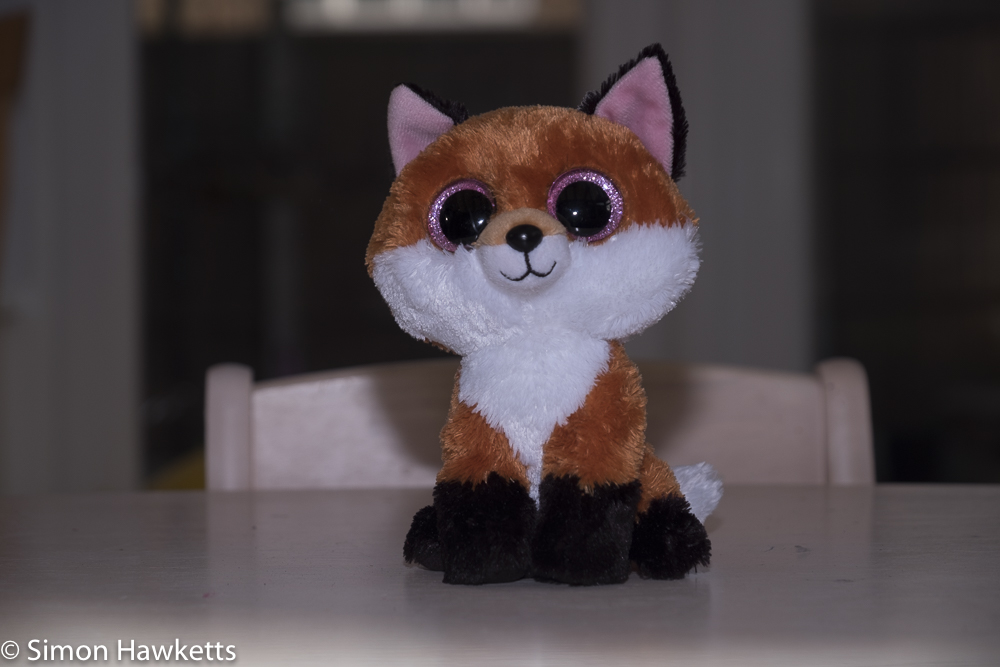
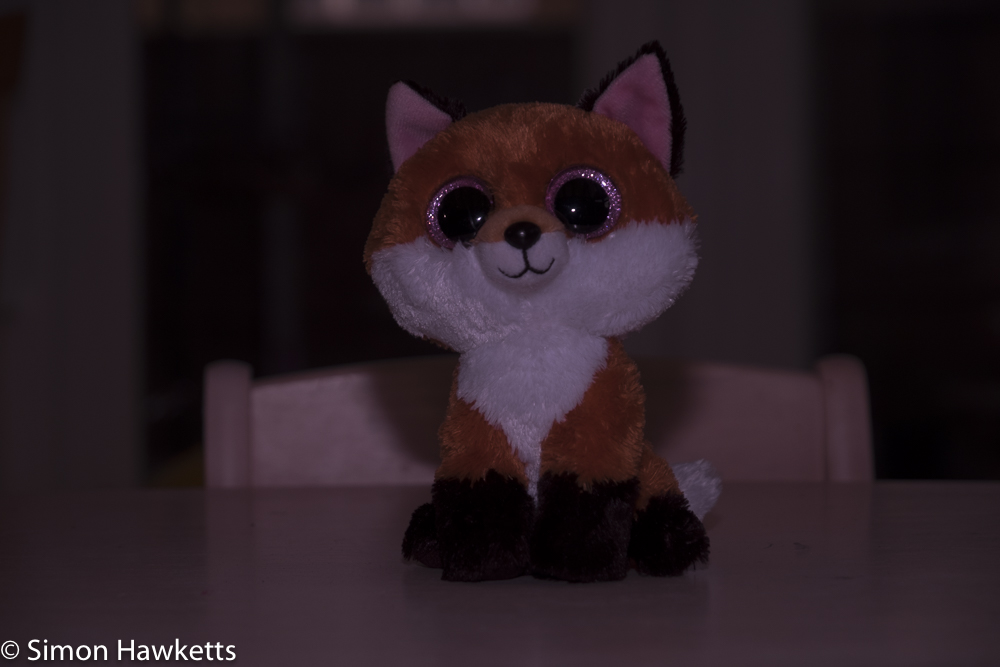
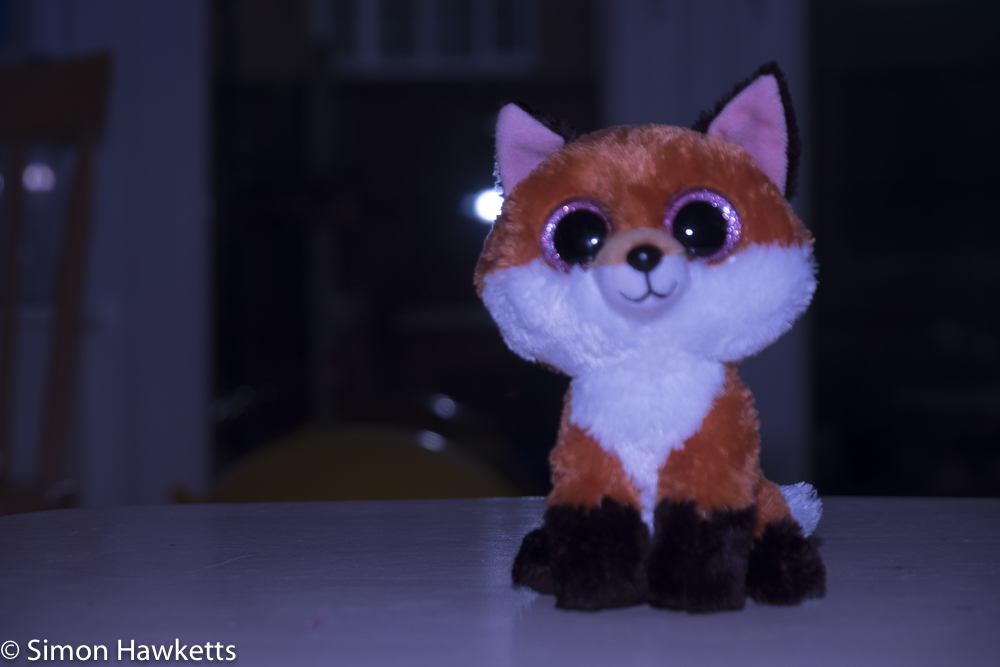
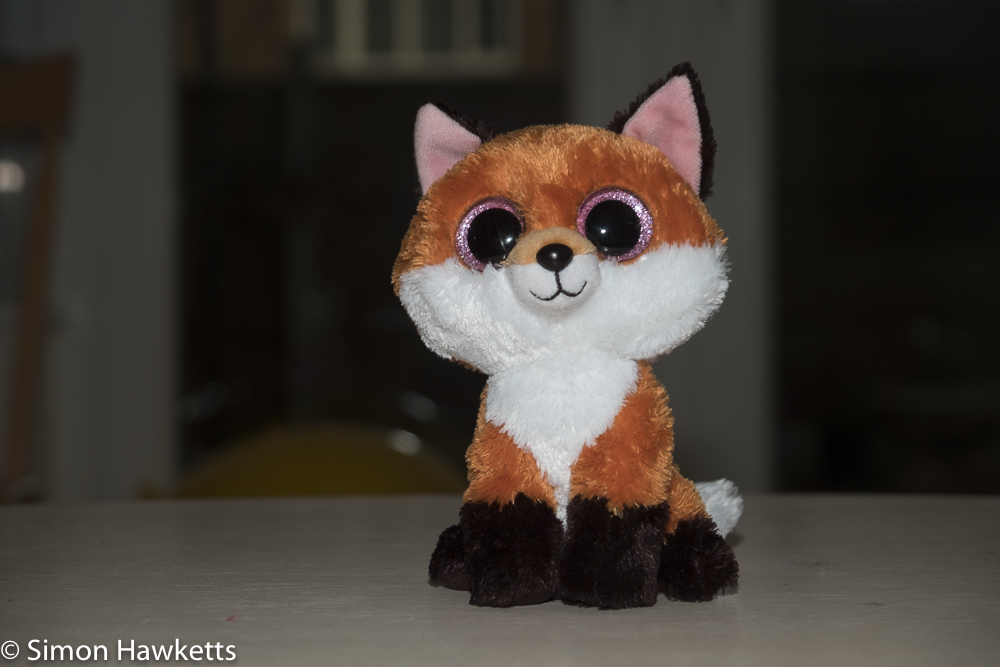
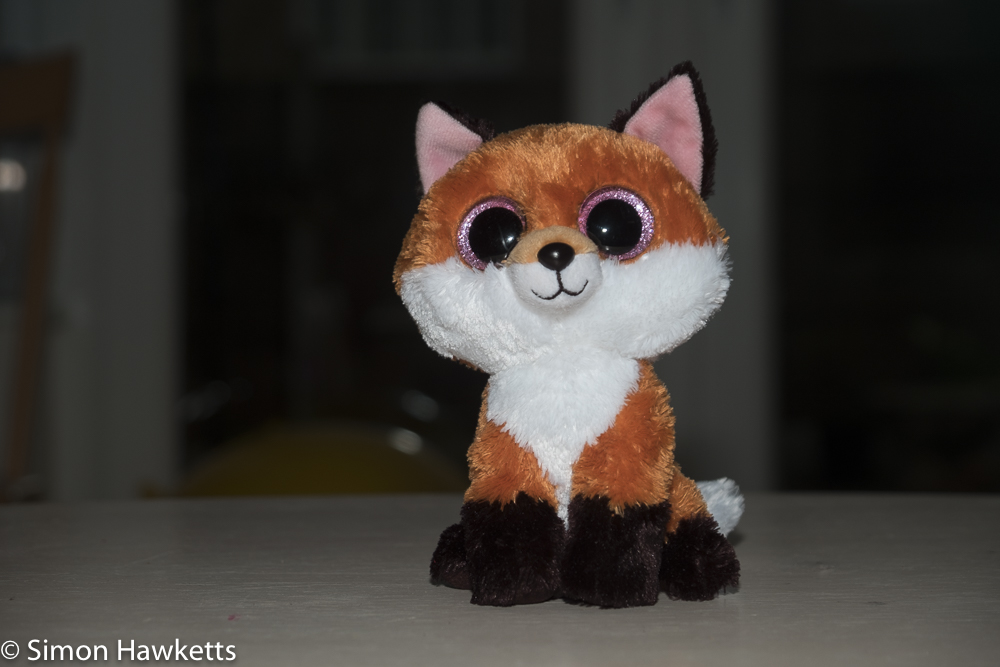
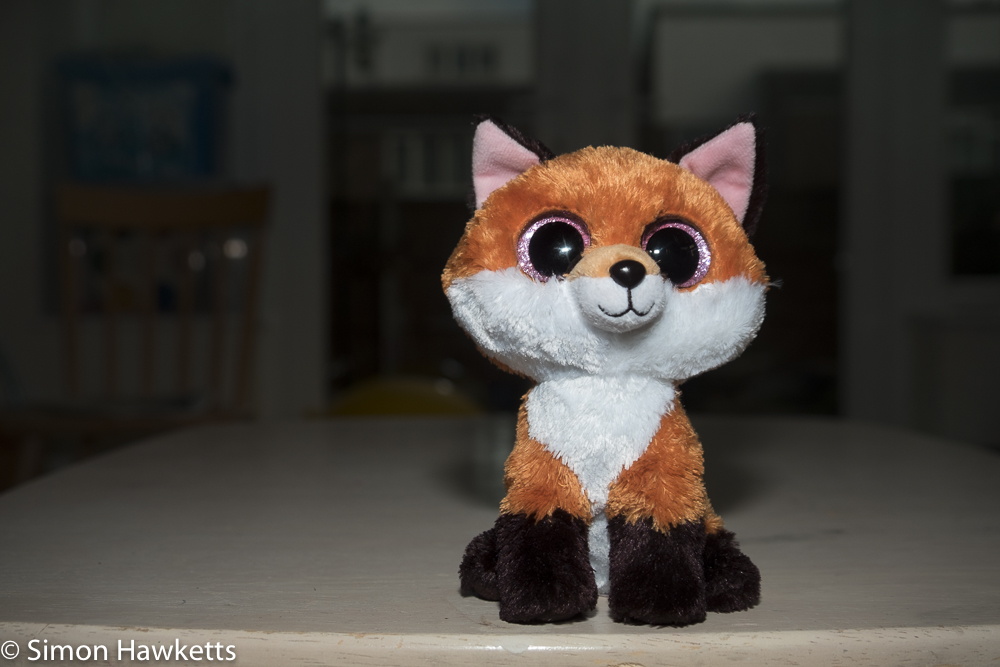
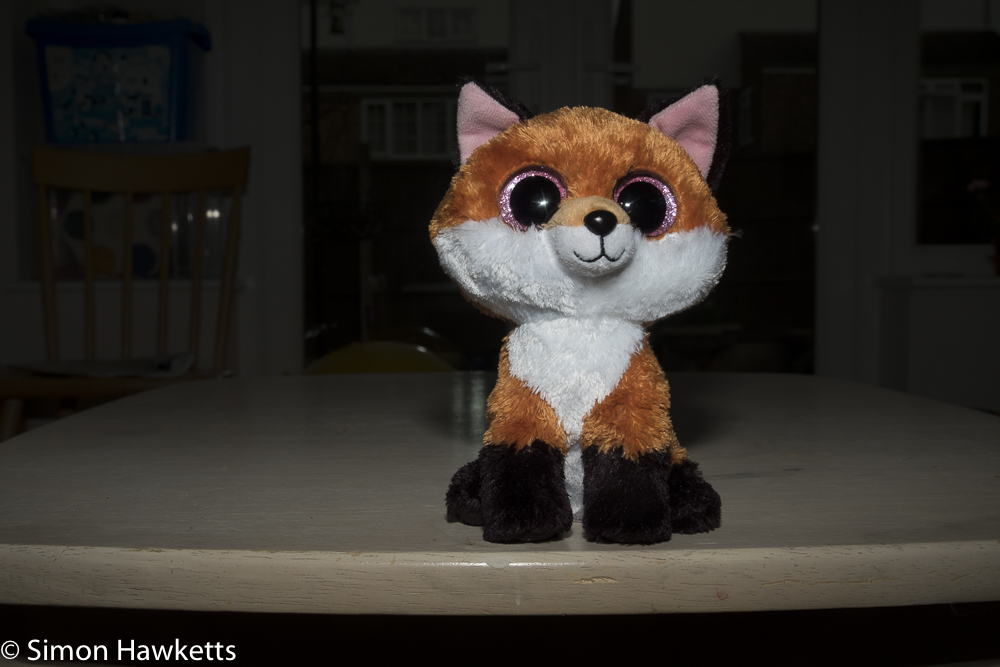
So this experiment is not conclusive and continues as I try to learn more about flash photography but I think the rules I’ve probably worked out from it are:
- You have to have the camera set correctly – the very useful simulation in manual mode needs to be off.
- Try to get the subject as close to the flash as possible and ideally get the background as far away as possible (that’s sort of obvious – isolate the subject as much as you can)
- It’s better to stop the lens down and have no background showing than open it up so that the background shows but is blurred. Again that is obvious once you’ve experimented a bit.


