Macro photography on film
I like taking macro photos but up until now it has always been a digital photography past time – I’ve never really ventured into the macro world with a film camera. Well this week I thought it was time I addressed that and decided I would have a go at using one of my film cameras to try macro photography on film.
Macro photography on film images
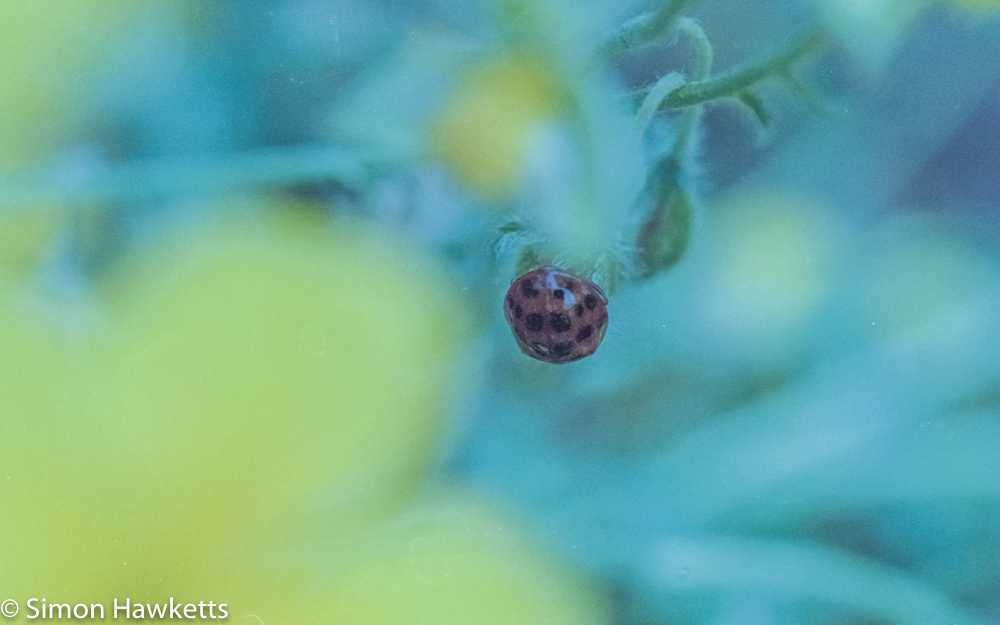
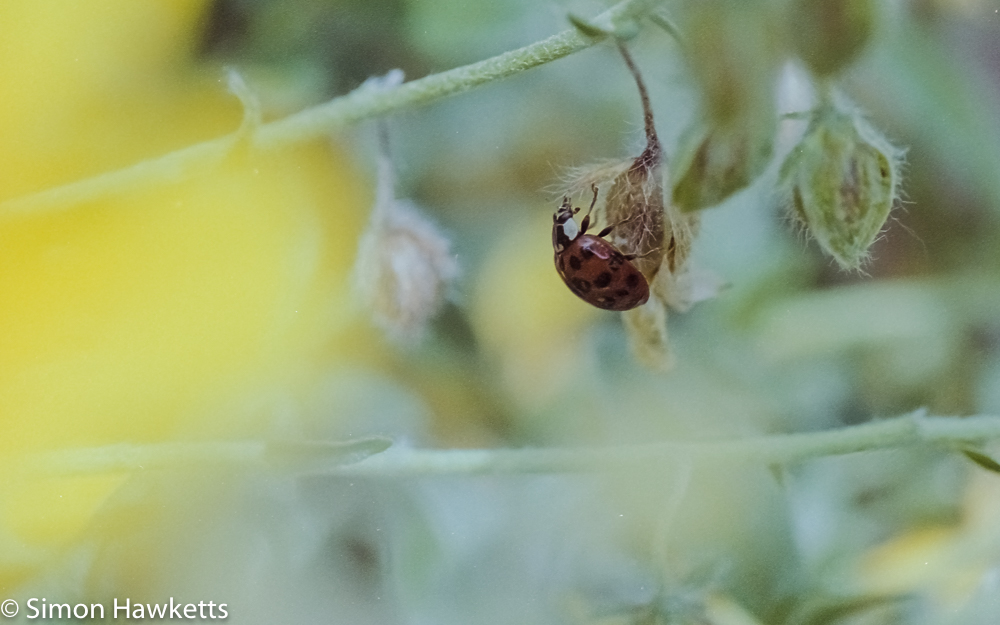
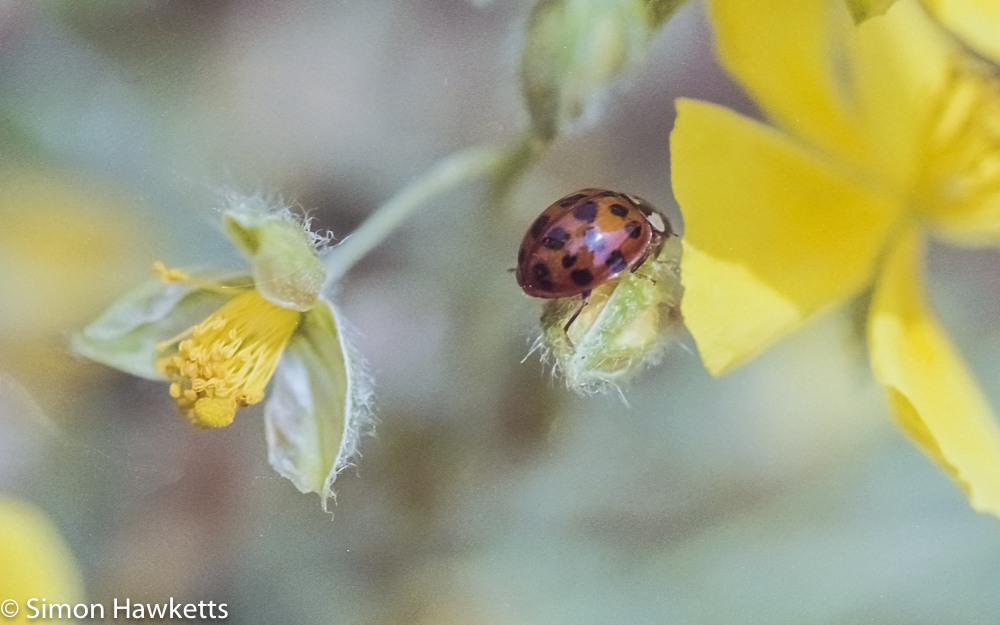
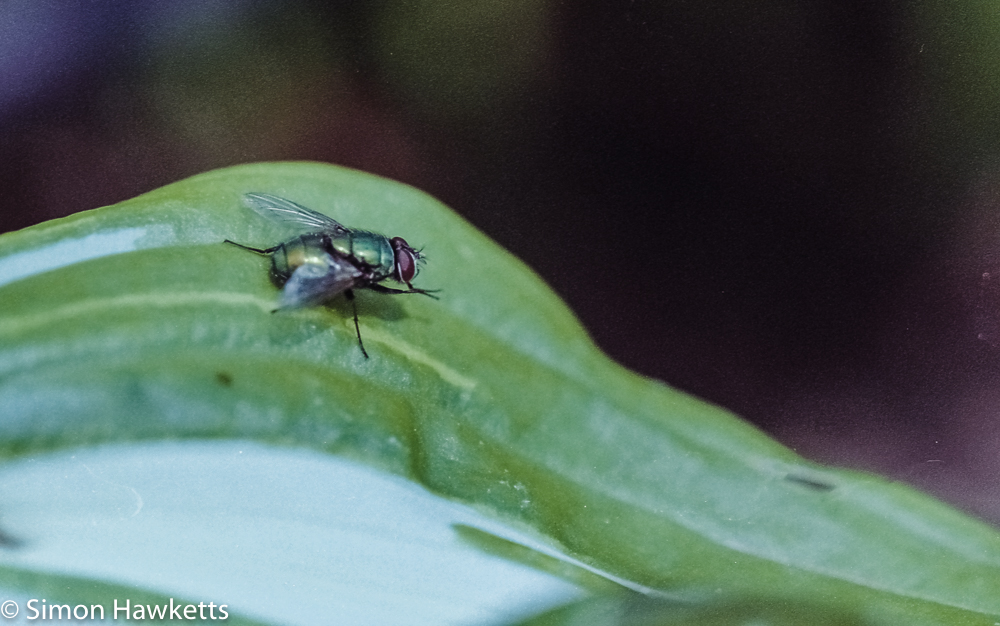
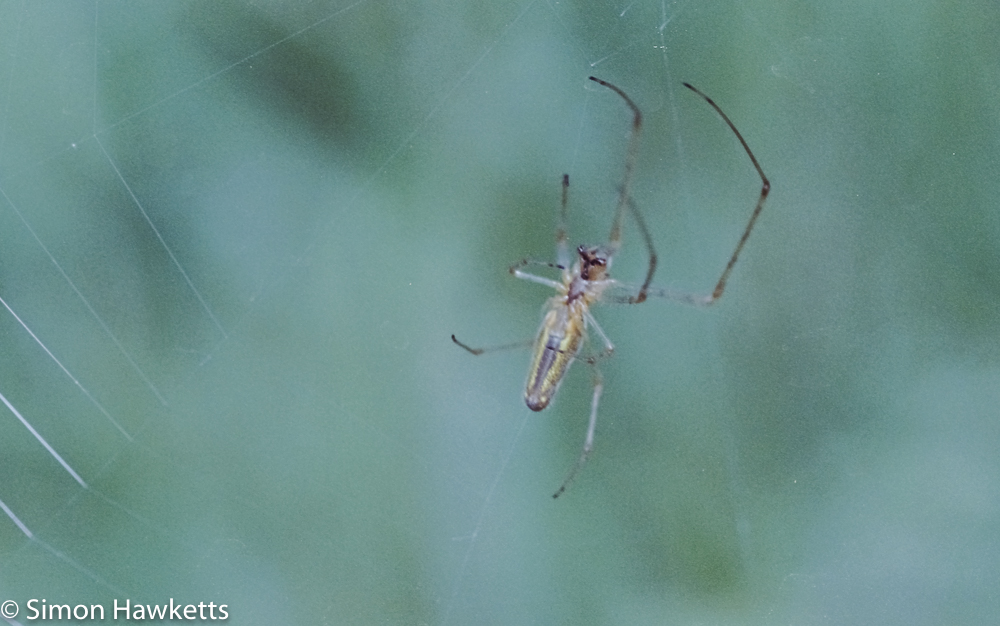
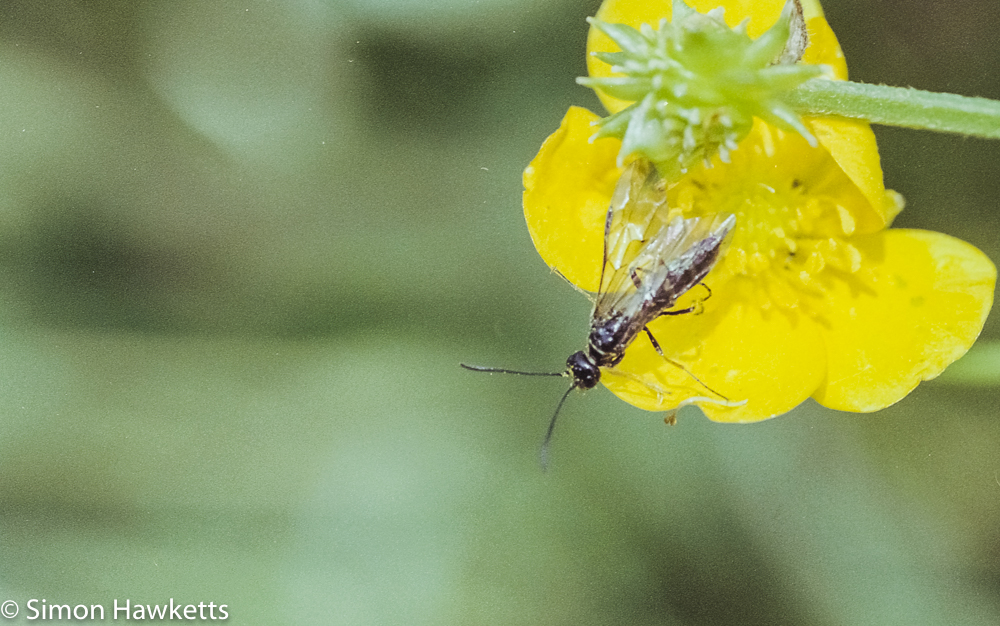
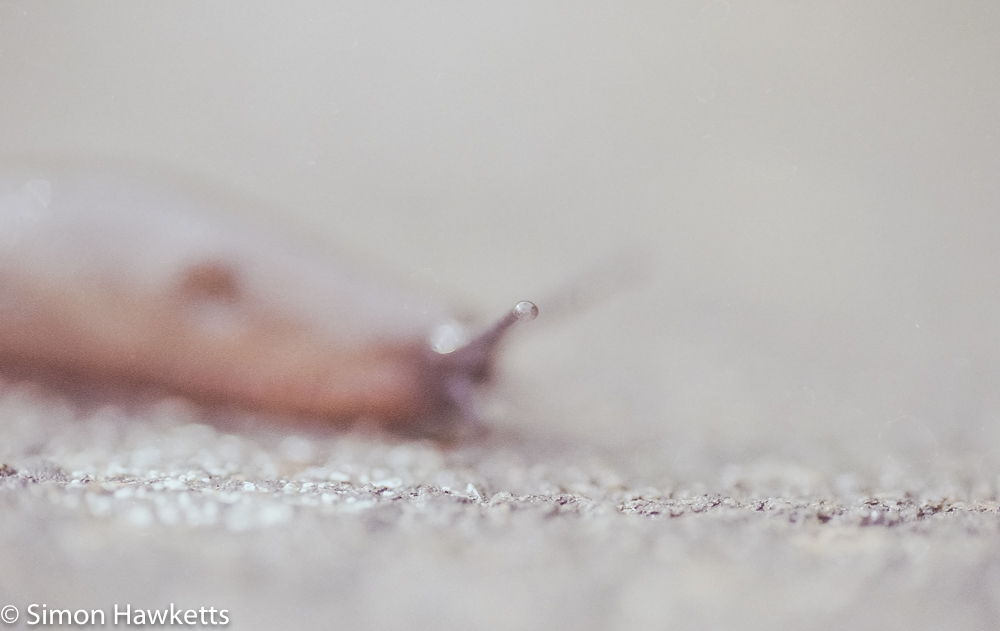
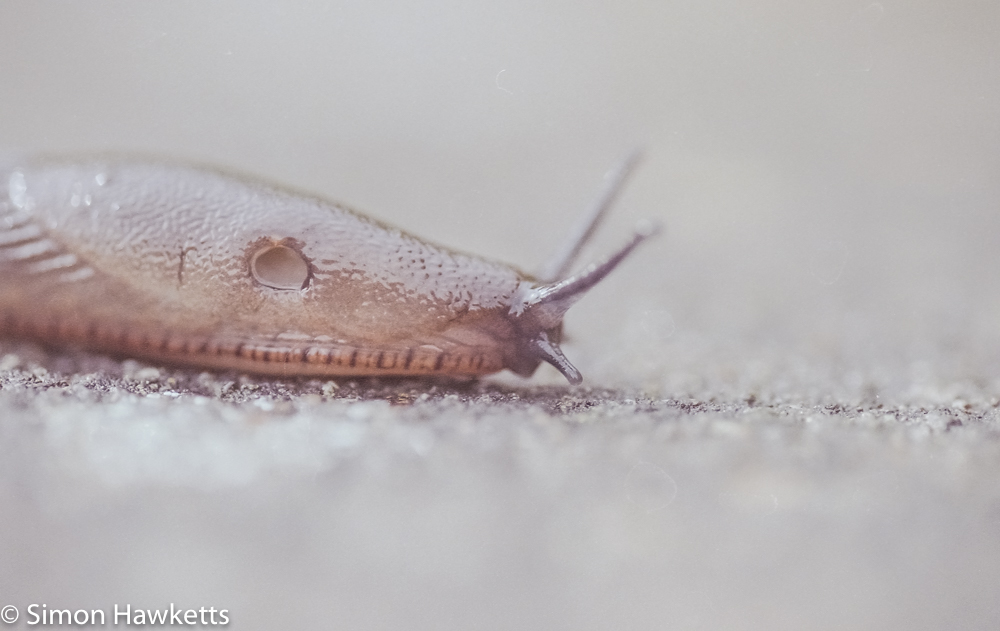
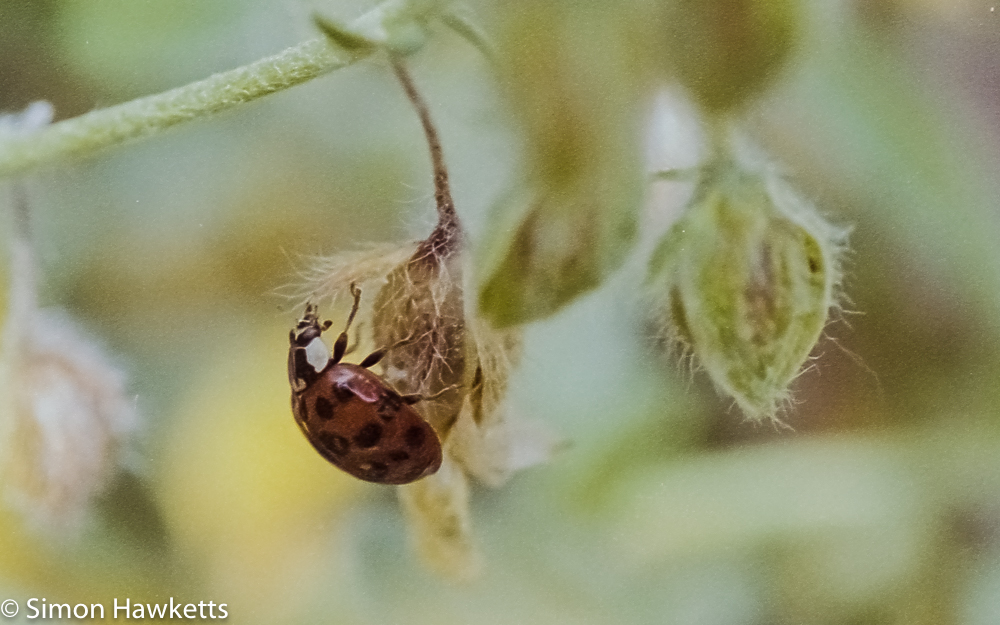
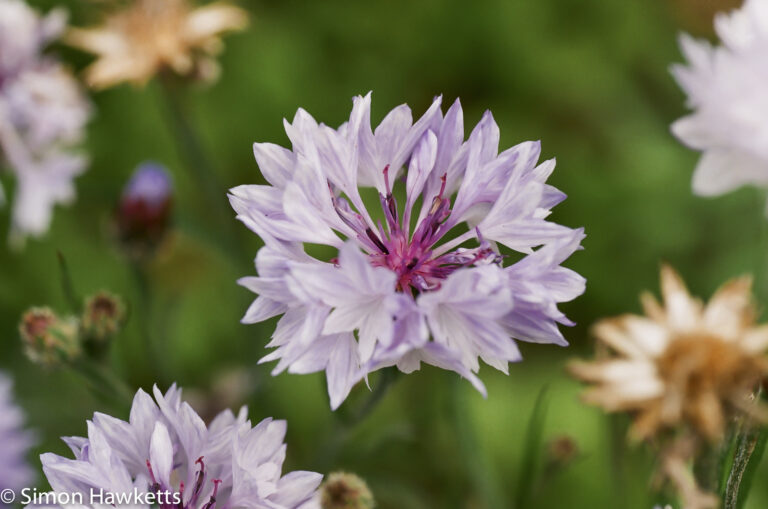
First, before I cover the equipment used here is a quick peak at the images I obtained when I tried macro photography on film.
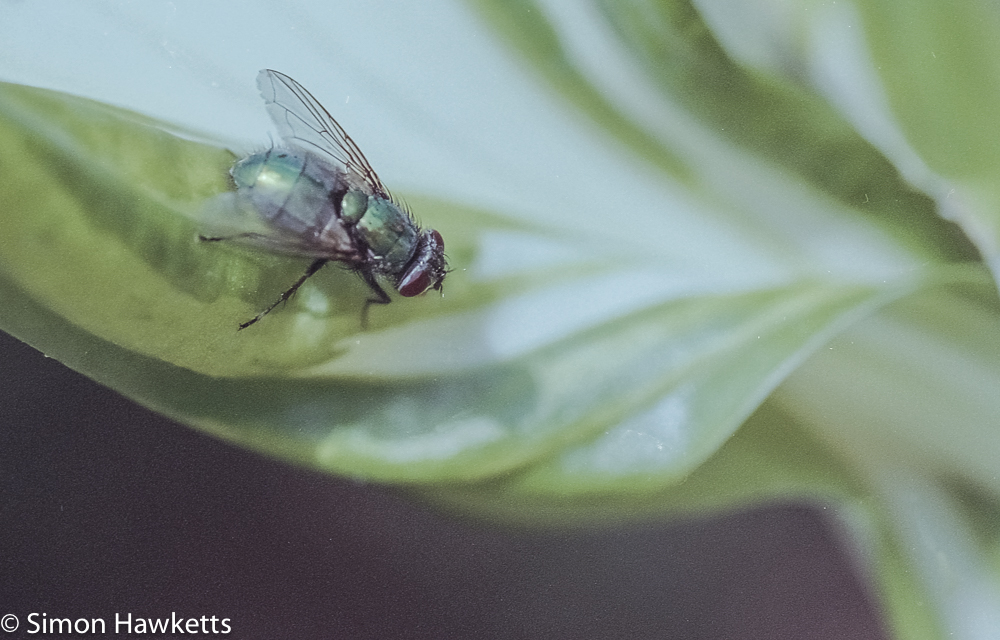
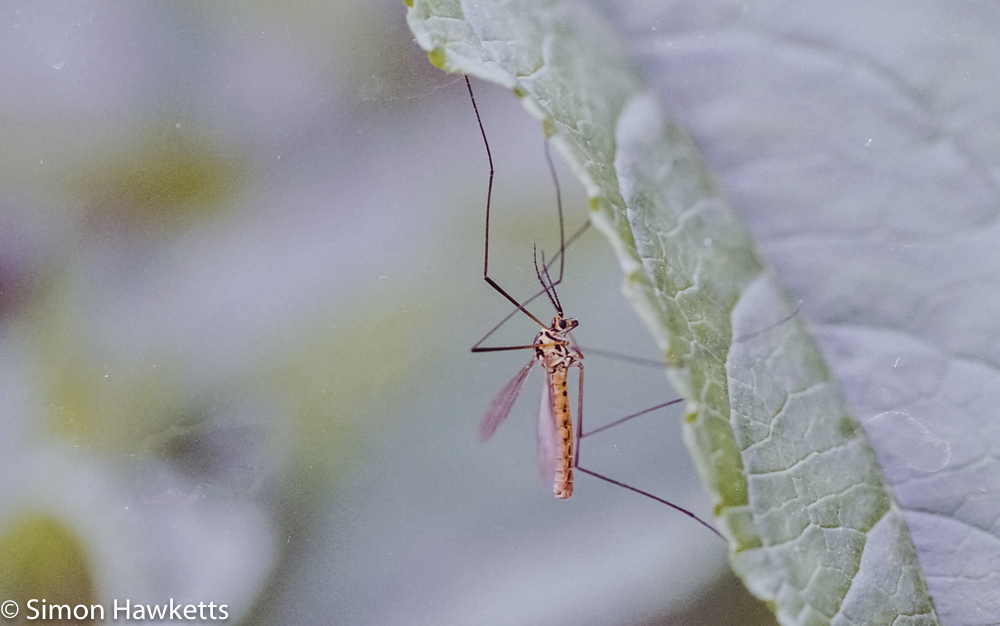
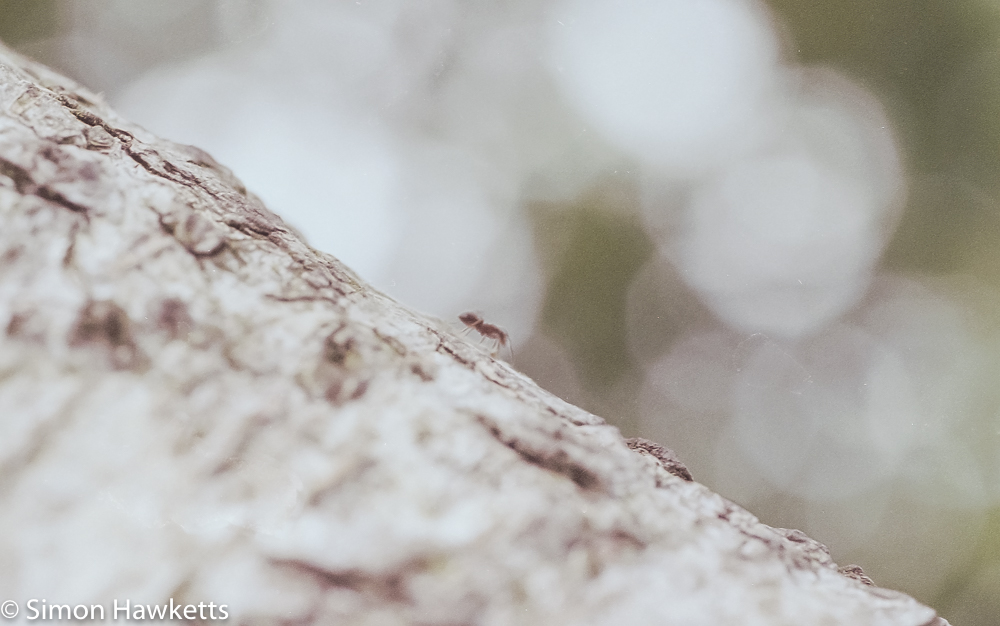
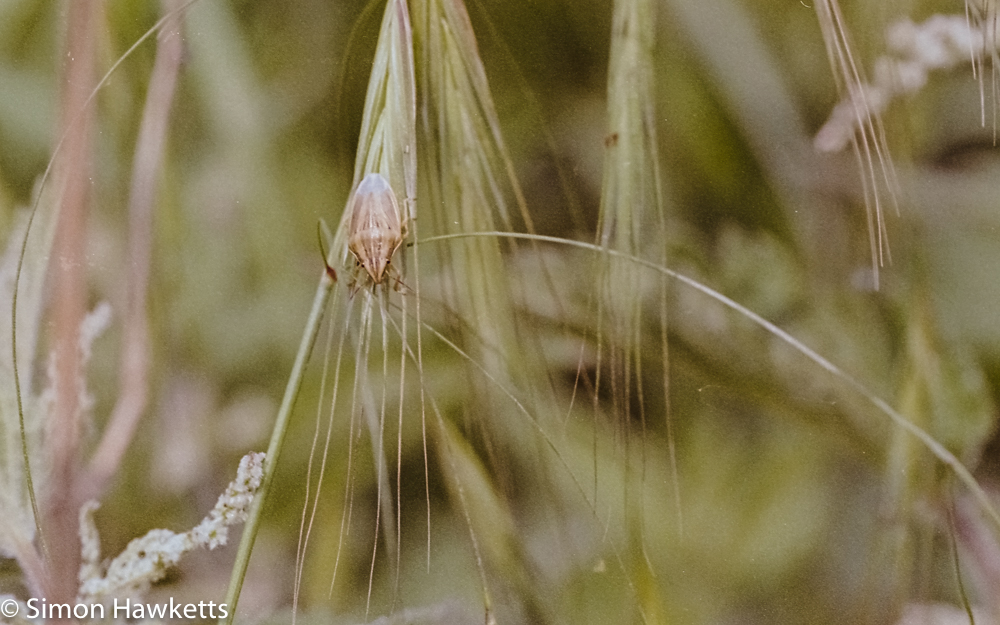
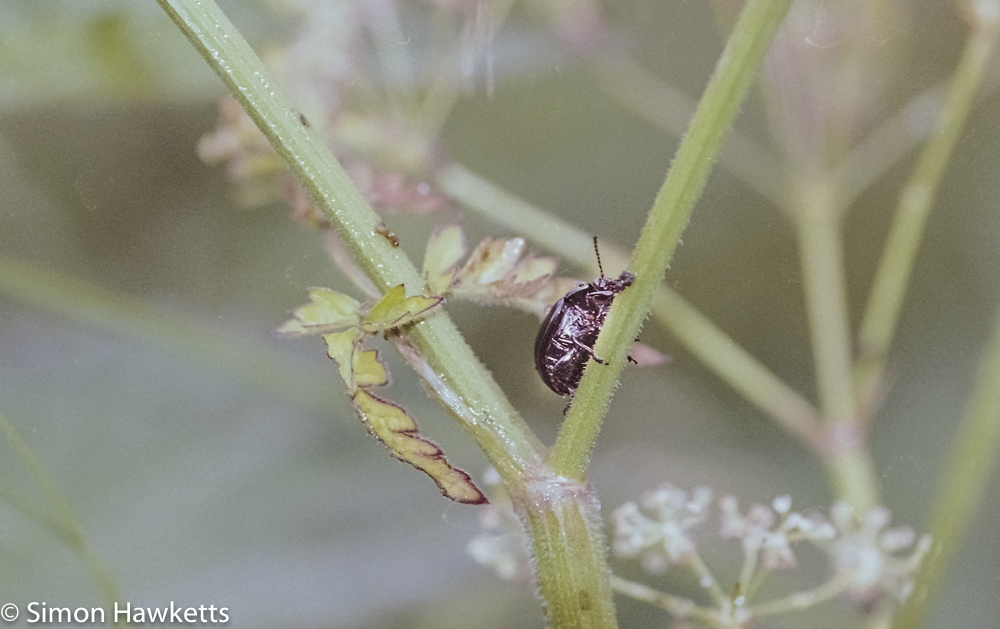
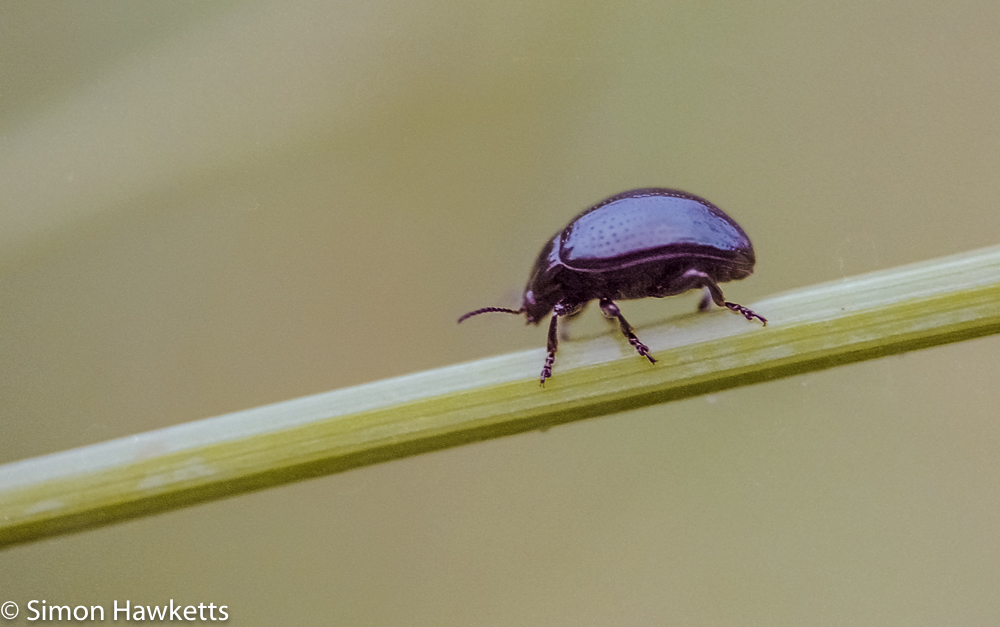
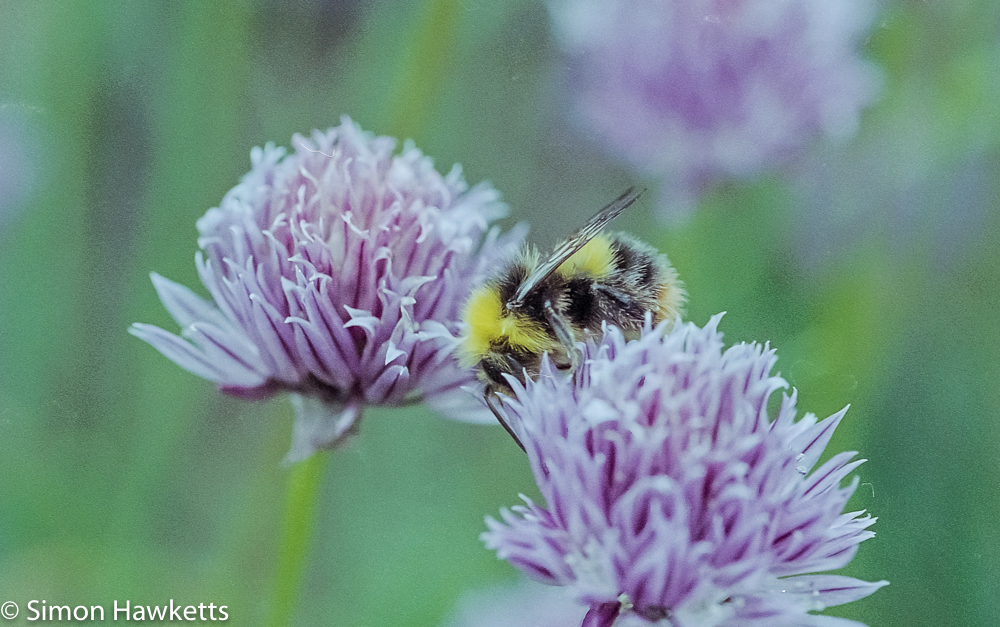
Equipment
I had a think about the equipment to use and one thing seemed fairly obvious. Since I have a 1:1 Tamron 90mm f/2.8 macro lens which can be used with a full frame camera, that would be the straight forward choice for lens. The Tamron is a Pentax K mount lens, so I had a think about which of my K mount cameras I would use. The Tamron is an autofocus lens so I could either an auto-focus or manual focus body, but I did want to make sure the exposure system was accurate and covered a good range of shutter speeds since often in macro you need to freeze movement in the same way you would with telephoto.
In the end it came down to either my Pentax MZ-3 or Z-1P. Both provide good exposure measuring capabilities, a selection of metering modes and the choice of either auto or manual focus and so offered the most flexibility. After trying both with the lens fitted to the body without film loaded, I settled on the Z-1P. Although it’s bigger and heavier than the MZ-3, it felt more comfortable to use with the Tamron and I am more used to the control layout since it’s similar to my K5 DSLR.
When it comes to film I wanted a film which is fast enough to allow a fast shutter speed with the aperture stopped down to f/8 or so. As it happens I have some Fuji Superia 800 so that seemed a natural choice. I’ve used the film before (with my MZ-3 as it happens) and was impressed with the low level of grain prevalent on such a fast emulsion.
So, with the equipment settled I loaded up the camera, attached the lens and set out to take some pictures. The good thing about macro is there is no problem finding subjects – just go to any hedgerow or waste ground and you will find insects and spiders crawling around just waiting to be photographed.
Results and Conclusion
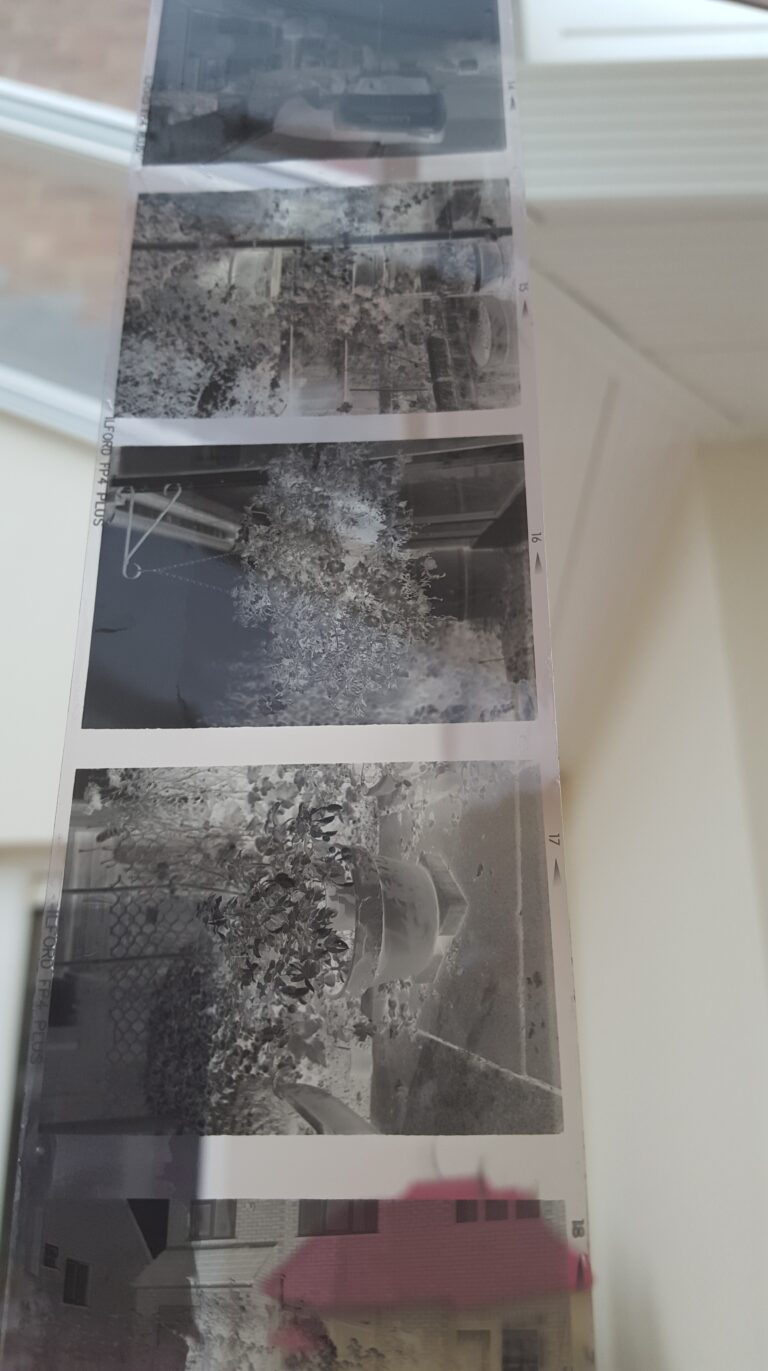
Once I’d finished the film I developed it using the digibase C41 kit which I bought a few months ago. The kit is getting a bit old now and this is about the 12th film I’ve developed with it, but all I had to do was extend the colour development time a bit to still get excellent results. I was pleased to find as I removed the film from the tank that every negative seemed to be correctly exposed and (as far as can be seen on negatives) pretty well defined.
Once the film had properly dried I cut it into strips and then scanned it on my Epson V550 photo scanner and imported the results into Lightroom. In terms of post processing I found that I only had to do a minimal amount of tweaking in terms of exposure, noise reduction, sharpening etc. The biggest problem I had was with white balance. One of the problems with macro photography is that you are often taking pictures deep inside some bush or grass and the light is being reflected around the local vicinity and picking up all sorts of different hues. Although in theory you should be able to correct for that there are two problems
- There isn’t always something which is pure white which you can use to judge what the correct balance should be
- Film is similar to taking jpeg pictures in that the colour is in many ways ‘baked in’ to the picture.
The first problem you can sometimes work round by using black instead of white. I guess everyone knows this but you can use the white balance dropper tool on lightroom with black in the same way you use it with white (at least, that’s my experience).
The second problem is not so easy to solve and sometimes it can be really difficult to try to compensate for white balance with film scans. On the scans above I’ve tried to fix each picture but I’m not sure I’ve succeeded every time.
So what are my conclusions from this experiment?
Well, there are some negatives (sorry about the pun) in this experiment:
- As always I ended up with drying marks on the negatives – these were corrected in Lightroom but they take time to do. I’ve decided I must get a film squeegee.
- I’m quite used to looking at macro pictures at high magnification to examine the results and the grain structure of the film really shows up when doing this.
- As I said above the colour balance is a pain to get right (and I’m not sure I have every time)
Admittedly, those are not negatives which are exclusively tied to macro photography but I think that taking pictures of insects is probably one of those subject areas that the advantages of shooting digital are such that it is an obvious choice to use a digital camera. However I enjoyed the experiment and I was reminded again of how nice the Pentax Z-1P is, and the results are certainly not bad.

I really admire your macro work.
Very clean.
Thank you for sharing,
I learned a lot by looking at it.