Macro photography options
I’ve always been interested in macro photography and I’ve tried many different techniques to try to take the best close up and macro pictures I can, so I thought I would do a post on the various options available and which ones I feel are best.
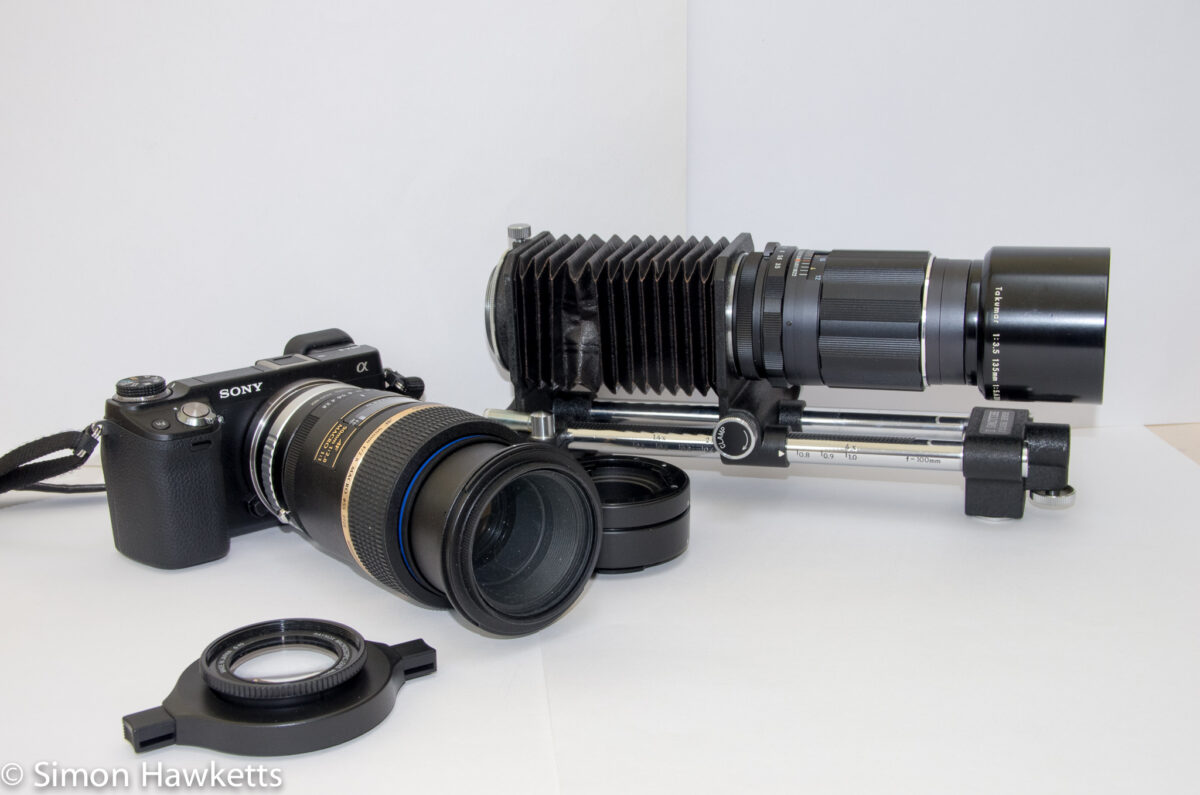
Typical Macro equipment
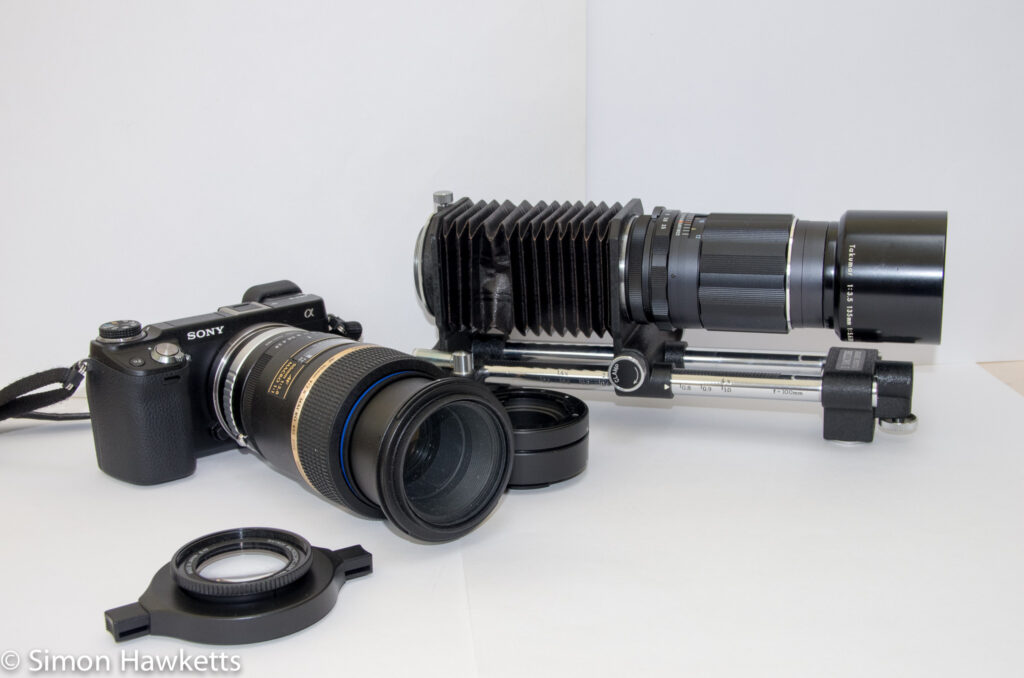
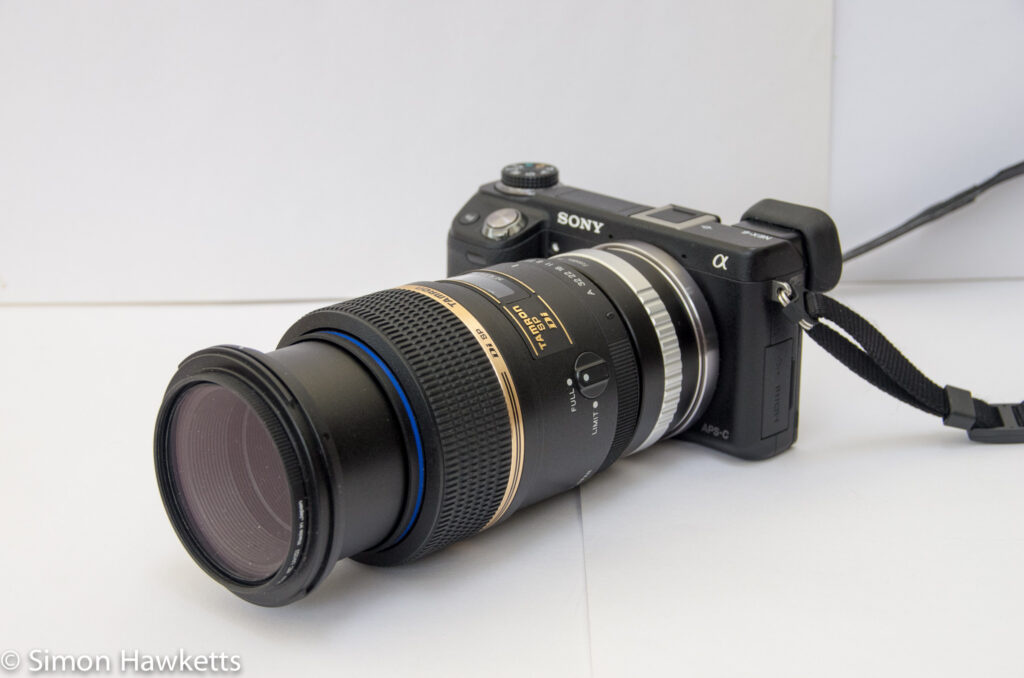
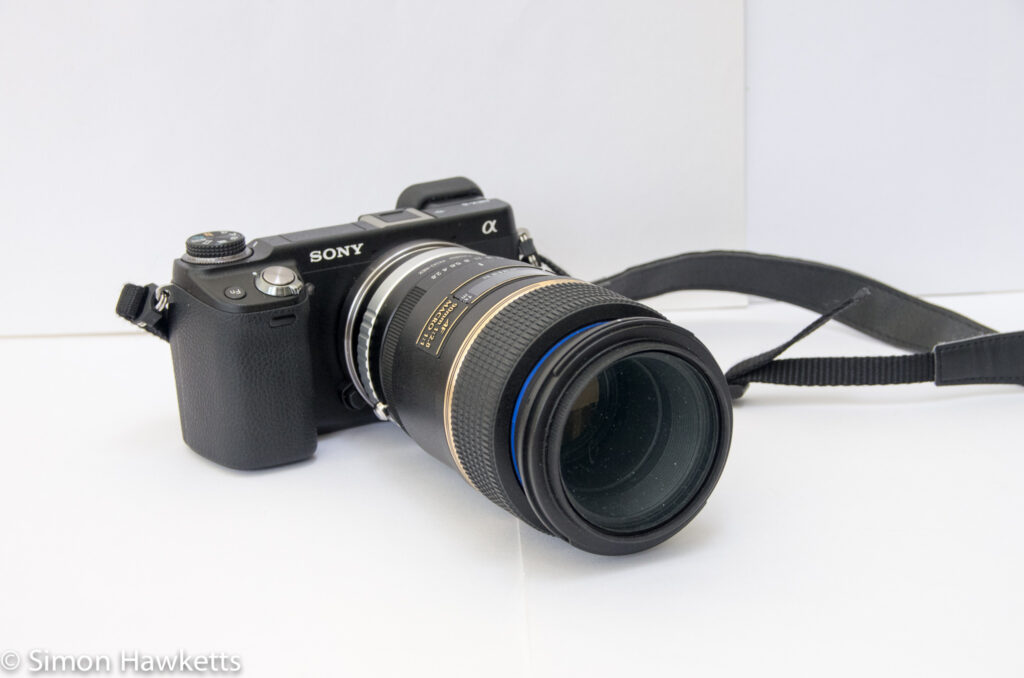
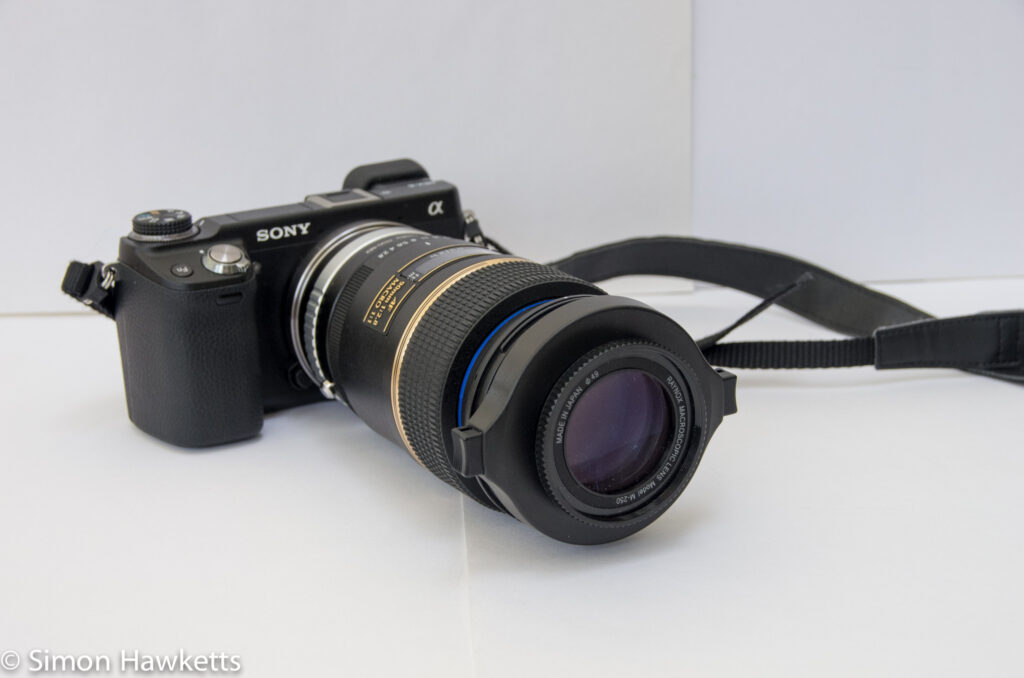
Please note that in this field, as with everything else photography related, I am a completely self taught amateur so I’m not putting these ideas forward as gospel, simply my understanding of the subject.
Camera options
There are several options available when it comes to camera choice, and not all of them are expensive. In fact, compact cameras and bridge cameras can be pretty good choices for macro photography where there is a reasonable amount of light and you don’t need to go to large magnification.
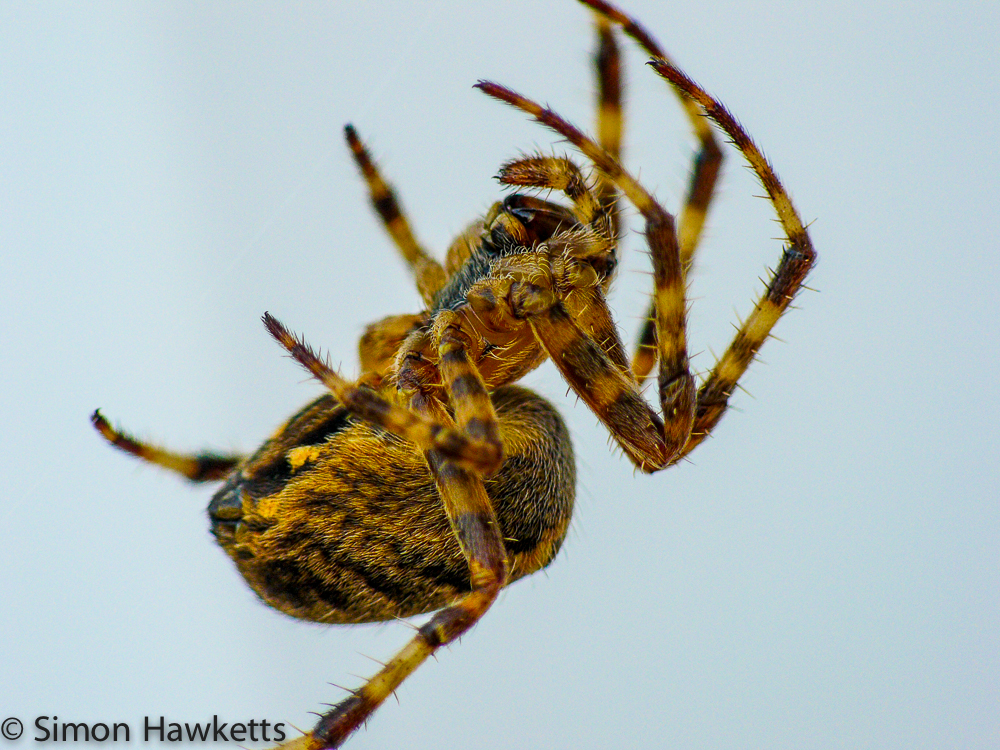
As an example the picture shown here was taken with a panasonic FZ8 bridge camera in my back garden.
The reason that these cameras can take good macro pictures is they have a large depth of focus because they are fitted with small sensors. A small sensor means a shorter focal length lens and smaller apertures, which all increase the amount of the picture in focus for a particular subject.
Since the distances involved in macro photography are so small, the depth of focus can be measured in millimetres, so the greater amount in focus the better the picture will be. This exposure was made at f/3.3 and 1/250sec and the spider shown here was about 1/2 inch across but there are still out of focus areas on the legs. However if I’d made that exposure on my APS-C sensor Pentax there would have been a thin line of ‘in focus’ area and the rest would be blurred.
So if you get better focused pictures with a compact or bridge camera why use anything else?
Well of course there are disadvantages as well.
- Because it’s a small sensor the noise performance is not very good
- There generally won’t be an option to look through a viewfinder and I for one find LCD screen pretty poor in bright sunlight
- Normally there is only Jpeg output rather than raw (although this is less likely on a bridge camera)
I suppose it could be said that some of those are subjective and wouldn’t matter to everyone, but the noise performance is the one which would probably limit the use of these type of cameras to fairly bright conditions.
The other obvious choice of camera for macro is the interchangeable lens camera – either DSLR or Mirrorless. The real advantage of these cameras is because they use larger sensors you get better noise performance, a larger number of pixels (allowing cropping) and generally faster operation and more features. However, you are also spending a lot more money. Of course, once you move into an interchangeable lens camera, the quality of the pictures you get really comes down to the lens and or close focusing accessories you use so I’ll look at those next.
Lens options and add-ons.
Macro lens
It is possible to buy a lens which is designed to take macro pictures. I have one of these, a Tamron 90mm f/2.8 which had provided me with some very good images.
These lenses are designed to focus on subjects closer to the lens than a normal lens and so the size of the image projected on the sensor is larger. With a good quality macro lens fitted to a camera with a good sensor it’s possible to get stunning images.
I’m not sure that any of my images are at the ‘stunning’ level, but the one shown above was one I took with a Pentax K-r and my Tamron 90mm macro lens, and I’m quite pleased with it.
One factor to be aware of when choosing a macro lens is the focal length. The longer the focal length of the lens, the further away from the subject you can get which can be very useful if your subject is alive and could be easily frightened off. It also makes composing your pictures easier if you don’t have to worry about the camera causing shadows etc.
Add on accessories.
The add on accessories which assist in producing macro photographs really fall into two groups
- Extenders – to move the lens away from the camera
- Additional lenses – to optically reduce the close focusing distance of the lens
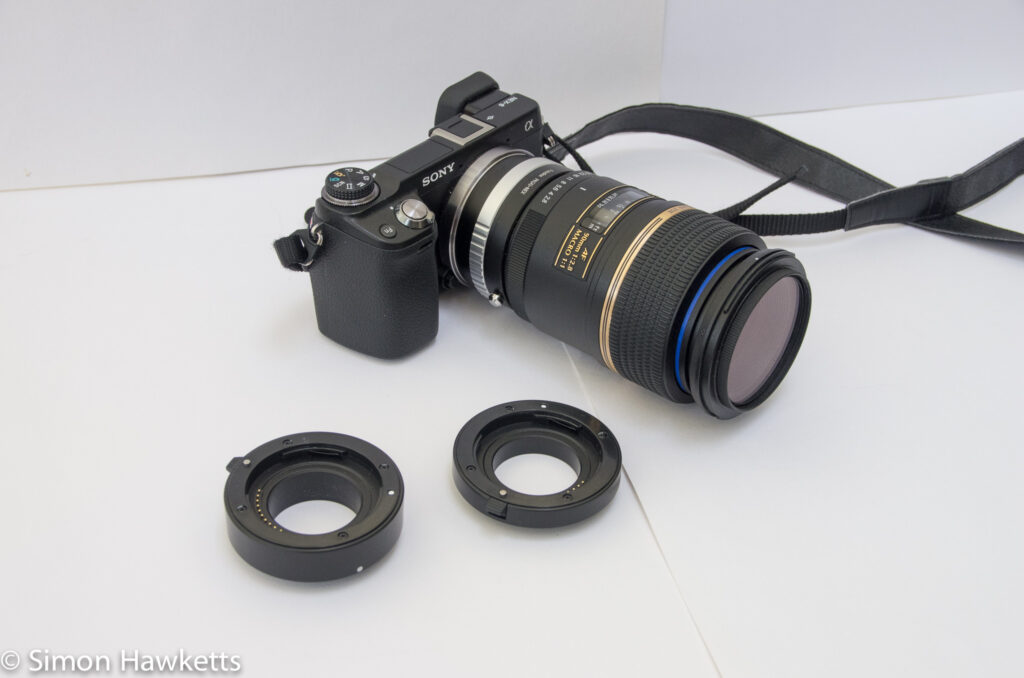
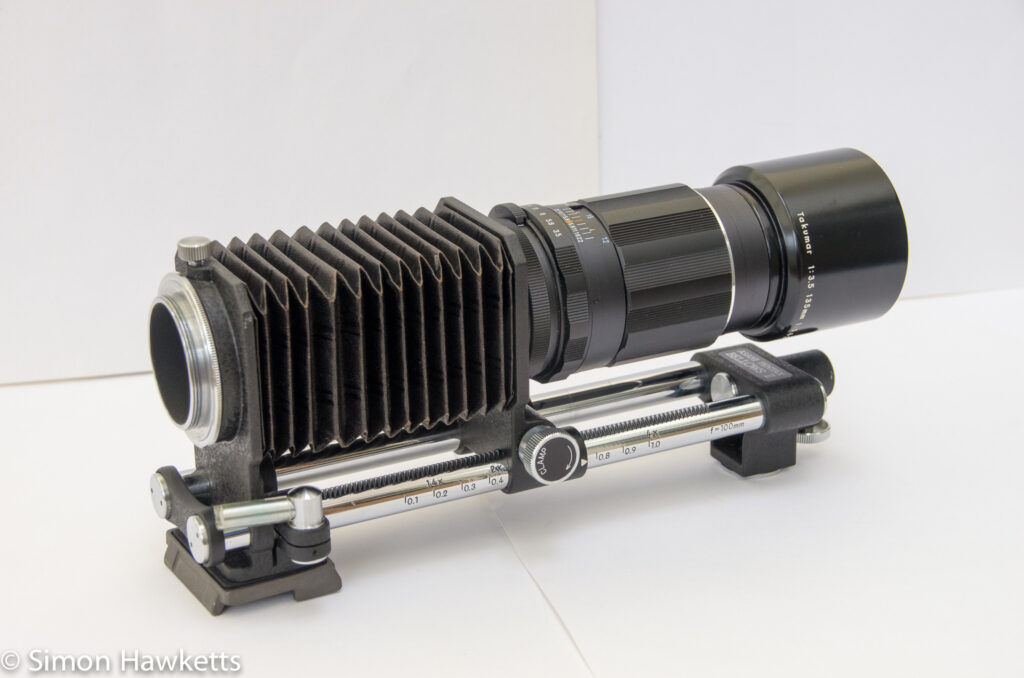
There are two types of extenders which are used to get macro images, extension tubes and bellows.
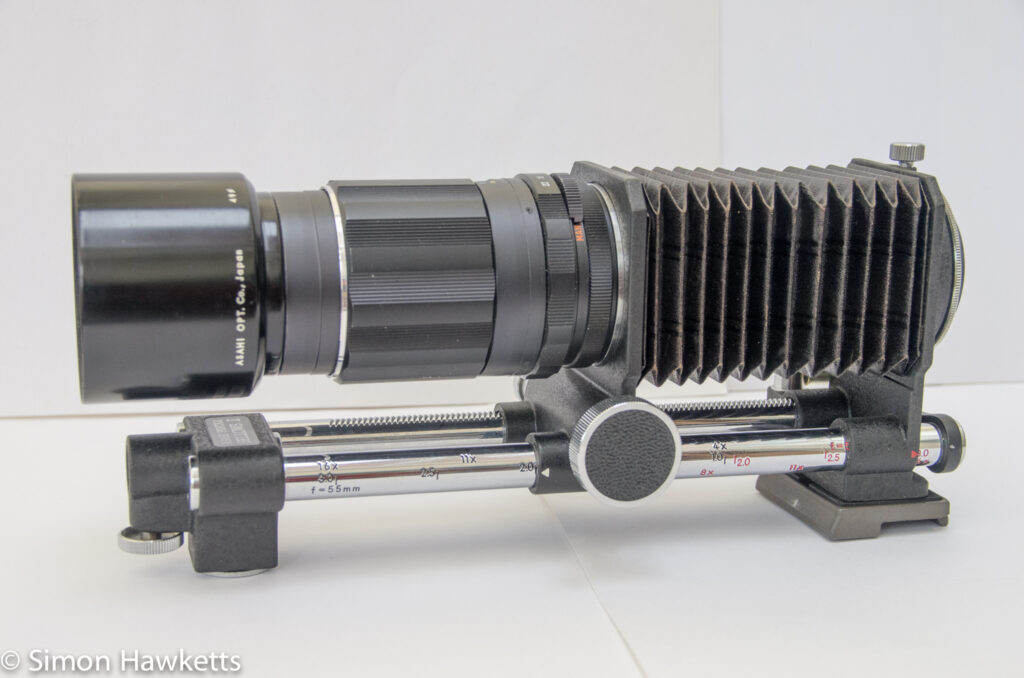
Extension tubes are fixed length hollow tubes which fit between the camera and the lens, making the lens further away from the camera. They are made to fit specific camera and lens mounts, so you need to buy the appropriate one for your camera system. Bellows are similar except instead of being made with a solid, fixed length tube they are adjustable with a light proof fabric being used to allow them to expand.
The advantages of both extension tubes and bellows are that they have no optical element and so won’t degrade the quality of the lens you put in front of them. The big disadvantage is that you loose the ability to focus on objects further than a few feet away, so you can’t leave them fitted to the camera for general purpose photography. Also extension tubes and bellows affect the exposure and you need to compensate by either reducing the shutter speed or increasing the iso of the camera.
The amount of magnification you can get with extenders or bellows is dependent on the length of the extension relative to the focal length of the lens. A short lens and a large extension will lead to a large magnification but at the expense of having to get closer and closer to the subject. For this reason it’s normal to use a longer focal length lens so that you can keep a reasonable distance from the subject. This is especially true of bellows where the extension can be up to about 300mm.
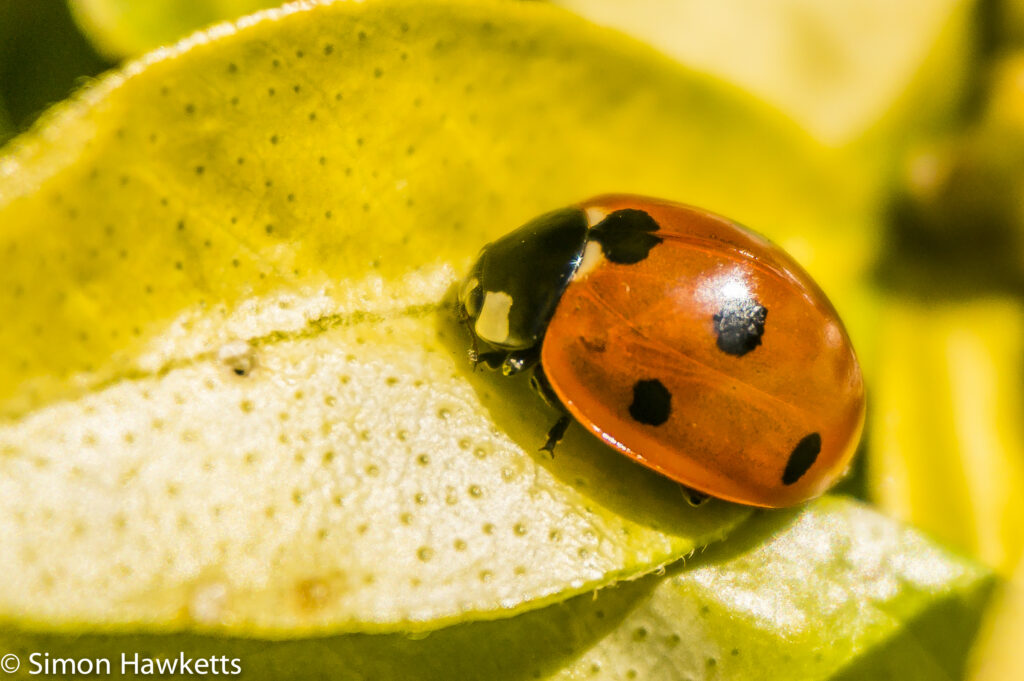
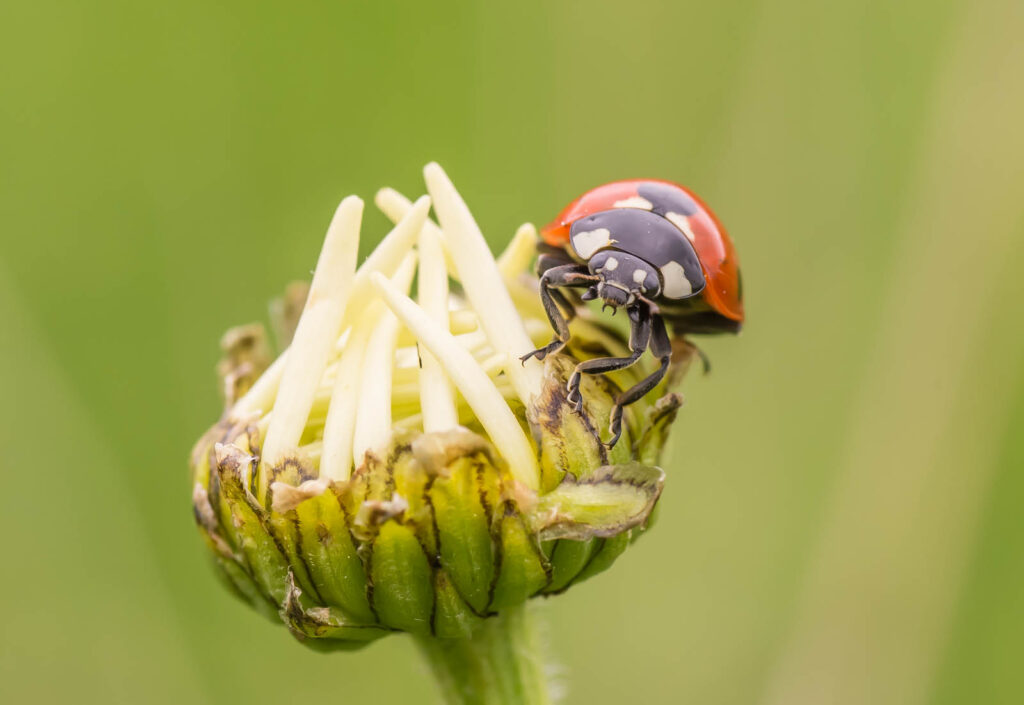
I have a set of cheap extension tubes which I bought as an accessory for my Nex 6 which have contacts to allow communication between the camera and the lens. With these fitted, it’s possible to use the standard kit lens on the nex (the 16 – 50mm f/3.5-5.6) and get much closer to the subject than usual.
The good thing about these extension tubes is that the camera operates with all the auto-focus and exposure systems working so you can get good results without having to worry about compensating for the amount of light loss etc. The picture shown to the left is an example of a close up shot with these extension tubes. I took this with the lens set to 50mm and the longest tube fitted. Bear in mind however that this picture was taken with the camera only a couple of inches away from the ladybird and it was difficult making sure that the camera didn’t throw a shadow over the picture. I also had about 5 other pictures which were completely out of focus and had to be deleted.
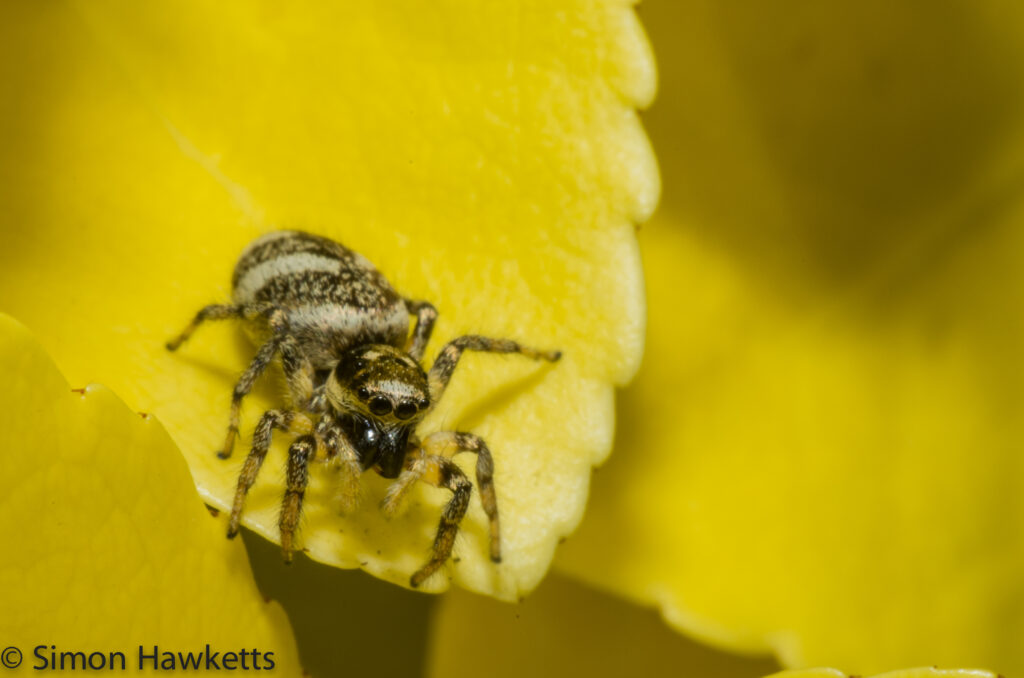
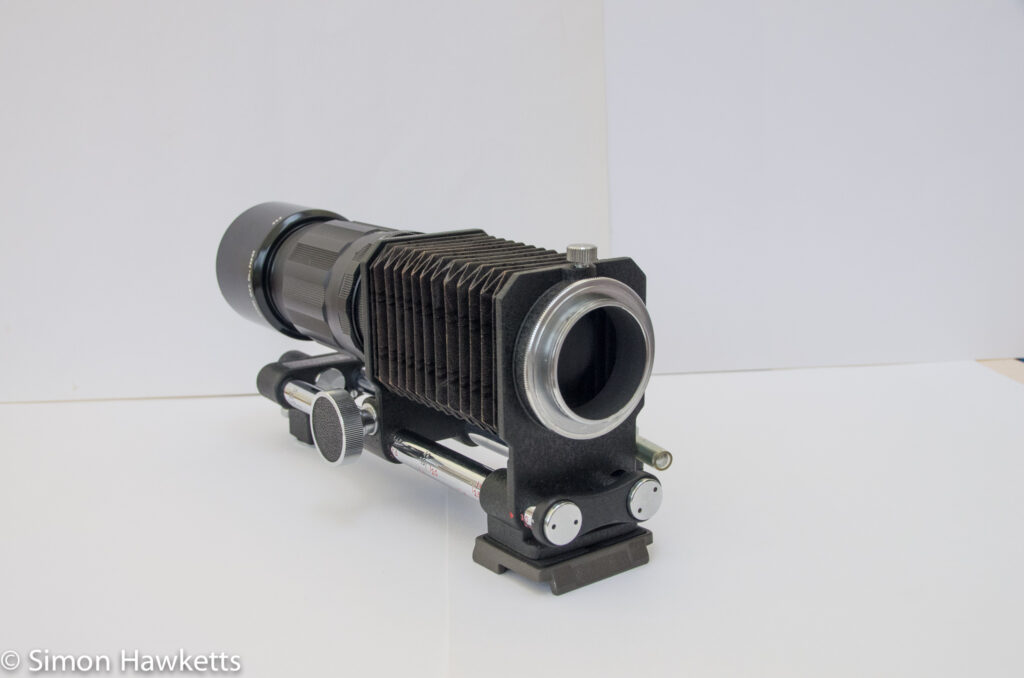
Bellows work in the same way as extension tubes, allowing the lens to focus on items closer to the lens than usual, but can be extended over a much larger range than extension tubes and therefore can be used with a telephoto lens. This means that you can get further away from the subject and avoid the possibility of throwing shadows.
I recently bought a set of bellows from ebay for a few pounds because I’ve wanted to have a play with some for a long time. I got a set of m42 Pentax Bellows II and fitted a takumar 135mm telephoto lens and went out into the garden to experiment. The picture shown to the right here is an example of the type of shot I got. This was taken about a foot away from this small garden spider hanging between some tulips in the garden with the camera mounted on a tripod.
As soon as I first saw the pictures I obtained with the bellows I was disappointed. The image is low resolution, lacks contrast and is really not up the the quality I would expect from the lens I used. I know that it’s an old lens, but I’ve used it for general purpose photography and it’s been really good so I couldn’t understand why these pictures were so poor.
So I had a think about what is happening here. How does adding a set of bellows (or extension tubes for that matter) make the image magnification increase? Well oddly, the picture which came into my head at this point was of my Dad many years ago setting up the projector to show us the latest set of colour slides he had just received back from development. I remember him setting the projector up on a little table, and moving the projector lens in and out, trying to get the picture on the screen in focus. As he changed the position of the lens the size of the projected picture changed as well. Remembering this made me realise what is happening with the bellows.
As the length of the bellows changed, the projected circle around the sensor in the camera also changes and this is how the magnification is achieved. It is effectively, optical cropping of the picture. The larger the image circle becomes, the larger the magnification becomes but in order to get good quality images you need a lens which is fantastically good quality, because every increase in magnification is also magnifying any imperfection in the lens. This change in the size of the image circle also explains why the exposure is changed – as the image circle increases the amount of light on the sensor decreases.
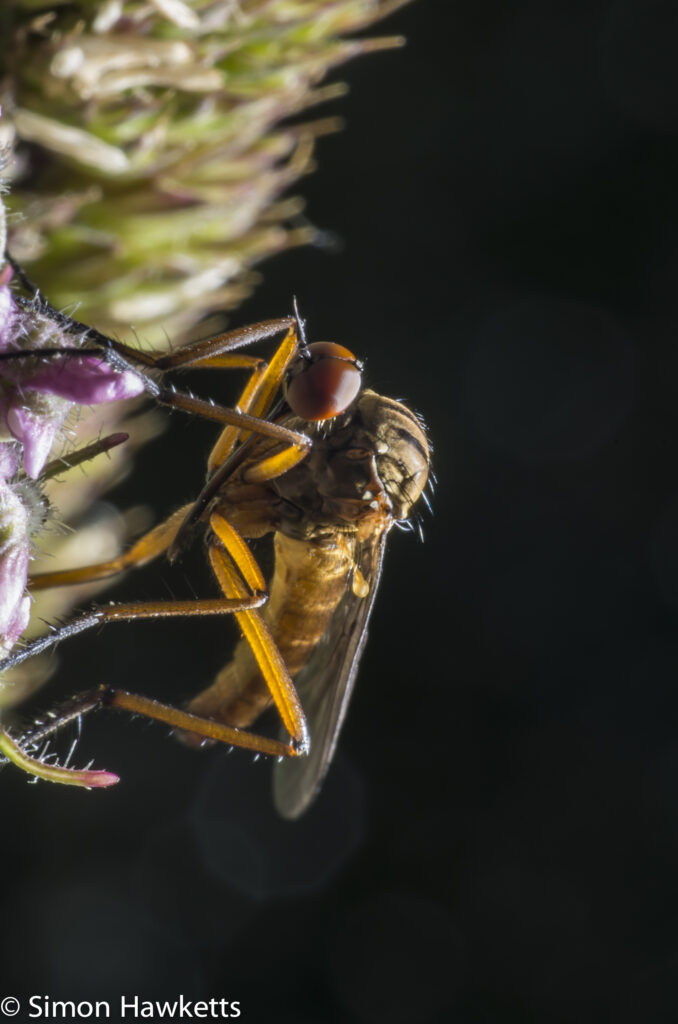
The other way to get macro images is to use an add on macro convertor which attaches to the front of your lens. One popular make is the Raynox and I have the 250 version of this.
The Raynox, like other macro/close up lens attachments, adjusts the optical properties so the lens focuses closer than before. They are relatively easy to use because they clip or screw on to the filter thread of your normal lens and can be quickly fitted or removed. Like extension tubes or bellows, they stop the lens focusing to infinity so you use them only when you want to take a macro photograph.
Because the optical properties of the lens are affected I don’t believe this type of add on affects the exposure so this is one of the advantages of these lenses. Of course the biggest disadvantage is that there is always the possibility that the add on lens will degrade the optical properties of the lens you are using, but in my experience that hasn’t been a big problem.
The image to the left was taken with the Raynox 250 fitted to my Pentax K5. As it happens, the lens used for this picture was the Tamron 90mm macro lens so this shows one of the ways it’s possible to get even closer to subjects – use a macro clip on lens fitted to a real macro lens!
Focusing in Macro photography.
I want to just touch on focusing in macro photography. Although I said above that one of the advantages to the extension tubes I have is that the auto focus still works, I think generally you are better off focusing manually. I find this particularly so with a camera which has focus peaking because it is much easier to nail the focus spot on manually than rely on the camera to get it right. I would go so far as to say that the biggest reason I reject macro photographs is because the focus is out when I’ve relied on autofocus (which I used to do quite a lot with my K5).
Conclusion
Macro photography is similar to most forms of photography in that you have to balance lots of different variables in an attempt to ‘get the shot’. I’ve tried all the techniques outlined above and for me the most successful mechanism for getting a good macro photograph is to use a good, long focal length macro lens on my Nex 6, however this won’t be the best solution for everybody and every budget.
In terms of image quality I think the next best option is to get a close up attachment lens like the Raynox. These can be had quite cheaply and can produce very good results. Because the exposure isn’t affected they can be hand held in most instances, and are simple to quickly attach to the front of your lens. They are best used with a long focal length lens, but since that is often the second lens people buy after their standard kit lens that isn’t normally a problem.
Next in terms of quality is a short extension tube fitted to a standard lens, or a set of bellows fitted to a telephoto lens – just try to keep the magnification level down and they can be ok.
Finally, if you have a compact camera and want to give macro photography a try to see if it’s for you just remember that you probably have all the kit you need already.




Excellent article. I too am facing challenges with bellows. The costs go up fixing this. I bought some enlarger lens and the adapter to refer them as well as a what apses for a micro scale to move the subject back and forth. Very much indoor gear. I will eventually post on it. I did a blog post on extension tubes and included a shot from the bellow. The Raynox is excellent value for the money.
Forgot to mention the shorter the lens on your bellows the greater the magnification! 50mm gets you over 4x.
Yes – you can get some huge magnification ratios but unfortunately you also have to get very close to the subject. Mind you it depends what you are photographing – if it’s not alive it may not matter that you are close. Thanks for the comments by the way.
Agreed and I am not killing anything to put it in front of my lens. Does this mean you use the bellows outdoors? Must be awkward.
I have used them outdoors, but with a longer focal length lens – 135mm so I got less magnification and therefore less light loss. It was also a sunny day and I used a tripod
That’s what I thought. Like most things I need to learn more before I get into the wild. Another potential idea to achieve the same end, magnification without light loss, are helicoid focusing rings. Endless solutions. With the bellows I just wanted something to work in the winter.
Thank you Simon, interesting information, MM
No problem – thanks for reading
Yes I’ve just recently see one of those which adapts nex to M42 so I had thought of getting one. However I suspect that there will be some light loss because it’s working by moving the lens away from the sensor – a sort of adjustable extension tube.
Is there light loss with extension tubes? I red there was none and I have never noticed.
http://www.photomacrography.net/forum/
http://extreme-macro.co.uk/
Two sites you might enjoy if you have not already seen them.
I had seen the extreme macro site but not the other one – looks interesting thanks.
Yes there is loss because the lens is projecting a bigger circle and so the amount falling on the sensor is reduced
[…] I was writing my post about macro options at the weekend I felt inspired to go out into the garden with my Tamron 90mm macro lens mounted on […]
[…] If you are interested in options for macro photography you may be interested in a newer post I did covering just that subject – look here. […]
[…] and with the addition of a short extension tube can also take macro pictures. Although this technique is not idea it is capable of achieving some pleasing pictures. All of the pictures in this gallery are taken at […]
[…] The focusing ring is also smooth in operation, and is nicely damped. It is certainly easier to turn than the takumar 135 f/3.5, which if anything I find a bit too stiff. According to the focusing scale, the closest focusing distance is about 5 feet, so this would not be a natural choice for macro unless you use an extension tube or close focus attachment lens. […]
[…] went into the garden this afternoon to get some macro pictures with my Tamron 90mm f/2.8 macro lens and Pentax K-5 DSLR. I’ve been using the K5 quite a bit […]
[…] and with the addition of a short extension tube can also take macro pictures. Although this technique is not idea it is capable of achieving some pleasing pictures. All of the pictures in this gallery are taken at […]
[…] If you are interested in options for macro photography you may be interested in a newer post I did covering just that subject – look here. […]
[…] went into the garden this afternoon to get some macro pictures with my Tamron 90mm f/2.8 macro lens and Pentax K-5 DSLR. I’ve been using the K5 quite a bit […]