Ovation Applause AE-32 guitar refurbisment
A long time ago, probably sometime in the 1980s, I bought an Ovation Applause AE-32 steel strung, acoustic guitar. I remember buying this because I wanted to own an Ovation, which were very much the ‘in’ guitar at the time, and couldn’t afford or justify buying one, but I could afford the Applause version.
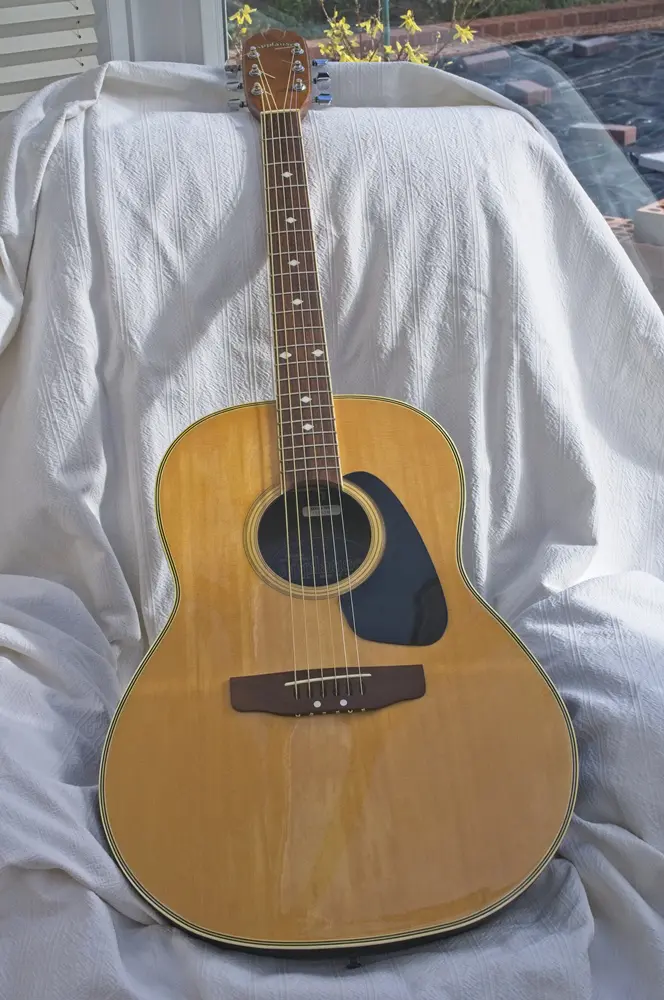
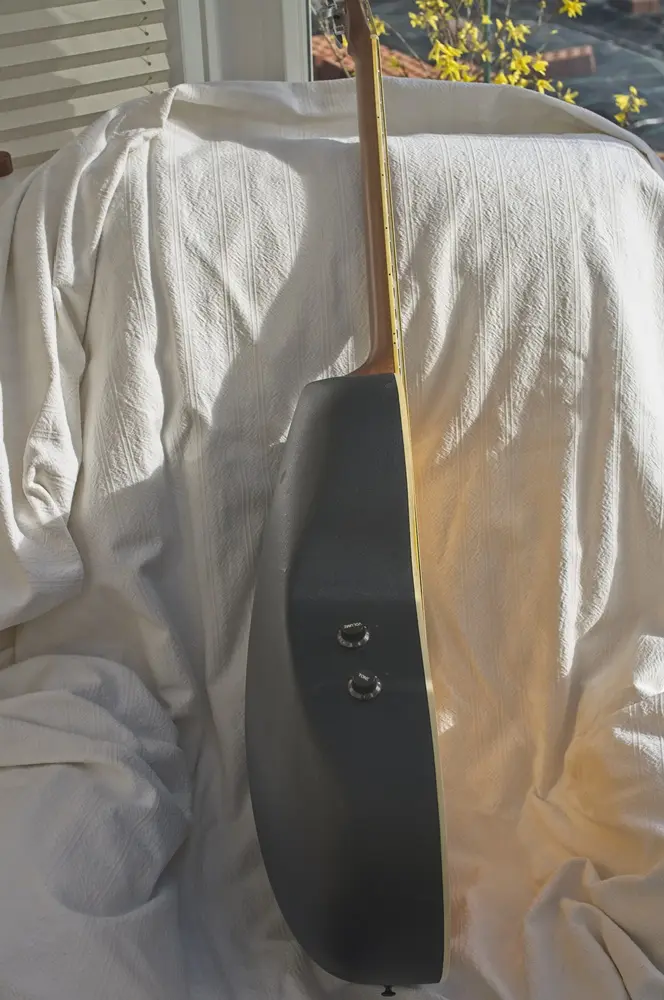
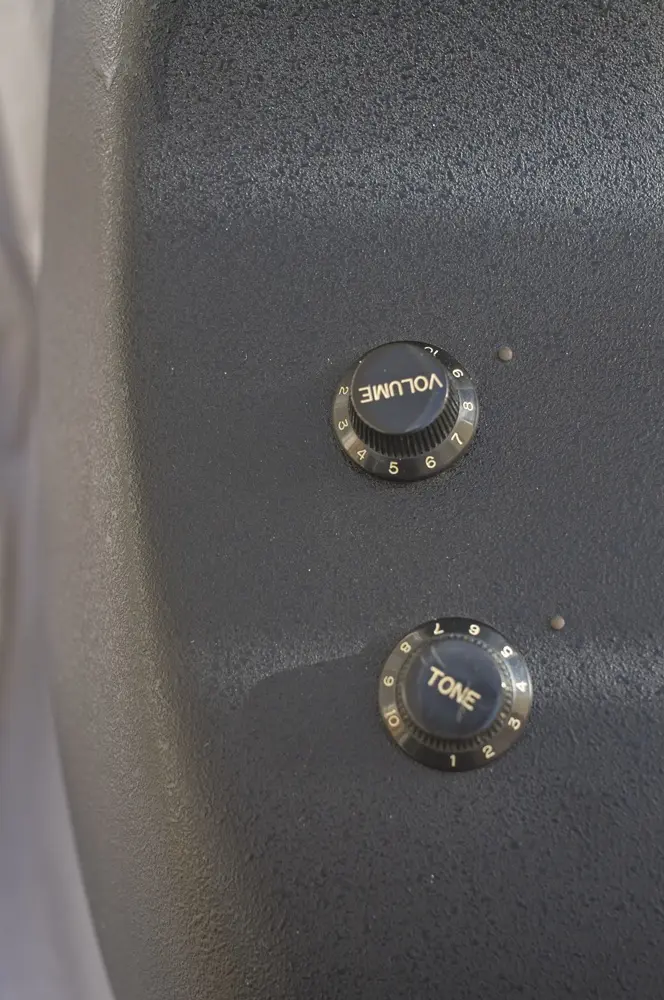
I can’t remember now what I paid for it, but I don’t think I bought it new and I have a vague recollection I may have traded an Eko Ranger 12 for it. I know I used to own a Ranger 12 and traded it for another acoustic somewhere along the line so the Applause was probably the one.
As an aside, to give some information, the Applause AE-32 is a round backed guitar with a body made of Lyramold (think plastic or fibreglass), a 20 fret rosewood fretboard, a mahogany neck, no cut away in the body and a pickup fitted under the bridge saddle. They were made in various colours although mine is the rather staid and boring looking natural finish. There are volume and tone controls fitted to the side of the bowl, and a jack socket on the back. I found this catalogue which includes the AE-32 which dates it from the late 1970s. Apparently, they were made by Ovation as a cheaper alternative to the full Ovation models and were an attempt by the company to make sure other companies didn’t produce cheaper versions of their trademark bowl back design – in effect they got into the cheap copy market for their own product!
Back to my particular example and many years have passed since the guitar was purchased and for the biggest part of them, certainly since 2000 when we moved into our current house, the Applause has been laying in the loft forgotten.
A couple of weeks ago I was in the loft putting away our cases after a weekend away and I saw the head of the guitar laying on the insulation material. Taking pity on it, I pulled it out of the loft and brought it down to see how it would sound after all those years (noting as I did it that I also have an Eko Ranger 6 in the loft as well!).
I have to say that 19 years in the heat and cold had not been kind on the poor old Applause. The strings were rusted and broke as soon as I tried to get the guitar in tune. The whole of the top of the guitar was covered in sticky insulation material and the tuning pegs were rusted and gritty when I turned them. On closer inspection, the frets were also pretty dirty and pitted. To be honest, the kindest thing to do would be to give the guitar a decent burial, but instead I decided to have a go at restoring it.
Actually, despite my comments above, being a round backed guitar which is made from a plastic type material, I suspect that the Applause AE-32 has probably not been damaged as much by the extremes of temperature change as a normal, wooden guitar would be (as I’ll probably find out when I get the Ranger 6 down). The basic construction seems ok – the neck is still firmly attached to the body and the fret board and bridge also don’t move, so I’m hoping with decent strings, new set of tuners, cleaning and some attention paid to the action the Applause will be OK when I’ve finished.
To be clear, I’m not a guitar expert and I’d never done any proper guitar repairs. In fact, I can remember when I was about 16 and had a £50 fender copy guitar, spending hours trying to lower the action by adjusting the truss rod – god knows what damage I did to that poor guitar. Fortunately, these days it’s possible to get information about how to do guitar repairs from YouTube, so I spent some time researching what I could reasonably do, but for anyone reading this please don’t assume it is advice from an expert.
Applause AE-32 Refurbishments / Cleaning
Unfortunately, I didn’t think about writing up this process until I’d made a start removing the worst of the dirt from the body and the tuning pegs from the headstock so I don’t have any pictures of how bad the guitar was when first pulled out of the loft.
The first thing I did was to remove the old tuning pegs and give the body of the guitar a clean. For the bowl back and top of the guitar I just used a damp cloth to remove all the dirt and grime, and then removed the worst of the dirt from the fretboard in the same way.
Tuning pegs
It was obvious that the tuning pegs would need to be replaced because of the general condition of the pegs themselves and the fact that the inserts which the actual peg protrudes from in the head were broken in several places. Once I’d removed the original tuners I measured the hole in the head and found it was 10mm diameter and tried to find a replacement set with the fixing screws in the same position.
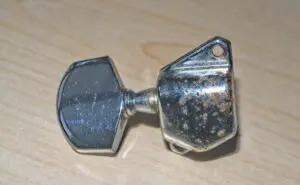
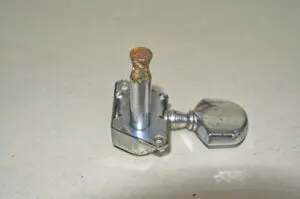
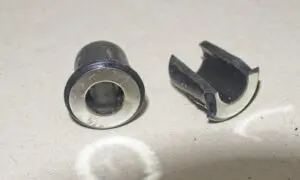
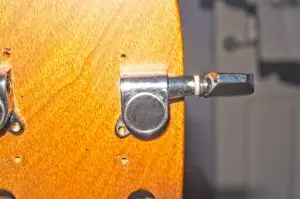
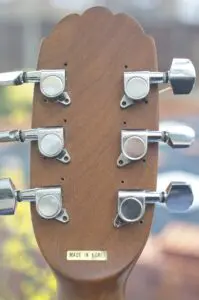
Unfortunately, I couldn’t find any which matched exactly, but I found this set on Amazon which in the images on Amazon looked ok and so I sent for a set. It was only when the new units turned up that I found they are in fact pretty bad quality, something which I probably should have known for the price. In truth however, they are probably the same quality as the ones originally fitted so although I would like to fit something a bit better I decided to try them so that I could get some strings on the guitar and determine if it is worth putting good tuners on later. However, in order to make sure I don’t have extra fixing holes in the head if I do replace them later, I’ve left the holding screws out of the new pegs while I try them out, just relying on the screw in bushings to hold everything in place.
Frets and Fingerboard
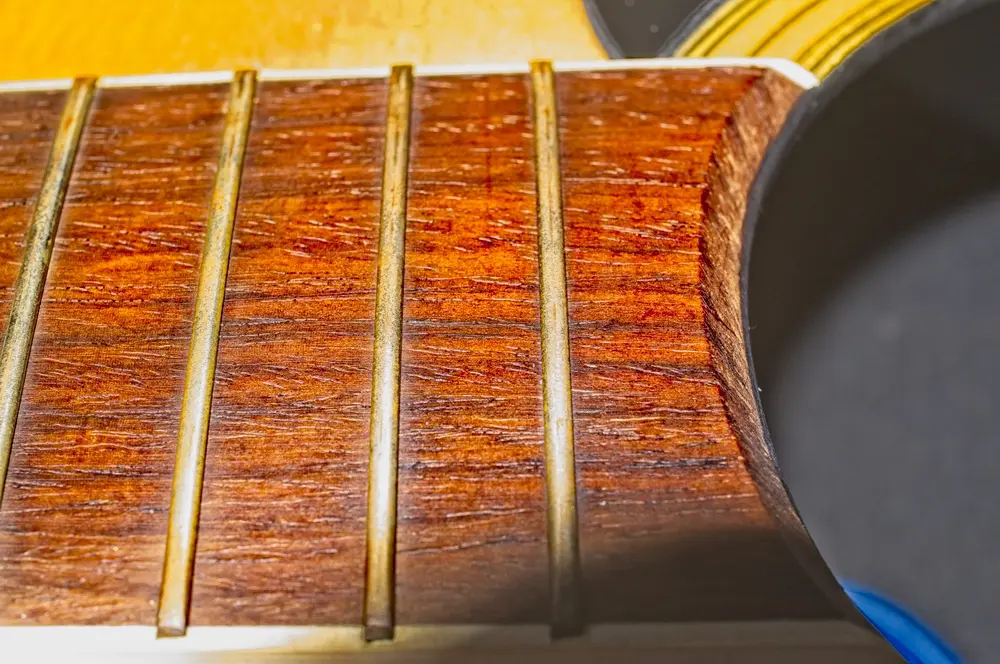
I cleaned the frets with some very fine steel wool following a video I saw on YouTube which made that recommendation. I worried that it might scratch the fingerboard, but it didn’t seem to.
The fingerboard itself I cleaned with a soft cloth dampened with white vinegar after finding a web page which recommended it over the many proprietary cleaning fluids available. The vinegar certainly got a good deal of dirt off and the smell seemed to only last a few minutes. Once the board was clean I conditioned the fingerboard by wiping it with a cloth with a very small amount of linseed oil on and that gave it a nice finish.
Restringing
At this point I decided to fit a new set of strings to the Applause just to see if the tuning pegs were going to be ok and to assess if it was worth doing any more to it. I fitted a set of Martin 80/20 bronze custom light strings and found that although they are not very good quality, the tuners don’t seem to have any flat spots and do keep in tune.
It’s been a long time since I played the Applause and I had forgotten (but quickly rediscovered) that it has a high action and has rather a muddy confused sound.
The distance between the top of the fret and the bottom of the string on the low E was about 5mm at the 12th fret which is quite high. This makes the guitar difficult to play at the higher positions, but also results in the strings going slightly out of tune as the strings are fretted. For example, if I play a harmonic at the 12th fret and look at the indicator on my electronic guitar tuner it is exactly in tune. If I then fret the string at the 12 fret and play it the note is slightly out.
In order to lower the string height and try to clean up the sound, I decided to try replacing the bridge saddle with a bone version (the original is a sort of soft plastic) and set the string height as I replaced it. With that in mind I originally sent for one of these saddles but when I received it I decided first to try removing the pickup which is fitted under the saddle on this guitar. It turned out to be quite easy to pull out the saddle, lift up the pickup and then feed it through the hole in the bridge that the cable feeds through and leave it connected and floating in the guitar’s body. Since I have no intention of using the guitar with an amp this is fine, but the pickup can be fitted back in place if I sell it.
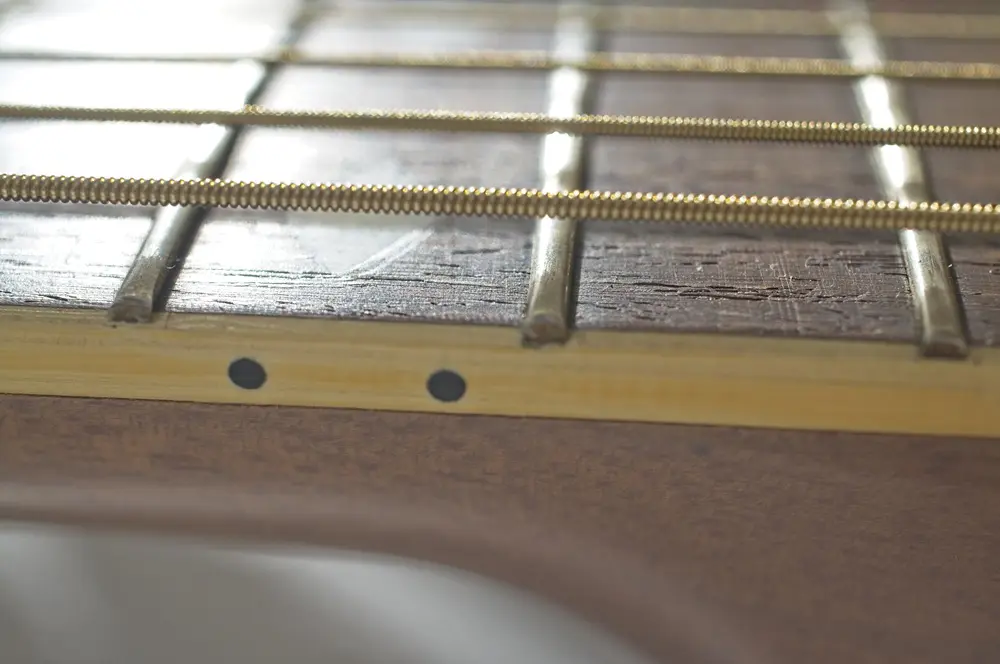
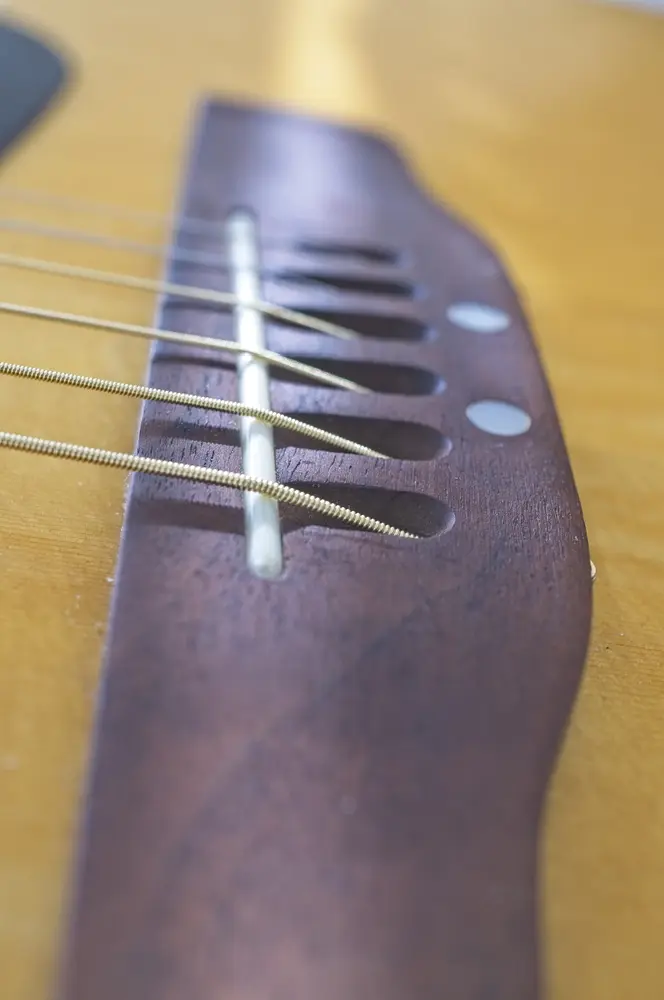
With the pickup removed, the strings set up to a reasonable level (about 2mm) and the guitar plays easier although doesn’t sound any brighter.
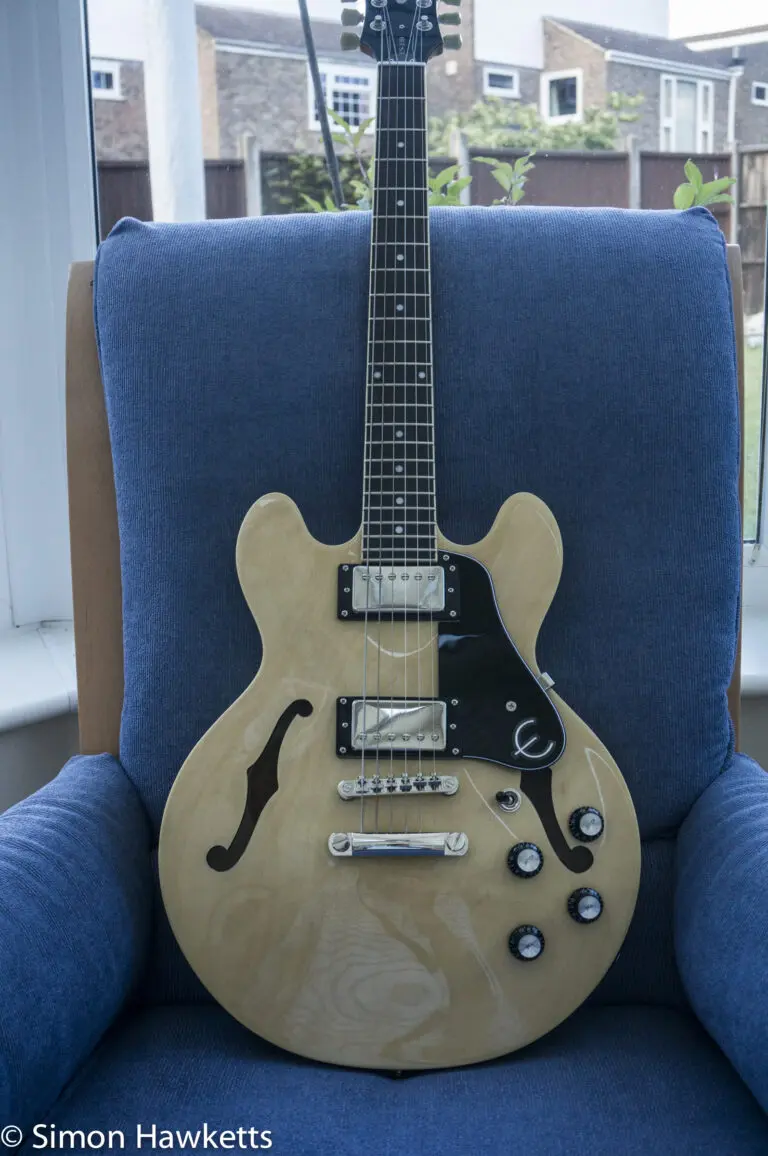
At the moment, that is the amount I’ve done to rescue the Applause. It is now at least playable but I’m at a bit of a loss as to what to do with it. It’s not as easy to play as my Crafter 550 or my Epiphone ES-339 so in the end it will either have to go on eBay, or back in the loft for another 20 years!

