Post-processing film scans in Lightroom
A couple of years ago I wrote a post which described the steps I normally take when post processing pictures in Lightroom. The procedures I describe there are still the way I carry out post processing when dealing with digital images, but recently I’ve been taking more shots on 35mm film and I’ve found it is necessary to subtly change the way these images are dealt with in Lightroom, so these notes are going to describe this different workflow.



I’ll just point out at this stage that I’m not a Lightroom expert and haven’t had any professional training in it’s use – these are just the things I’ve found out with experimentation. Of course the good thing about Lightroom is that any changes you make are completely non-destructive so if you want there is no harm in giving this workflow a go and seeing what you think. If you would make changes or have comments please feel free to comment below.
The first thing I noticed is that any changes made to a scanned image generally have to be much more subtle that the equivalent changes in the digital realm. For example, when using digital raw files I’ve found it possible (although only in extreme cases) to change the exposure by up to 5 stops and get usable results but that would be completely impossible with scanned negative images. Initially, when I started processing film scans I thought that may be because I was dealing with jpeg files, but the last set of films I had developed I had scanned to TIFF files and found exactly the same thing.
For this reason I would say the number one rule when shooting film is to get the exposure correct – there just isn’t as much leeway in post to correct egregious errors. The other thing I noticed is that I generally adjust less things than with digital files – for example I don’t tend to crop the pictures like I do with digital or apply lens corrections (chiefly because the lens profiles for my 35mm cameras aren’t in Lightroom).
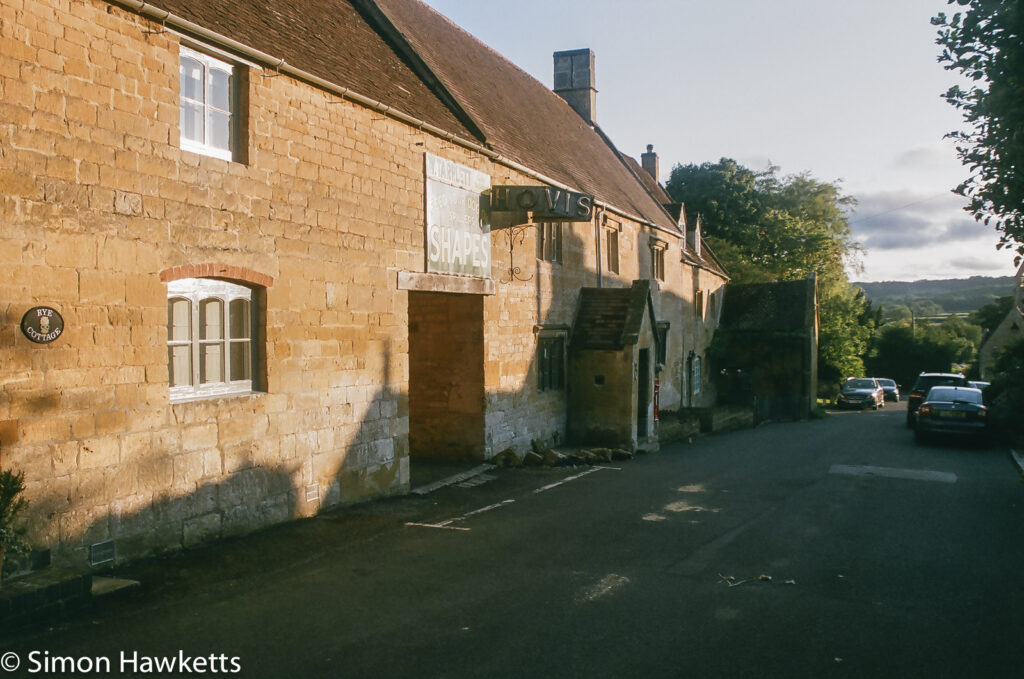
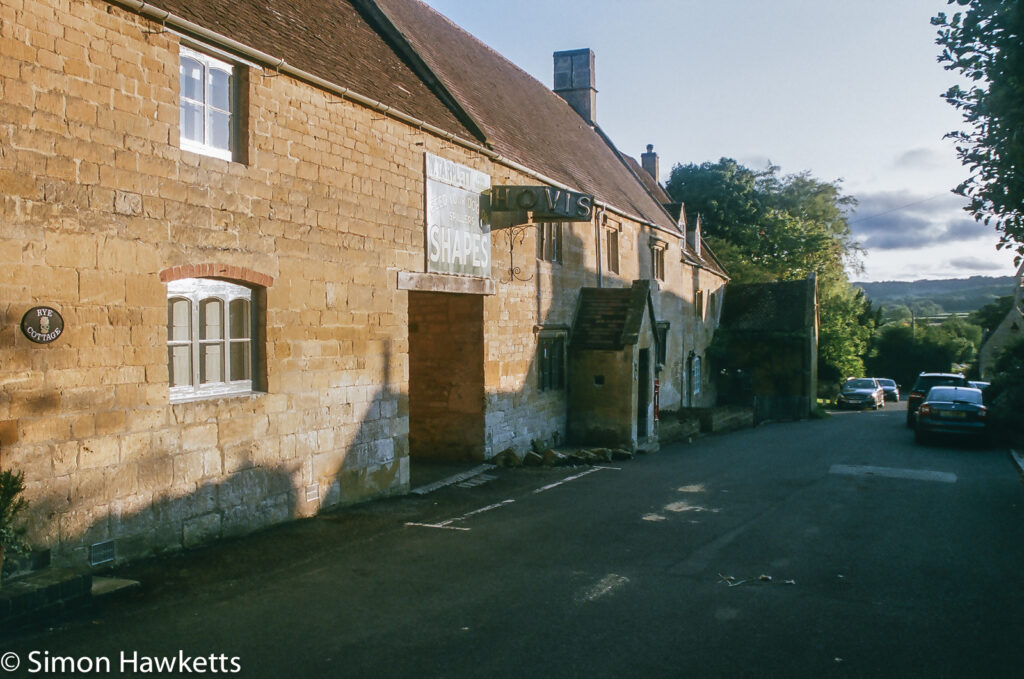
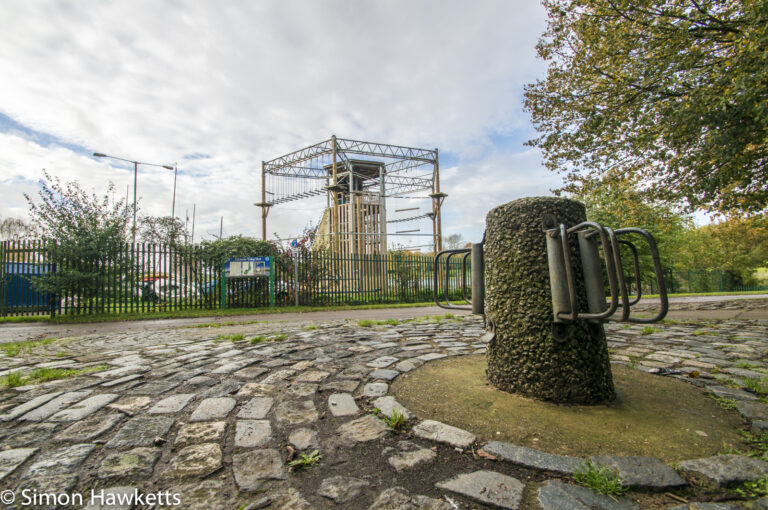
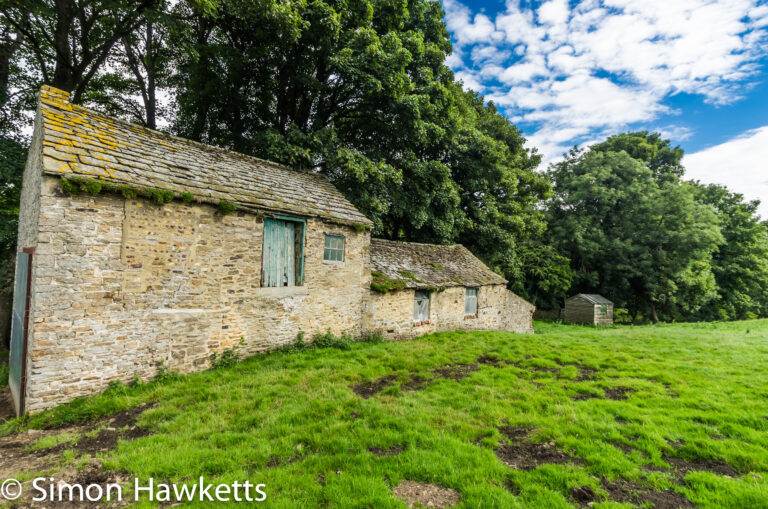
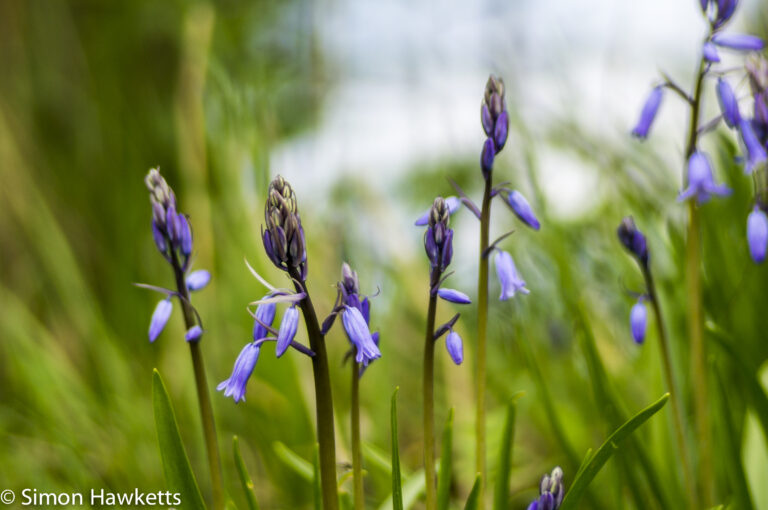
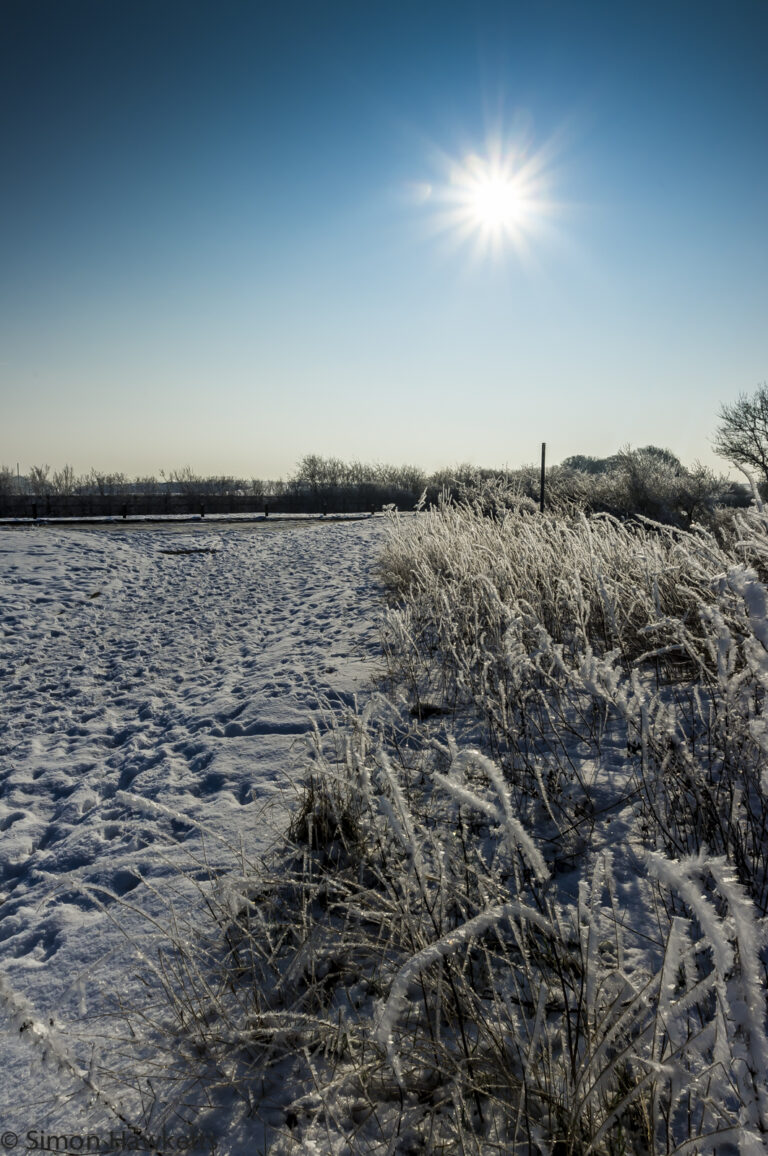
So my workflow using scanned images is as follows and these steps are shown in the images above.
After the initial import I look to see if there are any small changes to be made to the shadow and highlight sliders in the Basic panel. Although I’ve emphasised that the changes need to be generally more subtle than with film, the highlight slider can actually have quite a large change on a correctly exposed negative. I normally use these controls to just pull a bit of over exposure out of the sky and then give a bit more detail into the shadow areas. The shadow does need to be subtle or you can emphasis noise quite a bit.
With the highlight and shadow dealt with I then open the Details panel and look at the noise reduction and sharpening controls. Switch the display to at lease a 1:1 display because you won’t see the effect without that level of detail. I tend to adjust the Luminance noise reduction first and try to soften the grain detail of the film – this is completely subjective of course, many people may want to keep the grain showing. In fact I probably would do less noise reduction on black & white than on colour since grain is an important ingredient in black & white film pictures. I use the detail slider to try to retain any picture details without keeping too much grain detail.
Once the noise reduction is as I like it, I move to the sharpening control and with the display still on 1:1 set the sharpening as I like it. This tends to be with the radius up and the detail down – again with the aim of not emphasising the film grain. If there are large areas which don’t need sharpening I set the mask to – well mask them.
With the sharpening set I may tweak the white balance if the picture needs it but this is one of those controls which will have minimal effect on a scanned image. It seems possible to slightly change the tint but not really correct any large errors. Again, try to get this right by using the correct film rather than fixing it in post. (Having just said that I wonder if it is possible to buy anything other than daylight film now?)
The final step I take is to go back to the Basic panel and set the clarity and vibrance if the image needs it.
So that is the general steps I take with a scanned image. Much less involved than with digital and much more restrained effect which I think can be seen in the images above.

I think you’re spot on about getting exposure as close to right as possible in the (film) camera. I think that’s the greatest thing RAW offers: the camera captures so much exposure information that you really can fix even egregious exposure errors.
[…] These pictures were developed and scanned by Photo Express in Hull and saved to CD as TIFF files. After import to Lightroom, the files went through my film processing workflow. […]
[…] All these pictures were taken using the standard lens which was supplied with the camera when new (an AF zoom 28-80 f/3.5-5.6) and were mainly shot using autofocus and aperture priority on Fuji Superia X-Tra 400 film. They were processed by Photo Express in Hull and scanned to Tiff format files by them. The post processing was done in Lightroom using my 35mm film processing workflow. […]
[…] In the main the camera seems to have done a very good job with metering, with the vast majority needing no additional processing in Lightroom for exposure correction. In fact for most of these exposures, all I needed to do in Lightoom was to add a small amount of noise reduction and sharpening which followed my usual post processing workflow for film. […]
[…] All these pictures can be viewed full size here First a few details about the photos. The camera was loaded with a roll of Kodak ColourPlus 200 film which I exposed at box speed with the camera used mostly in either program mode or aperture priority. The film was developed using the digibase C-41 pre-diluted kit and the negatives scanned with an Epson V550 perfection photo scanner. The resulting scans were imported into Lightroom where I used my normal workflow for film. […]
[…] Express in Hull and saved to CD as TIFF files. After import to Lightroom, the files went through my film processing workflow. You can see the full size pictures by following this […]
[…] In the main the camera seems to have done a very good job with metering, with the vast majority needing no additional processing in Lightroom for exposure correction. In fact for most of these exposures, all I needed to do in Lightoom was to add a small amount of noise reduction and sharpening which followed my usual post processing workflow for film. […]
[…] All these pictures were taken using the standard lens which was supplied with the camera when new (an AF zoom 28-80 f/3.5-5.6) and were mainly shot using autofocus and aperture priority on Fuji Superia X-Tra 400 film. They were processed by Photo Express in Hull and scanned to Tiff format files by them. The post processing was done in Lightroom using my 35mm film processing workflow. […]
[…] All these pictures were scanned on an Epson V550 perfection and imported to Lightroom for (minimal) post processing. […]
[…] The camera was loaded with a roll of Kodak ColourPlus 200 film which I exposed at box speed with the camera used mostly in either program mode or aperture priority. The film was developed using the digibase C-41 pre-diluted kit and the negatives scanned with an Epson V550 perfection photo scanner. The resulting scans were imported into Lightroom where I used my normal workflow for film. […]