RAW shot recovery in Lightroom
This post covers the importance of shooting in RAW format when it comes to trying to recover pictures from badly exposed images using Lightroom, or any other RAW processor for that matter.
RAW shot recovery in Lightroom
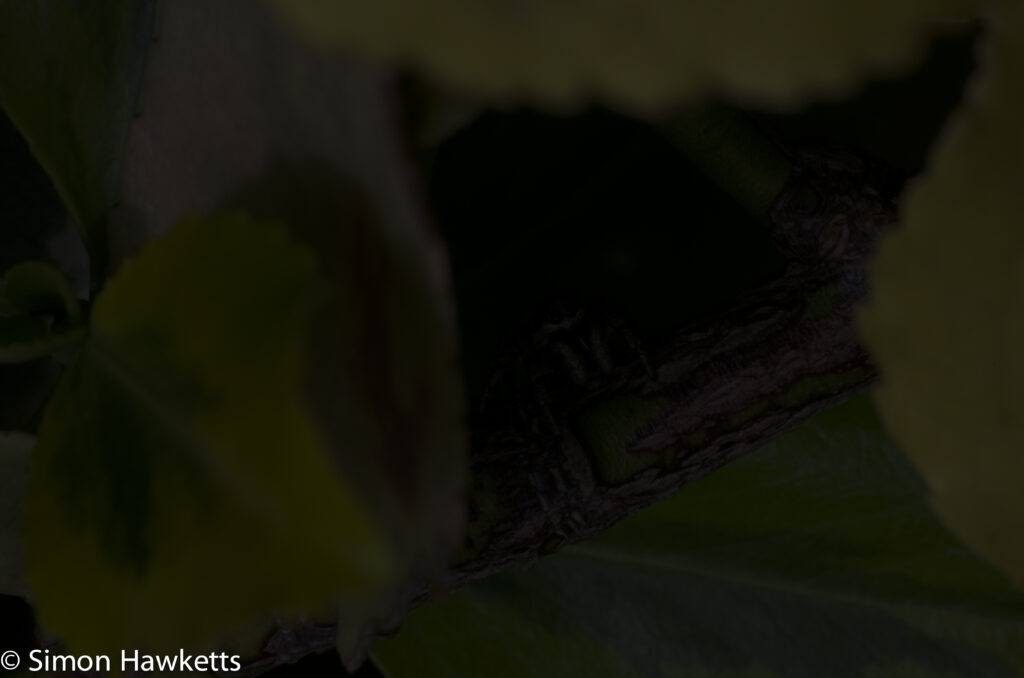
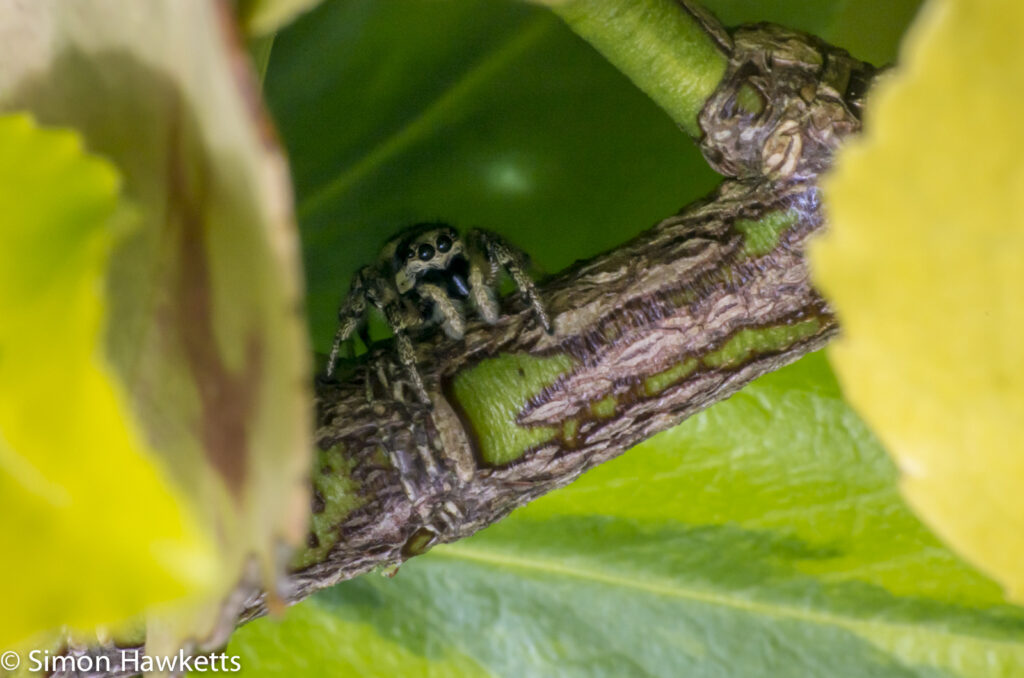
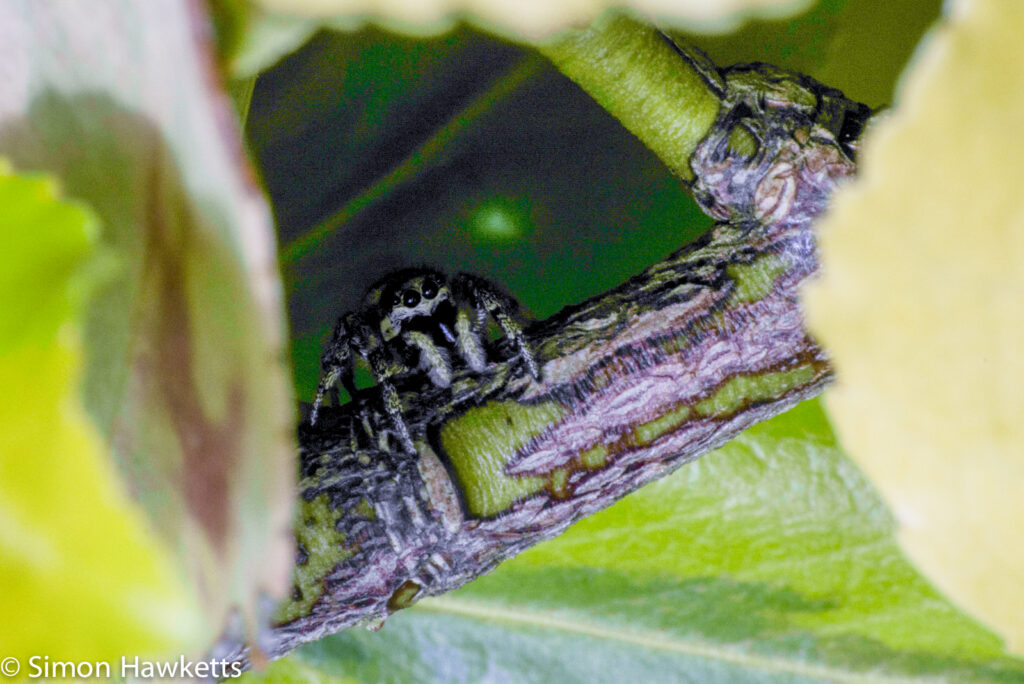
In a recent post someone who added a comment remarked that they had not yet set their camera to store RAW images and were still shooting in jpeg. This got me thinking about the effects of shooting in RAW and why it’s so important to do so. It also reminded me of an image I had taken a few months ago and how I had been able to get quite a decent picture from it.
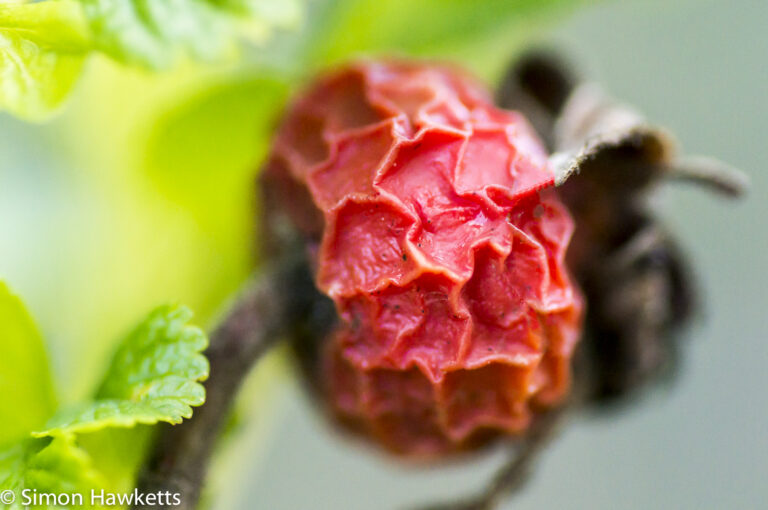
The background is this. I had been experimenting with taking macro images on my Pentax K5 using a Tamron 90mm f/2.8 lens set to f/32 and using a flash to correctly expose the shot. The purpose behind this, obviously, was to maximize the depth of field in macro pictures. I’d taken a couple of pictures and had gone out again to try some more experimenting. I saw a small spider (probably the same one I’d captured in my original shot!) sitting under some leaves and quickly focused on him. I pressed the shutter and …. no flash. I’d forgotten to turn the flash back on so the shot was useless – or so I thought. A quick glance at the histogram showed me that the image was completely under exposed.
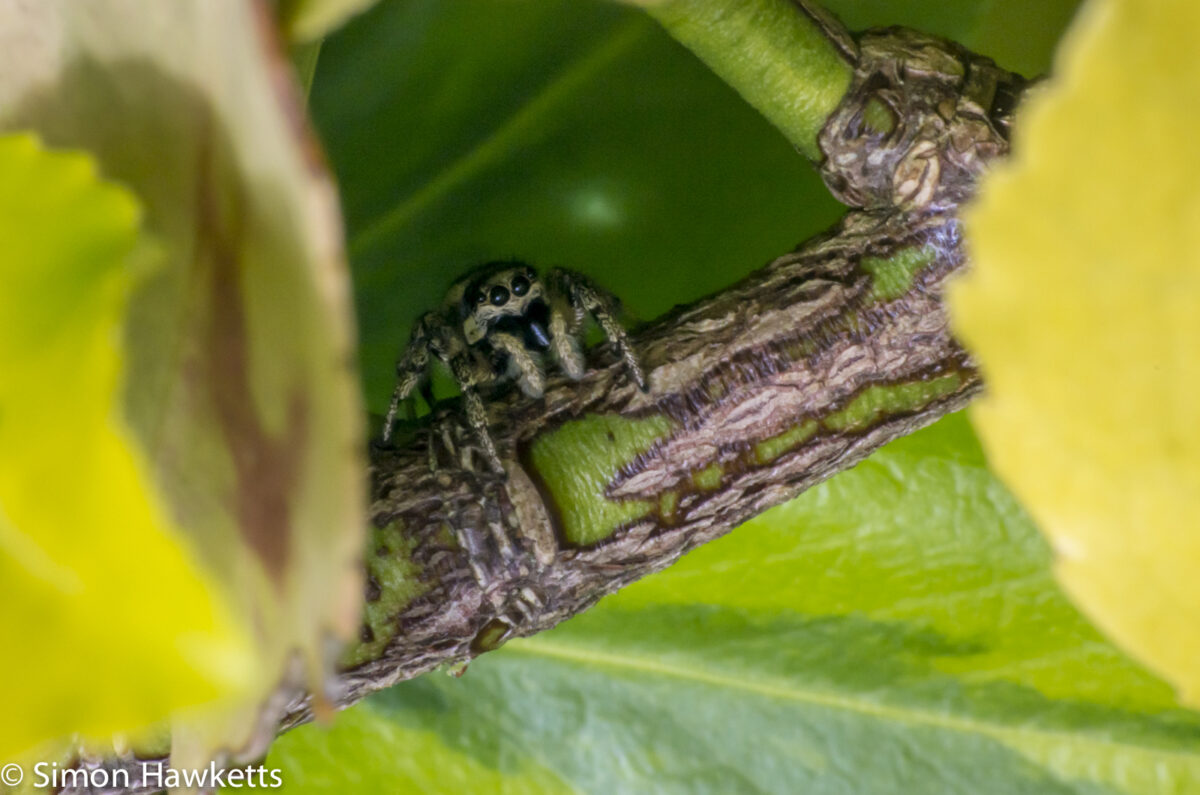
I finished my experimenting and went back inside and imported the shots into Lightroom 4. I was amazed to find that although the image without the flash was under exposed by nearly 5 stops, I could still pull enough detail out to get quite an acceptable picture.
I remembered this sequence of events when I started to think about shooting RAW versus Jpeg, so as an experiment I made a jpeg copy of the original RAW image and applied the same sort of processing I applied to the master RAW image to this jpeg copy. The results of this are shown in the gallery above.
The three images are the three major stages in this process. The original image is the 5 stop under exposed image I originally imported from the camera converted to jpeg. The next image in the sequence is the lightroom 4 processed image recovered from the RAW master and the final image is the lightroom 5 image recovered from the jpeg copy of the master.
I think you will agree there is a remarkable difference in the image quality. Although none of the images is very good quality (because of the under exposure) there is a noticeable difference in quality between the two processed images. The jpeg processed image is very much noisier, the colours look incorrect and it has virtually no detail in any shadow area. In contrast, although the RAW processed image has noise, it’s a very usable image and you can make out some detail in the recovered shot, especially when compared to the original virtually black master.
Obviously, this is in a sense a manufactured situation and you would always try to get the exposure as close to correct as possible, but I think there are still interesting lessons to learn.
- You can nearly always pull something from a shot if you shoot in raw.
- The Pentax K5 has an excellent sensor.
- Always turn your flash on !
Original shot
- iso 160
- f/32
- 1/125

amazing lightrooms recovery process…I am still in awe of it.
I know – it’s incredible what can be recovered
[…] RAW shot recovery in Lightroom (simonhawketts.wordpress.com) […]
[…] I need to say that this image was recorded in RAW as all my images are. The initial image above shows a picture which is over exposed and not level […]
[…] the lens offers with the iso set to 100. For the purpose of the tests I ignored my usual rule of only shooting in RAW and used Jpeg’s straight from the camera. These pictures are my ‘control group’ […]
[…] the images were taken in RAW and processed in Lightroom CC using my normal […]
[…] using digital raw files I’ve found it possible (although only in extreme cases) to change the exposure by up to 5 stops and get usable results but that would be completely impossible with scanned negative images. […]
[…] the lens offers with the iso set to 100. For the purpose of the tests I ignored my usual rule of only shooting in RAW and used Jpeg’s straight from the camera. These pictures are my ‘control group’ […]
[…] a difference between the Lightrooom profiles and the In-Camera profiles so I’ll just carry on shooting in RAW unless situation arises where I want to take a jpeg to share on social […]