WordPress install process and DNS
In this, the final part of the wordpress install series, I’m going to walk through the famous wordpress 5 minute install, and also talk about the changes required to the DNS to get the new site visible on the internet.
DNS changes
In fact and probably obviously, the DNS needs to be configured before the install process can be completed because it won’t be possible to see the site until you can find it in the browser. If the site is running on a personal linux laptop, it’s possible to simply make an entry in the local hosts file which will serve. In that case, all you would need to do is add
127.0.0.1 my-site-name.co.ukinto the /etc/hosts file and then when you enter http://my-site-name.co.uk into the browser the wordpress install page should show.
If the site is on the Internet, you can still add an entry in your hosts file, but since you will want others to find your site, it makes more sense to add the appropriate records to the DNS entries using the facilities provided by the DNS provider you use. How you do that will obviously come down to the individual provider; on digitalocean, the domain entry page for simon.hawketts.co.uk looks like this:
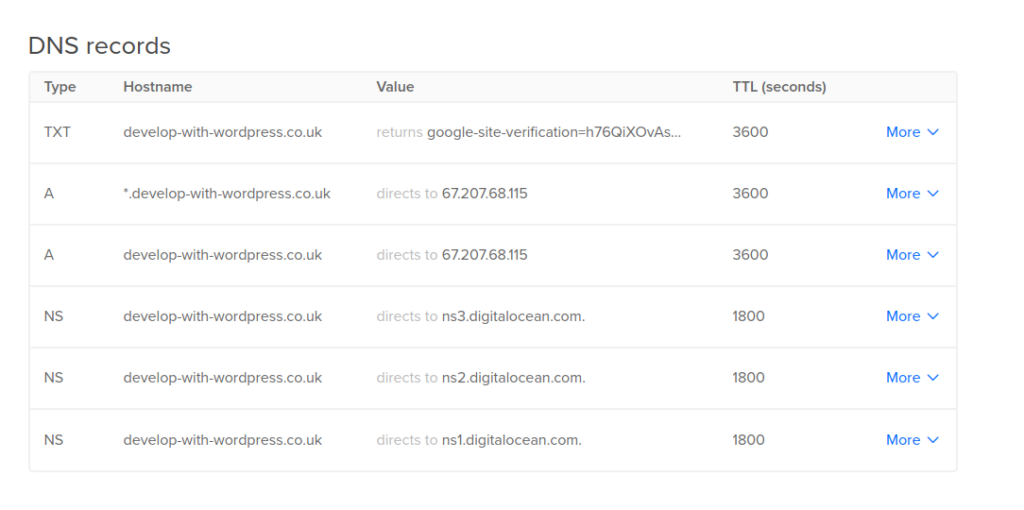
different DNS providers will look different but should provide the same basic facilities. The records shown are
- three NS records which point to the name servers
- a google site verification TXT entry which is to prove ownership of the domain for the google search console
- an A record which covers *.simon.hawketts.co.uk as a fallback to all entries on the domain
- an A record with covers simon.hawketts.co.uk
Of these records, the TXT is obviously unnecessary for the operation of the site and the simon.hawketts.co.uk entry is covered with the default *.simon.hawketts.co.uk so the other records are the minimum needed.
Install process
With the DNS set, the WordPress files installed to our selected directory and our web server set up, the only remaining part of the install is to carry out the famous ‘5 minute install’ process. This is basically the part where the wordpress core creates the database tables required to run the system and installs the default theme and plugin files for a default install.
To initiate this process, just visit the URL for your site in a browser and you should see a start up screen similar to the one below.
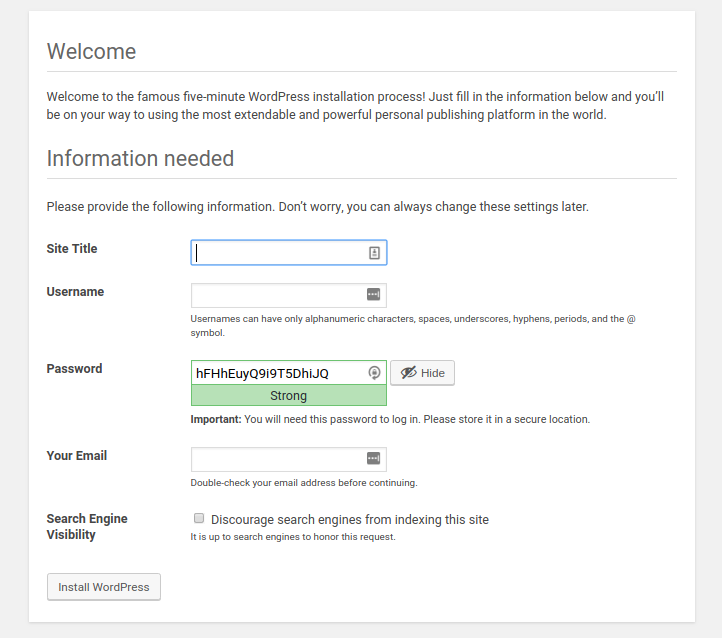
Fill this screen in with the relevant information like this:

You will notice that the install process automatically generates a strong password for use with this account, which will be an admin level account for the site. I tend to keep this password, and copy it to a secure location along with the database credentials which I saved earlier in the process.
With the form filled in, just press the Install WordPress button on the form and the process should complete and you will be presented with the following screen.
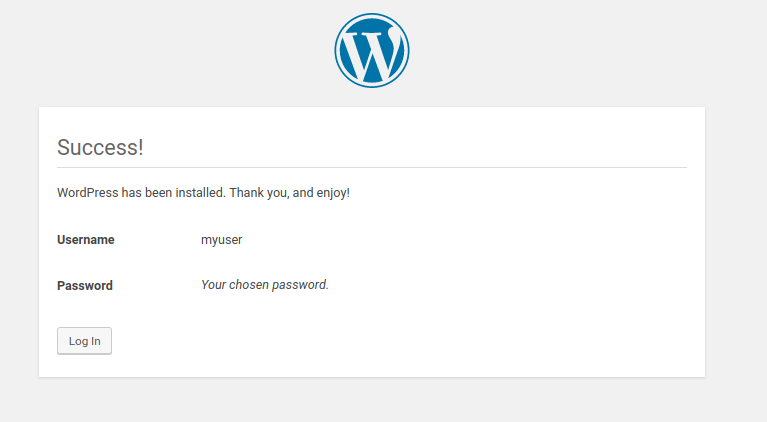
Press the Login button and fill in the login information which you saved from the install screen

Then when you login you are presented with the bare bones wordpress install
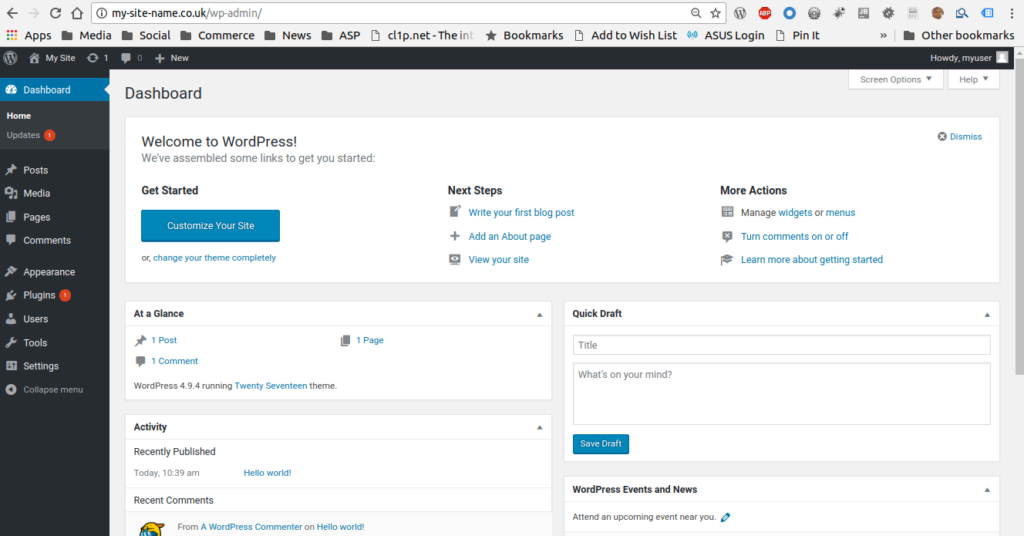
That concludes the standard wordpress install for situations where you want a conventionally installed wordpress. In a later article, I will cover using Docker to create a platform independent development environment.

