Dunster House Garden room build – part 3
This is the final part in my series about the construction of a Dunster House log cabin / garden room in our back garden.
Dealing with the garden room floor issue.
Problem
In the second part of this series, I explained the issue I had with the floor, but I’ll just recap here.
When I initially put down the first few rows of the log cabin logs, I placed them on bearers which ran across the building from side to side, as advised by the assembly instructions and shown in the picture here.
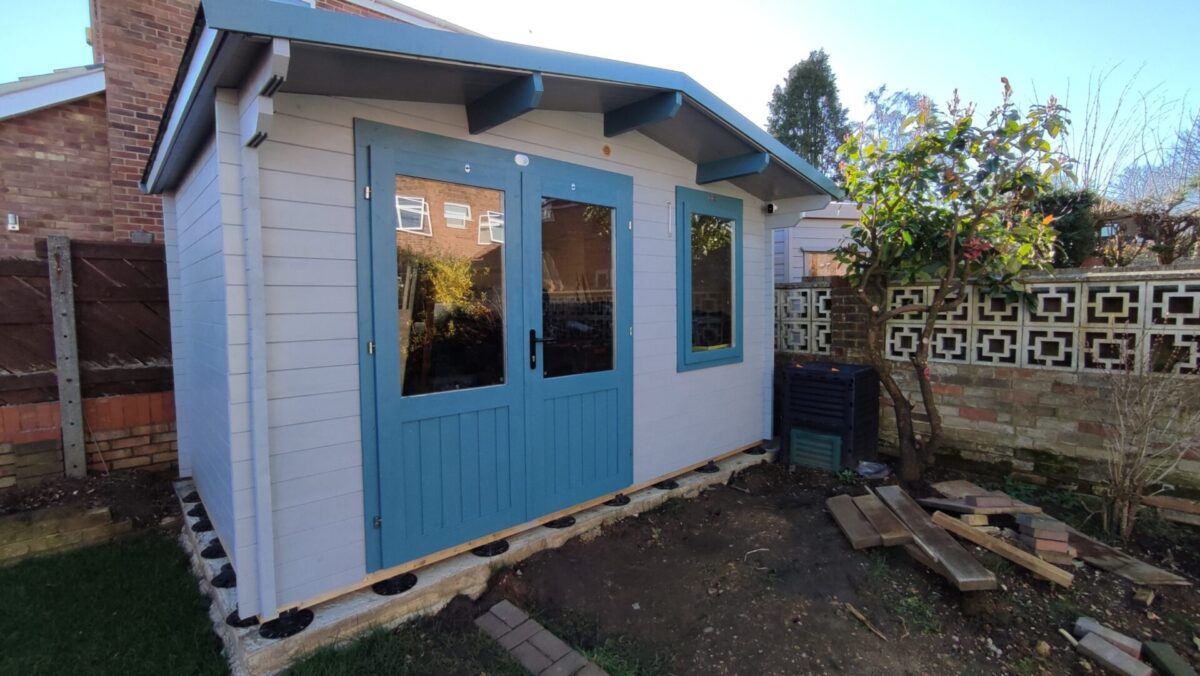
Now the assembly instructions were based upon the building being assembled on a flat, level base, but unfortunately in my case I didn’t have a level base, so I used some joist supports purchased from Amazon, to allow me to compensate for this.
Although this seemed to work initially, as the build progressed and weight was added to the garden room, I found that the bearers were being pushed down at the ends, and bowing up in the centre – so much so that in the middle of the cabin the centre bearers were about 2 inches above the bearers which support the front and back walls of the cabin.
Solution
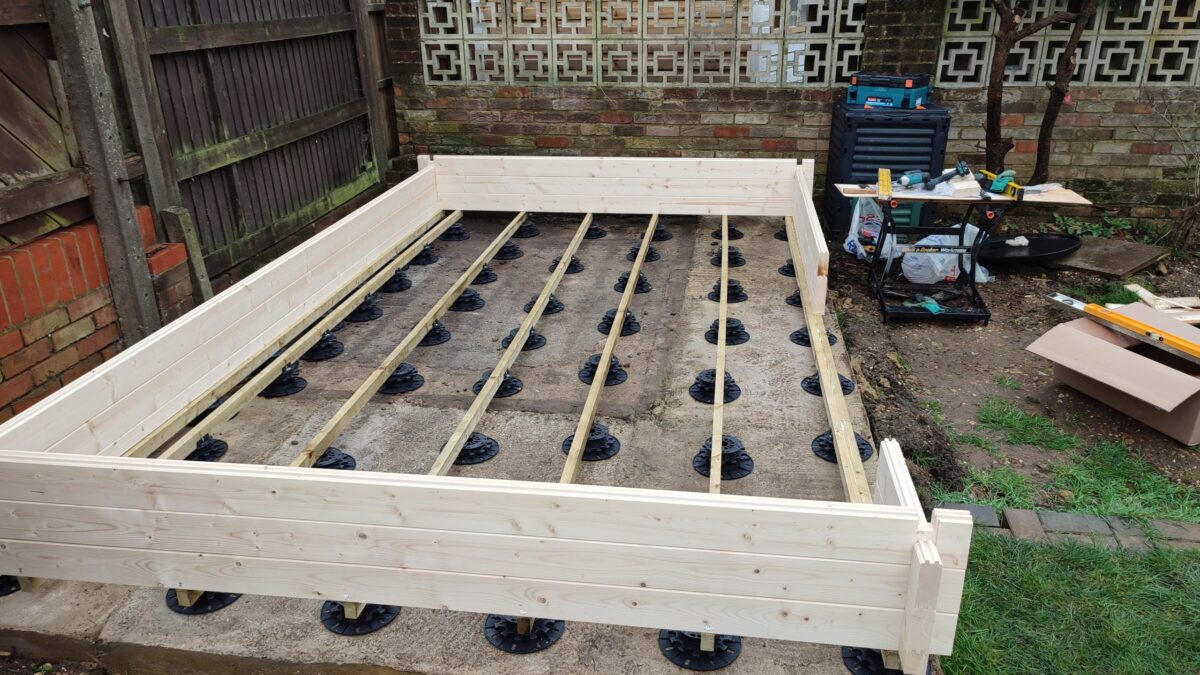
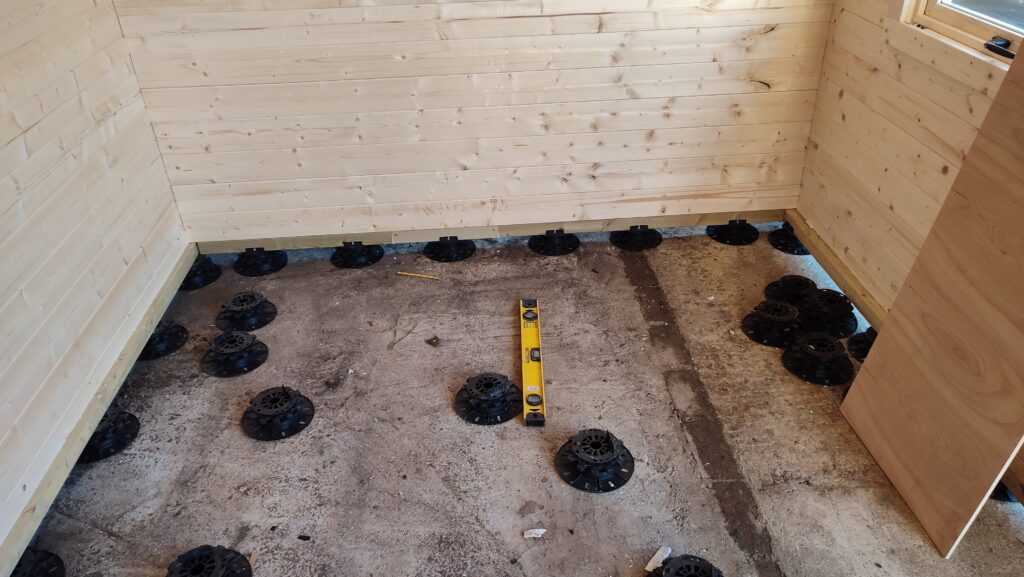
Obviously this was going to need to be changed, so I decided to remove the bearers running from side to side and replace them with bearers which support the full length of the side walls.
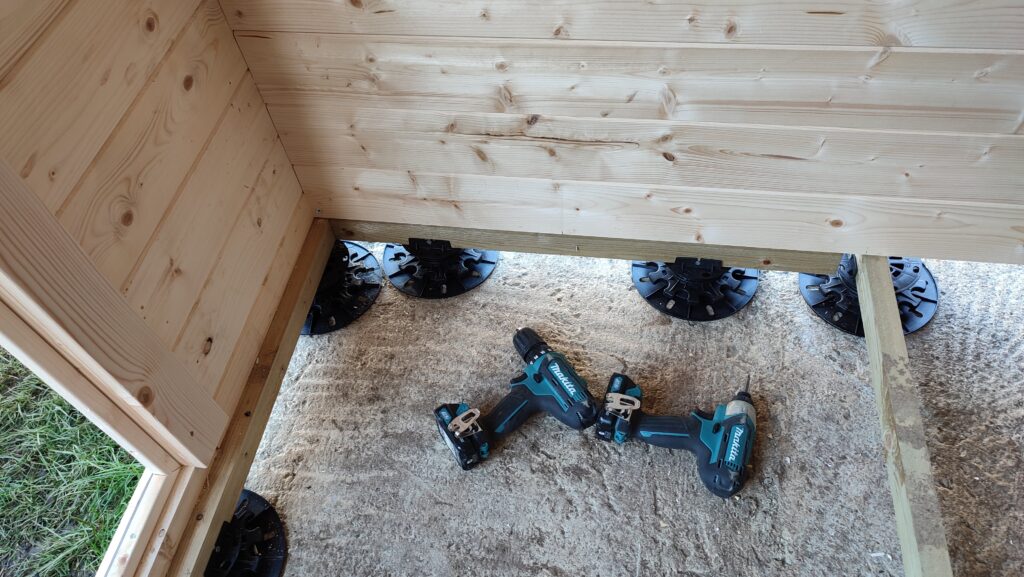
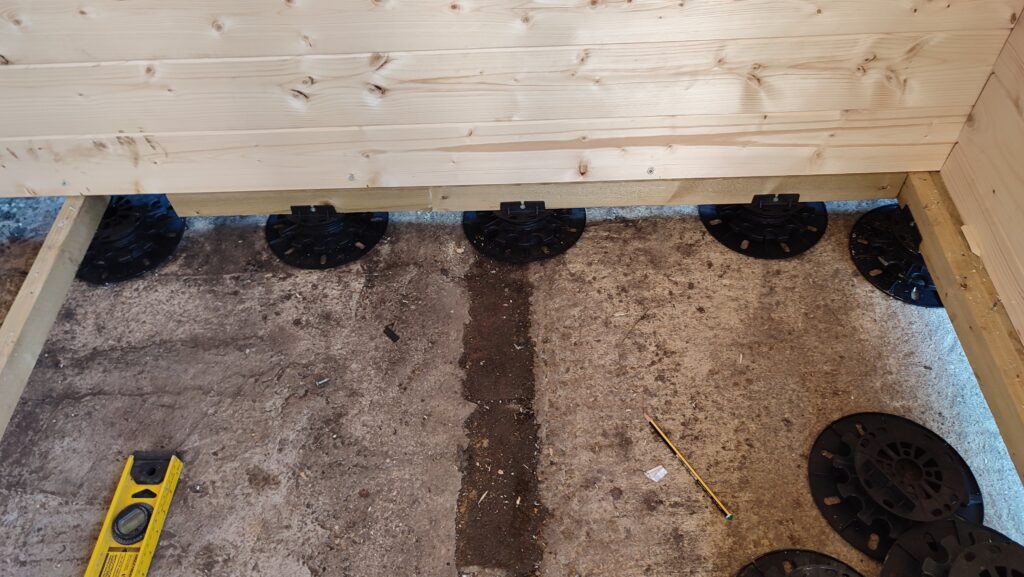
Clearly, I couldn’t do this by simply removing them and leaving the sides unsupported1 so I did it in a series of steps, removing the front bearer and replacing it with a section of 2 x 2 treated timber fitted with joist supports, and then moving to the next one etc.
In this way, I replaced all the bearers with sections of 2 x 2, and glued and screwed each section to the last as I worked across the building.
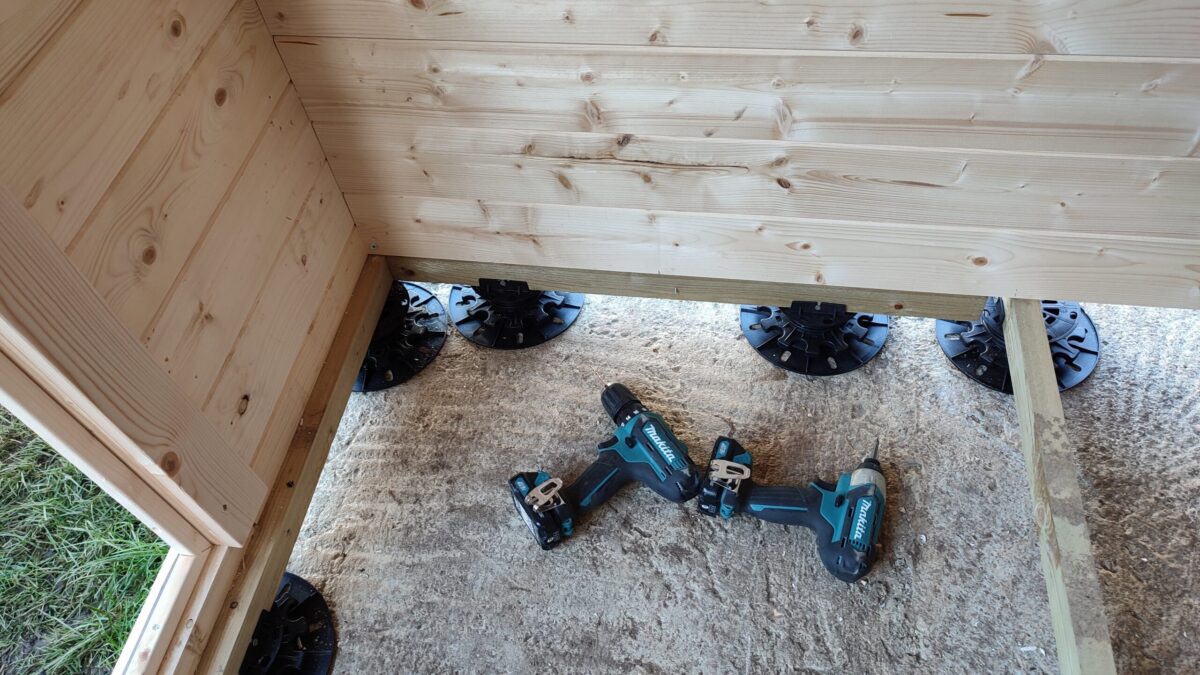
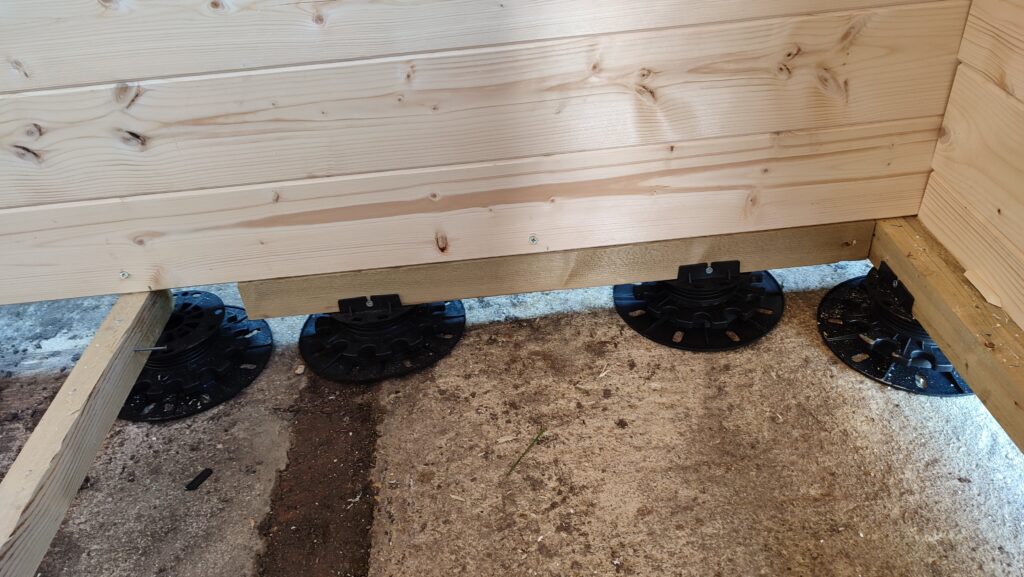
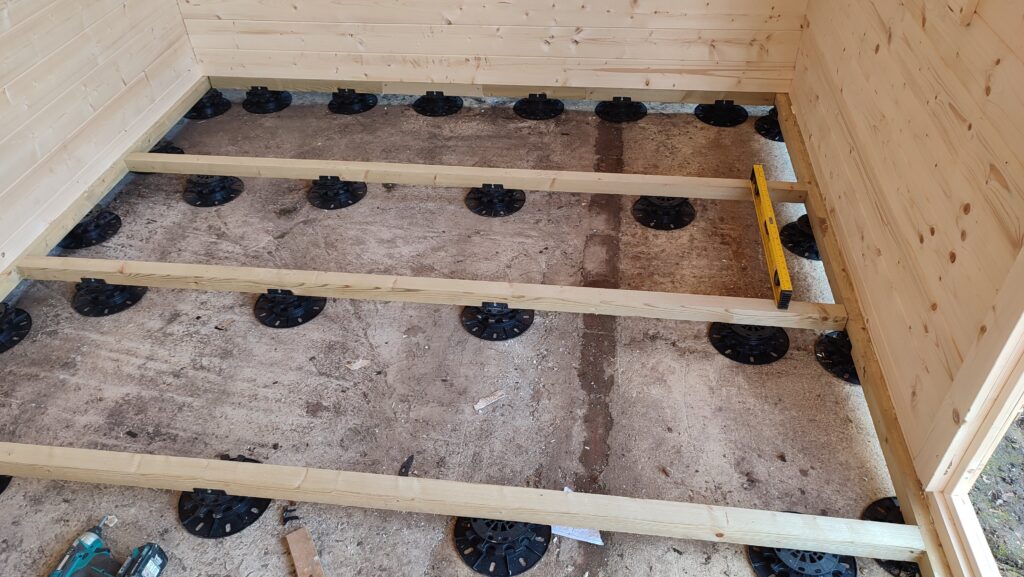
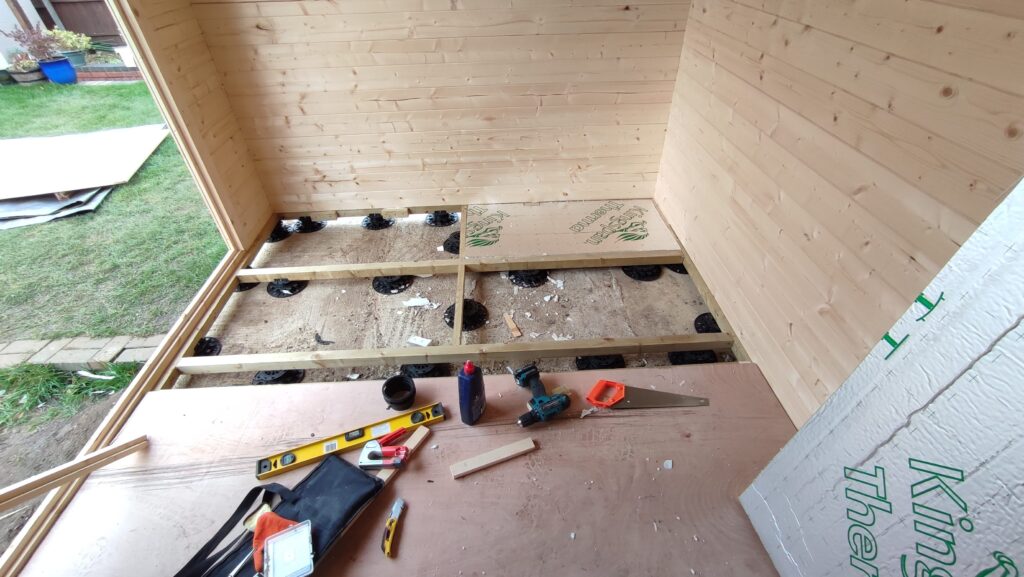
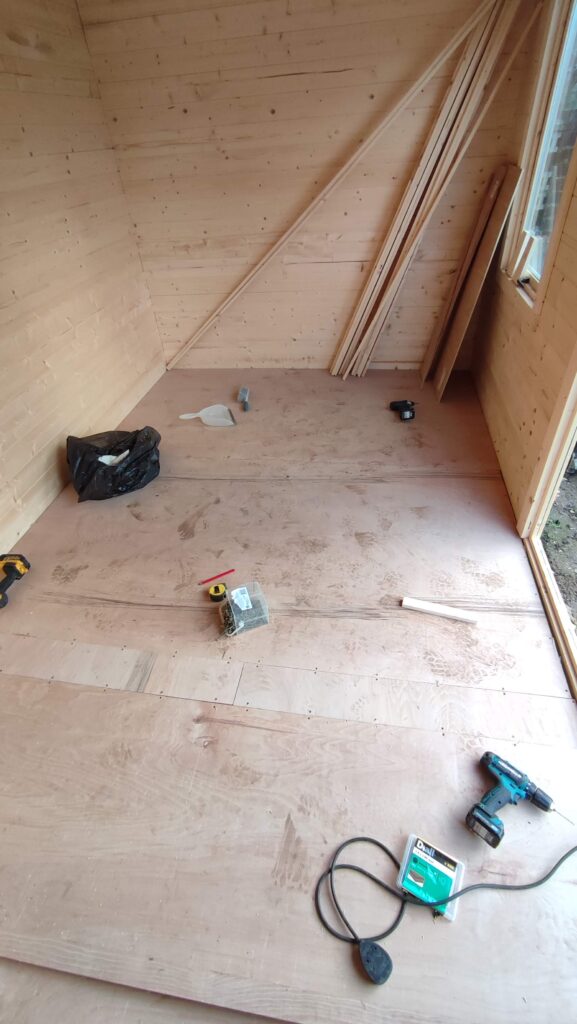
With the bearers replaced, I then added new joists across the building, screwed into the front and back bearers and supported on their own four joist supports. I set these at approx 600 mm centres so that I can fit a plywood floor using 1.22 M ply panels. Although I could use the original supplied floor boards, I’m intending to fit a laminate flooring to the completed garden room, and a plywood floor should be flatter and stronger than individual floor boards.
Once I had the joists in place, I discovered another advantage of the change I’ve made. As well as fixing the floor flatness issue, by virtue of the joist support design, each of the joist supports provide a little platform on which to rest the insulation board which is fitted under the floor. Not only that, but because the new joists are 2 x 2, there is enough space to double up the floor insulation to 50 mm rather than the supplied 25 mm. So I ordered some 50 mm insulation and used that for one half of the floor, with the supplied 25 mm insulation doubled up for the other half.
When I fitted the new floor, I tried adding some cotton binding tape from my wife’s sewing basket stapled under the joists to act as extra support for the insulation. After the first board went down however, I found that as long as the insulation is cut slightly oversized, this wasn’t going to be needed, so in the photos that follow this only appears once.
Pictures of the floor repair of the garden room
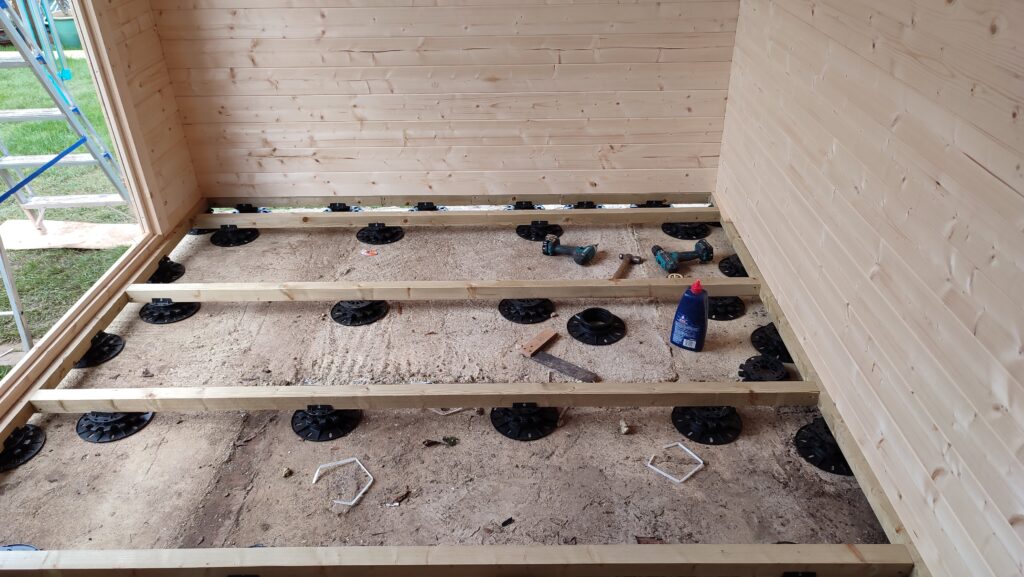
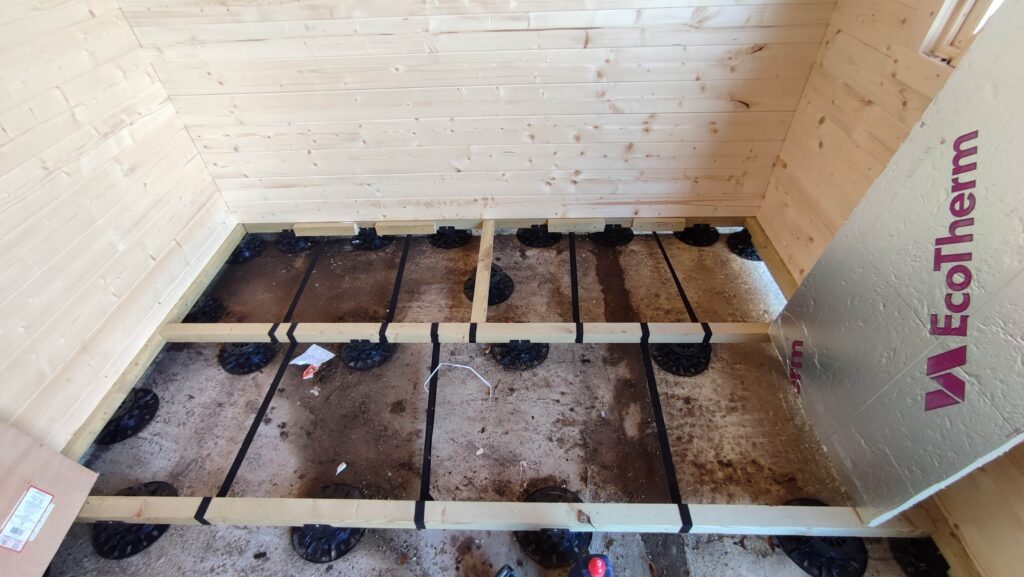
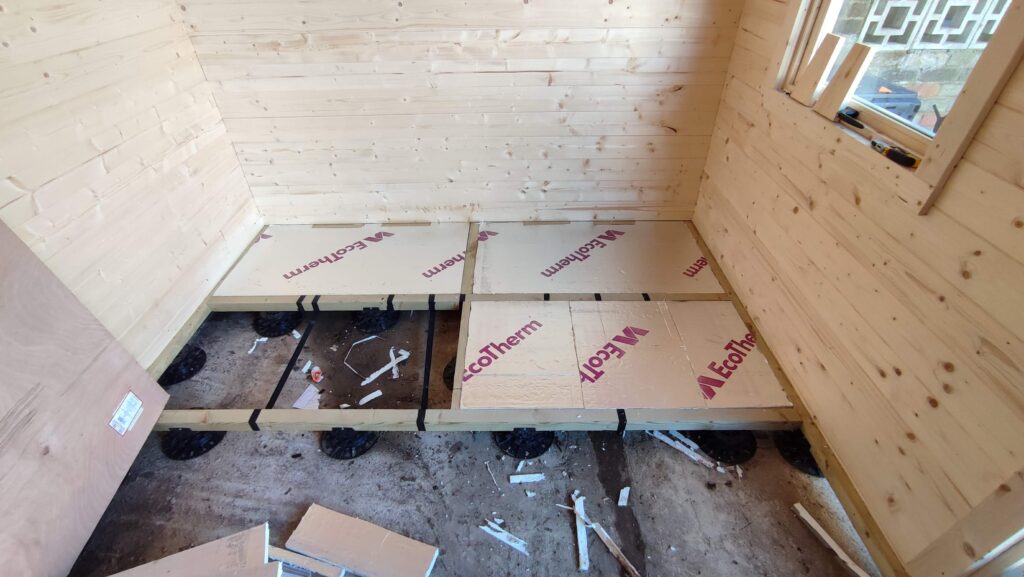
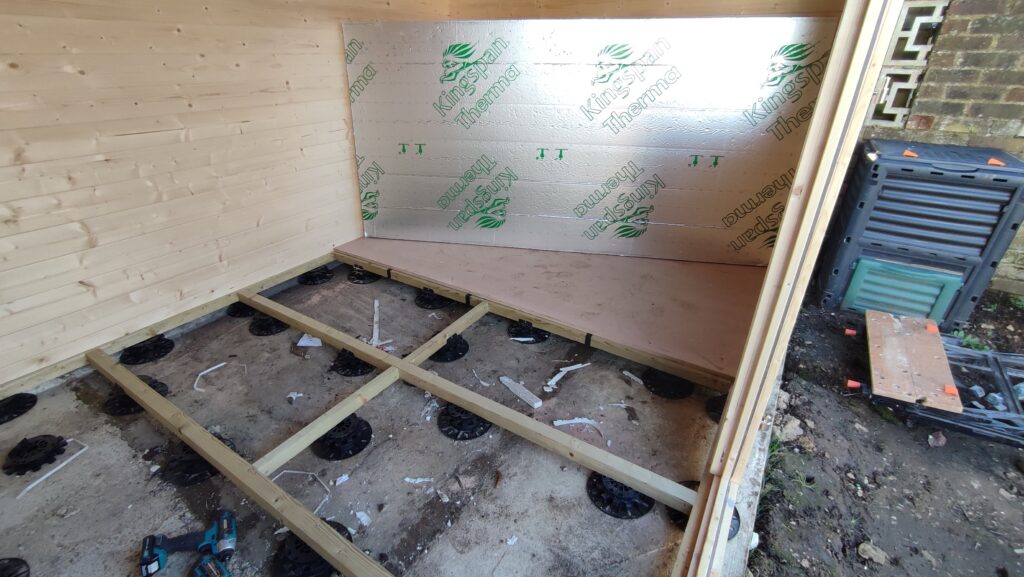
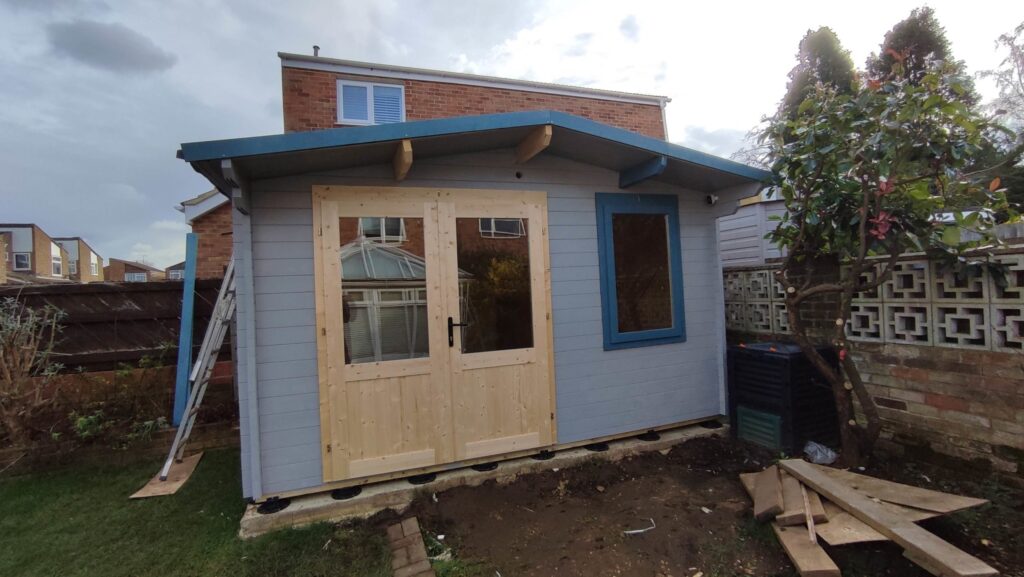
Fitting the doors to the Garden Room
My particular log cabin has double doors which need to have the position of the hinges adjusted to correctly fit the doors to the frame. This turned out to be quite a tricky operation – probably because I’m not very good at visualising in three dimensions.
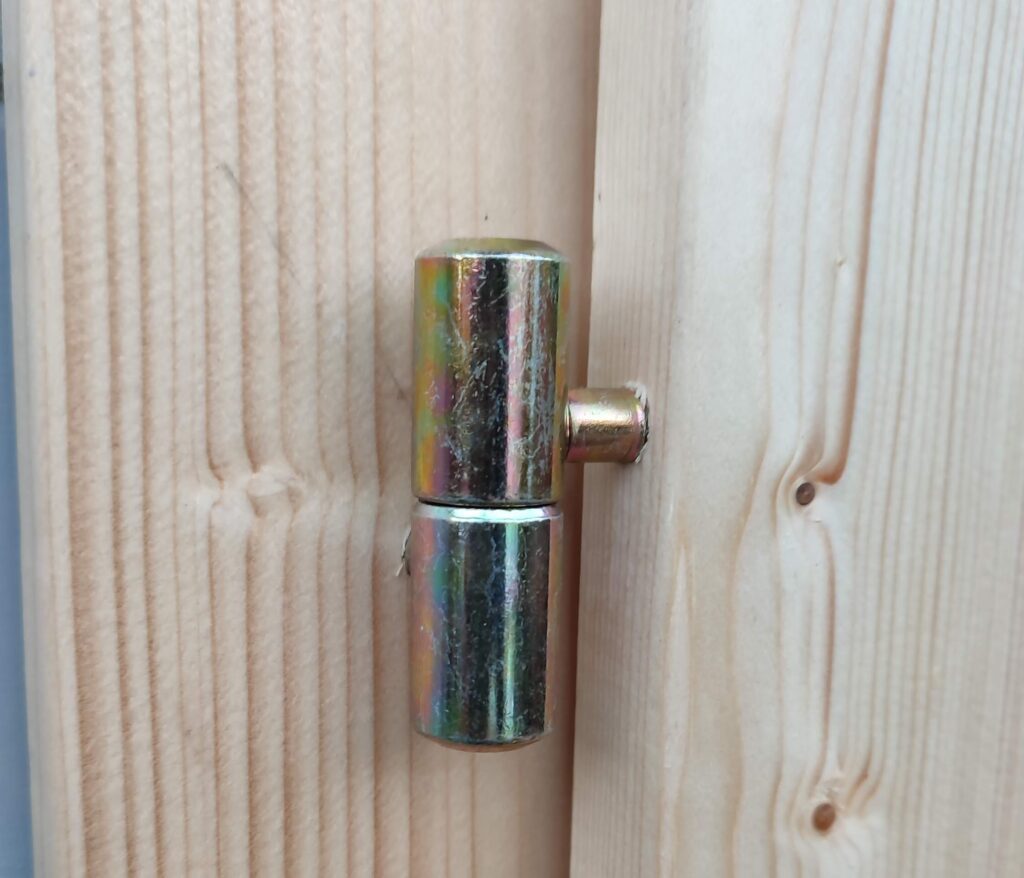
The hinges are of two part construction with a post and socket type design. The post part is screwed into the frame and the socket screwed into the door. By screwing either part in or out, you can adjust the door to be closer to the frame (by moving the frame part) or change its ‘squareness’ in relation to the frame by adjusting the door section.
In order to fit the doors I needed my wife to come out and help, because I found they were simply too heavy to lift onto the hinges by my myself2.
To ensure the doors were waterproof, I initially gave them a good coat of the primer / sealer paint that had been supplied with the Dunster House kit, and once that was dry we tried fitting the first, fixed door. The odd thing was, when the door was lifted onto the hinges it seemed to be too low, which is the one part of the design which can’t be adjusted, but after some experiments I discovered that in fact the door was twisted in the frame and needed the bottom hinge screwed out and the top hinge screwed in.
Once the fixed door was in place and approximately right, we lifted the closing door onto the hinges and worked out the way we needed to adjust it. There is no point explaining in detail how we got the doors to properly close and lock because every garden room will be different, but it took several iterations of removing, adjusting and refitting before the lock mated and properly worked.
Final fittings
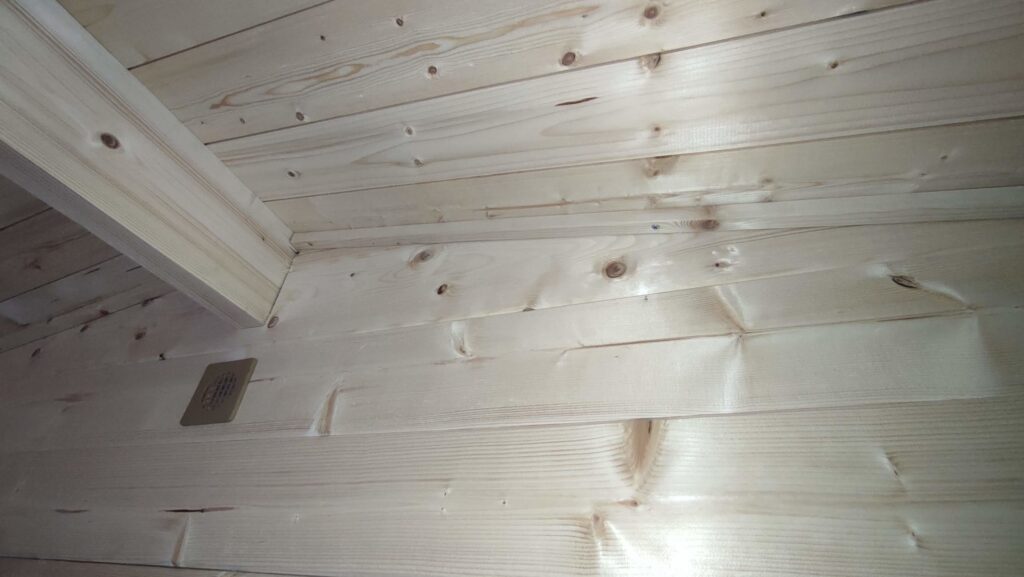
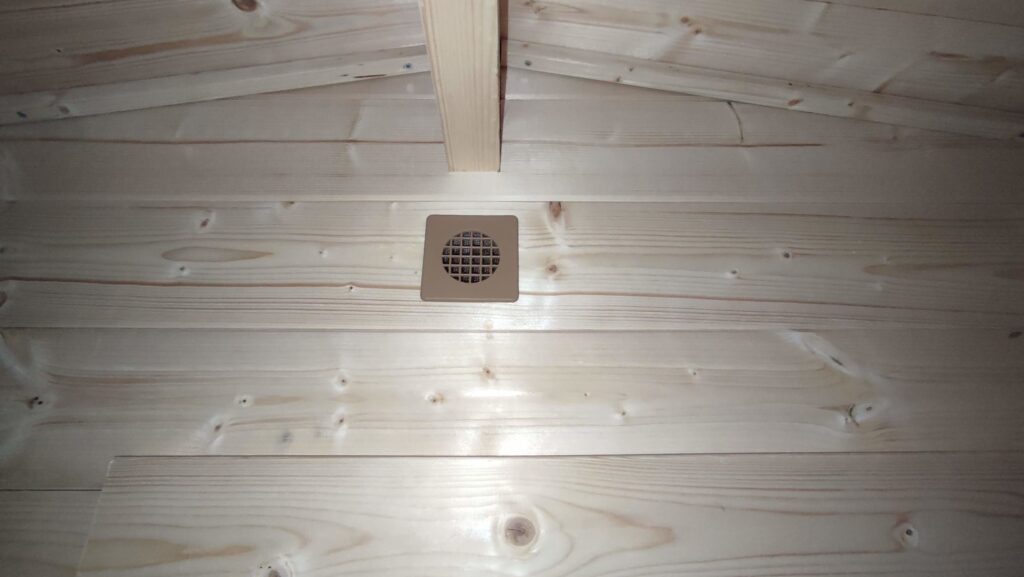
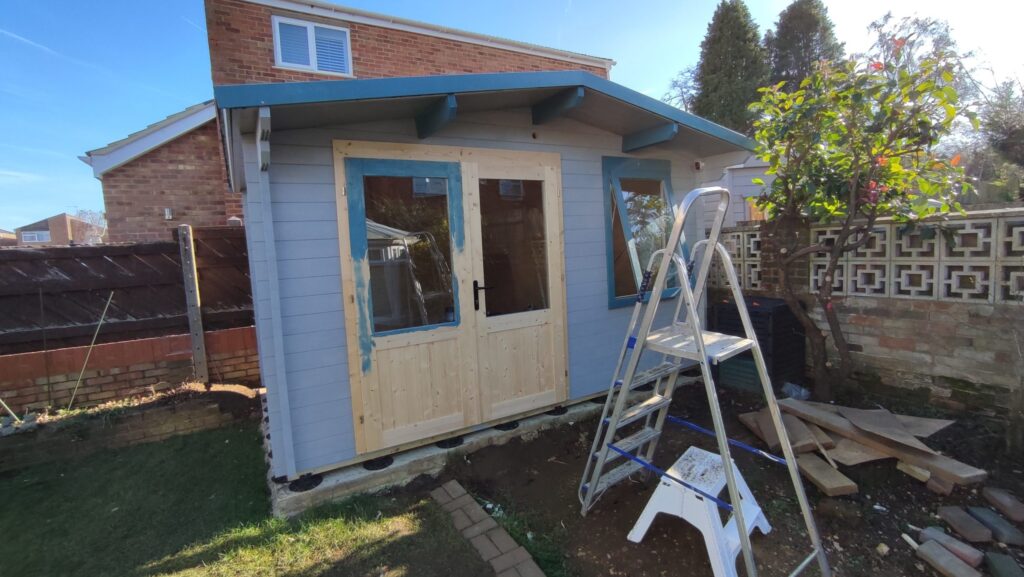
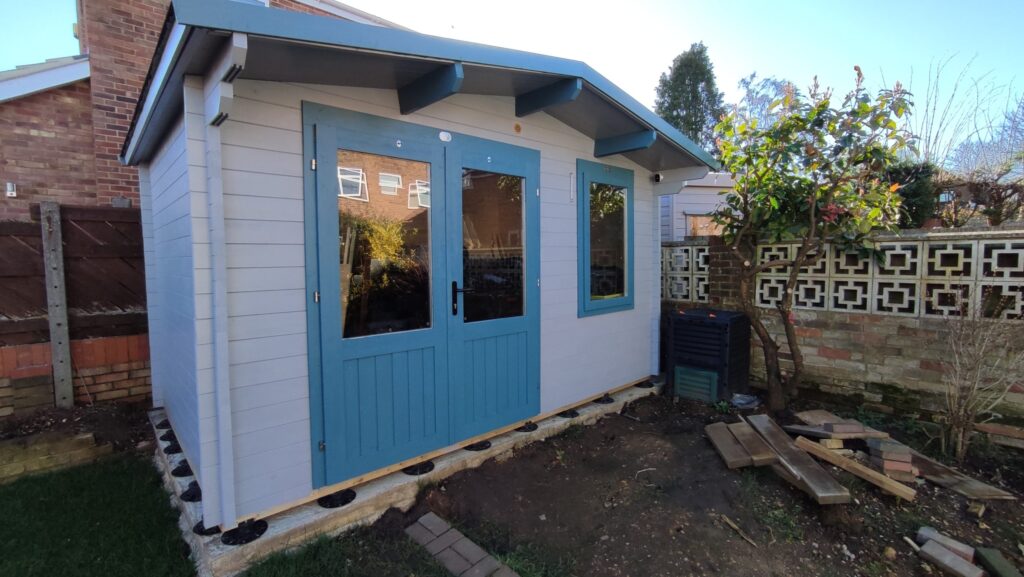
The last few bits and pieces which needed to be fitted were the internal trims around the roof, which are there to make sure any gaps between the roof boards and the walls are sealed, the facia boards on the front and back of the cabin, and the storm braces (which I’m really glad I fitted considering the three storms we’ve been hit with over the last few weeks).
These items took a few hours, along with painting the items of the cabin which hadn’t been done, which were basically all the parts I’m painting blue.
The last part to be fitted is the guttering, and this is waiting because I’m deciding if I want to add a storage shed onto the side of the log cabin to house all the tools, cameras and projectors I’ve managed to acquire over the last few years!
Overall impression of Dunster House
Overall, I’ve been impressed with Dunster House and pleased that I chose their log cabin for our garden room. The main plus points were:
- The delivery was easily tracked on delivery day and the delivery team were friendly and helpful
- The overall quality of the product is high. I only had one bent log, which was the back half log, and this was easily pulled in by adding the next log on top.
- The quantity of paint supplied really was sufficient for the job – also, it’s good quality paint, not diy store fence paint.
- The packing pieces supplied were really useful to knock the logs together with a hammer and stopped me damaging the tongue & groove.
The few negative points I found were:
- The instructions were not terribly logically laid out and were of a generic variety. I found I had to search through to find parts and skip over lots of irrelevant sections.
- I couldn’t find any instructions on how the door lock was supposed to be assembled. In the end it was quite easy to work out, but there should have been something.
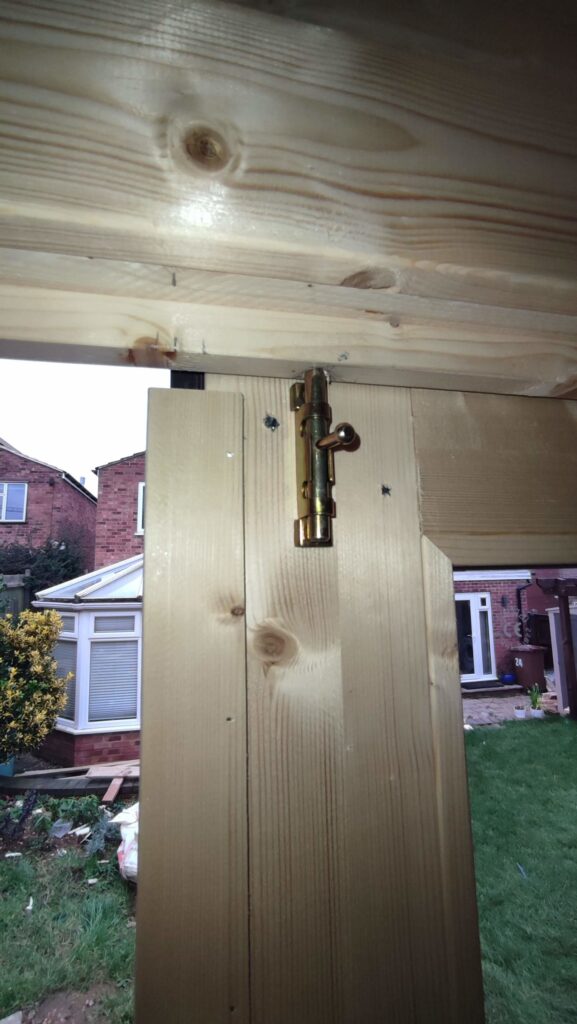
- The pair of bolts supplied to keep the fixed door in place seem to be too flimsy and inadequate to me. I’ve replaced them with a pair of sprung loaded latches.
Advice I’d give to other people making a Dunster House Garden Room
Probably the most important advice I would give is make sure the base you are building the cabin on is flat. Because I poured a concrete base in several stages, I couldn’t get it flat, and in the end I paid more to compensate for this with joist supports and a plywood floor than it would have cost to just get a local tradesman to pour me a flat base. I ended up with a more solid floor as it happens, and extra insulation, but I’d have saved a lot of hassle if the base had been flat to start with.
- Actually having now fixed this I suspect that I probably could have just removed all the bearers and fitted a new single wall bearer in one operation and the cabin would have been fine, but I took a safety first approach [↩]
- This is partly because our log cabin is on joist supports which lift it about 2 inches higher than the concrete base it’s built in, which is also a couple of inches above the ground [↩]

