Experiments in Photoshop 1 – Tilt shift filter.
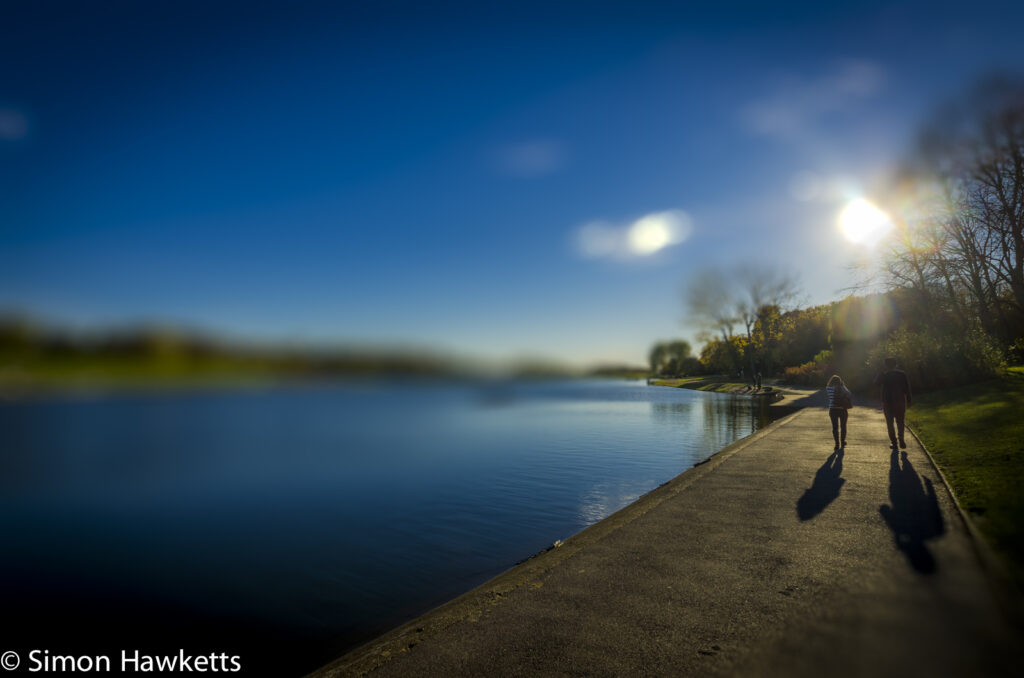
As I mentioned in my last post I have recently subscribed to the Adobe Creative Cloud Photographers membership which gives me access to the full Photoshop CC program – something I could never have justified as a standalone purchase. I have been experimenting with the various features and thought I would start a series of posts showing some of the results. The first effect I have been experimenting with is the tilt-shift filter.
A tilt-shift lens is one where the lens can be moved so the focused image does not lie parallel to the sensor, but across the sensor. Images taken with a tilt-shift lens can use a shallow depth of field to rather than isolate a subject from its background, isolate areas in the image from the sides. This can be used to good effect to emphasis lines leading into the picture etc. Needless to say a tilt-shift lens is a very expensive bit of kit to buy; also I doubt it is possible to buy one for my Pentax.
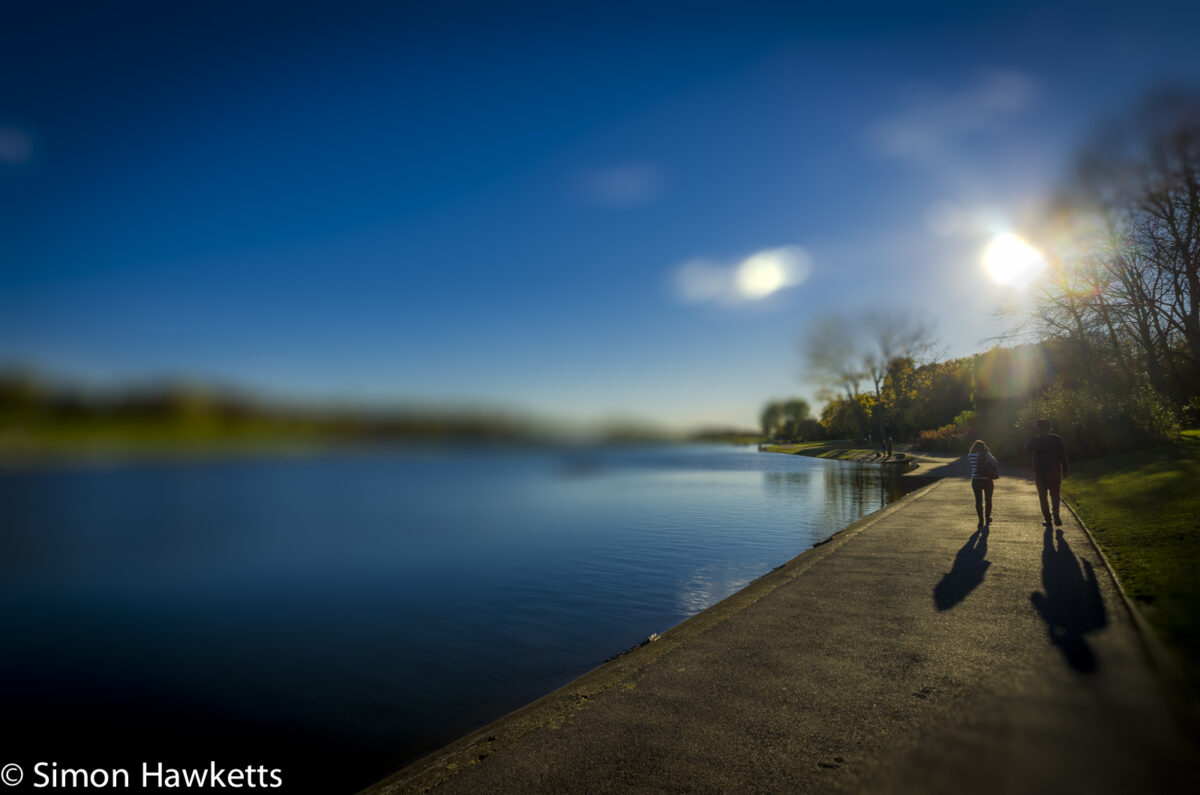
The photo above is one I took in Stevenage a couple of weeks ago of a couple walking along the edge of the sailing lake. It seemed a good shot to try out a filter which simulates a tilt-shift lens since it was taken with a very small aperture and therefore was in focus across the entire shot and also has a strong line leading into the shot.
I had already processed the image in Lightroom to get the exposure, colour etc as I wanted them so the only step I carried out in Photoshop was the addition of the tilt-shift effect. Obviously, having used Photoshop for a total of about 2 hours I am in no way an expert, but the one thing I have learnt is to convert the image to a smart object so that the filters are applied non-destructively as a layer rather than applied directly to the image. Once I’d done that the actual application of the filter was simple. I just chose Filters -> Blur -> Tilt shift from the menu and moved the applied filter to the position I wanted it. In this case it was just move it over the couple and then adjust the amount of blur produced. The other effect I added was a small amount of bokeh so that the flair from the Sun was rounded in a pleasing way.
Overall I am quite pleased with my first experiments with Photoshop. I’m certain I will never use it to completely change images – I just don’t like that sort of change, but I do quite like some of the more artistic effects which are difficult to do photographically. I’m also looking forward to trying some of the options which allow removal of unwanted objects. I have a few images of Durham Cathedral from our holiday this year that had people in the shot that I would like to remove.



Thanks for the Photoshop tip. I’ll have to see if that filter is in my version!
Dropping an hello by simon, just subscribed here a few months ago too, and i’m with you there aswell the stand alone version as a mum i couldn’t afford, been waiting 5+ years for Adobe to make it a subscription so people like myself could afford the cost. been over at serif and learning from photoshop.com and others adobe blogs those years, and the photoshop magazines of course, so i guess coming to Adobe it’s none to different then serif so i picked it all up quickly. i haven’t tried Lightroom really yet, burning photoshop first till i can learn no more and i completely burnt that one out then moving on from there… love the filter, have, followed your blog, nice to say hello to another Adobe CC user, have a nice end to your weekend 🙂
Thanks for the comments and the follow Amanda
thank you for sharing your ‘how to’ nice to say hello to you, and your very welcome simon with the follow have a nice day 🙂