How depth of field in photography works
This post is going to take a look at how depth of field which is also sometimes known as depth of focus, in photography works.
I remember several years ago I was using a Panasonic FZ-8 compact camera to take some pictures of flowers and was attempting to throw the background out of focus to emphasise the flower. At the time I had only just taken up photography again having stopped when chemical photography became too expensive to practice and digital photography was not really very good quality.
The FZ-8 was my first digital camera and I’d only owned it for a few weeks when I was making my ‘flower photography’ attempt described above.
Anyway, back to the story.
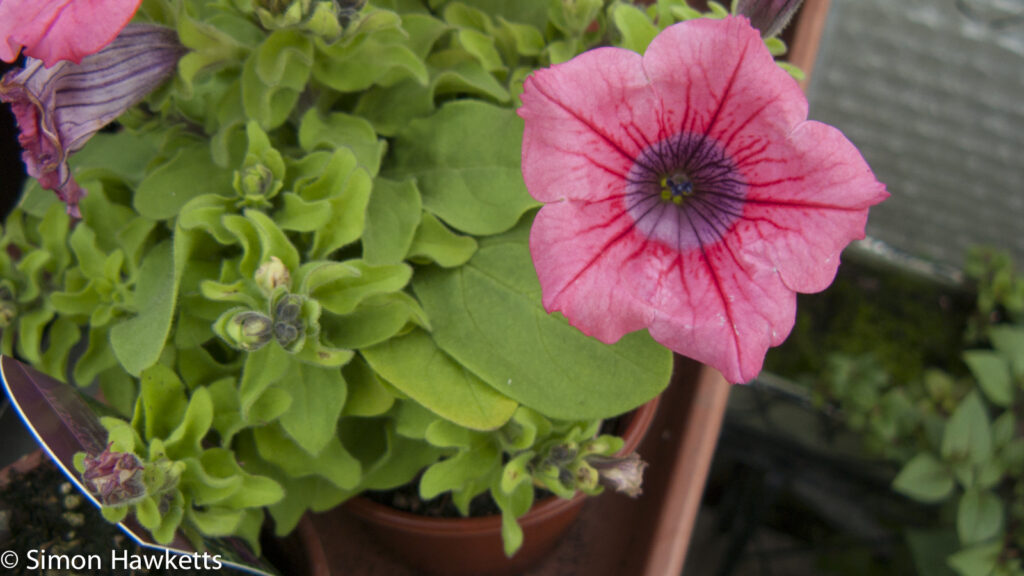
I was focusing on the flower in question and setting the aperture to the max setting the FZ-8 had which I think was F/2.8 or F/ 3.5. I was surprised to find, as I looked at the pictures I’d taken, that the background was not at all de-focused to the amount I expected. I remembered similar pictures I’d taken with my Olympus OM20 some 15 years earlier taken at a similar aperture which made the flower really stand out.
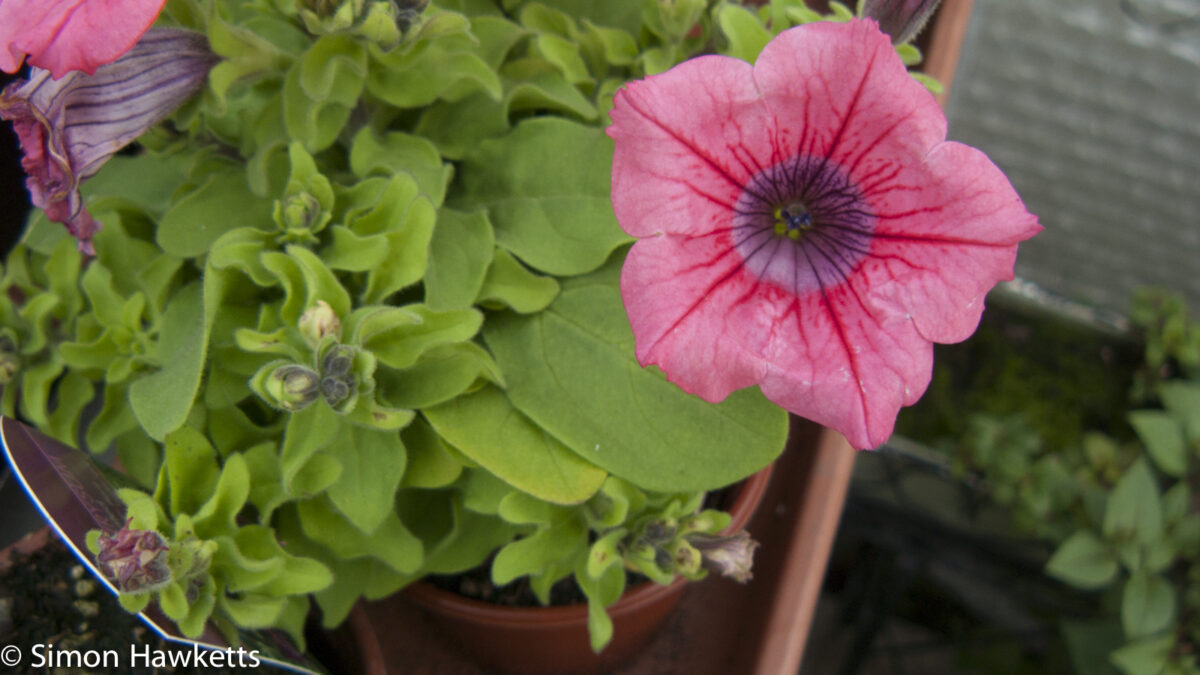
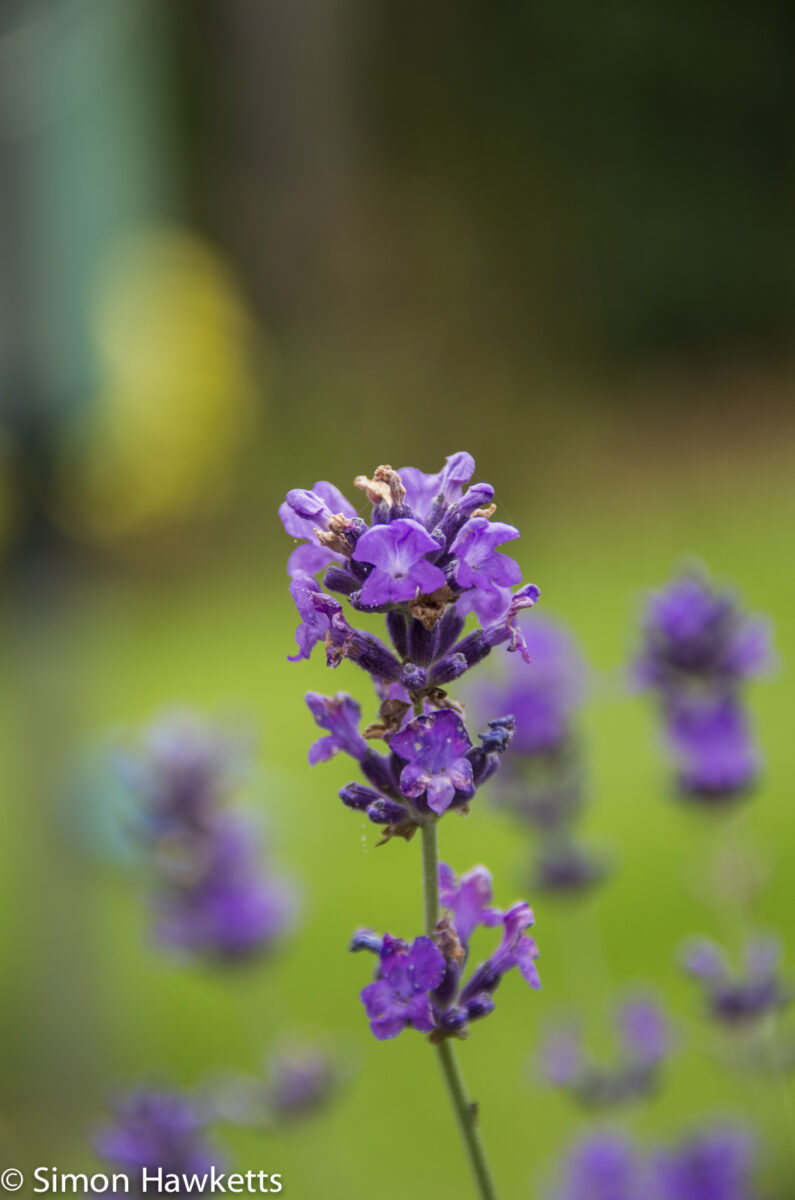
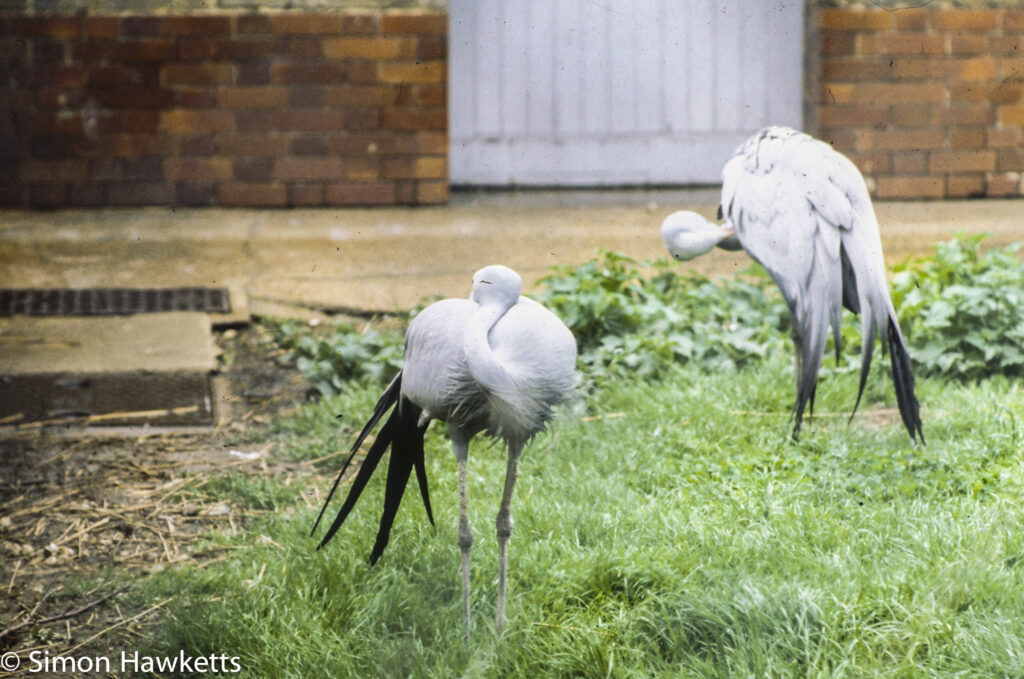
I looked through my archives and found the picture I was taking and added it here to the left. This was taken at f/2.8. If I compare it to another picture which I took more recently using my Pentax K-5 set to f/5.6 there is a startling difference.
So – what’s happening here ? The picture taken at f/2.8 has a more focussed and defined background than the one taken at f/5.6. This seems to be exactly the opposite to what I thought I knew.
The reason is that the f number itself doesn’t tell the whole story.
The f number is a ratio of the size of the hole in the front of the lens to the focal length of the lens. This is a very useful piece of information when it comes to setting the exposure since it gives us a measure of the amount of light reaching the sensor, but it only gives you relative information regarding the amount of background defocus you get. By that I mean that on any particular lens f/4 will have a more defocussed background than f/16 but it doesn’t give you any particular ‘value’ of defocus (if defocus could be measured)
In order to see how the defocus is achieved we need to think in terms of the actual aperture sizes rather than the f number. In the picture taken on the Panasonic FZ-8 the focal length of the lens was 6mm. For the image taken on the Pentax K-5 the focal length of the lens was 125mm. So the actual size of the aperture in each case was 6mm/2.8 which is 2.14mm and 125mm/5.6 which is 22.32mm!
This shows there is a really big difference in the aperture sizes when the actual diameters are compared but why does this lead to such a difference in the blur in the background?
Well, this all comes down to ‘circles of confusion’.
The circle of confusion is the amount of blur that our eyes will accept and ignore when we look at a picture. In fact, in any picture there is only one actual point in the image that is completely ‘in focus’, but a certain level of blur is accepted as still being ‘sharp’. The size of the points of light which define the blur is directly related to the size of the aperture which the light passes through and therefore the smaller the aperture the smaller the ‘defocus’ circle and the more ‘in focus’ the picture looks.
If you were to look at an image taken with a 10mm lens at f/2.0 (5mm aperture) and compare it with a picture taken with a 50mm lens at f/10 (also 5mm aperture) the depth of field effect in both would be the same. This explains why compact cameras, which have a small sensor and therefore a short focal length lens, always produce pictures which have more of the picture in-focus because the aperture used is very much smaller than that used in a full-frame or even an APS-C sensor camera. This is the reason I could not get the background to blur using my Panasonic FZ-8, no matter how much I opened the aperture it would never be wide enough to really have a big effect. It does mean however compact cameras are quite good at macro pictures, so there is a silver lining.
So in a way that explains the difference in the two pictures above, but there is also another factor which has to be taken into account, which is the distance away from the lens that the subject is. As the distance from the lens to the subject are increased, the distances involved in the amount of the picture considered ‘in-focus’ are also increased. In fact, this means that a telephoto lens will actually give larger distances in focus than wide-angle lenses, but because the telephoto lens also magnifies the background this effect doesn’t appear to happen.
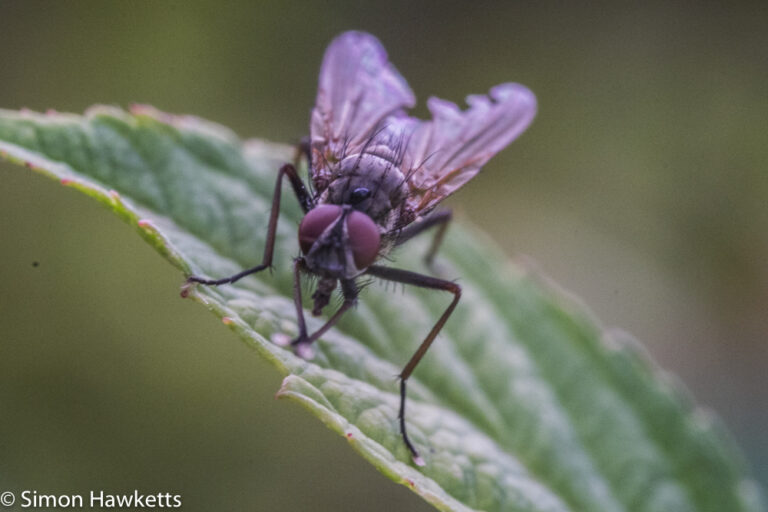
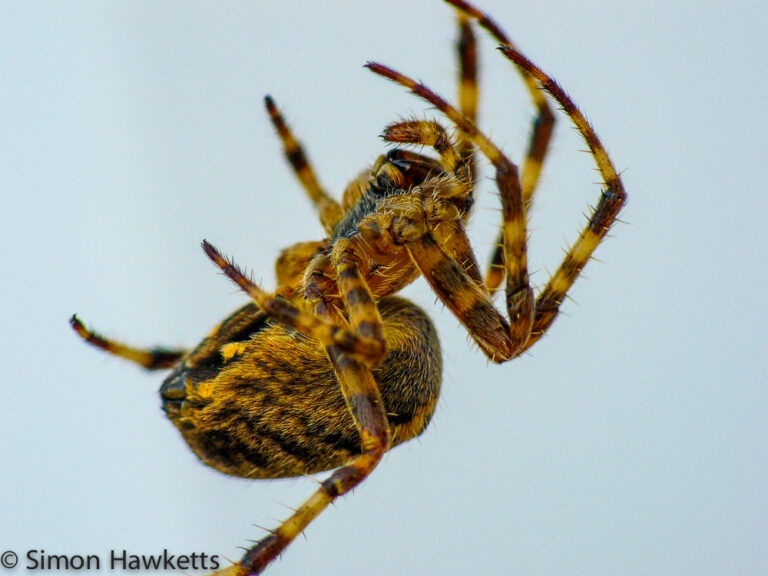
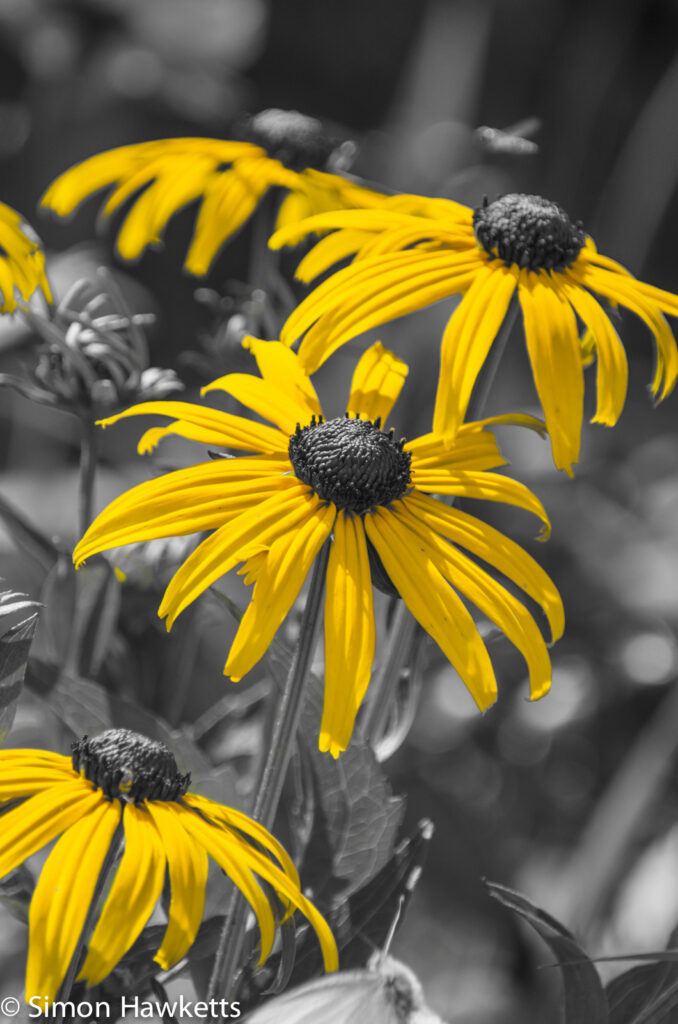
This effect can be demonstrated with the pictures below. The flowers were taken at a focal length of 125mm and an aperture of f/5.6 while the picture of the butterfly was taken at 90mm with an aperture of f/9.0. However the butterfly picture was taken at a very short distance, because this picture was taken with my specialist macro lens so was probably only a few inches from the subject. This gives only fractions of an inch in-focus behind the butterfly.
So what should I have done when using my Panasonic FZ-8 (or any other compact camera) to get the maximum amount of blur in the background? Well I actually knew one part of the formula – open the lens as wide as it will go. The other part, which I didn’t know at the time was to set the lens to it’s longest length and stand as close as I could to the flower whilst still framing it.
Of course the slight problem there is that quite often as the focal length is increased the aperture setting on the camera will increase because the front opening in the lens won’t allow a setting of f/2.8 at the lenses longest focal length (in the case of the panasonic 72mm) !

